Pouring a concrete screed in a house is a rather laborious process. Not only do you need to prepare a solution, it needs to be carefully leveled over the beacons. Most often, the usual rule is used for these purposes. And today we will talk about how a vibrating screed can be made from it and some other parts and tools, with the help of which it will be much easier to level concrete. And how to do it - the author of the YouTube channel knows Sharp Hammer.
Read in the article
- 1 What you may need to make a vibrating screed
- 2 Vibration motor installation platform
- 3 What to use as a vibrating screed motor
- 4 How to connect the grinder more conveniently
- 5 Grinder mount
- 6 Installation of the main element of the vibration rail
- 7 Final assembly of the tool
- 8 Real-world testing
- 9 Final word
What you may need to make a vibrating screed
Despite the seeming complexity of such a tool and its considerable cost in stores, it is possible to assemble a vibrating screed at home almost on the knee. The only thing that cannot be done inside the dwelling (at least not worth it) is the welding work. But in fairness, it should be noted that there will be a minimum of them.
Vibration motor installation platform
To make the engine platform, you will need two wide brackets. They can be found at a metal warehouse, and perhaps someone like them is lying around in the garage or shed. As a last resort, you can purchase a small piece of cable duct and dissolve it with a grinder. The width of the staple should be 5–7 cm, this will be sufficient.
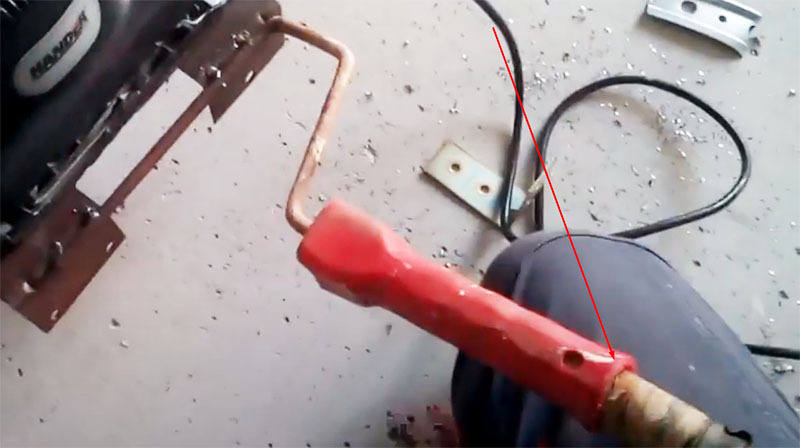
To make the platform, you will need to weld these staples to the paint roller handle. In words, everything can be difficult to understand, so we suggest paying attention to the photo example posted below.
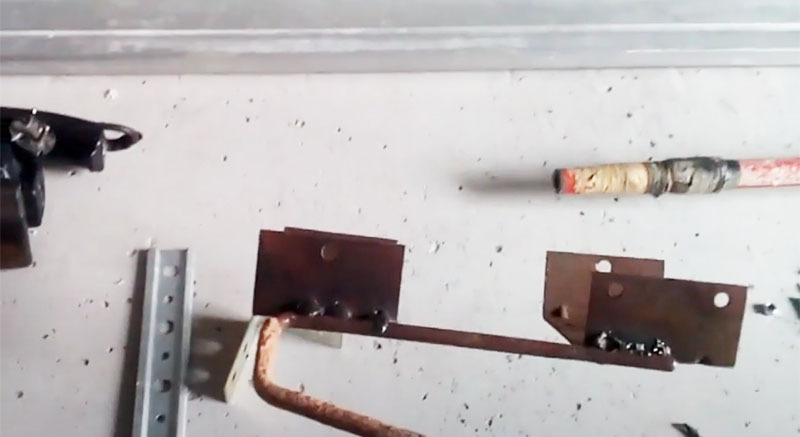
That's all the welding work mentioned at the beginning of the article.
What to use as a vibrating screed motor
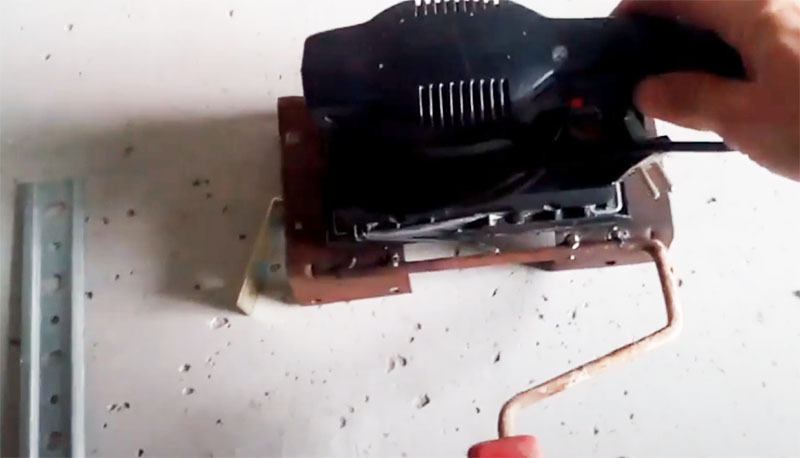
When starting to manufacture such a tool, it should be understood that it must be universal. The point is that filling the screed is a one-time job, which means that the engine from the vibrating screed (if the latter is not needed) should be used for other purposes. Therefore, the best option here would be to use a conventional vibration sander as a motor.
There is another plus in using a grinder: you do not need to be smart with a conventional motor shaft, turning it into a vibration one. It remains only to think over how to mount the electrical equipment to the platform so as not to spoil the grinder.
How to connect the grinder more conveniently
Here you can simply attach a socket to a long handle, into which the plug of the grinder will be connected. However, there is a better idea. It is quite feasible if there is an old drill with a burnt out motor in the closet. The engine is removed from it, but everything else will be used.
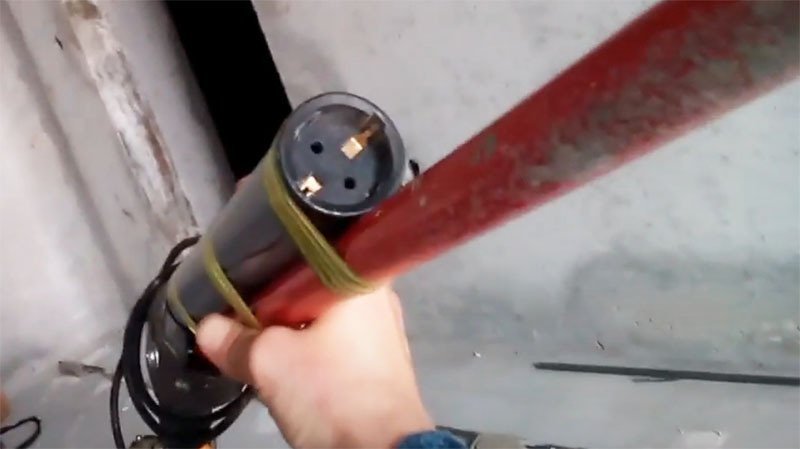
To begin with, wires are removed from the drill, which will be used to power the grinder. Then they are passed through a small piece of pipe with a diameter of 50 mm and a round socket from the extension cord clings to them. If you put everything together, you get a kind of pistol with a rather long and thick barrel.
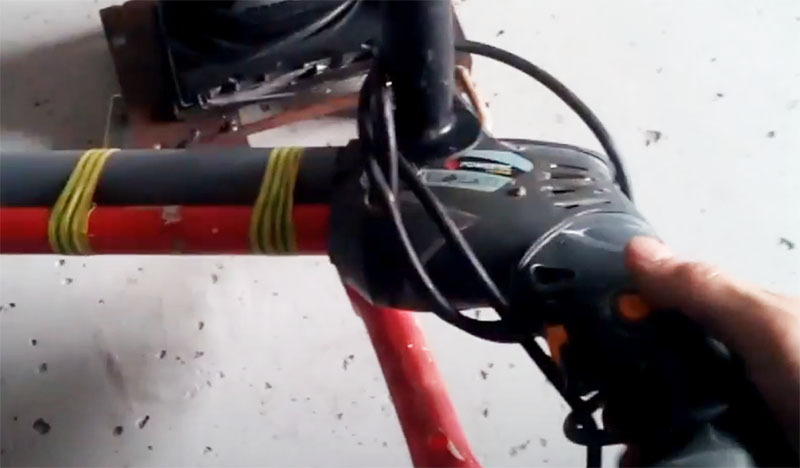
Now, when the drill is connected to the network, power will be supplied to the outlet, but only under the condition of pressure on the key. In this case, the more the operator presses, the more stress will go to the grinder. It remains to fix the resulting structure on the handle, which can be done using ordinary tape.
Grinder mount
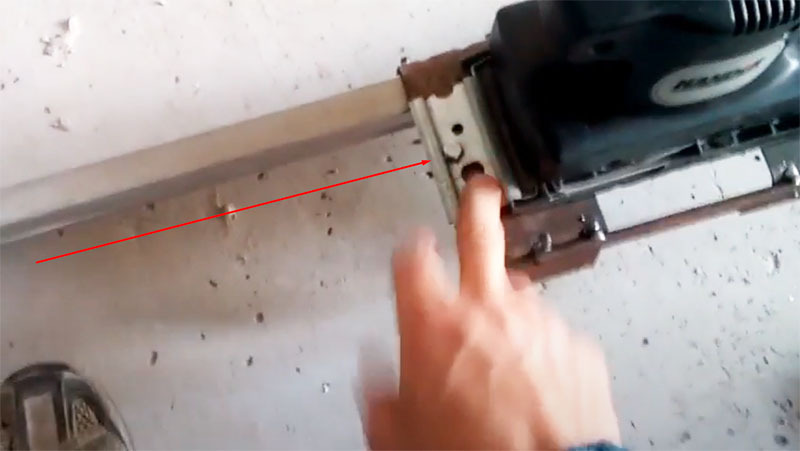
The sander can be fixed to the platform using two pieces of DIN rail. They must be screwed in so that the power tool can be tightened with bolts on both sides. Elementary clamps, which are very easy to disassemble if necessary, and then use the vibration sander as intended.
Installation of the main element of the vibration rail
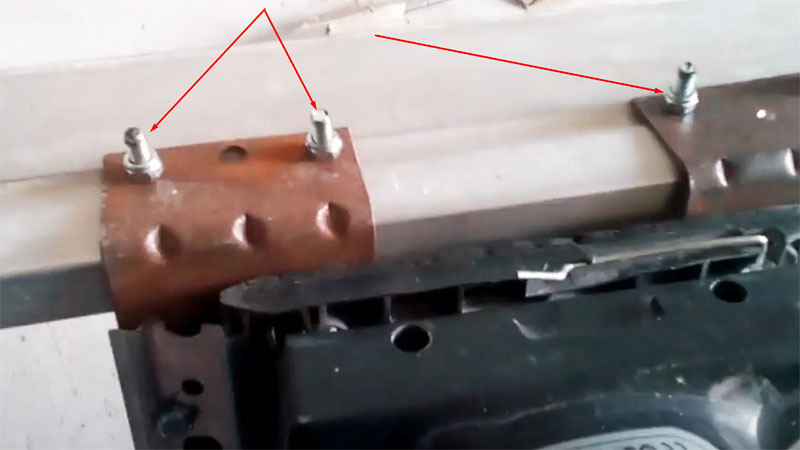
Now it's time to work with the rule. It is necessary to drill 4 holes in it so that it can be bolted to the side ribs of the platform. And again, the fasteners from the "couldn't be easier" series. If necessary, the rule can be removed and used in manual mode, or replaced with a longer or shorter one.
Final assembly of the tool
It remains to make a mere trifle - stick the handle in the designated place on the handle from the roller and connect the plug of the vibration sander to the socket in the pipe. After that, you can proceed to practical tests.
Real-world testing
At the end of the work on the manufacture of the vibrating screed, you can start pouring the floor. For this, a solution is mixed (the more, the better), which is laid out between the beacons. Do not be afraid that the solution will not be worked out. When working with a vibrating screed, the process of leveling concrete in time will be reduced by about 10 times.
When the solution is laid out in a mountain between the beacons, the vibrating screed turns on and simply drags along the guides with a slight pressure. Here the master himself will notice how much easier it is to work with such a tool than with the usual rule.

Final word
Such a tool is extremely easy to use. Moreover, it compares favorably with the one that can be purchased in the store. After all, it is much cheaper. At the same time, a homemade vibrating screed can be disassembled and used as an independent tool. This approach will unload the home master's pantry, eliminating the need to store disposable items that are a pity to throw away.
We really hope that you will find it useful to everything that was told today. Despite the fact that the author tried to present everything in the simplest possible language, perhaps something remained not completely clear. If so, ask your questions in the discussions below. HouseChief editors will be happy to clarify all the incomprehensible points. There you can also comment on what you read and express your personal opinion about the advisability of self-assembly of such a tool. If the article was interesting for you, do not forget to rate it. Every opinion is extremely important to us. Take care of yourself, your loved ones and be healthy!


