What advantages does a homemade tool give us? In addition to significant savings, there are other advantages: multifunctional structures take up less space, can be disassembled and easily adapt to your specific needs. For example, a wood sander is a rather bulky tool that needs a separate place to place it. But if you assemble it from an ordinary drill and a couple of plywood stands, then all this can fit very compactly on your workbench. Moreover, the devices for such a machine for the most part can be made by hand. How to implement this in practice, the author of the channel told in his video blog on YouTube Mazay DIY. You can easily repeat his experience by studying these step-by-step recommendations.
Read in the article
- 1 Machine base - drill stand
- 2 Grinding wheel stand
- 3 Grinding drum for a homemade machine
Machine base - drill stand
So, the basis of the machine is a mechanism that will rotate the grinding attachments. It is difficult to imagine anything more convenient for this purpose than a conventional drill. There are only two transformations that need to be done: decide how to fix the instrument and how to turn it on, freeing your hands.
You can solve the issue of turning on the drill using a special device with a pedal. It is only necessary to fix the button of the drill in the on position and put a pedal between the power source and the plug of the drill, which supplies and disconnects the current. These pedals can be found easily at tool stores or online.
The second question, fixing a hand tool, is also easy to solve by building a wooden stand.
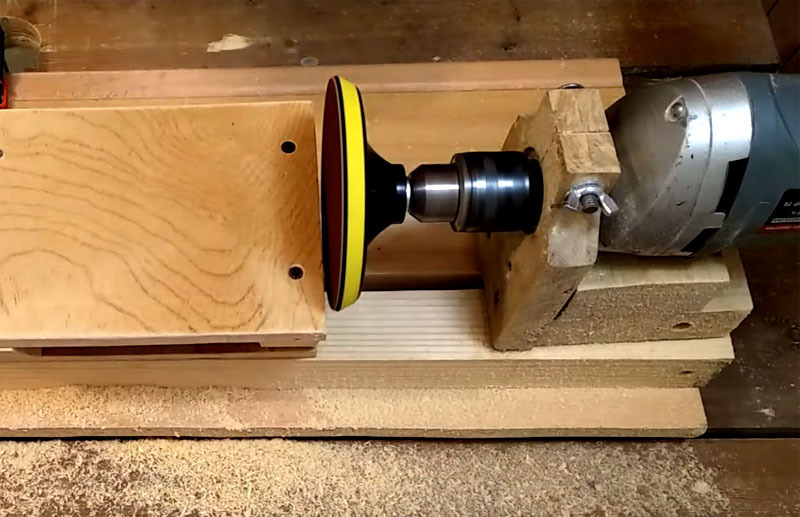
Grinding wheel stand
For sanding small, complex parts, a sanding disc is useful. The only thing that is inconvenient in this situation is to keep the parts suspended during operation. This is easy to fix.
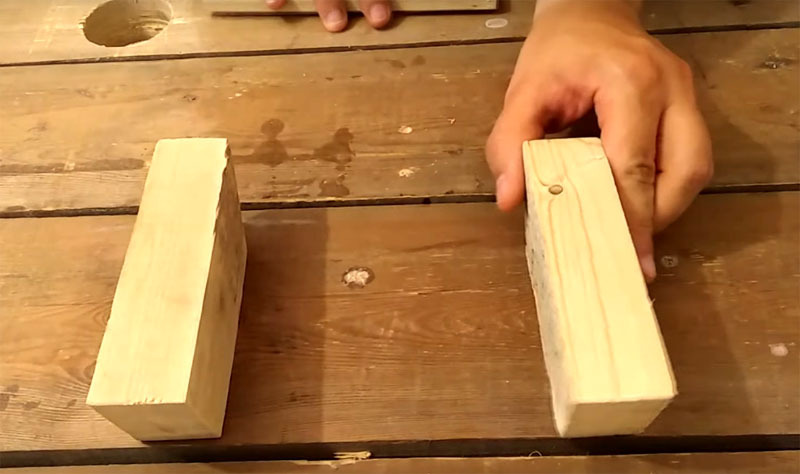
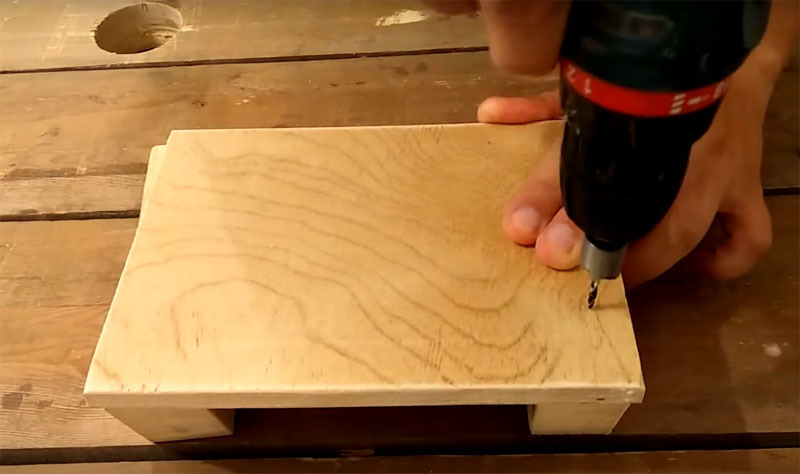 PHOTO: YouTube.com
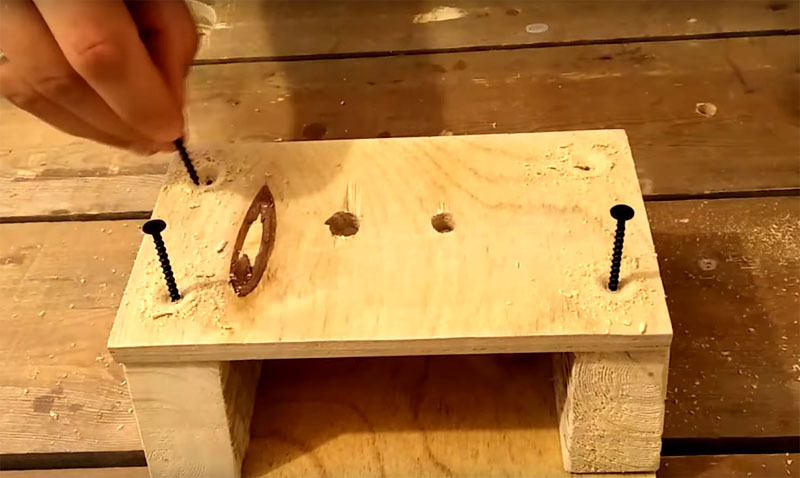 PHOTO: YouTube.com
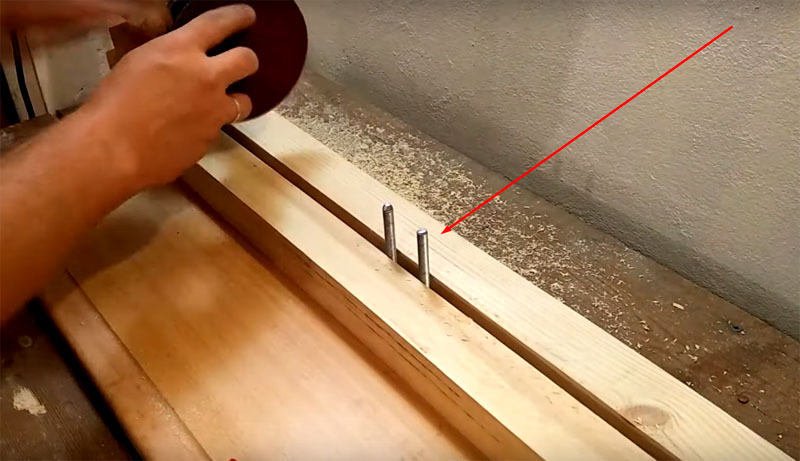 PHOTO: YouTube.com
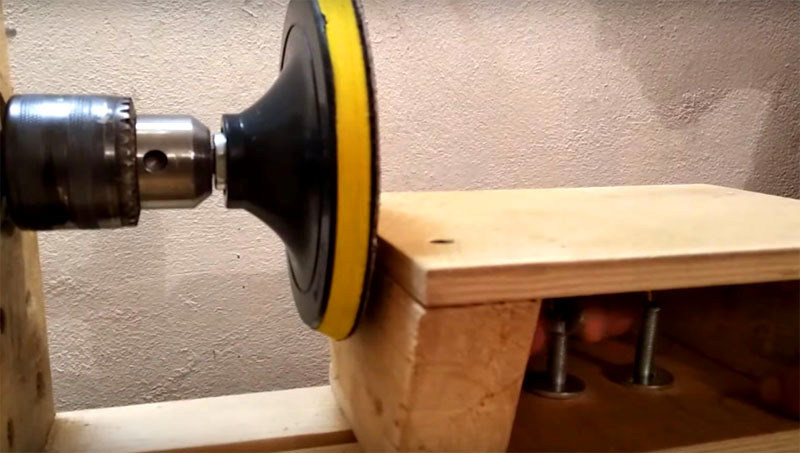 PHOTO: YouTube.com
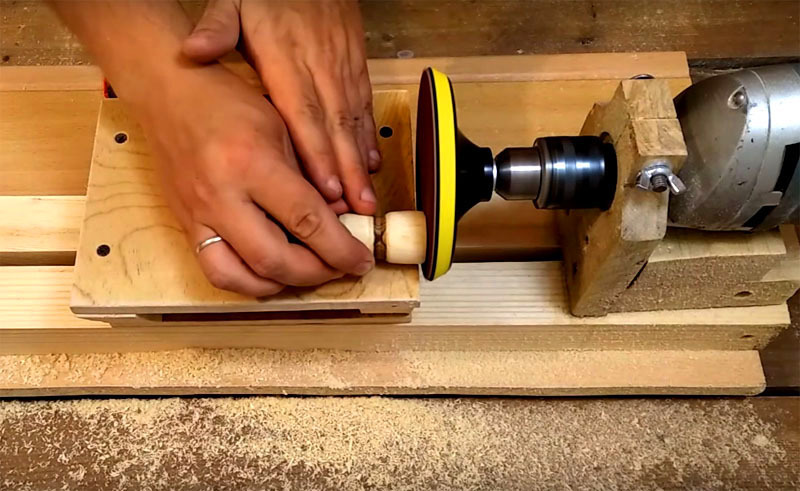 PHOTO: YouTube.com
Grinding drum for a homemade machine
In addition to the wheel for processing parts, you really need a drum. Making it is also easy.
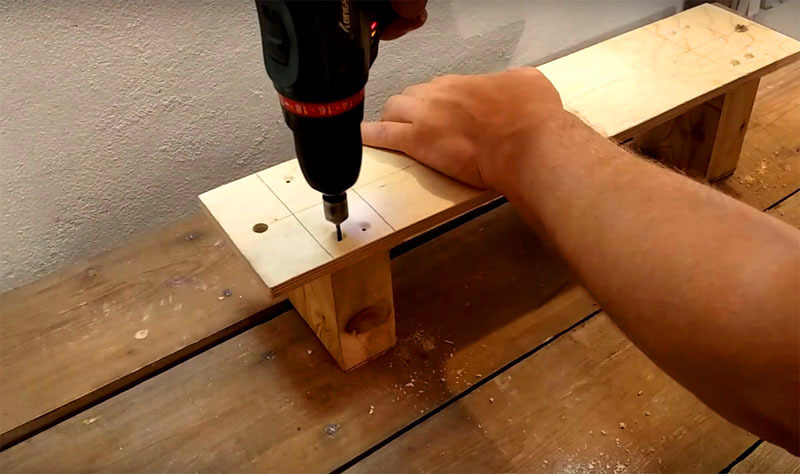 PHOTO: YouTube.com
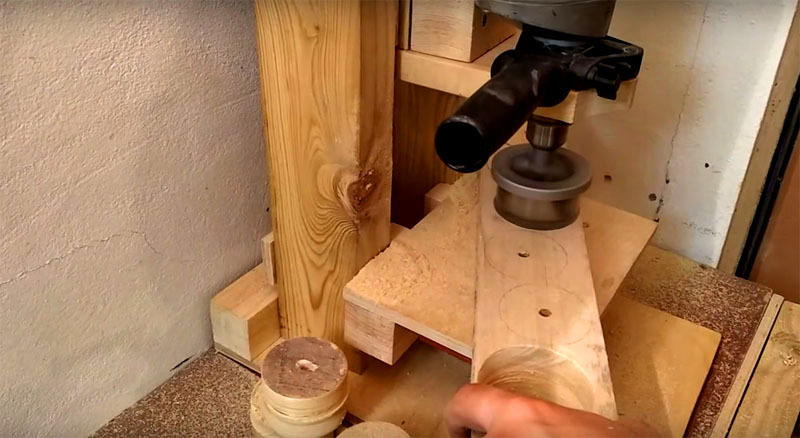 PHOTO: YouTube.com
 PHOTO: YouTube.com
 PHOTO: YouTube.com
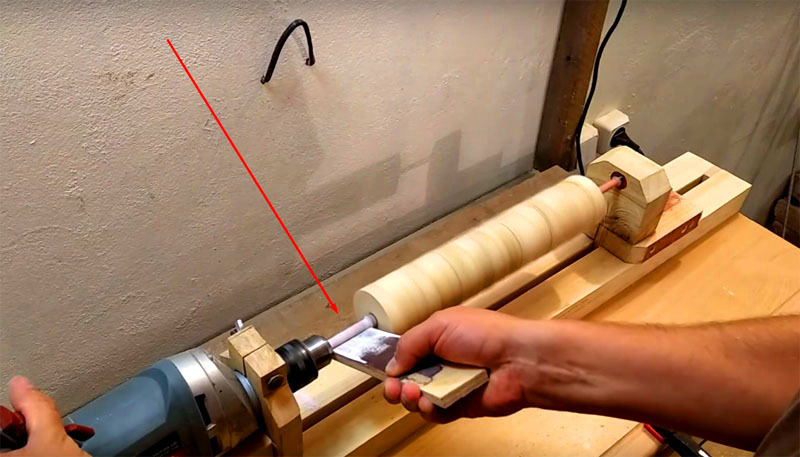 PHOTO: YouTube.com
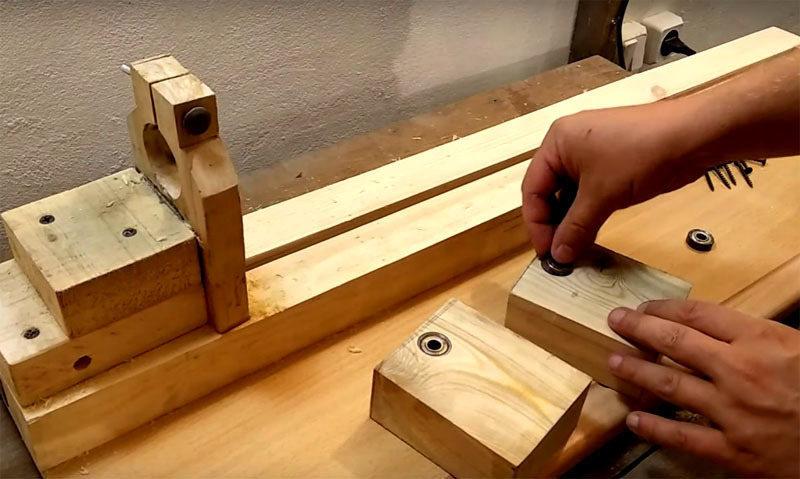 PHOTO: YouTube.com
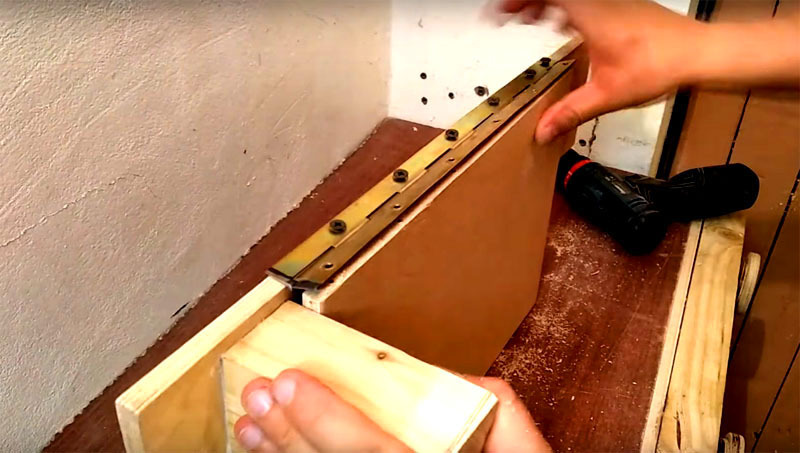 PHOTO: YouTube.com
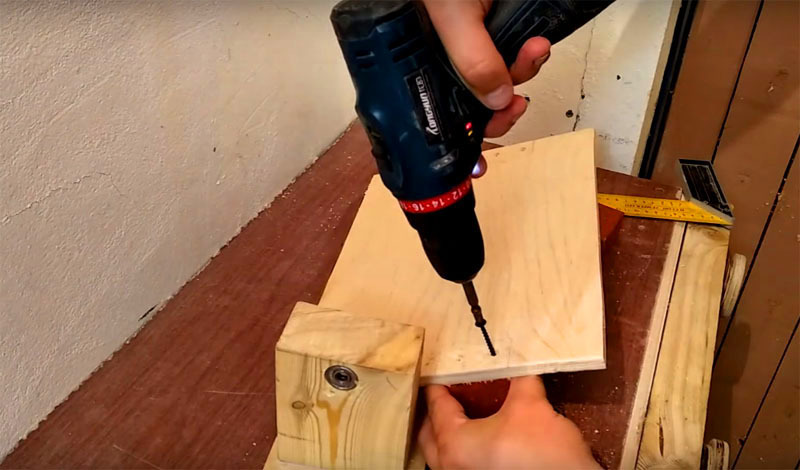 PHOTO: YouTube.com
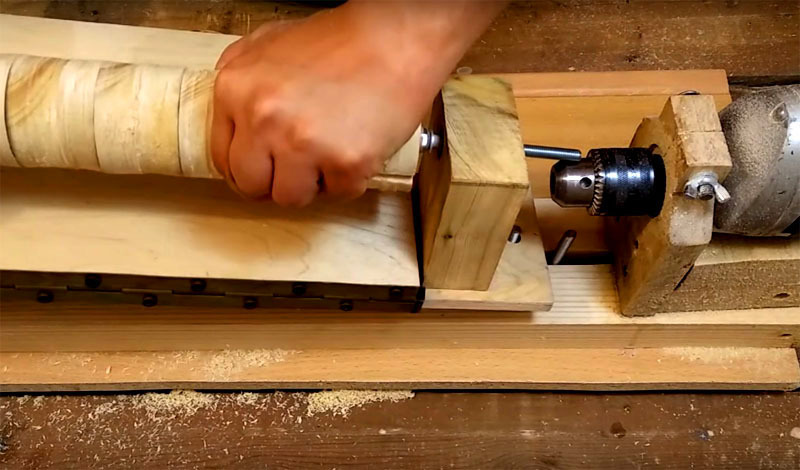 PHOTO: YouTube.com
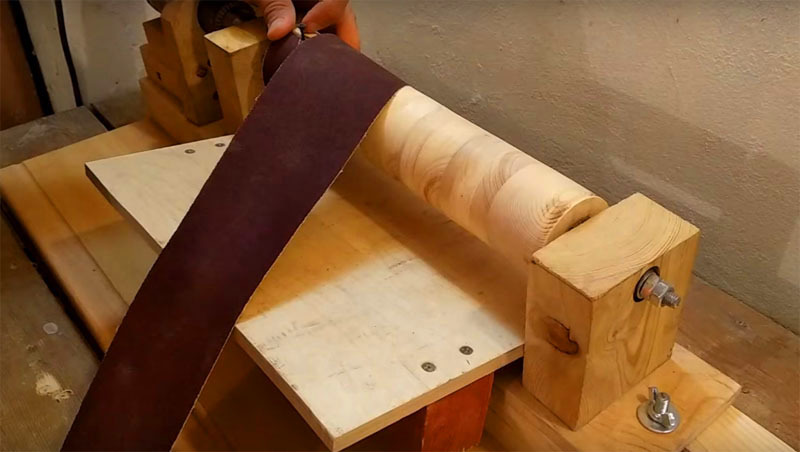 PHOTO: YouTube.com
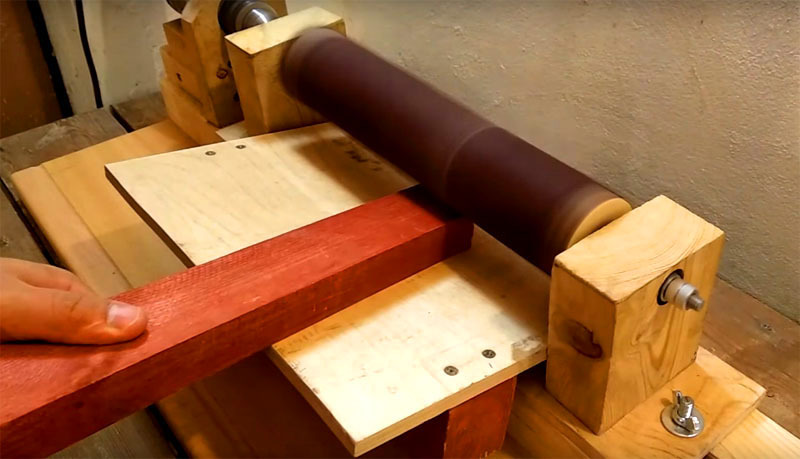 PHOTO: YouTube.com
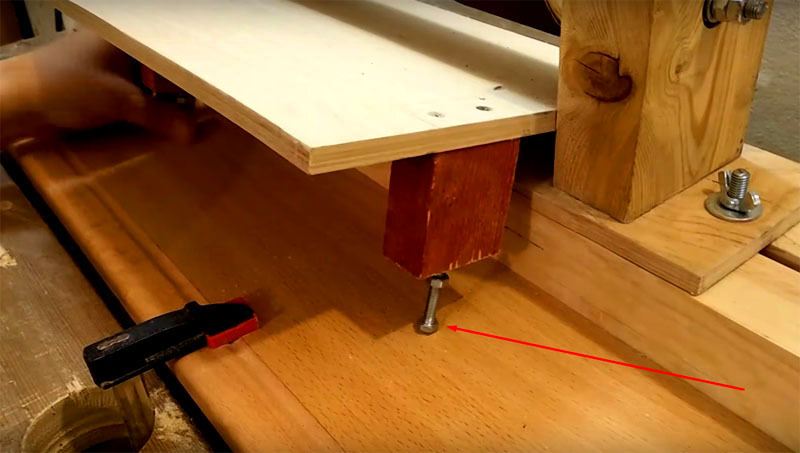 PHOTO: YouTube.com
So, using only wooden and plywood parts plus an ordinary drill, you can assemble a fairly productive and convenient woodworking machine. The whole structure, if necessary, is easily disassembled; parts can simply be stored on a shelf in a garage or workshop.
In addition, here is another option for assembling a grinding drum from the masters of YouTube:
We are waiting for your opinion on the proposed version of the homemade machine. Write in the comments how much you liked this idea and what, in your opinion, should be supplemented with it. If your workshop has such devices - write to our editorial office and send your photos, we will definitely publish the most interesting materials!


