Cool lamp from an old sink siphon

click fraud protection

Sometimes things that have a direct road exclusively to the trash can have a real chance of a second life. You could not even imagine that they could perform in such an unusual capacity. Here, for example, a used sink siphon. What can you do with it? And is it possible at all? The author of the YouTube channel "Homemade Master»Proved in practice that this very siphon is an excellent basis for creating a designer lamp. If you are wondering how he did it, please read this material carefully.

Read in the article

  • 1 Which siphon is suitable for homemade
  • 2 How to make a plafond from a siphon glass
  • 3 Creative part: plastic tube lamp legs
  • 4 Final assembly: let there be light

Which siphon is suitable for homemade

Modern sink siphons are made of durable plastic that is resistant to corrosion. They bear little resemblance to their predecessors made of cast iron or steel and are capable of serving indefinitely, only if not some force majeure circumstance will arise that will render any part of this strong constructions.
Cool lamp from an old sink siphon
PHOTO: YouTube.com
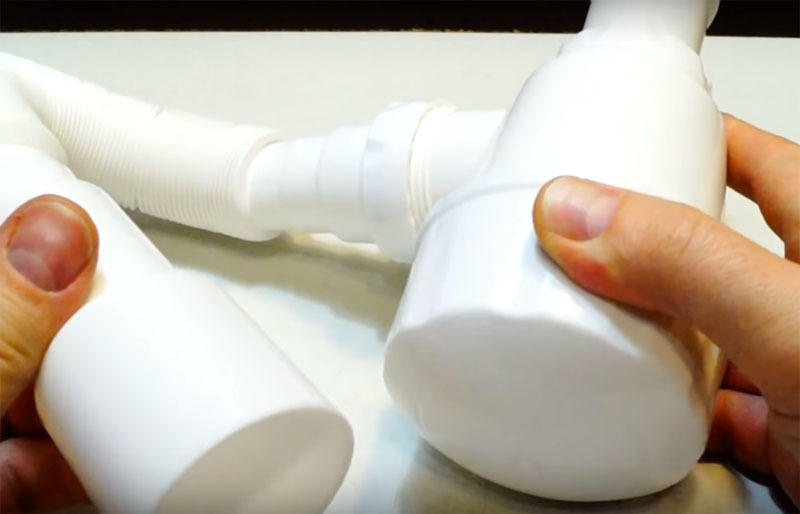
This is what most of these designs look like. The siphon consists of a plastic cup with a removable lid and a corrugated tube that connects to the sewer pipe

It is clear that if you intend to use a used siphon, it must be thoroughly washed and dried before use. To finally get rid of the smell, it is better to wipe the entire glass, including the threads, with a napkin dipped in an alcohol solution.

How to make a plafond from a siphon glass

The plafond of the future lighting fixture will be made of a siphon glass. It needs to be slightly transformed for this purpose.
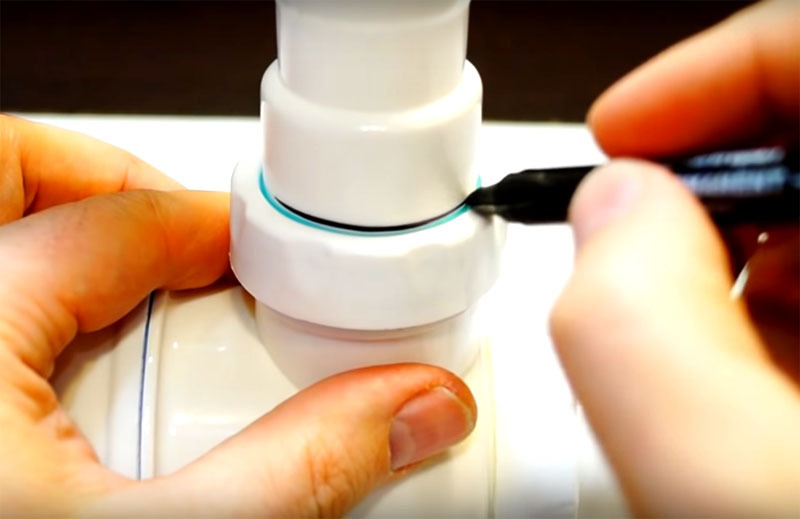
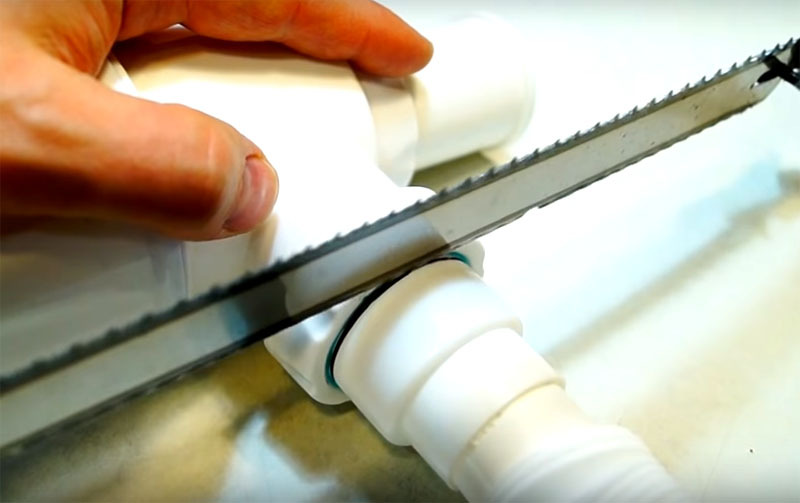
To create a lamp, you need a plastic siphon glass, it will need to be cut along the line in the area of ​​the ledge, which is marked in the photo
PHOTO: YouTube.com
To create a lamp, you need a plastic siphon glass, it will need to be cut along the line in the area of ​​the ledge, which is marked in the photo
Plastic, even as strong as on the siphon, is easy to cut with a knife. But for an even cut, it is better to use a hacksaw with a fine tooth. After separating the parts, the edges must be sanded with fine sandpaper so that there are no irregularities and burrs.PHOTO: YouTube.com
Plastic, even as strong as on the siphon, is easy to cut with a knife. But for an even cut, it is better to use a hacksaw with a fine tooth. After separating the parts, the edges must be sanded with fine sandpaper so that there are no irregularities and burrs.
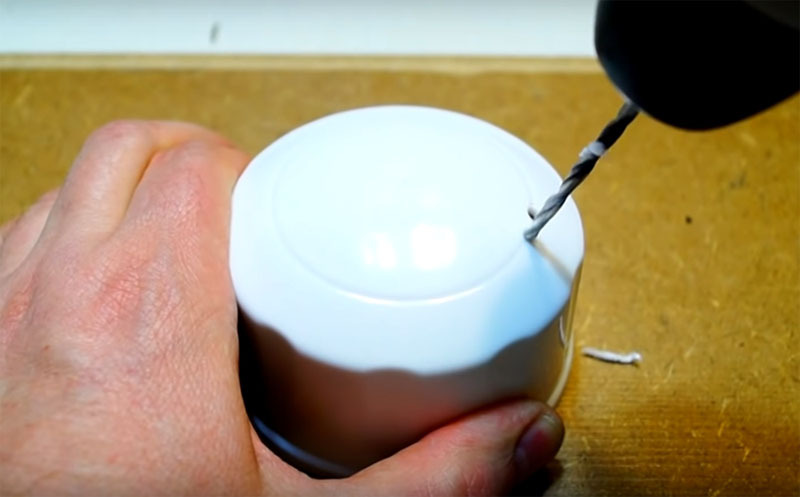
The plafond, as conceived by the author, will transmit light through many small holes. The siphon cover, which is usually unscrewed for periodic cleaning of the contents, must be perforated with a drill and a small drill.PHOTO: YouTube.com
The plafond, as conceived by the author, will transmit light through many small holes. The siphon cover, which is usually unscrewed for periodic cleaning of the contents, must be perforated with a drill and a small drill.
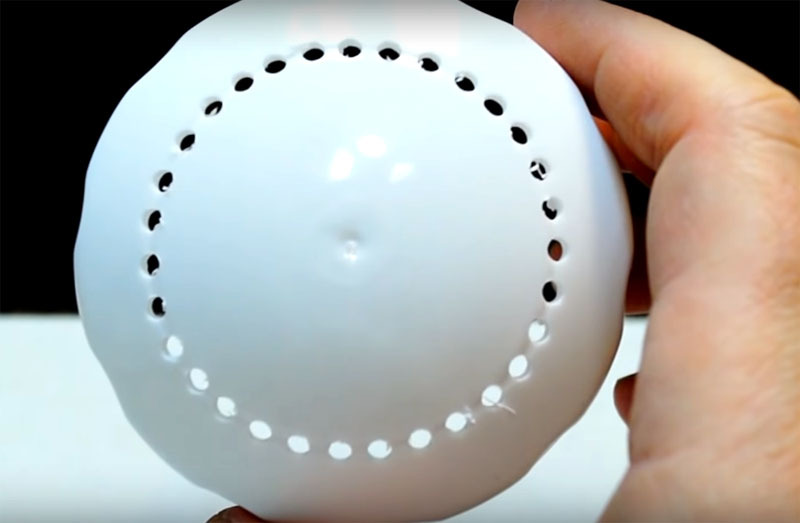
The more holes you make, the more interesting the result will be.PHOTO: YouTube.com
The more holes you make, the more interesting the result will be.

Try to place the holes not randomly, but at equal intervals and in a certain order: in a circle or in a spiral.

The plafond after these manipulations is ready, later you will need to equip it with a lamp holder.

Creative part: plastic tube lamp legs

The fixing of the plafond will consist of plastic pipes that are used for water supply. Decide how to assemble the lamp leg or legs. The design can be as complex as you want - it all depends on your imagination. And it will not be difficult at all to assemble the parts if you use corners and tees from the same plumbing set.
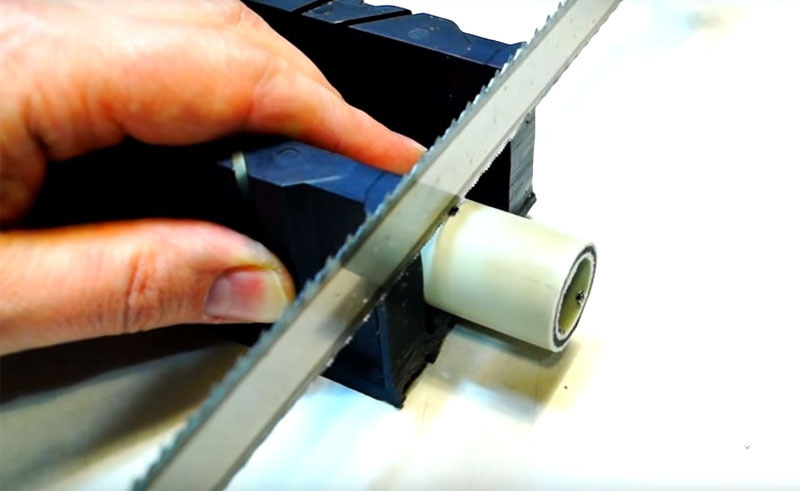
Plastic pipes are cut into pieces with the same hacksaw with which you cut the plafondPHOTO: YouTube.com
Plastic pipes are cut into pieces with the same hacksaw with which you cut the plafond
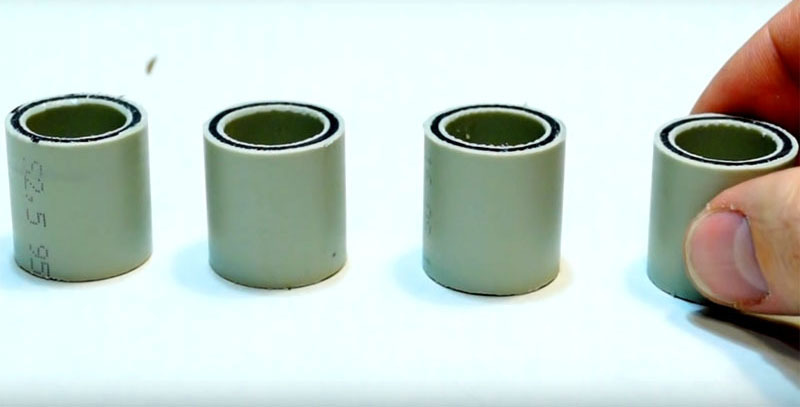
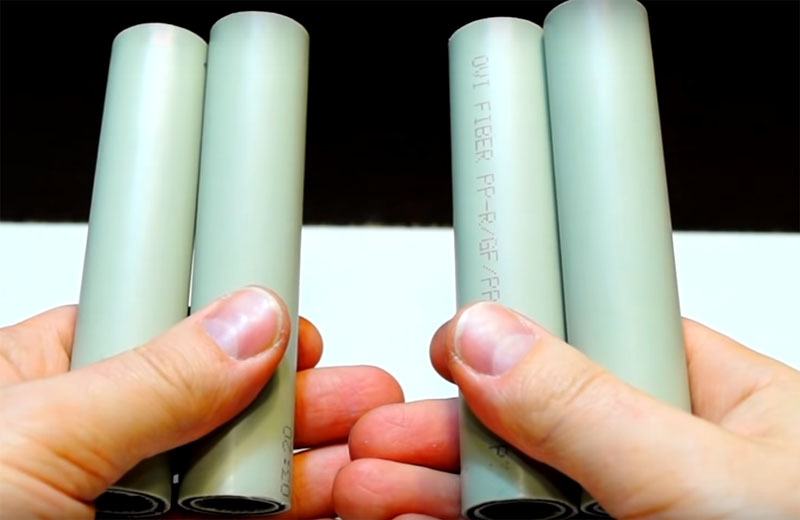
The author prepared 4 pipe sections 5 cm long for assemblyPHOTO: YouTube.com
The author prepared 4 pipe sections 5 cm long for assembly
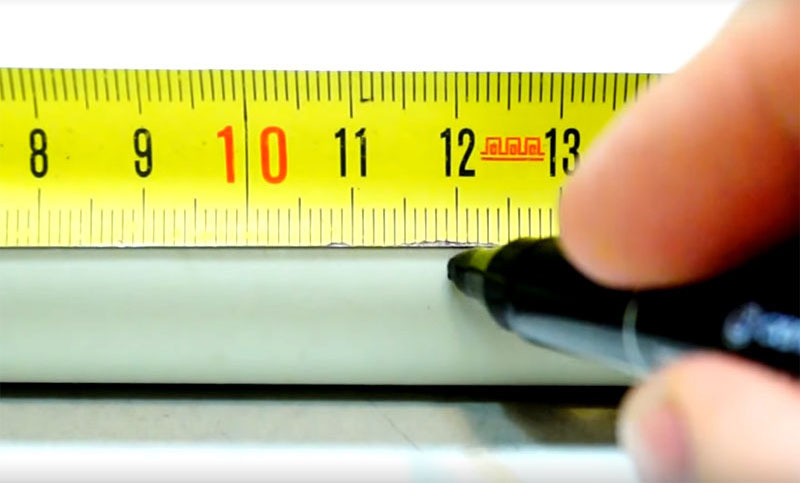
The long parts of the support structure consist of 12 cm lengths of pipe of the same diameterPHOTO: YouTube.com
The long parts of the support structure consist of 12 cm lengths of pipe of the same diameter
You will also need 4 such segments. As planned, the lamp will have 2 legs, interconnected by a common stand and a shadePHOTO: YouTube.com
You will also need 4 such segments. As planned, the lamp will have 2 legs, interconnected by a common stand and a shade
The connection of parts of the structure is carried out using fittings - tees made of the same plastic as pipesPHOTO: YouTube.com
The connection of parts of the structure is carried out using fittings - tees made of the same plastic as pipes
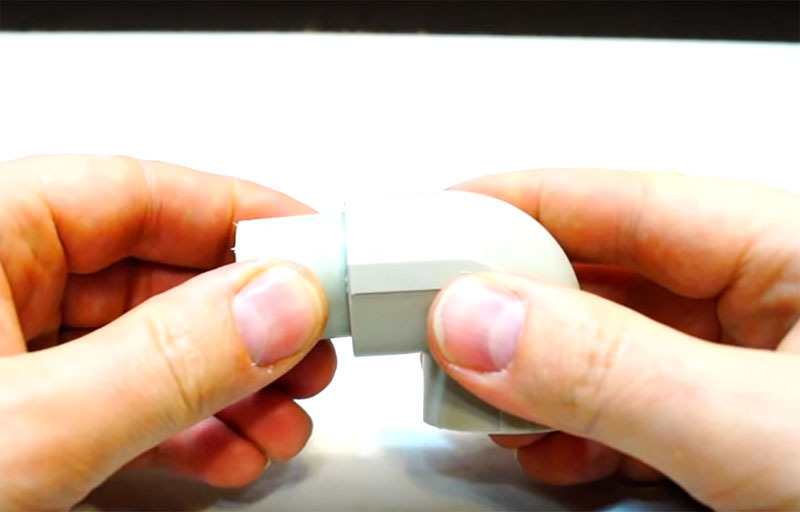
Plumbing corners are also used for assembly - short parts are inserted into themPHOTO: YouTube.com
Plumbing corners are also used for assembly - short parts are inserted into them
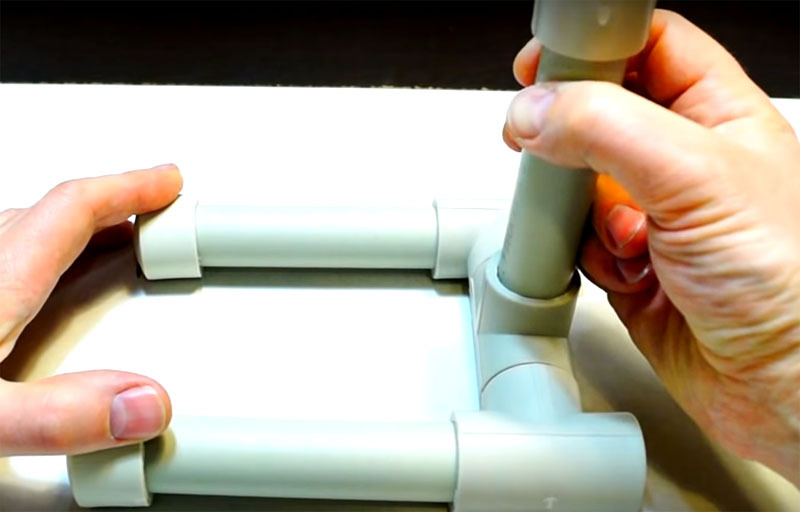
The stability of the lamp is guaranteed by two parallel supports that will stand on the tablePHOTO: YouTube.com
The stability of the lamp is guaranteed by two parallel supports that will stand on the table

Final assembly: let there be light

In order for the lamp to work, a cartridge must be inserted into the cover.
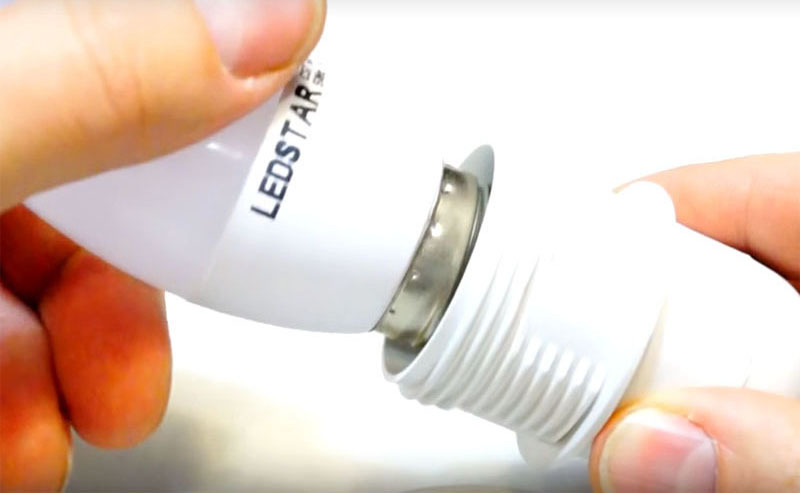
Choose a cartridge that matches the color and insert it into the shade. Use an LED lamp: it does not heat up, which is important for a plastic construction, and will last a very long timePHOTO: YouTube.com
Choose a cartridge that matches the color and insert it into the shade. Use an LED lamp: it does not heat up, which is important for a plastic construction, and will last a very long time
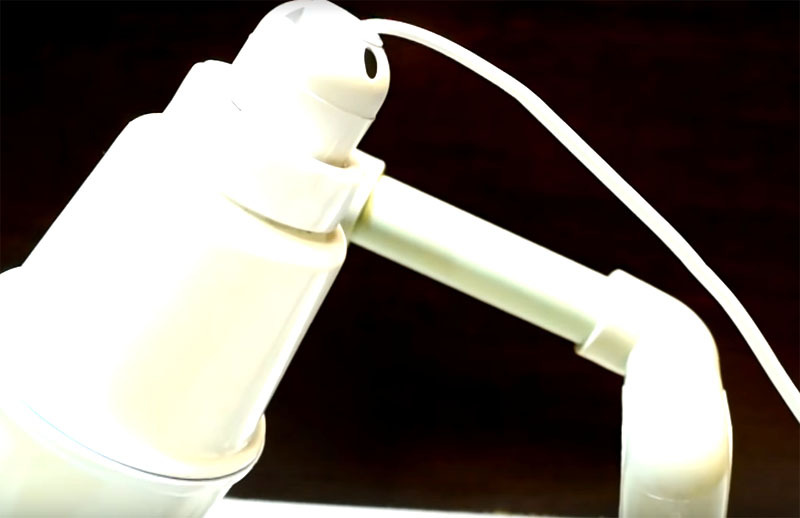
The power wire will hang freely on the plafond, and the switch will also be located on it. But in your version, you can hide the wiring in the pipes of the supporting structure and bring the power button somewhere on the legPHOTO: YouTube.com
The power wire will hang freely on the plafond, and the switch will also be located on it. But in your version, you can hide the wiring in the pipes of the supporting structure and bring the power button somewhere on the leg
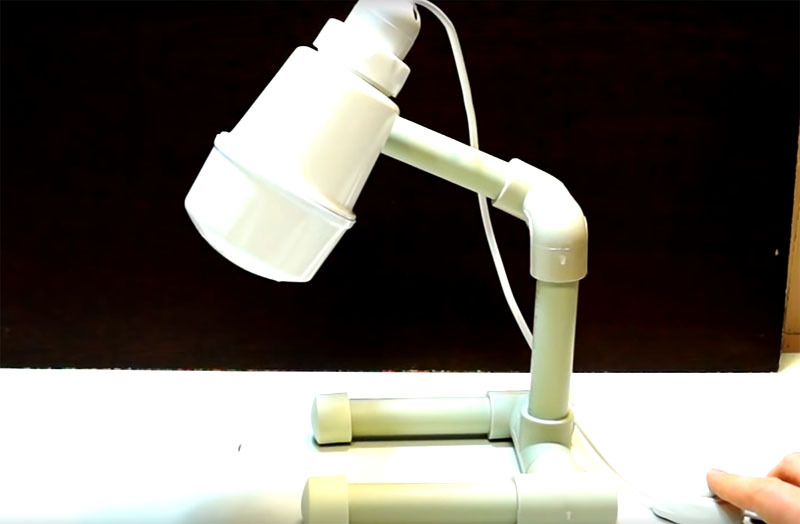
After final assembly, the lamp will look like this. Due to the mobility of the fittings connections, the cover can change its position. The lamp looks very original and easily fits into the desktop environment, it is quite appropriate on the countertop in the kitchen or on the shelf in the bathroomPHOTO: YouTube.com
After final assembly, the lamp will look like this. Due to the mobility of the fittings connections, the cover can change its position. The lamp looks very original and easily fits into the desktop environment, it is quite appropriate on the countertop in the kitchen or on the shelf in the bathroom
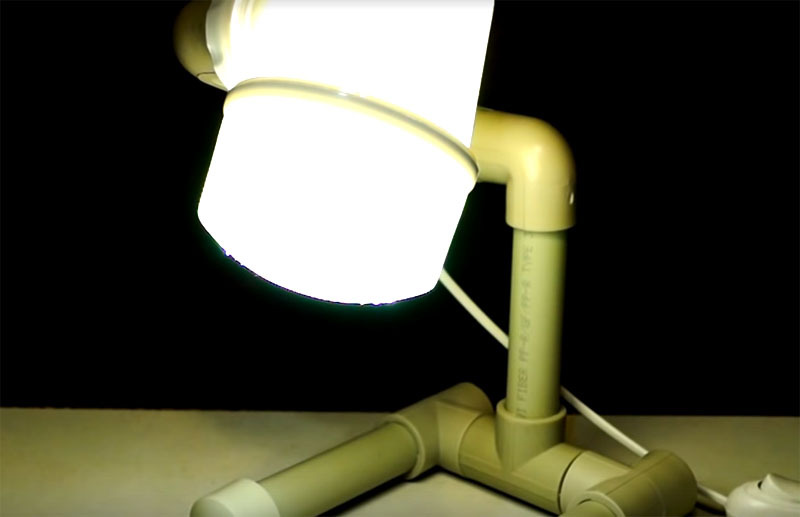
If you turn on the lamp, the plastic will shine through, letting in the light, moreover, the illumination will seep through the holes in the lamp cover, giving an unusual effectPHOTO: YouTube.com
If you turn on the lamp, the plastic will shine through, letting in the light, moreover, the illumination will seep through the holes in the lamp cover, giving an unusual effect

This is how you can build a useful little thing from an old siphon that will definitely come in handy. If you want, you can decorate the structure in some original way. For example, paint it with paint with a metallic sheen "like silver", "like bronze" or wrap the parts with a jute cord. Use shells, beads, artificial flowers, or even just buttons for additional decoration. In short, get creative.

By the way, the above example is not the only option for an interior lamp made of plumbing material. Here is another master class on this topic that you may be interested in:

And we are waiting for your opinion on the author's idea in the comments. Write how complicated the construction seemed to you? Would you like to repeat this experience? And if you yourself have made a similar lamp, then send us your photos with a description, and we will show our readers what you have done!

Discuss0