How to make a pump for pumping water out of a drill

The need to pump out water can arise for various reasons. For example, you have a leak or need to pump liquid from one container to another in a short time. Not every home has a pump for pumping out. This device costs from 2 thousand rubles, and if it is not constantly needed, then there is no point in buying it. But just in case, you need to prepare an alternative option. Indeed, even an ordinary drill or screwdriver can be turned into a pump for pumping out. To do this, you just need to make a small fixture that can wait in the wings without taking up a lot of space in your workshop. How to do this, showed the author of the YouTube channel Musiy4uk. This is a very simple master class, and it will not be difficult for you to repeat it.

Read in the article

  • 1 What you need to prepare for a homemade pump
  • 2 Algorithm for assembling the pump head
  • 3 How to make a manual pump for pumping water

What you need to prepare for a homemade pump

So, to turn a drill into a pump, you need to make a special nozzle. To make it, you need an ordinary plastic sewer pipe.

How to make a pump for pumping water out of a drill
PHOTO: YouTube.com
You need a small diameter pipe, which is usually used to drain water from a bathroom or sink

You will need three plumbing parts: a tee with seals, a piece of pipe about half a meter long and another 20 cm long. In addition to them, you will need one plug for a pipe of this diameter, a hose fitting, a metal stud that can be inserted into the drill clamp, and a piece of metal to make the impeller. You also have to find or make a U-shaped part that can be fixed to the pipe through the side holes.

Algorithm for assembling the pump head

So, the sequential build procedure is as follows:
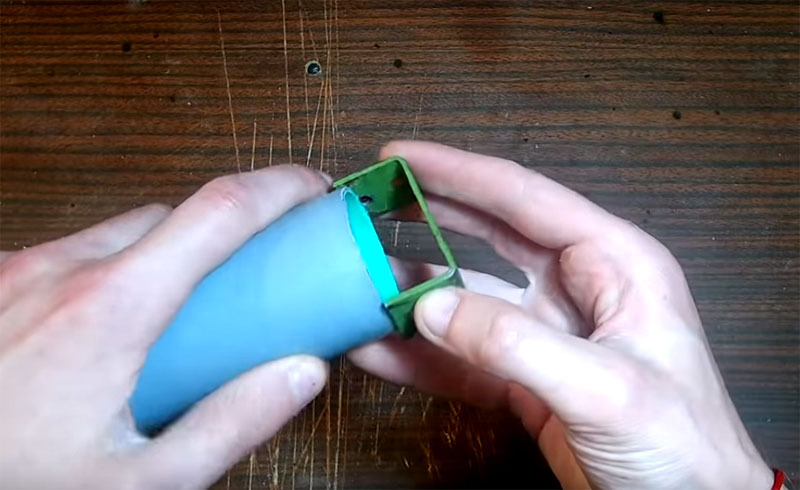
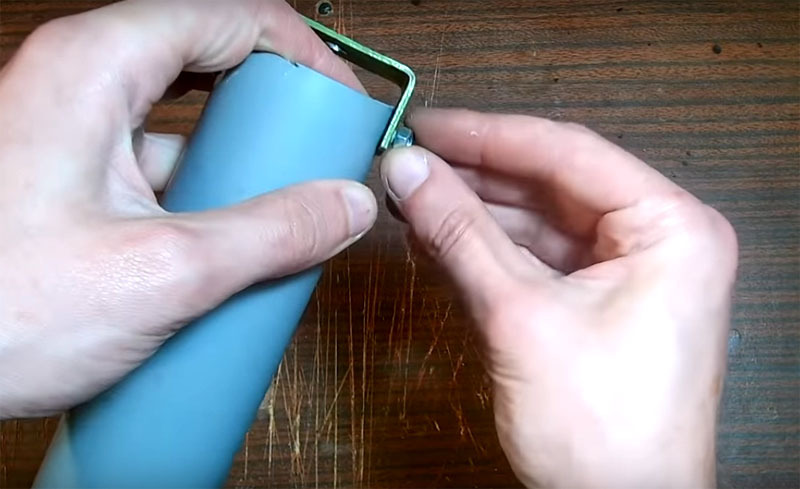
Fasten the U-piece to the end of the long piece from the sewer pipe. Its future task is not to let the pump " stick" to the surface, that is, this part will hold the nozzle at a distance of 1-2 cm from the floor
PHOTO: YouTube.com
Fasten the U-piece to the end of the long piece from the sewer pipe. Its future task is not to let the pump "stick" to the surface, that is, this part will hold the nozzle at a distance of 1-2 cm from the floor
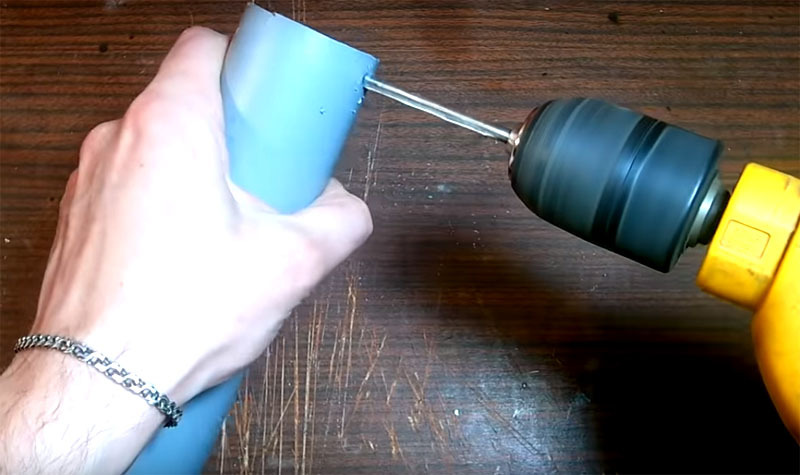
Mark the place for the holes and make them with a drill It is enough to fix the part in two placesPHOTO: YouTube.com
Mark the place for the holes and make them with a drill It is enough to fix the part in two places
Secure the stand with a pair of bolts. Alternatively, you can install a metal mesh at the end of the pipe, so large debris does not get into the pump.PHOTO: YouTube.com
Secure the stand with a pair of bolts. Alternatively, you can install a metal mesh at the end of the pipe, so large debris does not get into the pump.

To drain the water during the pumping process, you will need to connect a hose to the pump. This is what a fitting is needed for.
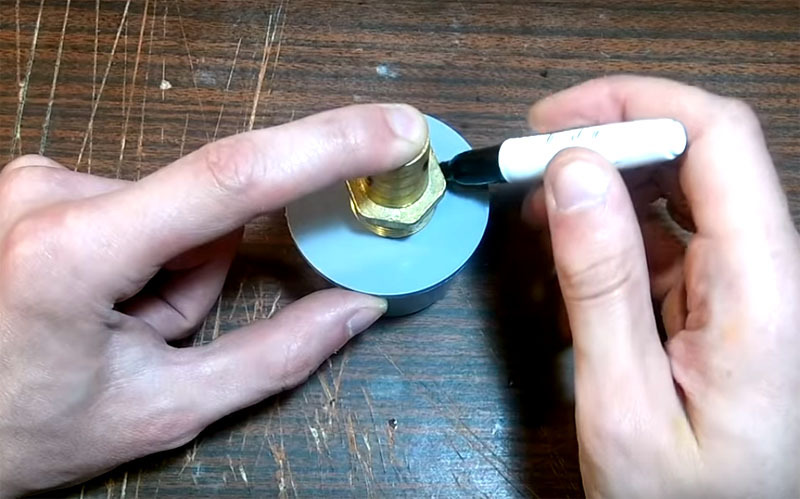
Mark the diameter of the fitting on the plastic plug and make a hole. A drill or just a hot knitting needle or a soldering iron will help you with this.PHOTO: YouTube.com
Mark the diameter of the fitting on the plastic plug and make a hole. A drill or just a hot knitting needle or a soldering iron will help you with this.
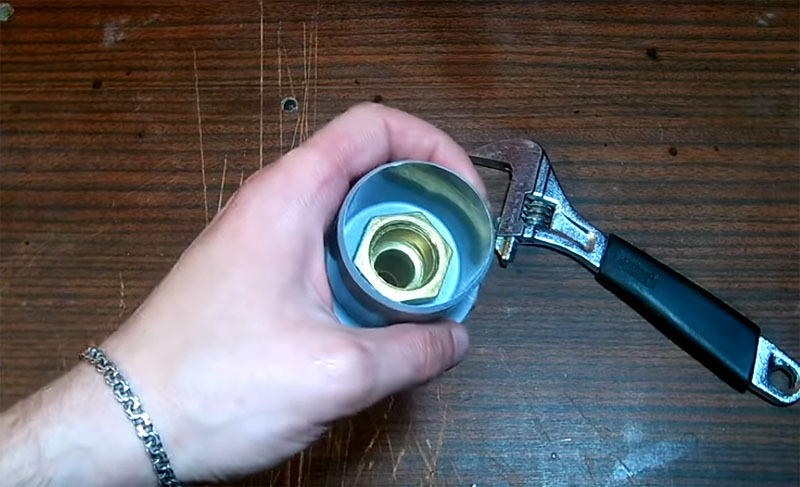
The union is fixed in the hole of the plug with a nut. Tighten tighter so the water does not find loopholes for itselfPHOTO: YouTube.com
The union is fixed in the hole of the plug with a nut. Tighten tighter so the water does not find loopholes for itself

Now you can start assembling the pump housing. In the tee that you have prepared, there must be gaskets - rubber or silicone rings.
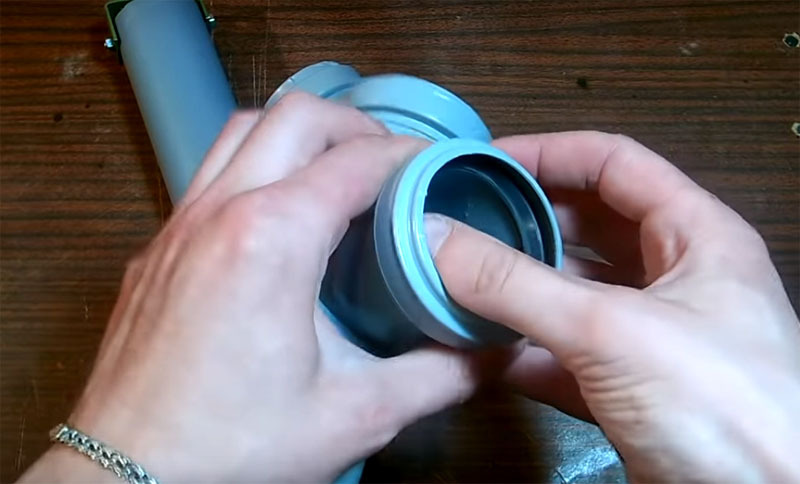
These gaskets allow for a fairly tight connection, which is important for the operation of the pump.PHOTO: YouTube.com
These gaskets allow for a fairly tight connection, which is important for the operation of the pump.
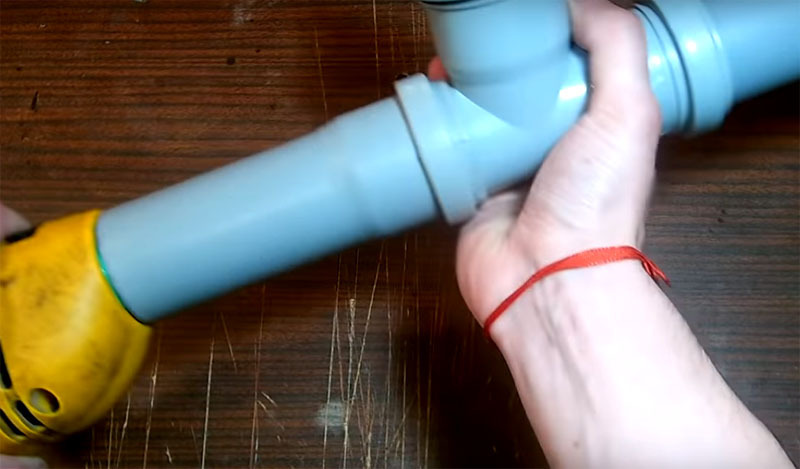
When assembled, the pump body looks like this: in the center there is a tee, long and short pipes are directly connected, and on the side there is a plug with a fitting for connecting a hosePHOTO: YouTube.com
When assembled, the pump body looks like this: in the center there is a tee, long and short pipes are directly connected, and on the side there is a plug with a fitting for connecting a hose

In order for water to move inside such a device, a mechanism is needed that would set it in motion and make it rise up and enter the hose. A metal pin and an impeller (screw) will perform this task.
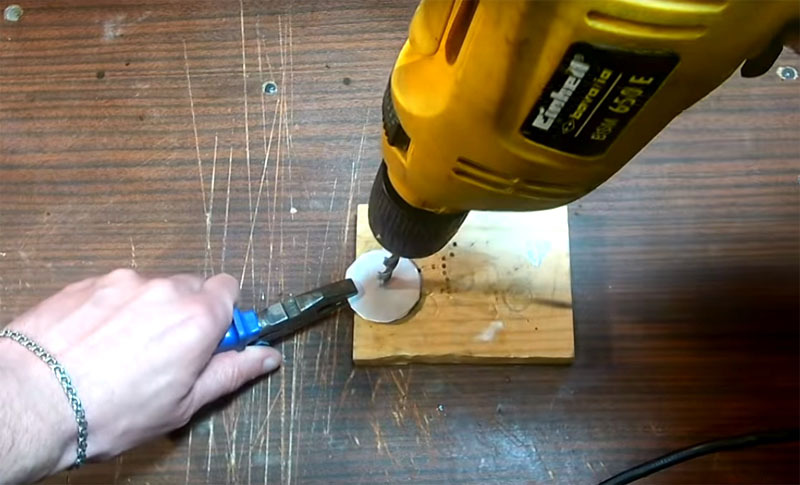
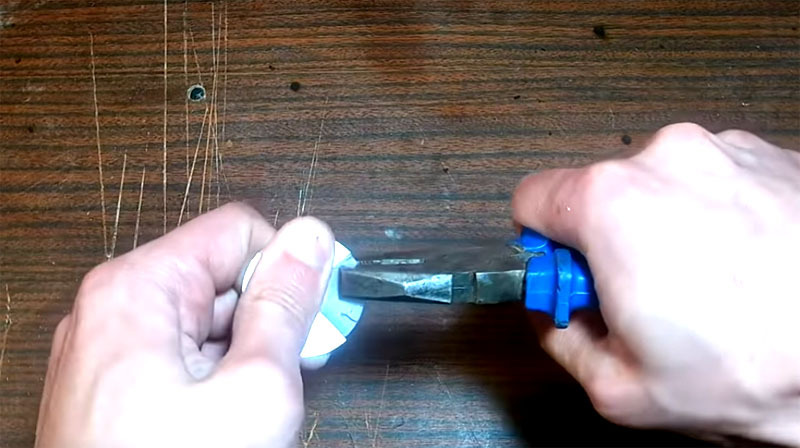
Pick up a piece of metal and cut a circle out of it with a diameter that matches the diameter of the sewer pipe you used for the nozzle. In the center of the workpiece, you need to make a hole through which you can thread a hairpinPHOTO: YouTube.com
Pick up a piece of metal and cut a circle out of it with a diameter that matches the diameter of the sewer pipe you used for the nozzle. In the center of the workpiece, you need to make a hole through which you can thread a hairpin
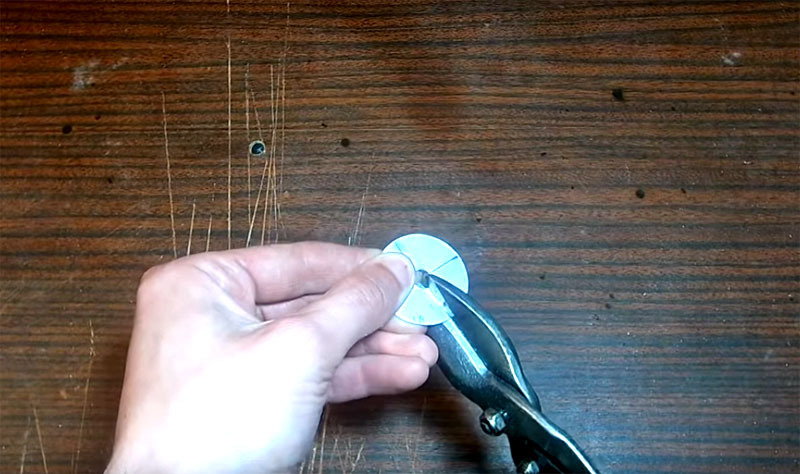
Now you need to make four cuts on the workpiece, only so as not to cut to the hole, otherwise the part will simply fall apart. Use metal shears or a dremel with a small cut-off wheelPHOTO: YouTube.com
Now you need to make four cuts on the workpiece, only so as not to cut to the hole, otherwise the part will simply fall apart. Use metal shears or a dremel with a small cut-off wheel
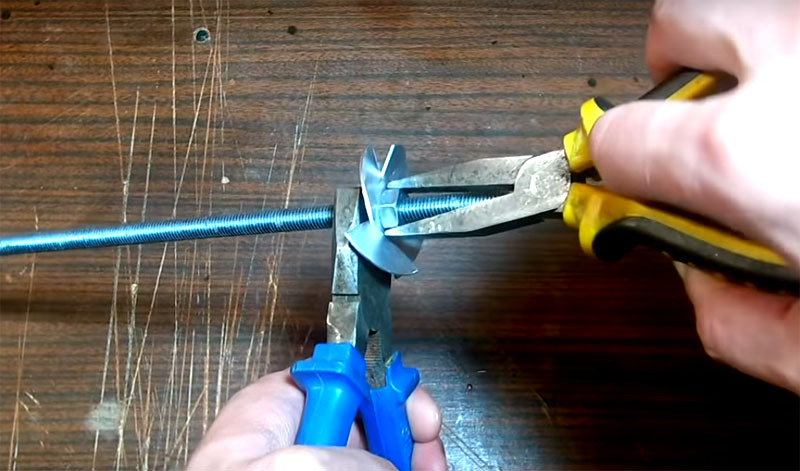
Now that the cuts on the workpiece are ready, you can turn the impeller blades in one direction with pliers.PHOTO: YouTube.com
Now that the cuts on the workpiece are ready, you can turn the impeller blades in one direction with pliers.
The impeller must be placed on a stud at a distance of about 7-10 cm from the edge and fixed with nuts on both sidesPHOTO: YouTube.com
The impeller must be placed on a stud at a distance of about 7-10 cm from the edge and fixed with nuts on both sides

How long should the hairpin be? At least half a meter, so that after assembly, the part with the impeller will be slightly lower than the tee. Now you can connect the bit to the drill. The only problem here is to firmly fix the sewer pipe to your tool.
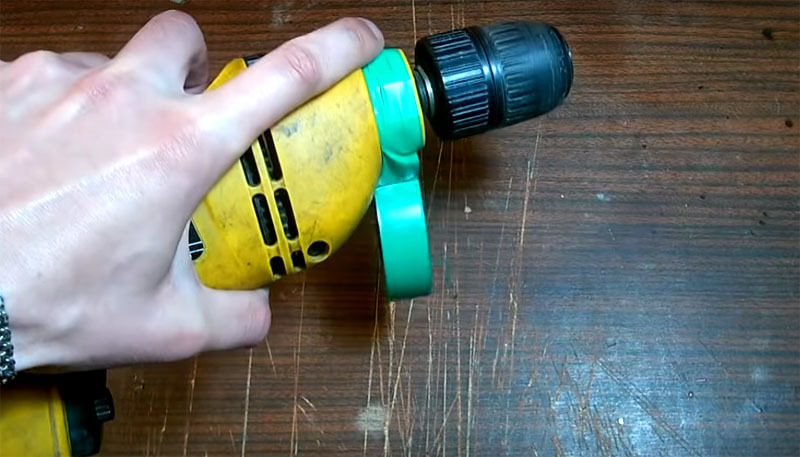
To keep the connection tight, wind a few turns of electrical tape around the drill. This will allow the two sizes to fit under the other and ensure a strong connection.PHOTO: YouTube.com
To keep the connection tight, wind a few turns of electrical tape around the drill. This will allow the two sizes to fit under the other and ensure a strong connection.
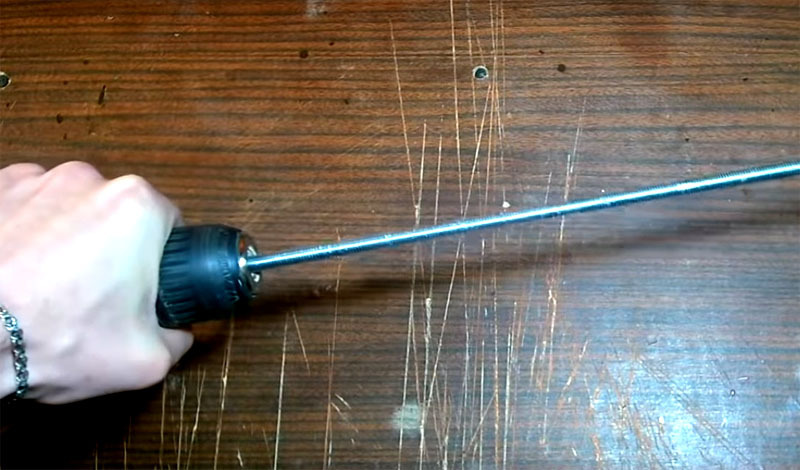
For final assembly, first insert and secure the pin in the tool holderPHOTO: YouTube.com
For final assembly, first insert and secure the pin in the tool holder
After that, simply put a plastic structure on the impeller stud - and the pump is ready.PHOTO: YouTube.com
After that, simply put a plastic structure on the impeller stud - and the pump is ready.
Now, for the device to work, you need to turn on the drill. Try at low speeds first. If you need to speed up the process, the turnover can be increasedPHOTO: YouTube.com
Now, for the device to work, you need to turn on the drill. Try at low speeds first. If you need to speed up the process, the turnover can be increased

As you can see, the device has a very simple design. If you have a cordless screwdriver or drill, then you can use such a pump literally anywhere and not be connected with a power source, which is very important. The pumping speed will not be very high, but the performance disadvantages are fully compensated for by your savings on buying a real pump.

As already mentioned, you can make such an attachment in advance and keep it in case of an emergency. Manufacturing costs are minimal. We must admit that in order to start this nozzle, you will need to tinker and wait until the water fills the system. But the rest of the device is quite effective.

How to make a manual pump for pumping water

Using the same materials, that is, sewer pipes, a hand pump can also be assembled. It will come in handy on a fishing boat or in the bathroom in case of an accidental water spill. How to do it is shown in this video:

How efficient do you think a drill pump will work? Share your opinion about this master class in the comments. If you know about more productive homemade products, write to our editorial office.

Discuss0