Clamps are needed in workshop for different purposes. Usually the master has a whole set of such devices of various sizes. But there are situations when a lot of clamps are needed. For example - if you started make your own furnitureand you need to lock the edges until they are fully secured. You can make such devices with your own hands, it is not as difficult as it seems. The experience of the author of a YouTube channel will be useful to you in this regard. GOOD_WOOD
Read in the article
- 1 What is required to make a small clamp
- 2 Fitting the nut to the clamp
- 3 How the clamp is assembled
What is required to make a small clamp
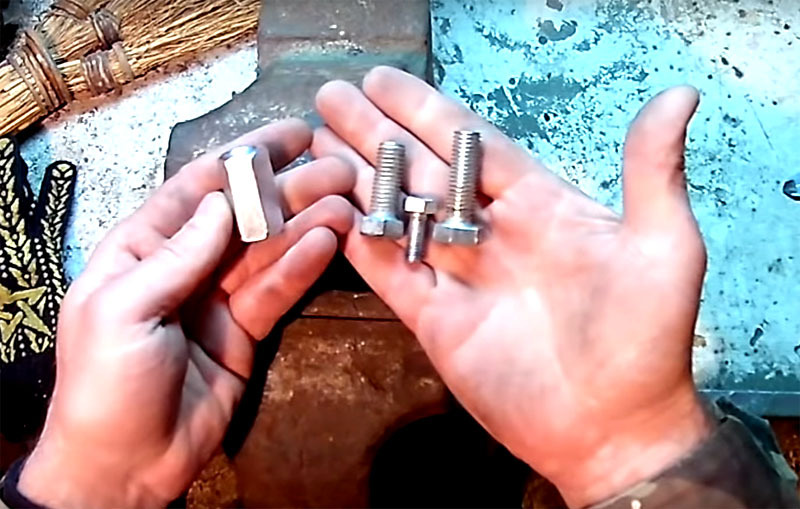
The set of parts for making a small clamp is very simple: these are two large bolts, an elongated nut for them and one small bolt.
Changes will only need to be made to the elongated nut, for this you need a grinder with a cutting disc and a tap for threading.
Fitting the nut to the clamp
The extended nut will be the base for the clamp. Since it is designed to be fixed to a standard width chipboard boards, you need to prepare it and make some changes.
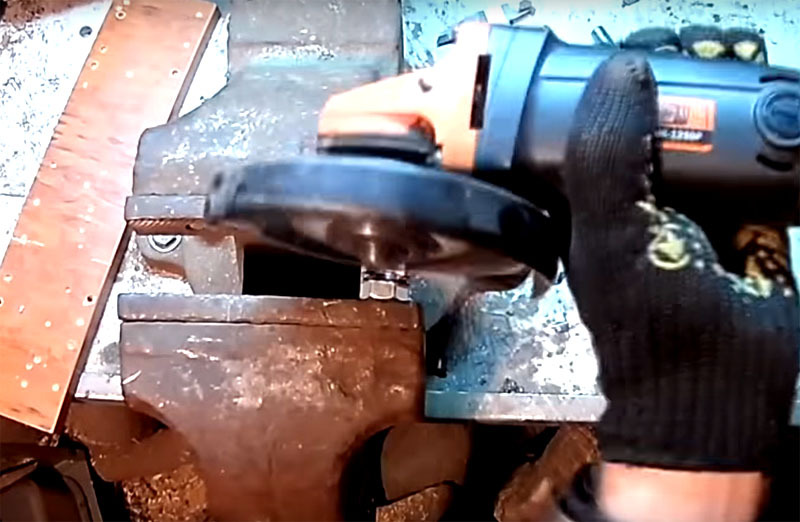
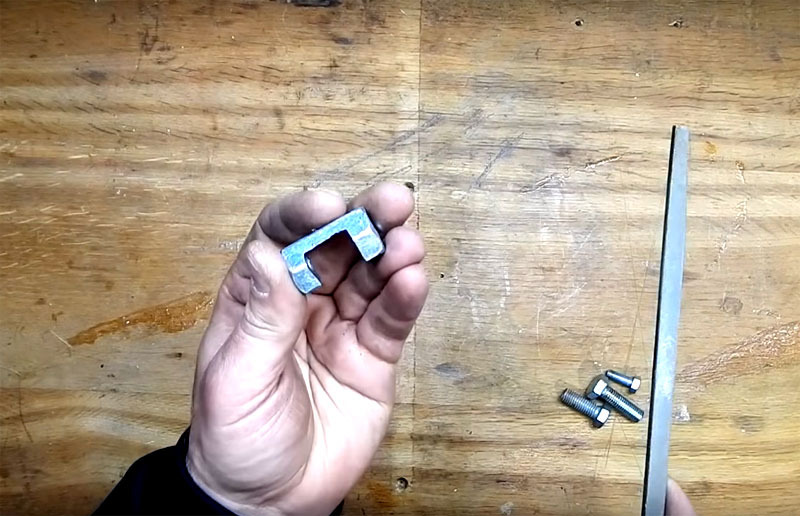 PHOTO: YouTube.com
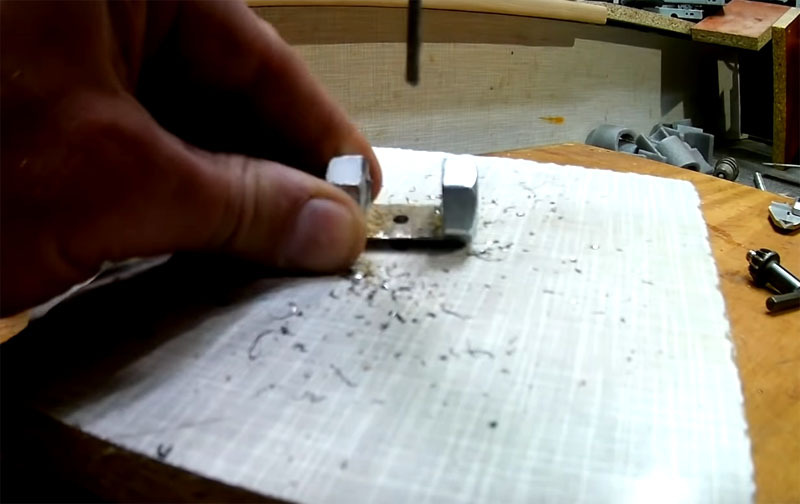 PHOTO: YouTube.com
How the clamp is assembled
Assembling the structure is as easy as shelling pears, you just need to connect four parts together.
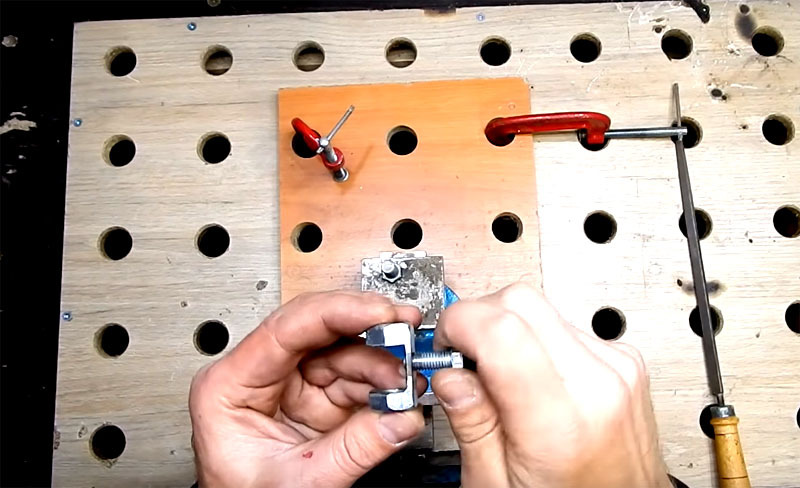 PHOTO: YouTube.com
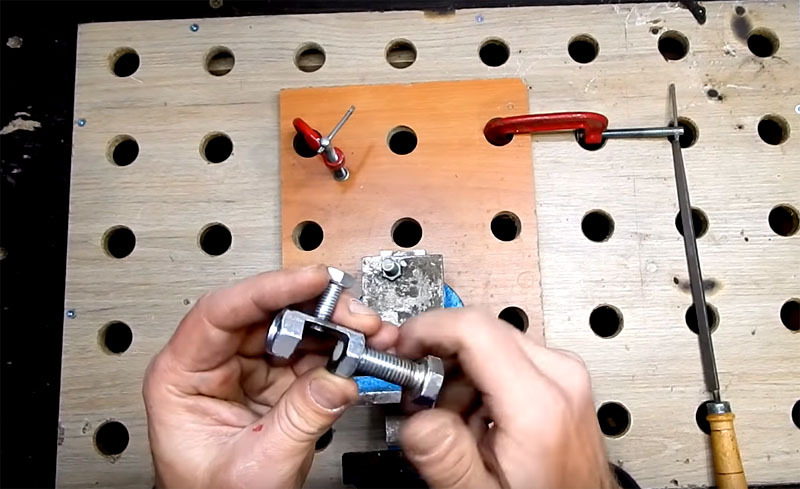 PHOTO: YouTube.com
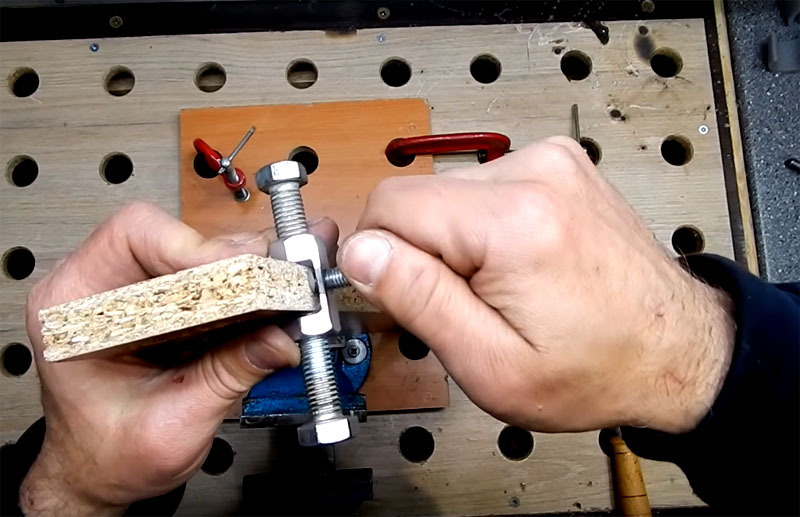 PHOTO: YouTube.com
You can make as many of these clamps as you need to work with the furniture. And besides, similar fasteners can be used for other works in the workshop.
If you set out to make a real clamp with adjustable height, then watch this video master class:
How did you like the idea of the wizard with the bolt clamp? Describe your impressions in the comments. If you are ready to share your own experience in this direction, send us your photos with a description of the process. We will publish the most interesting materials.


