When making repairs or if you need to hang something on the wall in everyday life, the hammer drill becomes an indispensable tool. However, no matter how high-quality the consumables for it are, they eventually deteriorate. And today we will try to figure out whether it is possible to give a second life to a drill for a hammer drill and what it can be used for.
Read in the article
- 1 What can be done with a broken drill
- 2 We start making useful homemade products
- 3 Support platform skirt for dowels
- 4 Dowel lock loop
- 5 Dowel lock
- 6 Small improvements homemade
- 7 Punch Attachment Test
- 8 Conclusion
What can be done with a broken drill
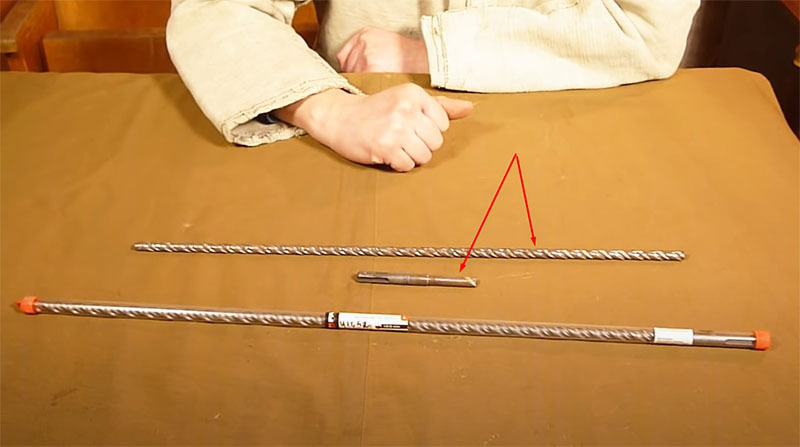
In fact, there are a lot of options for using a broken drill. It can be used as a doboiner when lining walls with clapboard, use the auger part with a conventional percussion drill or with the installation of a collet chuck on a perforator. However, today we will not analyze the elementary ways of using a worn-out consumable. It is better to consider the manufacture of an interesting device from it, which allows you to easily hammer a dowel into a concrete or brick wall with a puncher. In this case, the dowel itself does not even have to be held. But first things first.
We start making useful homemade products
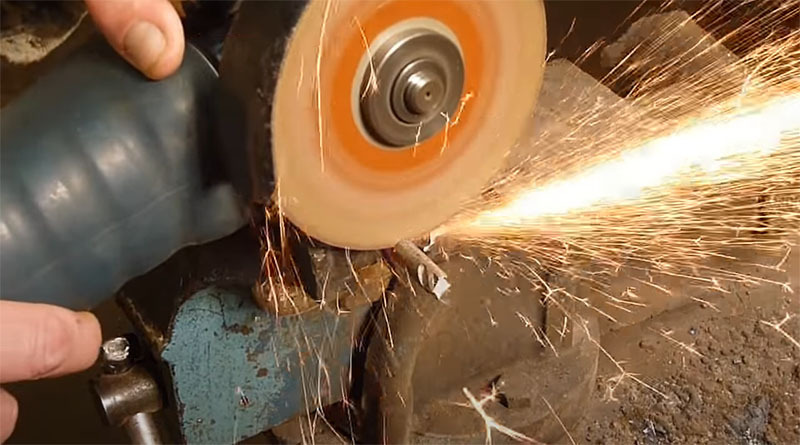
First you need to cut off the shank of the broken drill. For work, you will need it. Considering that the steel from which the shank is made is very hard, it is better to clamp the drill in a vice before sawing it off with a grinder. Otherwise, the result can be extremely painful. It should be remembered that working with an angle grinder (grinder) is considered the most dangerous.
Support platform skirt for dowels
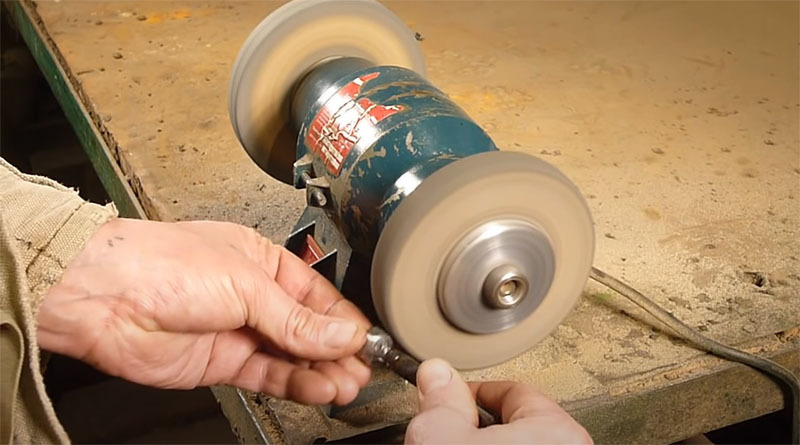
Next comes the "creative" work. It is required to re-drill the nut so that the dowel head falls into it, and then weld this nut to the cut-off side of the shank. And the final touch here is polishing. With the help of emery, the nut needs to be given a neat look.
Dowel lock loop
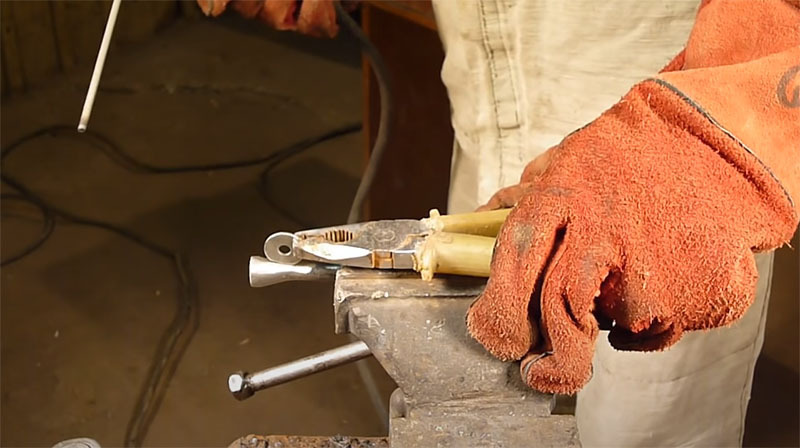
This element is made from a conventional washer, which is butt welded in the area where the shank and skirt join.
Dowel lock
The retainer itself is made from a piece of steel bus, on which, using a marker, markings are first applied with a mandatory hole for fastening to the eyelet. This fastener will be screwed onto.
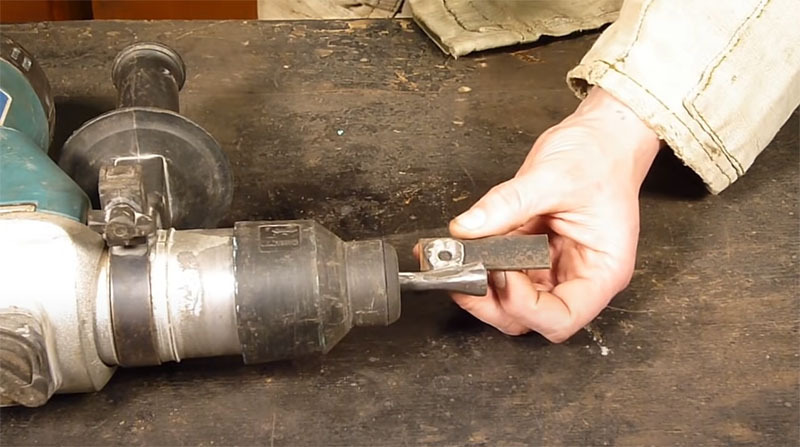
When the faces of the future retainer are drawn, it is cut out with a grinder. It is also necessary to drill a hole for the screw.
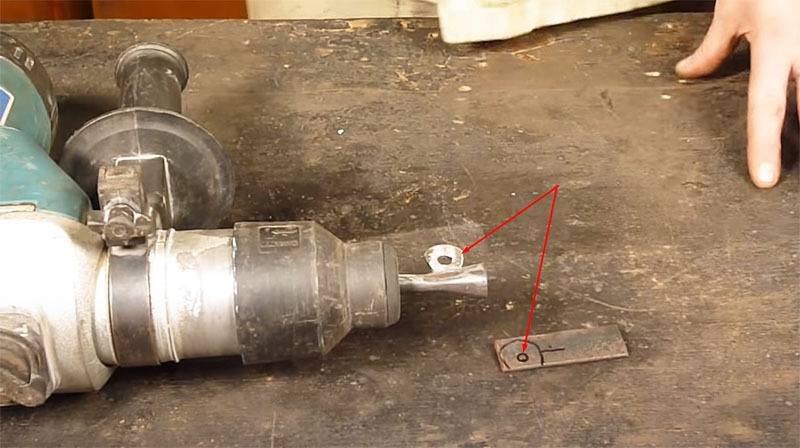
After that, a bolt with a nut will be installed in the eyelet and hole of the future retainer, which will connect the parts together.
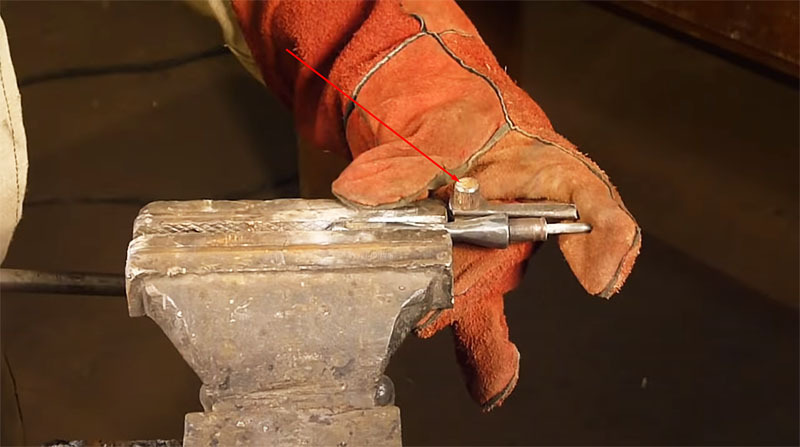
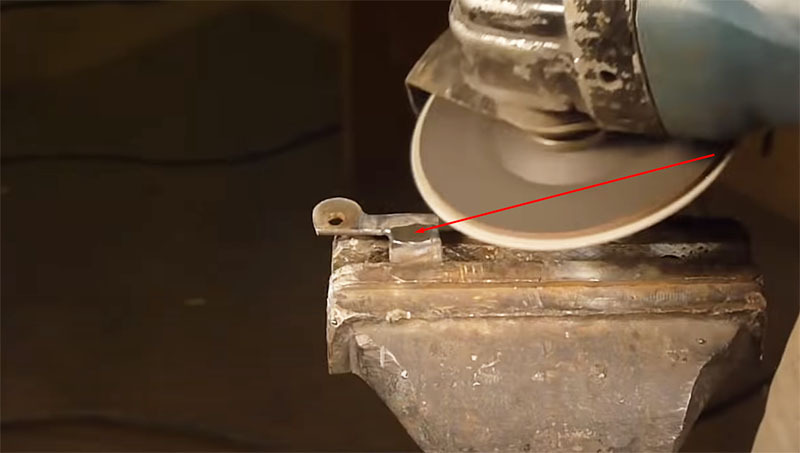
It remains to modify the retainer a little. Here you need a small piece of steel tube, which is cut along a little wider than the thickness of the dowel. This tube is welded to the retainer, after which the weld spot is carefully processed on a sharpening machine or using a grinder. On this, the work on the manufacture of today's device could be considered complete, but there are small nuances.
Small improvements homemade
As always, I want everything to look aesthetically pleasing. This means that after sanding it is worth painting today's homemade product. This can be done with an ordinary aerosol can - the color does not matter.
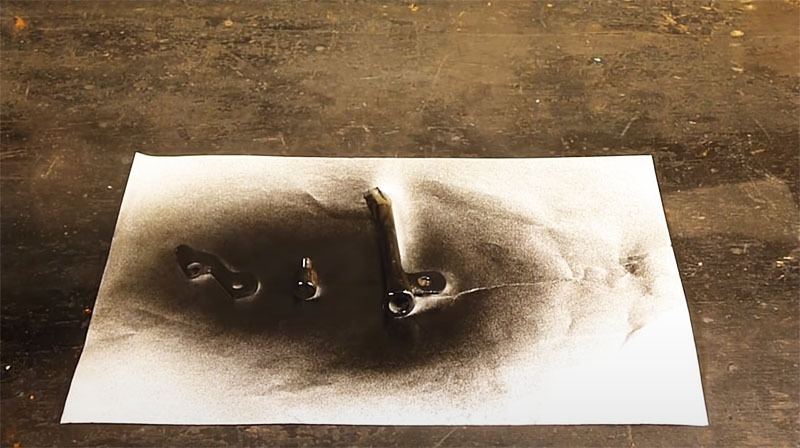
Punch Attachment Test
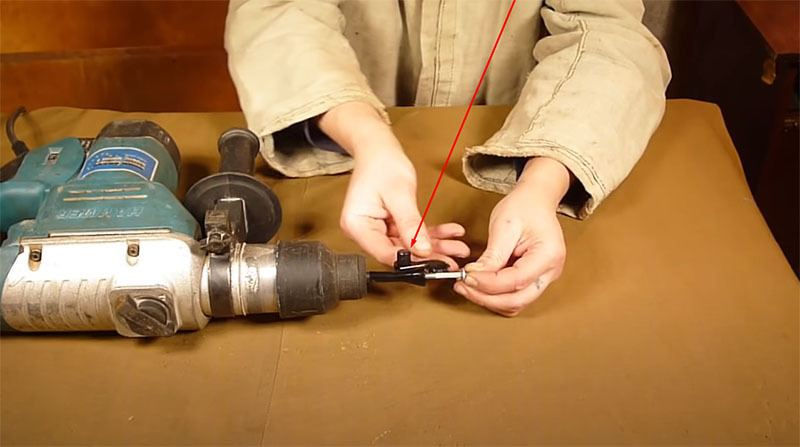
When the paint is dry, you can insert the shank into the punch chuck. Now it remains to "charge" the dowel into it, placing the cap in the recess and closing the retainer. You can be sure that the dowel will not fall out now and will stand straight.
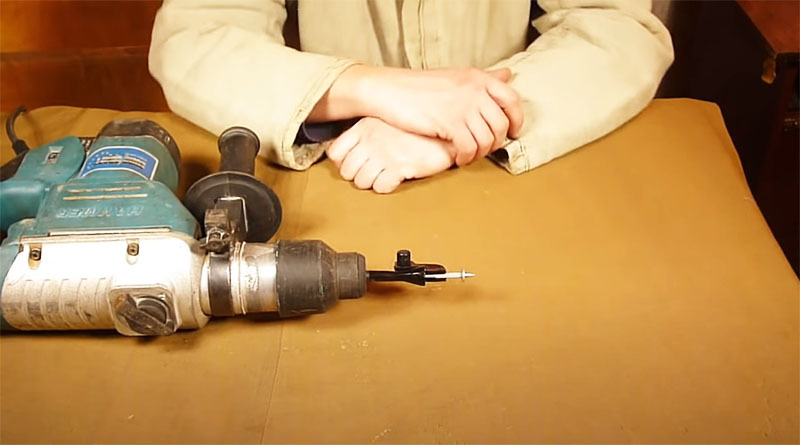
Switching the hammer drill to the bump stop without rotation, lean the dowel against the wall and press the key. The hardware goes into the wall rather gently.
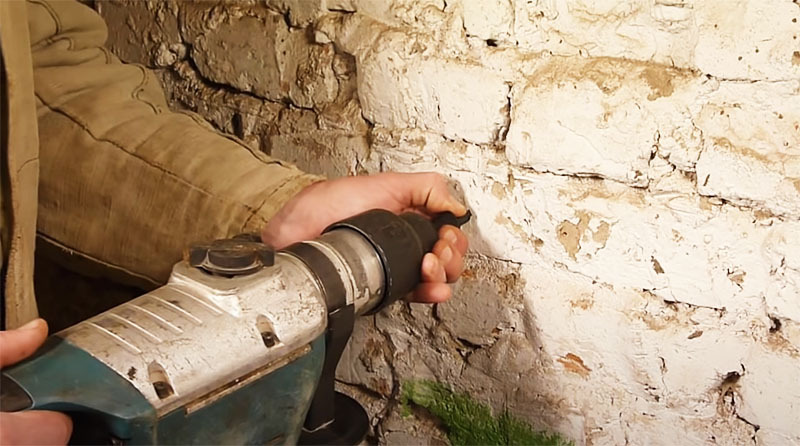
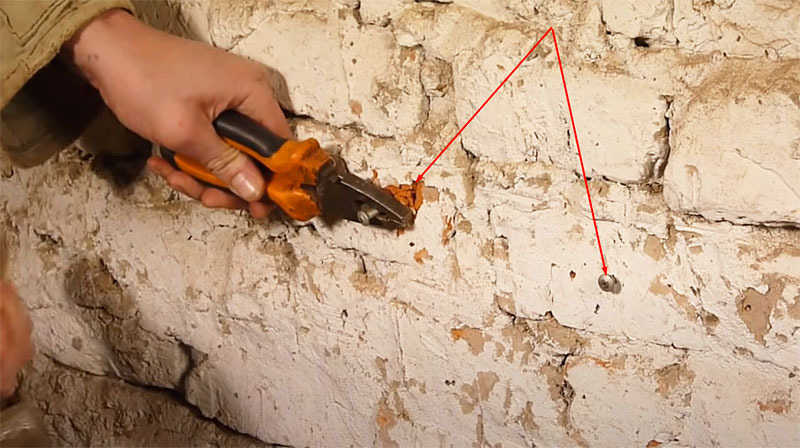
For comparison, you can hammer another dowel next to it, but with the help of pliers and a hammer. The difference will immediately catch your eye - the brick around the dowel being driven in will crumble.
Conclusion
Such a device, despite its simplicity, will be very useful for a home craftsman. Even at a time when it will not be used, it will not take up much space among the tools. In addition, for the manufacture of such a device, only waste is used, which will not go anywhere else. So, it has a right to exist, doesn't it?
We really hope that the information we have provided today will be useful to home craftsmen in their work and repair. Any questions on the topic, if any, can be asked in the comments below. HouseChief editors will try to answer them as quickly as possible. There you can also express your personal opinion about such a homemade product or offer your own version of using a broken drill from a hammer drill. If the article was interesting, do not forget to rate it. Your opinion is extremely important to us. And finally, I would like to say: take care of yourself, your loved ones and be healthy!


