Exclusive elements in a room can favorably emphasize even an unremarkable interior. The problem is that the cost of such "little things" may not be budgetary at all. What to do if there is no possibility of purchasing such parts? Of course, do them yourself. This is exactly what the author of the YouTube channel thought about. ARS Proby making do-it-yourself door handles with an unusual design, the likes of which you will definitely never find on store shelves or in friends' houses.
Read in the article
- 1 Step one: making a silicone mold for the doorknobs
- 1.1 Silicone mold casting
- 1.2 The final touch to a doorknob mold
- 2 Step two: pour the epoxy into the silicone mold
- 2.1 Filling the mold with decorative elements
- 2.2 Preparing the nut for dipping into the mold
- 2.3 Installing the nut in the manufactured door handle
- 2.4 Disassembling the silicone mold
- 3 What else can be used as filler
- 4 Final part
Step one: making a silicone mold for the doorknobs
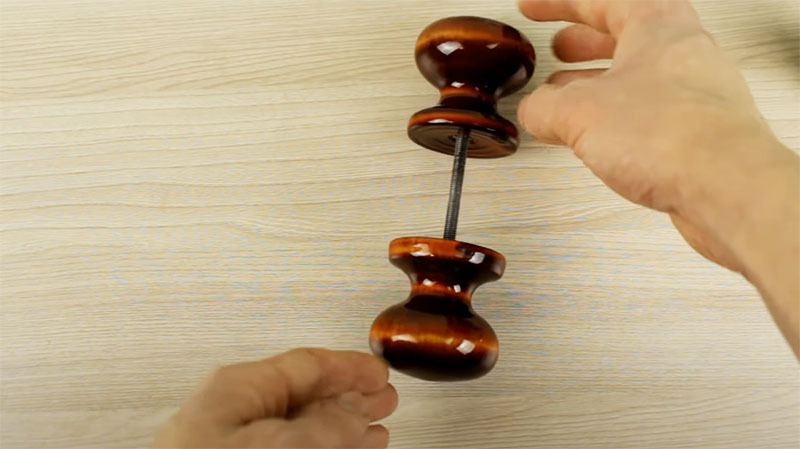
The assortment of various products for molding is very large today. Therefore, it will not be difficult to purchase silicone for the manufacture of forms of labor - it is sold in hardware and other specialized stores. In addition to silicone, for making the mold, you will need a matrix, which will be a standard wooden doorknob, and a mold. You can use a can of peas or corn as it.
Silicone mold casting
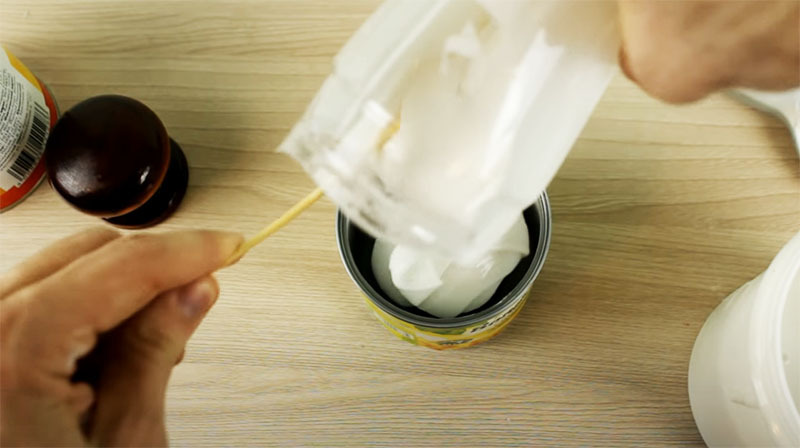
At the bottom of the can, you first need to pour a little silicone compound. Next, a wooden doorknob is placed inside, with the base down. After that, it remains only to fill the metal container completely with silicone. The main thing is that the wooden handle is completely hidden by silicone.
After these works are completed, you will have to wait for the silicone composition to completely solidify. This usually takes no more than six hours, but given that the layer is large here, it is better to wait a little more.
The final touch to a doorknob mold
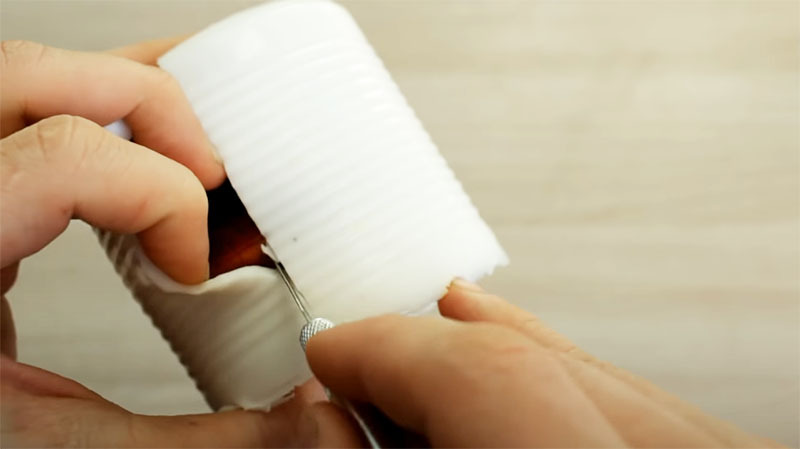
After the silicone has cured, it must be removed from the can. To do this, you will have to cut it with scissors for metal. The finished "blank" is cut from one edge, after which the wooden matrix is removed. It is easy to do, silicone does not stick to the lacquered surface.
Step two: pour the epoxy into the silicone mold
Before you start pouring epoxy into a silicone mold, you need to prepare some materials, namely:
- stationery elastic bands for fixing the shape along the cut;
- handle filler, which will allow you to create a truly exclusive item (in our case, these are bolts with nuts and coarse sand);
- studs for fastening handles, with a diameter of 6-8 mm;
- high nuts (they will be installed inside the handle);
- paraffin candle.
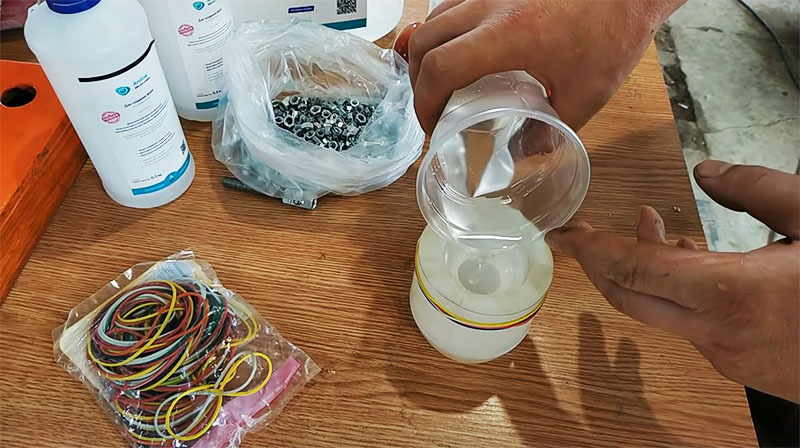
When everything is ready, you can start pouring. To begin with, only half of the total volume is poured into the mold.
Filling the mold with decorative elements
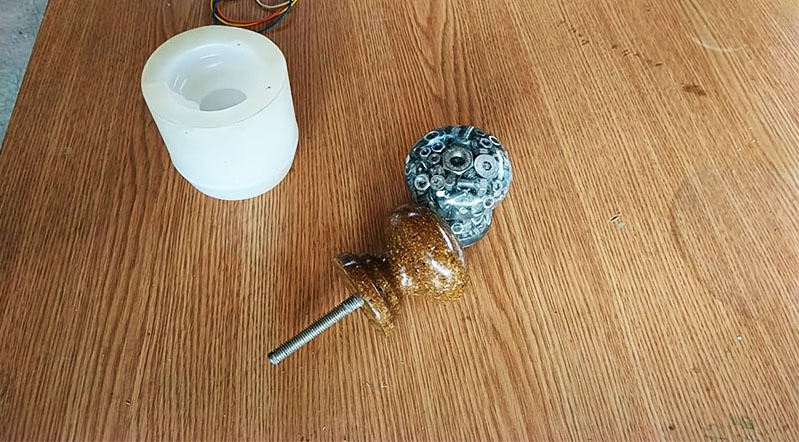
When the mold is half full of resin, you can start pouring decorative elements into it. Here it was decided to use various small screws and nuts. They don't have to be new - rusty elements have their own charm too.
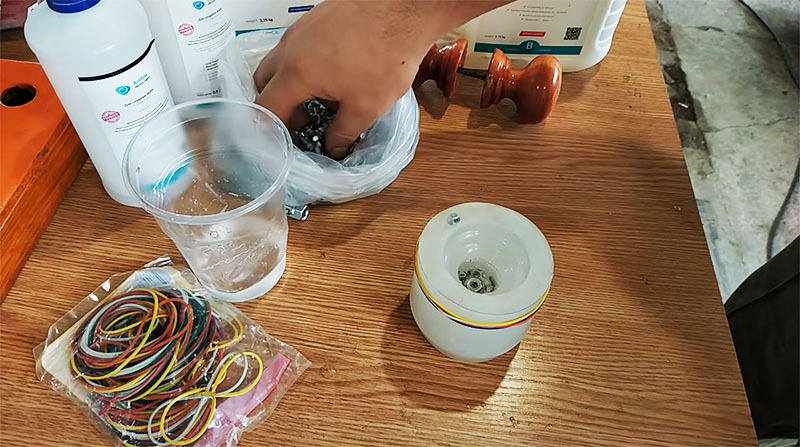
Preparing the nut for dipping into the mold
The nut is screwed onto the stud almost completely, the back part is filled with melted paraffin. This is done to prevent epoxy from getting inside when the nut is immersed inside the handle being made.

Installing the nut in the manufactured door handle
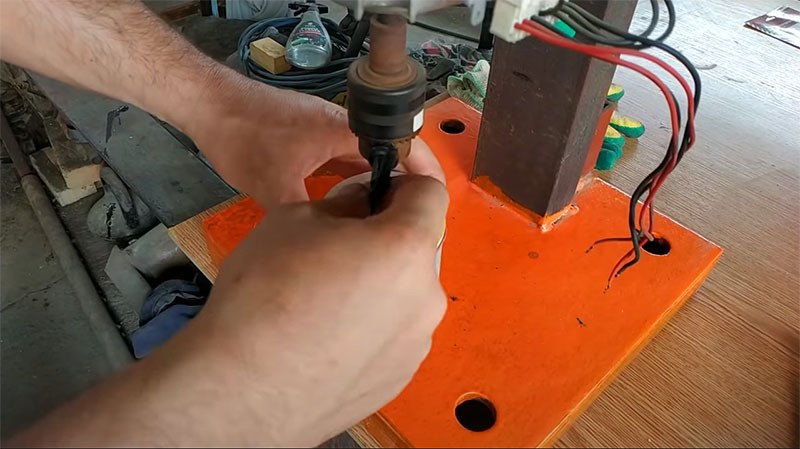
When installing the nut, the main thing is that it stands perfectly perpendicular. This can be easily achieved by clamping the pin in the drilling machine. So it will be perfectly fixed.
The hairpin is immersed in epoxy resin, after which the required amount of compound and filler is added. Now all that remains is to wait. In this position, the filled form should stand for at least a day, but it is better not to rush to parse.

Disassembling the silicone mold
So the epoxy is dry and the silicone mold can be disassembled. To begin with, the hairpin is pulled out of the drill chuck, the rubber bands holding the silicone are removed. In fact, the handle for the door, which has an extraordinary appearance, is ready.
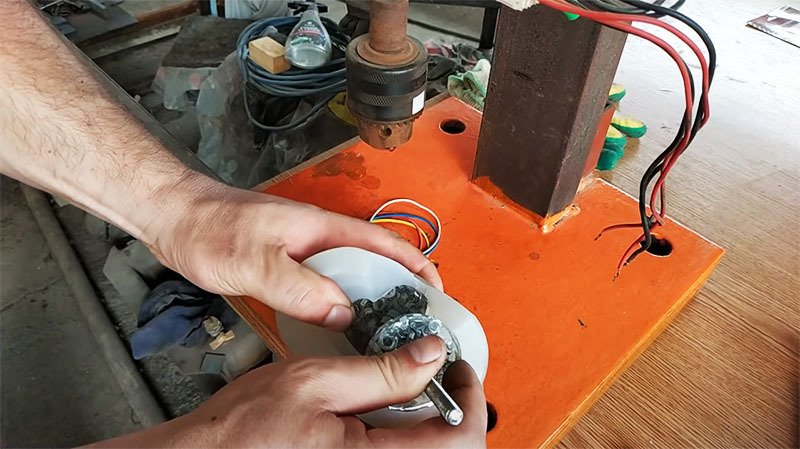
Now you can polish the resulting doorknob a little. Here you can be sure that none of your friends will have such an element of the interior.
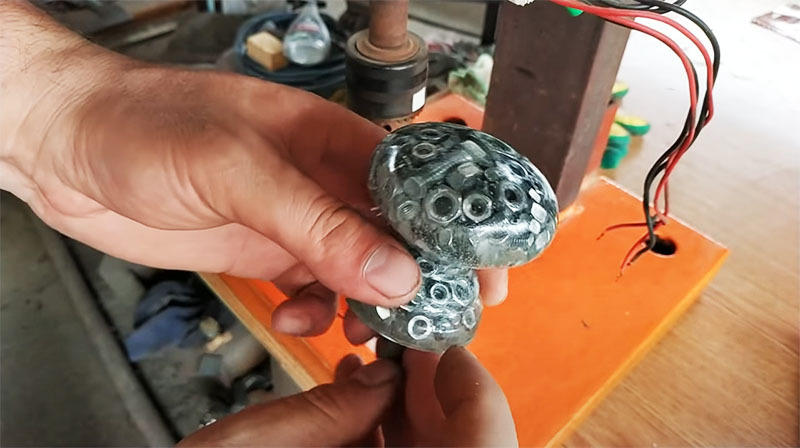
What else can be used as filler
The door handle will look quite interesting if you use sand with coarse fractions as a filler. It is clear that in both cases the weight of the product will be solid, but this will not affect the performance in any way.

Final part
Anticipating that now in the comments there will be attacks on the master due to the use of new bolts and nuts that could still be used, the HouseChief editors prepared an answer in advance. Here it was done on purpose, for example. In real cases, you can use rusty elements, old furniture brackets, dismantled during upholstered furniture constrictions, finely chopped copper or aluminum wires... The list goes on until infinity. One has only to look around. Doorknob filling material can be found all over the place. The fact that such an exclusive is handmade will add value to such interior elements. In addition, the silicone molds obtained once can be used an unlimited number of times if you work carefully. The only thing that is needed here is desire and some free time. By the way, you can make such pens in between times, spending an hour or even less per day.
We hope that the dear reader liked today's master class, and he will adopt the described methodology. HouseChief editors will be happy to answer any questions on the topic, if something suddenly remains incomprehensible. You just need to state the essence in the comments below. There you can also express your personal opinion about how practical such work can be and whether it is worth doing it. If the article was interesting, do not forget to rate it. And in the light of the latest world events related to the coronavirus, I would like to wish health to you and your loved ones. Take care of yourself!


