Ingenious invention: the mechanical hand for the garden

click fraud protection

Spring is early this year, so now is the time to get ready for the summer season. Before you have time to look back, it’s time to harvest. But while there is time, you need to think about the maximum mechanization of gardening work. And this is very important, because work in the country should be a joy, not a burden. What is the point of straining and bending your back if you can use simple mechanization techniques and a handy tool that you can also do with your own hands? And today we are not talking about cultivating the land, but about harvesting in the garden. The main problem is that the fruit is not easy to remove from tall trees. Even with a good, stable ladder, you will be forced to leave some of the crop on inaccessible branches. It's a shame when overripe fruits will then simply break on the ground. The simplest pickers can help you out, but the trouble is that it is not easy to manage them, and part of the harvest will still be lost due to imperfect design. But not if you follow the advice of the author of the YouTube channel. Musiy4uk. His invention is so convenient and practical that the author can be safely called a genius.

Read in the article

  • 1 Materials for making a fruit collector
  • 2 Assembling the main support part
  • 3 How to make a hand from a plastic bottle

Materials for making a fruit collector

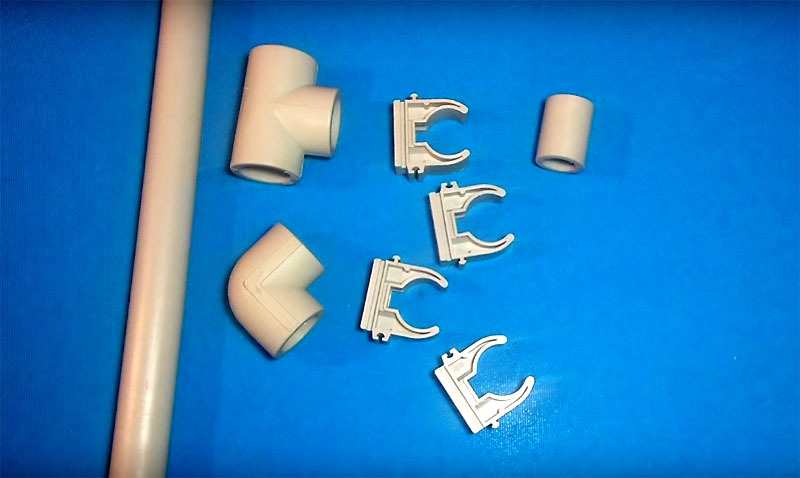
To make a fruit collector, you will need regular plastic bottle "Polorashka", a skein of rope and a few parts from the plumber's arsenal.
Useful homemade products for the garden
PHOTO: YouTube.com
Prepare a piece of pipe about half a meter long, a plastic corner and a tee, a small adapter and 4 clips for the same pipe

From tools, you will need scissors, a soldering iron and a hair dryer for heating and connecting the pipe.

Assembling the main support part

The plastic pipe is connected using heat or special glue. Tightness is not required in this design, but the strength of the connection is important.
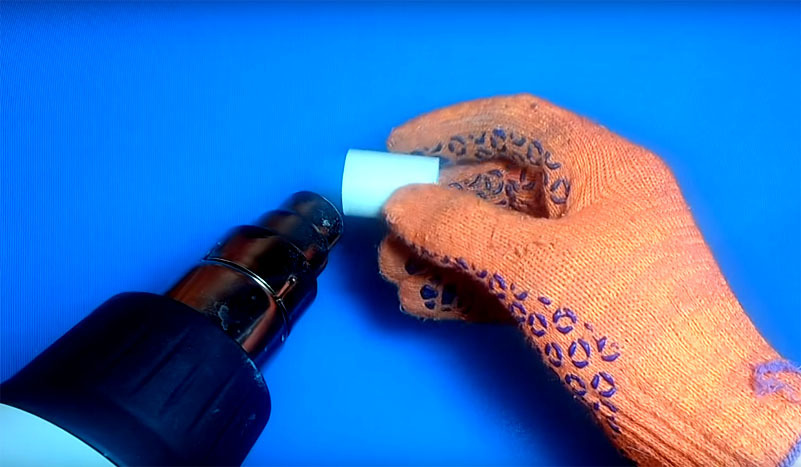
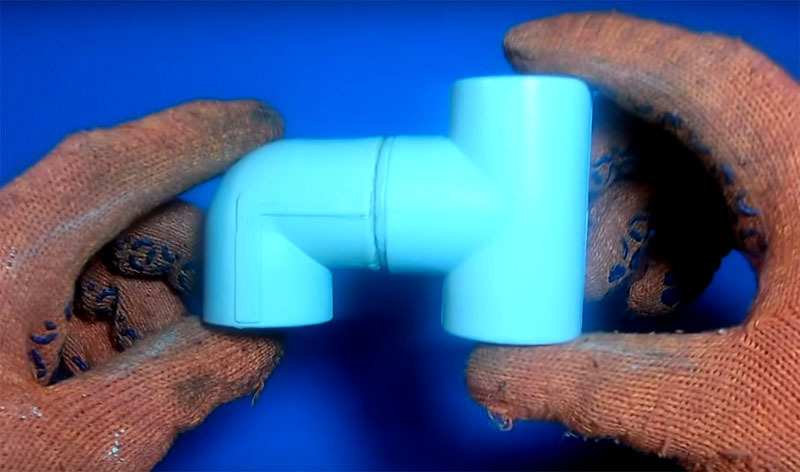
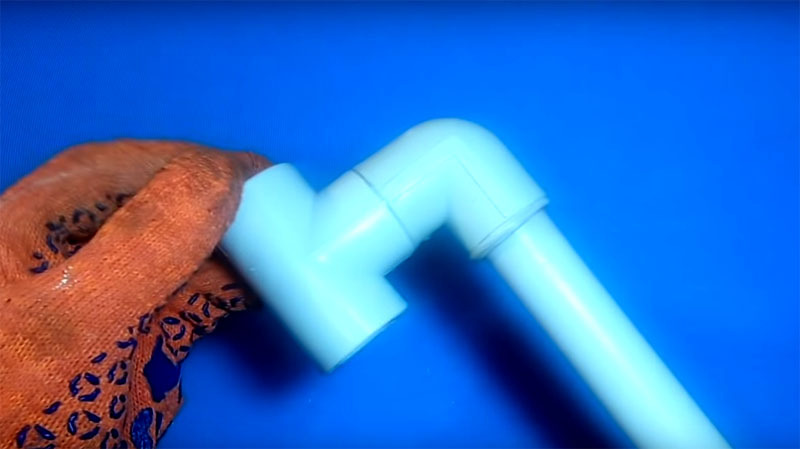
Heat the adapter with a construction hair dryer, and when the plastic softens, use it to connect the angle and tee
PHOTO: YouTube.com
Heat the adapter with a construction hair dryer, and when the plastic softens, use it to connect the angle and tee
You should get such a common detail from a tee and a corner.PHOTO: YouTube.com
You should get such a common detail from a tee and a corner.
The pipe must be fixed to this part in the same heating method.PHOTO: YouTube.com
The pipe must be fixed to this part in the same heating method.
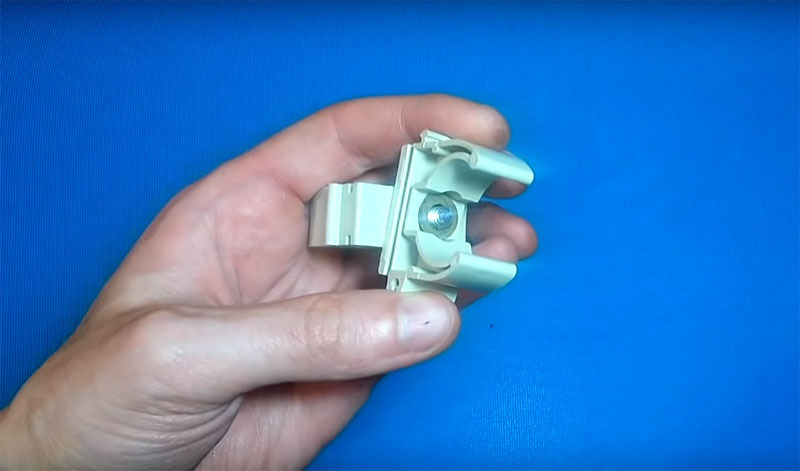
The clips should be connected in pairs using a small bolt and nut. They should be positioned relative to each other with a full turn of 90 °PHOTO: YouTube.com
The clips should be connected in pairs using a small bolt and nut. They should be positioned relative to each other with a full turn of 90 °
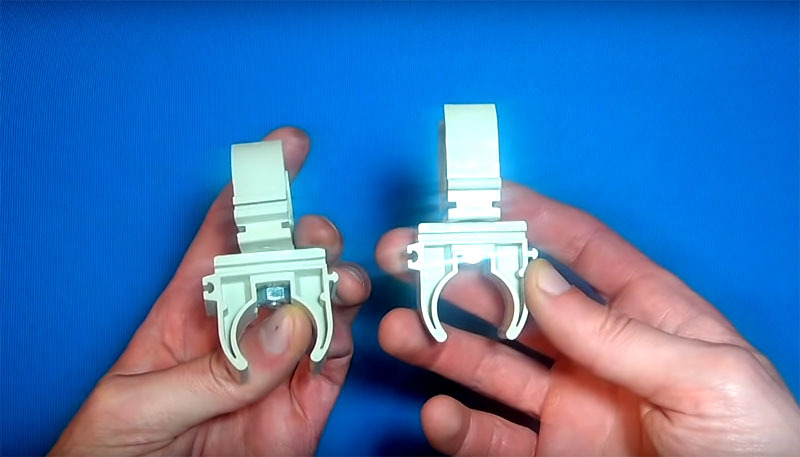
You should have two details like in the photo.PHOTO: YouTube.com
You should have two details like in the photo.
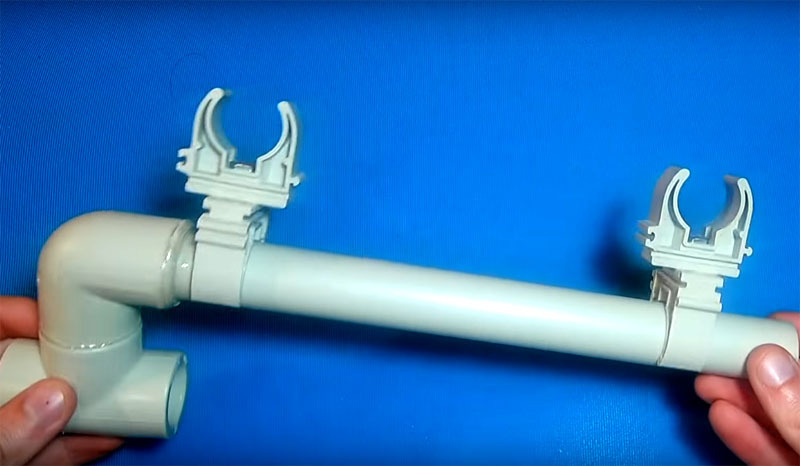
Fasten the parts from the clips to the pipe, after adding a couple of drops of glue so that they do not slip on the surfacePHOTO: YouTube.com
Fasten the parts from the clips to the pipe, after adding a couple of drops of glue so that they do not slip on the surface
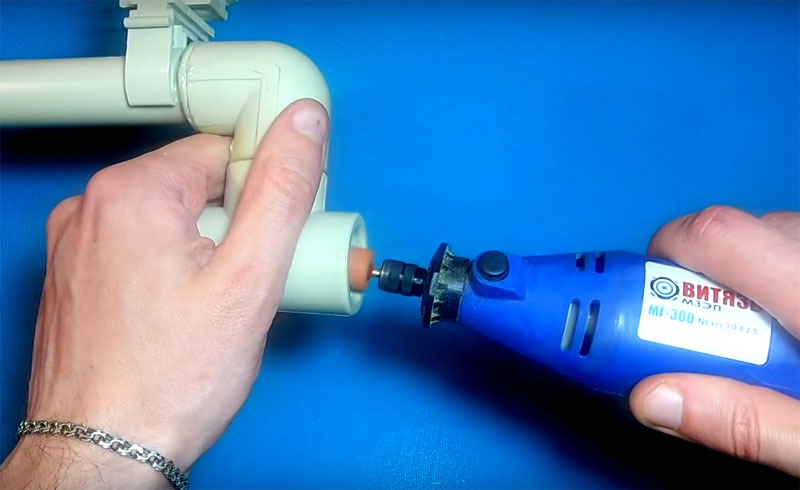
The upper part of the tee will have to be flared a little to fit the cork from the plastic bottlePHOTO: YouTube.com
The upper part of the tee will have to be flared a little to fit the cork from the plastic bottle
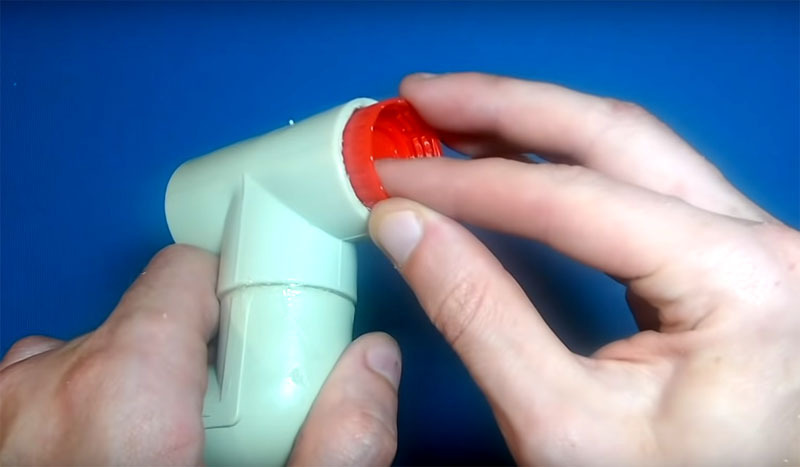
Glue the plug into the tee so that the thread is accessiblePHOTO: YouTube.com
Glue the plug into the tee so that the thread is accessible
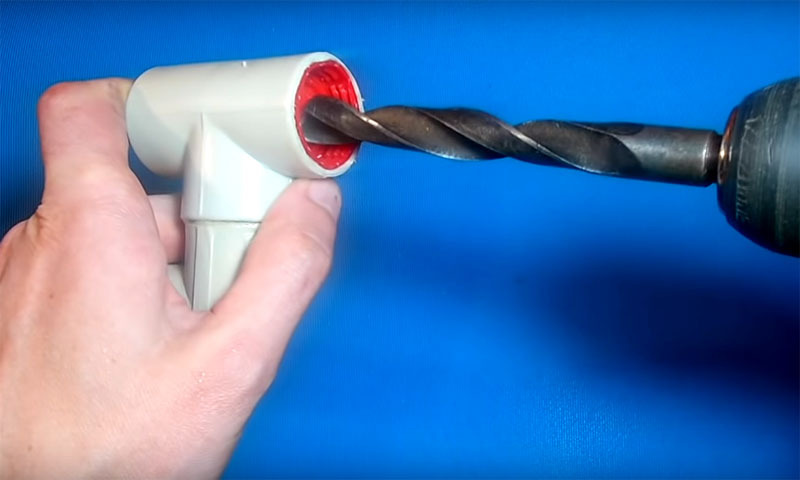
Then you need to drill a hole in the cork with a large drill.PHOTO: YouTube.com
Then you need to drill a hole in the cork with a large drill.
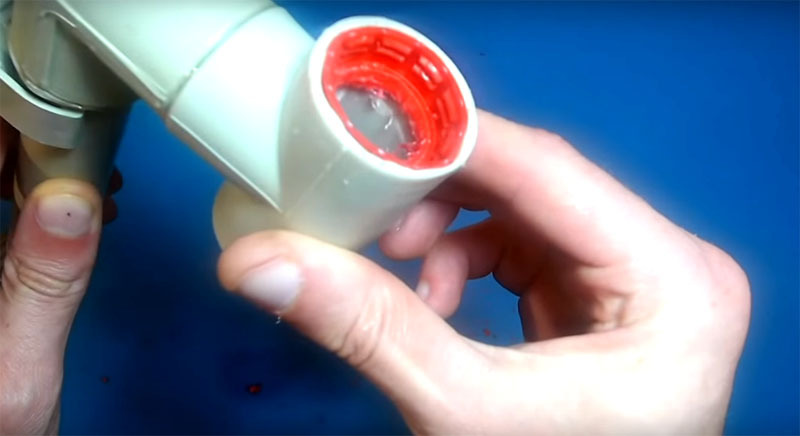
In this design, it is important that a part of the threaded cork remains in the tee and you can screw a bottle onto itPHOTO: YouTube.com
In this design, it is important that a part of the threaded cork remains in the tee and you can screw a bottle onto it

This completes the preparation of the fasteners, now you need to prepare the very mechanical "hand" that will collect the fruits.

How to make a hand from a plastic bottle

The author's idea is not just that the fruit collector has a container into which the apple will fall or other fruit, but also in the fact that the mechanism carefully picks the fruit from the branch without damaging it surface. We usually do this by pinching the fruit with our fingers, but how to make a mechanical analogue of such fingers?
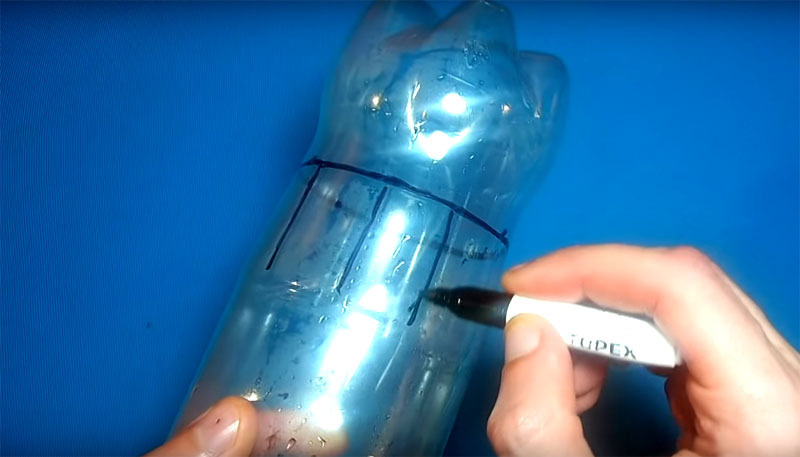
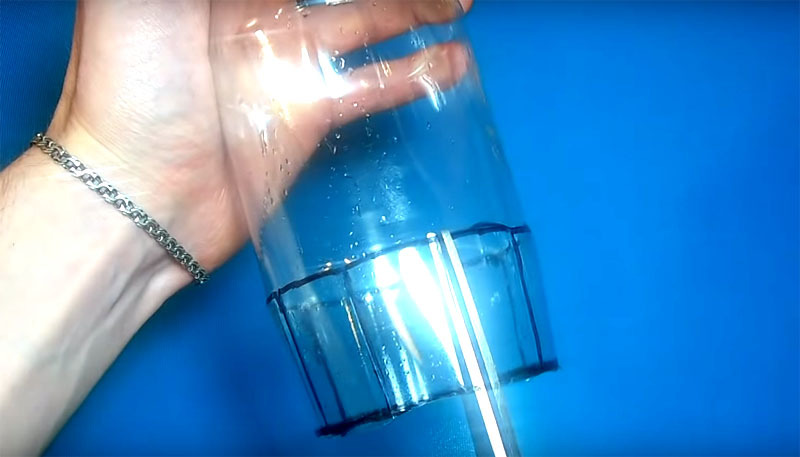
Make markings on the bottle, as shown in the photo: you need to step back about 6-7 cm from the bottom, draw a horizontal line and then divide the surface into even segments in a circlePHOTO: YouTube.com
Make markings on the bottle, as shown in the photo: you need to step back about 6-7 cm from the bottom, draw a horizontal line and then divide the surface into even segments in a circle
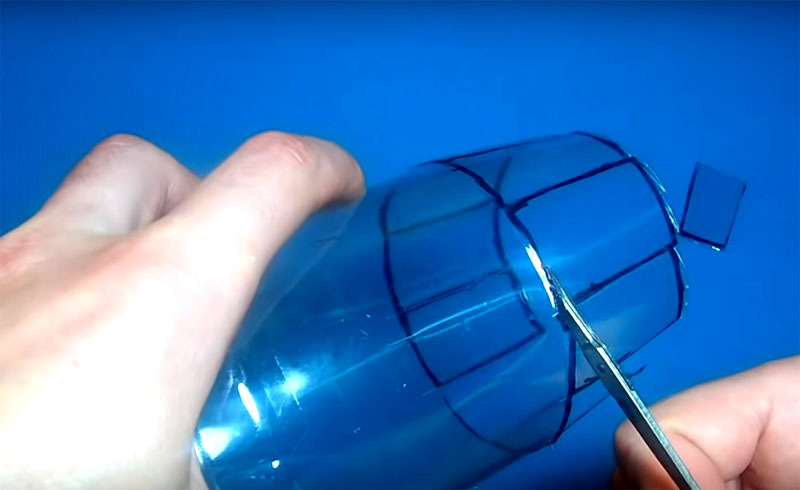
The bottom of the bottle should be cut off, and the plastic should be cut along the vertical lines by about 4-5 cmPHOTO: YouTube.com
The bottom of the bottle should be cut off, and the plastic should be cut along the vertical lines by about 4-5 cm
Then you need to cut the petals through one, as shown in the photoPHOTO: YouTube.com
Then you need to cut the petals through one, as shown in the photo
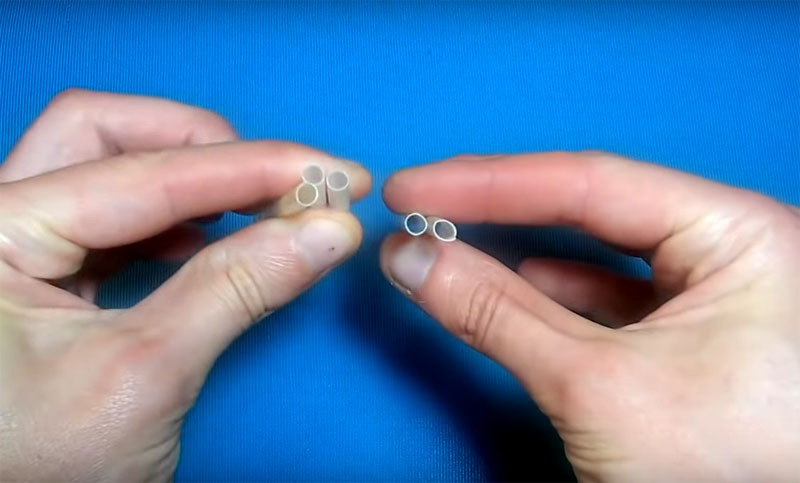
To mechanize the arm, you need regular cocktail tubes. Cut them into 5 cm pieces eachPHOTO: YouTube.com
To mechanize the arm, you need regular cocktail tubes. Cut them into 5 cm pieces each
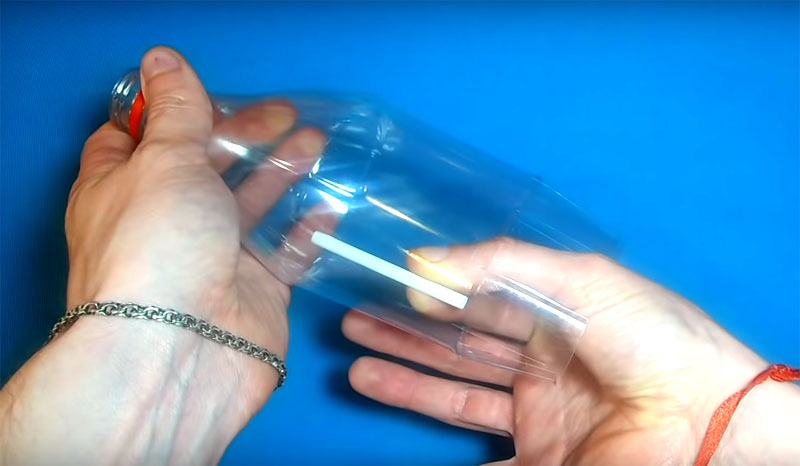
Use hot melt glue to glue the straws inside the bottle right along the center line of each petalPHOTO: YouTube.com
Use hot melt glue to glue the straws inside the bottle right along the center line of each petal
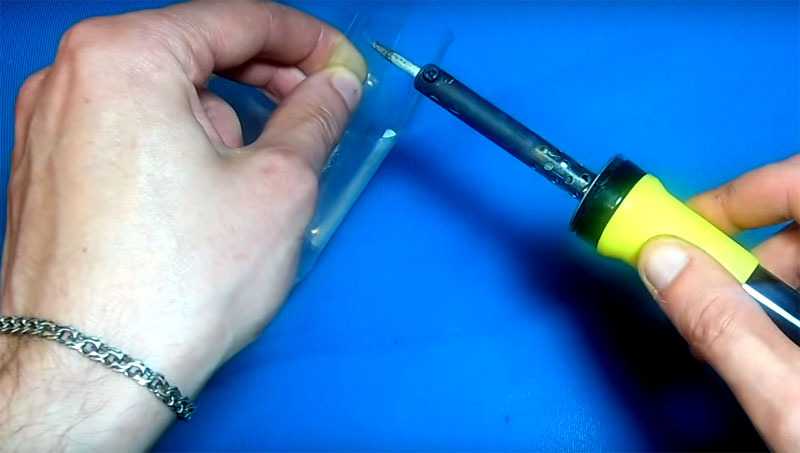
Step back about a centimeter from the edge of each petal and make a hole in the center with a soldering iron. If you don't have a soldering iron at hand, heat a regular knitting needle on the stovePHOTO: YouTube.com
Step back about a centimeter from the edge of each petal and make a hole in the center with a soldering iron. If you don't have a soldering iron at hand, heat a regular knitting needle on the stove
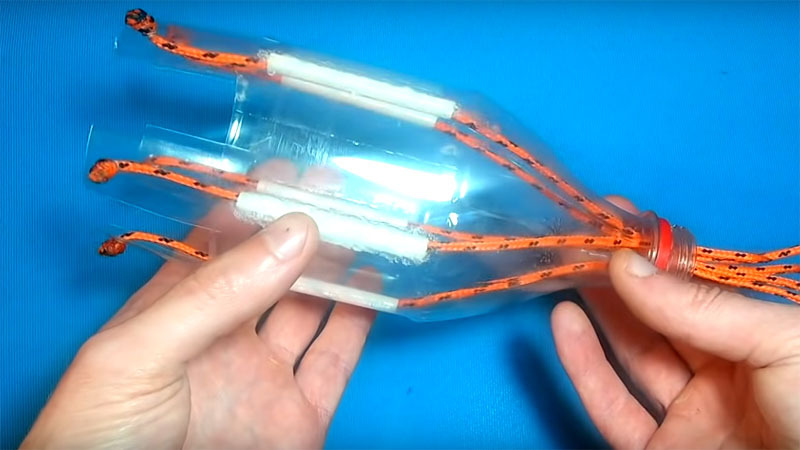
Prepare several pieces of rope. Tie a knot at the end of each section, pass the rope through the hole in the petal and then through the tube and bring each into the neck of the bottle.PHOTO: YouTube.com
Prepare several pieces of rope. Tie a knot at the end of each section, pass the rope through the hole in the petal and then through the tube and bring each into the neck of the bottle.
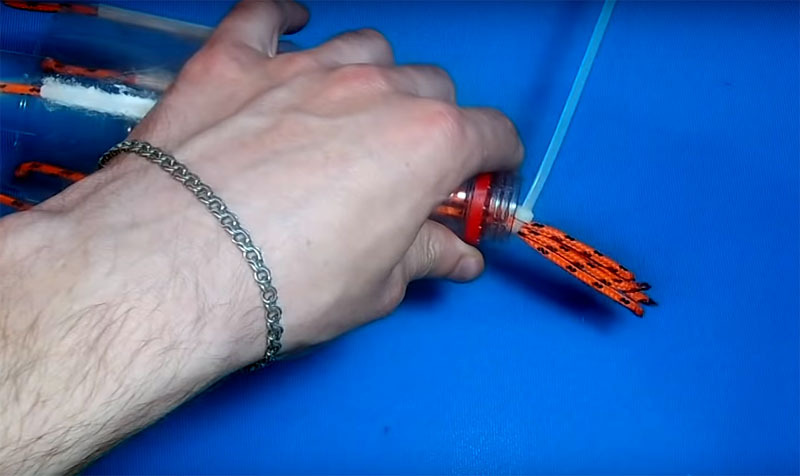
Then fasten all the segments together with a coupler.PHOTO: YouTube.com
Then fasten all the segments together with a coupler.
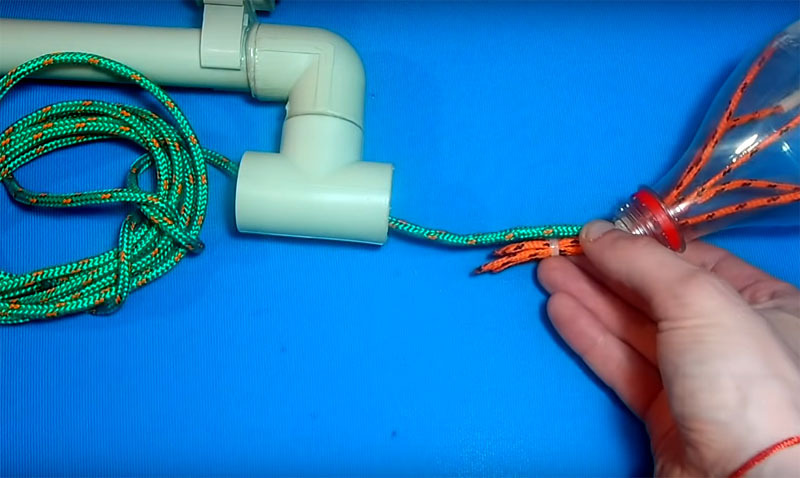
Take a long rope, thread it through the hole in the tee and fasten it to a bundle of bottle rope with the same tie. Cut off any excess ends of the tie so they do not get in the wayPHOTO: YouTube.com
Take a long rope, thread it through the hole in the tee and fasten it to a bundle of bottle rope with the same tie. Cut off any excess ends of the tie so they do not get in the way
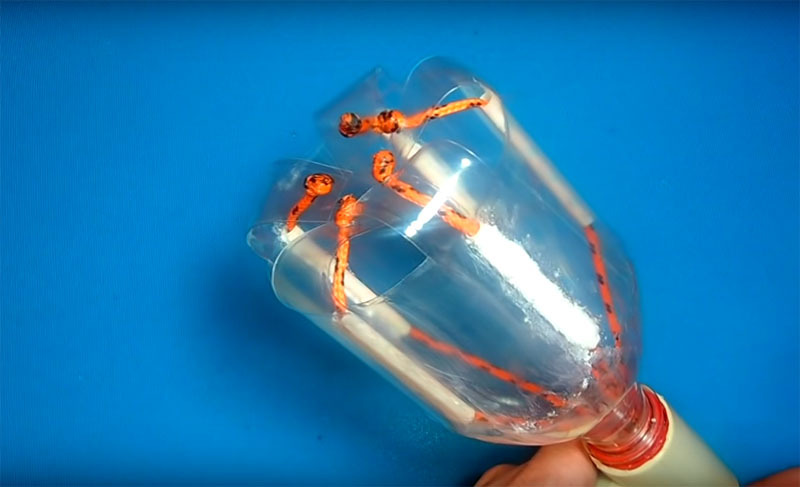
Try it: if you pull on the rope, the plastic petals will squeeze into the bottle like fingers. The mechanism is very simple and effective at the same time. Effort will be enough to pick the fruit from the branch of the tree.PHOTO: YouTube.com
Try it: if you pull on the rope, the plastic petals will squeeze into the bottle like fingers. The mechanism is very simple and effective at the same time. Effort will be enough to pick the fruit from the branch of the tree.
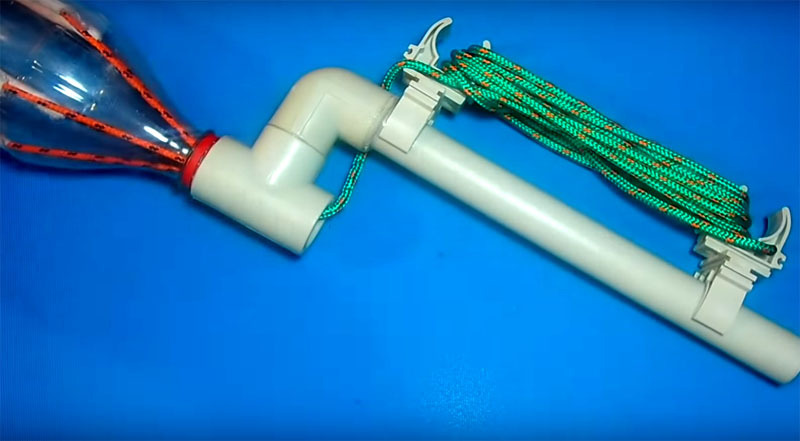
The clips on the pipe section will come in handy for neatly winding a long rope for storage. In this state, the device takes up very little space and can wait in the wings on the shelf in your country house.PHOTO: YouTube.com
The clips on the pipe section will come in handy for neatly winding a long rope for storage. In this state, the device takes up very little space and can wait in the wings on the shelf in your country house.
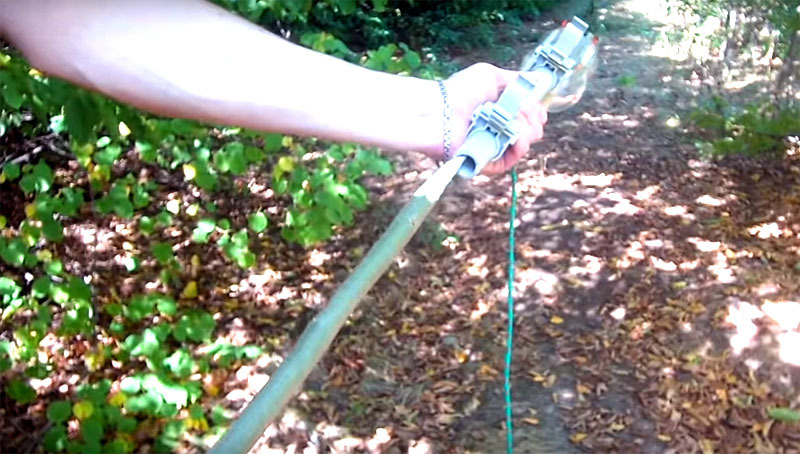
When it's time to harvest, you just need to find a pole that is suitable for the length to plant a mechanism on it.PHOTO: YouTube.com
When it's time to harvest, you just need to find a pole that is suitable for the length to plant a mechanism on it.

The advantages of this ingenious design without undue modesty are obvious. Plastic fingers gently pluck the fruit from the branch and prevent it from falling out of the collector, even if you tilt the stick with the mechanism horizontally. Great idea, isn't it? Yes, you will have to tinker a little with the assembly of the structure, but it will serve you indefinitely.

And if you don't want to waste time assembling such a model, here is a video with a simple fruit picker option:

How did you like the idea of ​​a mechanical harvesting arm? Describe your impressions in the comments, share your opinion on the effectiveness of such a design. And if you yourself are an inventor and innovator in the mechanization of garden work, send us a photo with a description of your products, we will certainly publish the most interesting options.

Discuss0