It is very difficult to choose a gift for your girlfriend, mother, sister for your birthday or March 8th. It's not even about finickyness, if there is one. I just always want to find something that will amaze to the depths of my soul and will be remembered for a lifetime. And if the gift is such that no one else in the world has - it will become the height of perfection. But here's how to solve this problem? One of the authors of the YouTube channel offers his vision on this issue. BONN, which will tell you about making a beautiful rose from metal with your own hands.
Read in the article
- 1 How to start making a gift
- 2 Forming the petals of a bud of a future rose
- 2.1 Leaves growing from the stem
- 2.2 The second stage of forming - structuring
- 3 Manufacturing and processing of the product stem
- 4 Making a rose bud
- 5 What should turn out in the end
- 6 Final part
How to start making a gift
First you need to pick up a good 5 mm sheet metal. Better if it shines, then you don't have to get rid of traces of corrosion and paint the resulting rose. And working with good metal is more pleasant.
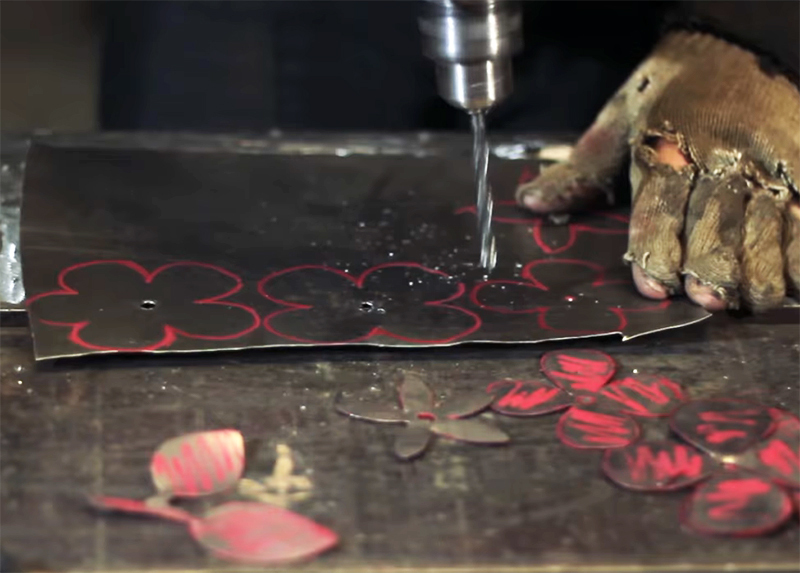
Blanks for the petals of the bud (4 pcs.) Are cut from the plates. You can draw them yourself. The main thing is the size and number of petals. The smallest blank goes into 4 thin narrow petals, then - in increasing size and with rounded petals. The last piece should have the largest size and 5 petals. Further it will be clear what this is for.
A 6 mm hole is drilled in the center of each workpiece. In the example below, you should not pay attention to the blanks below, which are painted. These are kind of templates.
Forming the petals of a bud of a future rose
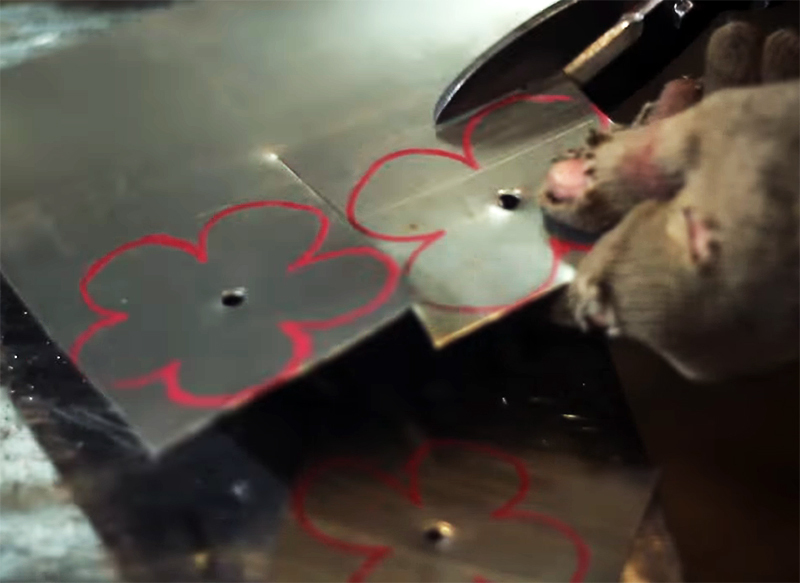
Now you need to cut out the traced and drilled blanks. For this, it is most convenient to use metal scissors, but another tool, such as a jigsaw or a grinder, is also suitable.
Leaves growing from the stem
These elements are already drawn by hand, without any templates. It is better to make 2 leaves on a twig, so the rose will be more beautiful. You will need two such blanks.

It remains to sandpaper the edges a little to remove the burrs on the edges, and you can proceed to the next stage of shaping.

The second stage of forming - structuring
In order to give the petals and leaves the desired shape, you have to work with a hammer. Workpieces are laid on the anvil, after which notches are made on them with the sharp side of the hammer. Sheet metal is soft, and therefore this work will not take a lot of time and effort.

The same actions are performed with the leaves of the stem. The main thing here is not to overdo it, so as not to spoil the metal of the workpiece.
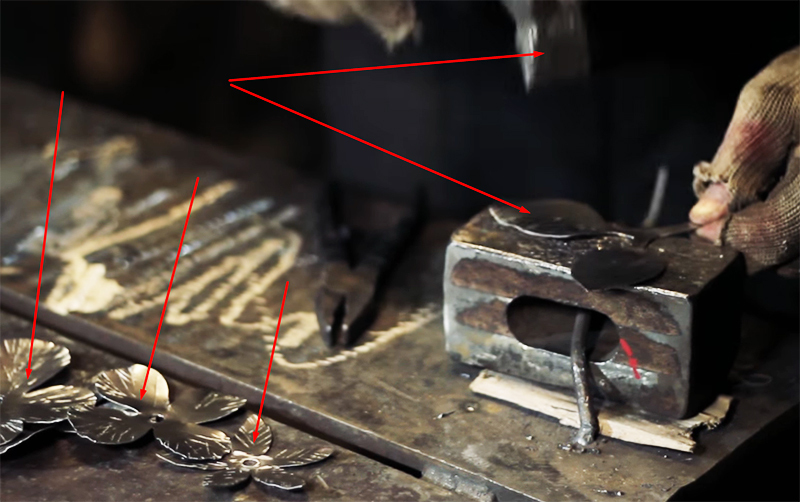
With the help of round nose pliers, the leaves are given a rounded shape, because the rose should turn out to be as realistic as possible. Great care is not required here. In nature, flowers are not always perfectly even. The same rule should be followed here.

The rounding should be done in the opposite direction from the notches on the leaves. If everything is done correctly, the result will be approximately the same as in the photo below.

On this, the leaves can be put aside - they are almost ready.
Manufacturing and processing of the product stem
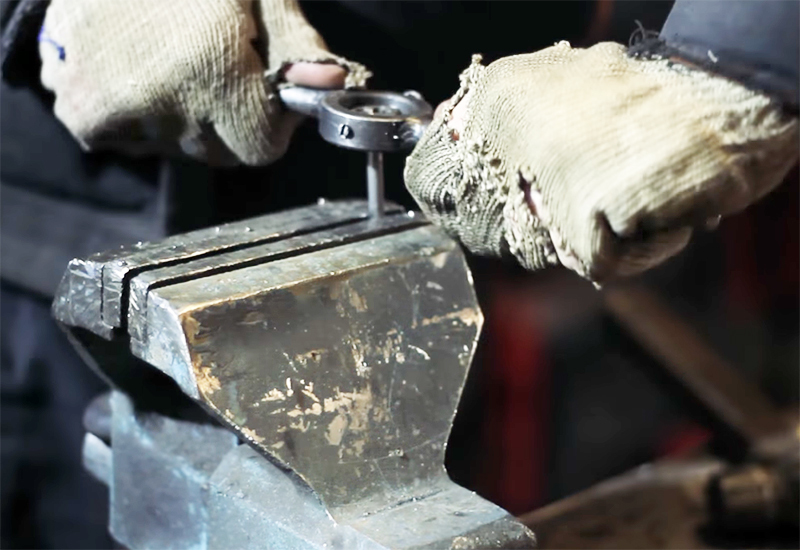
To make the stem, you need a piece of rolled steel wire with a diameter of 6 mm. It needs to be sawed off to the desired length and sanded with fine sandpaper. After that, using an M6 die, a thread is cut about 2-2.5 cm from one of the edges.
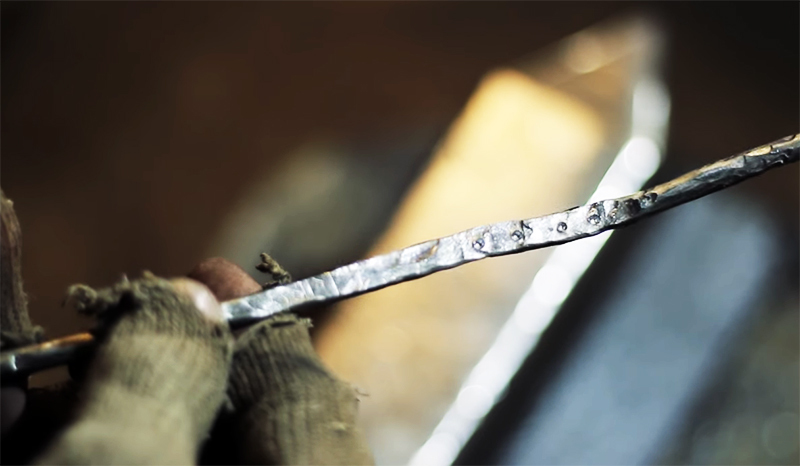
With a hammer, the stem must be tapped to give the surface the desired relief. In the place where the leaves will be fixed, you need to make a little more effort and flatten the wire. On the resulting site, marks are made, along which 4 holes with a diameter of 3 mm are subsequently drilled.
Making a rose bud
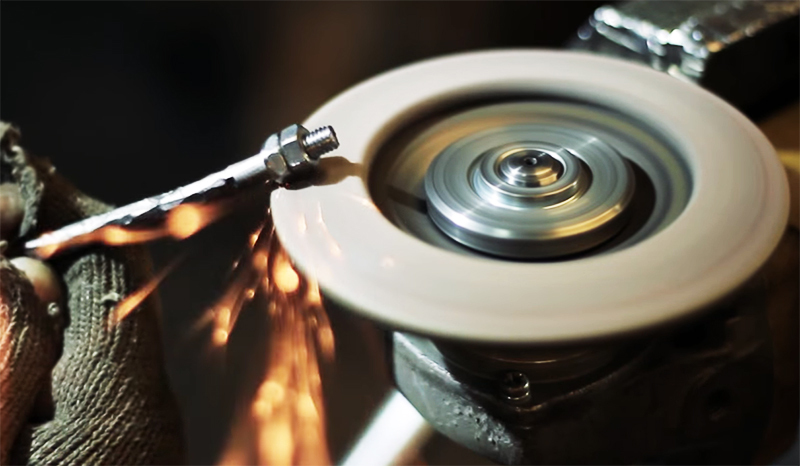
Now you need to screw on the thread two M6 nuts, the bottom of which is rounded off. It will be visible, and therefore the original form will not work here.
Next, you can collect the future bud. The upper nut is unscrewed, blanks are sequentially put on the stem: first the smallest, then the largest, and then in descending order. The nut is returned to its place and tightened, and the protruding edge of the thread is riveted with a hammer. Now you can start creating the bud.
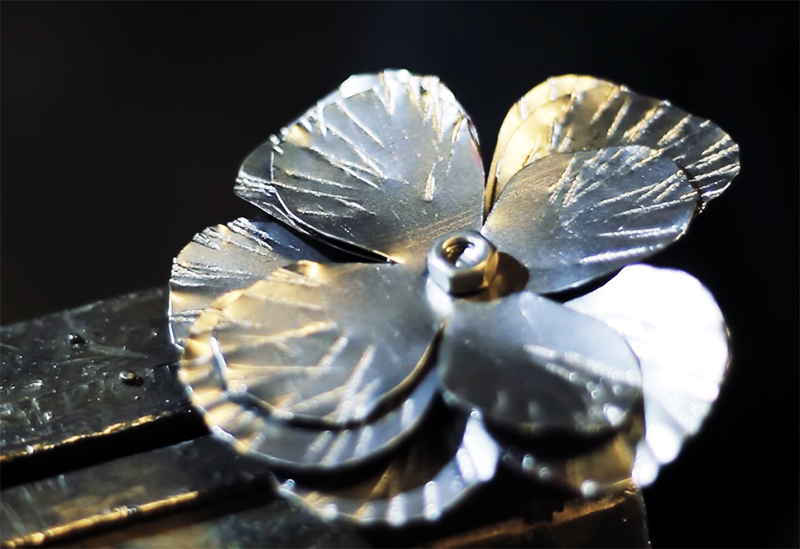
Sequentially, from one petal to another, the shape of the bud is created. You will need pliers and round nose pliers here. Do not be afraid to bend the metal, because an individual bud is created, which no longer exist, and no one will be able to repeat it 100%.
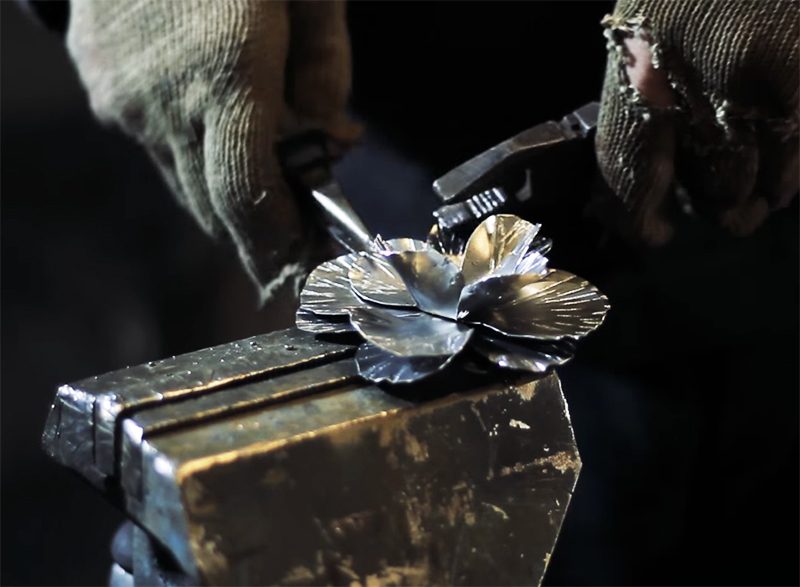

And in order for the bud to look as realistic as possible, you need to bend the top edge of each petal "from the center". All the same round-nose pliers will help in this work. Anyone, even a novice home craftsman, barely starting this work, will figure out how to perform it with maximum individuality.
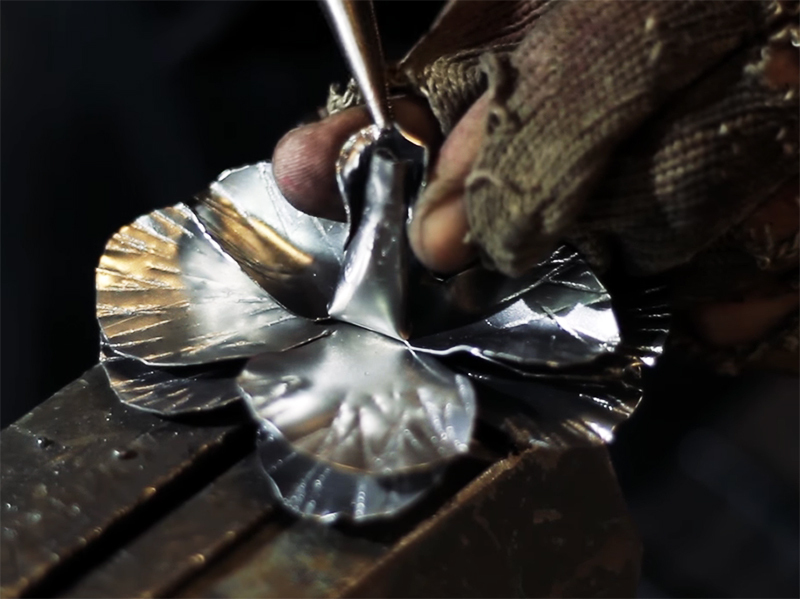
The resulting beauty can surprise anyone. However, the work does not end with making the bud. After all, you still need to install the leaves in their places. And this will be the final stage of making a beautiful rose with your own hands.

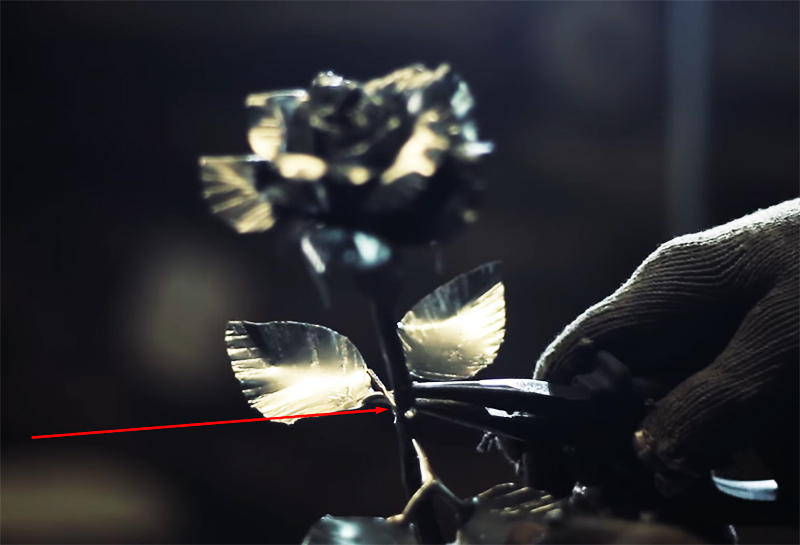
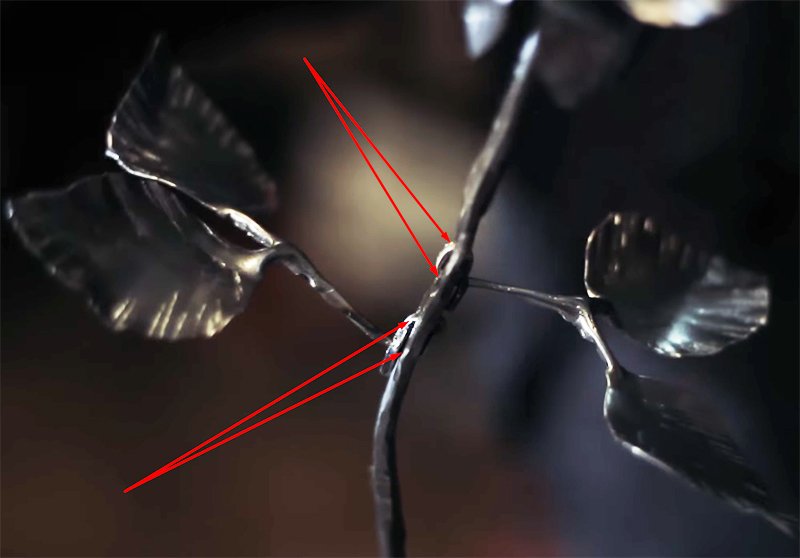
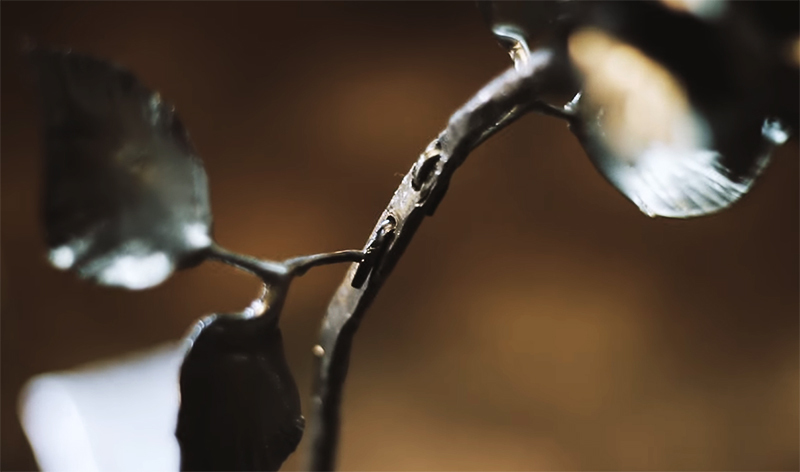
The leaves are carefully inserted into the holes prepared for them. In this case, the stalk first passes into one hole, bends, is carried into the second, and then squeezes. This will maximize its fixation.
Important! If the stem is thicker than 3 mm and does not fit into the hole, you can grind it or try to squeeze it more tightly. Below are some examples that will give an idea of how this work is done. In fact, there is nothing complicated here.
A comprehensive consideration of the process of attaching leaves to the stem:
What should turn out in the end
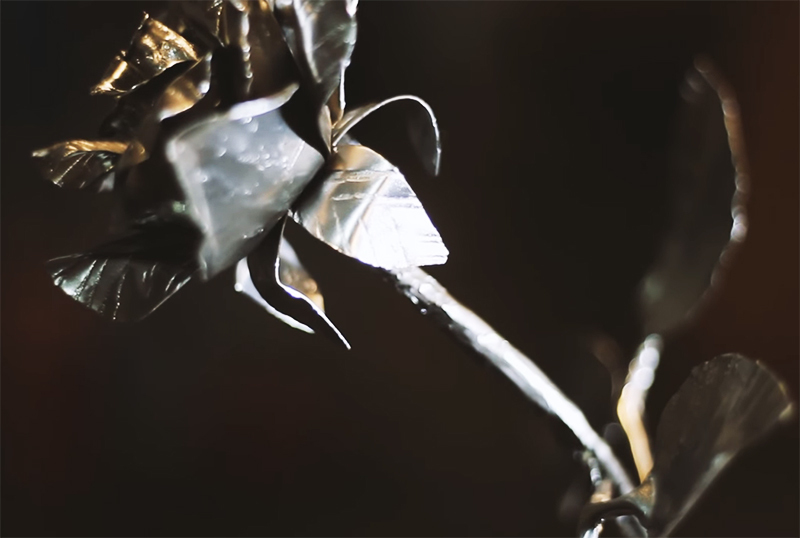
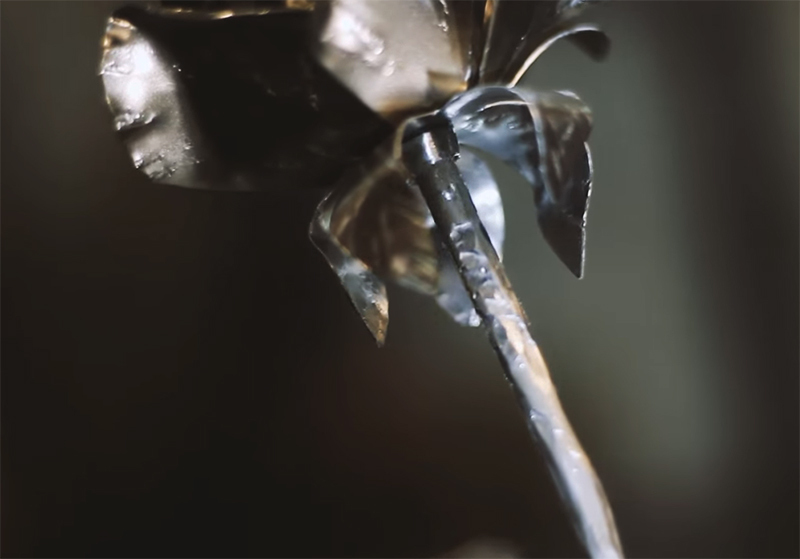
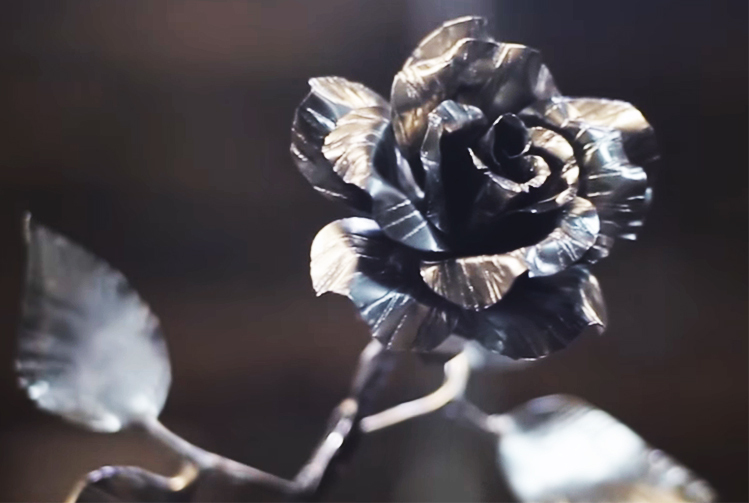
Do not even doubt that each master will get something of his own. However, the beauty of such a rose made of metal cannot be compared with anything. In addition, the one who starts making it will definitely put his whole soul into the product. You can imagine what feelings the one for which this flower is intended will experience. Well, we propose to get acquainted with what happened as a result of the work described today.

Final part
A handmade holiday gift has always been a priority. And if, in this capacity, an unusually beautiful metal rose is presented, then the person being gifted will understand all the feelings that were invested in this flower. And despite the fact that for the master it will not cost a penny, such a gift will be remembered for a lifetime, which means that this day will remain in the memory, and this man who presented his soul to his beloved, no matter how pathetic it is sounded. Therefore, we recommend making (or at least trying) a metal rose with your own hands, and then present it to your beloved.
PHOTO: YouTube-channel "BONN»
We really hope that today's article will not only be read with interest, but also taken into account by home craftsmen. Perhaps something in her remained incomprehensible. In this case, we ask you to explain the essence of the issue in the discussions below. HouseChief's editors will definitely answer each of them as fully as possible and as soon as possible. You can also leave your comment there, whether you liked what happened in the end. I wonder how you feel about such handmade gifts? Write about it. And the opinion of each reader is also important for us, and therefore we ask you not to forget to rate what you have read.


