A tool such as a hammer or sledgehammer often becomes unusable. And this is not surprising, given the stress it is exposed to. Thinner metals such as shovels tend to rust. And in most cases, the metal is sent for recycling. However, it is unlikely that it will be possible to buy a new one with the money received for the delivery of the old one. But still there is a solution. And the author of the YouTube channel presented his own version Michaelsuggesting that a tool be repaired that is no longer acceptable for its intended use.
Read in the article
- 1 The tool to be restored
- 2 Restoring a sledgehammer: is it possible to return it to its previous appearance
- 2.1 Sledgehammer side surface treatment
- 2.2 Working surface treatment
- 2.3 Finishing touches on the initial shape
- 2.4 Surface polishing: for those who get the job done
- 2.5 One more step to the final result
- 3 Old shovel and its restoration
- 3.1 Leveling the working edge of the shovel
- 3.2 Shovel refurbishment finishing touches
- 4 Conclusion
The tool to be restored
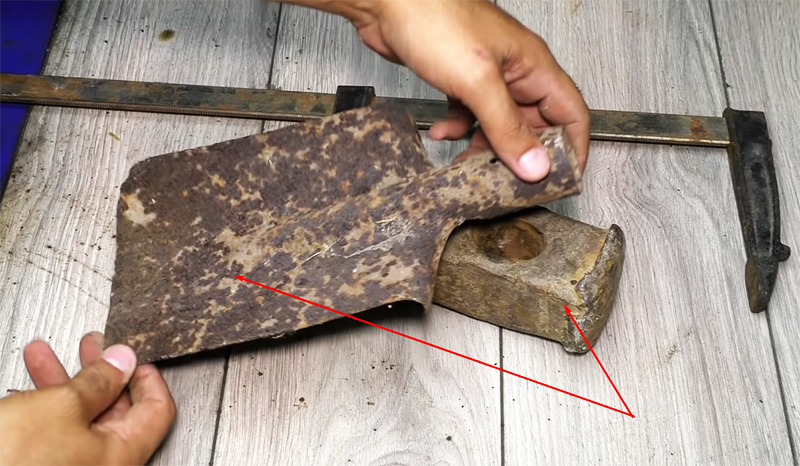
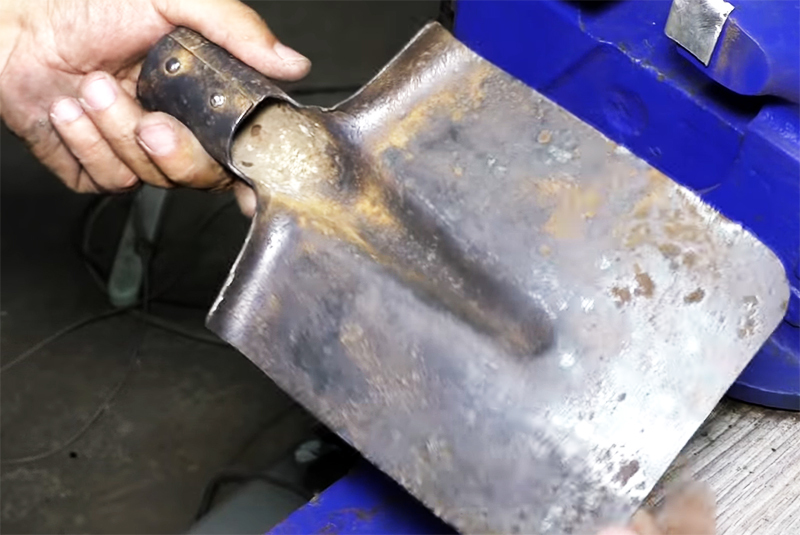
As an example, today 2 "pieces of metal" will be considered, which can no longer be used as a tool, at least until restoration. The first in line will be a sledgehammer, which, apparently, has worked two, or even three prescribed terms, and in a pair it is a shovel. It is quite corroded along the working edge, but no holes are observed in it.
Restoring a sledgehammer: is it possible to return it to its previous appearance
In fact, despite the severe damage, such a sledgehammer is still capable of being useful. The only thing that will happen to her is that she will become a little lighter than she was originally. However, when working, this is unlikely to be felt.
It is clear that in the form in which the sledgehammer was found, it is impossible to work with it as intended. It is only good enough to prop doors. Therefore, you need to work with her thoroughly. The main thing is to bring its appearance in line with the original. A good old angle grinder (angle grinder), or simply a grinder with a cutting disc, will help in such work.
First you need to clamp the sledgehammer in a vice and cut off the flattened metal.
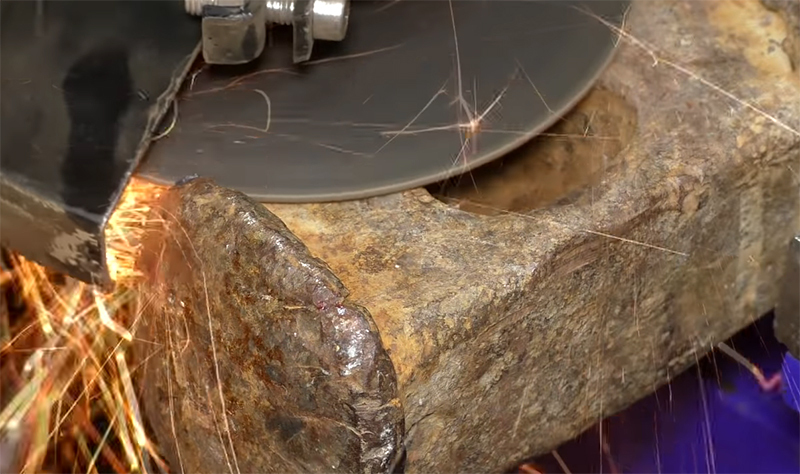
During this work, it is imperative to observe safety precautions. Do not neglect personal protective equipment (glasses, gloves, respirator), and also forget that the grinder is considered one of the most dangerous power tools.
Sledgehammer side surface treatment
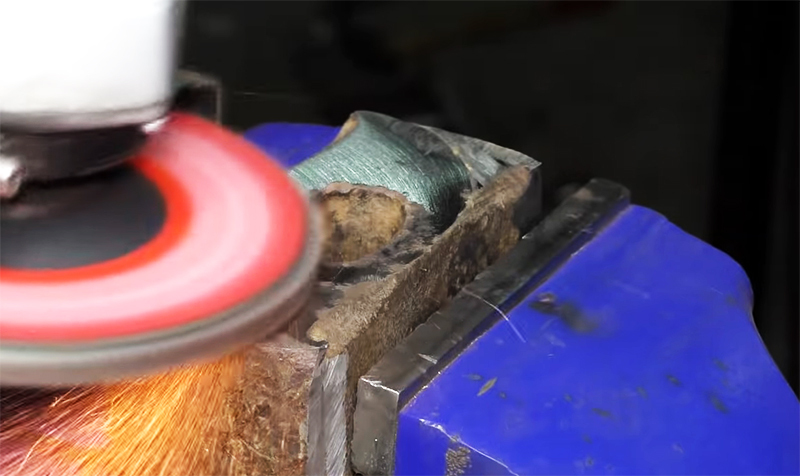
When the excess is removed, the edges of the sledgehammer should be cleaned using the same angle grinder with a petal disc. This is done in order to detect metal defects that could well arise when working with such heavy loads. And the appearance will be much better this way.
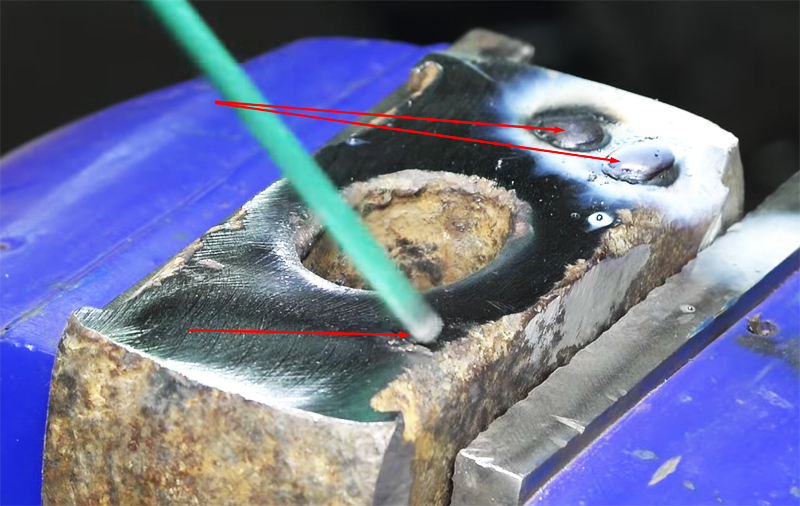
After a long operation, shells will inevitably appear on the edges. It is better to remove them, but you should not grind off a thick layer of metal either. Therefore, you can boil them using arc welding, and then simply clean them. You should not pay attention to small shells.
Working surface treatment
It is much more difficult to level the working surfaces of the sledgehammer. An ordinary grinder is unlikely to be able to do this. The ideal option would be to use trimming. It is clear that not everyone has such a tool in the garage, but “you cannot throw out words from a song” ...
In extreme cases, you can use a large angle grinder, but you should be prepared for the fact that you have to display the plane on emery.
Finishing touches on the initial shape
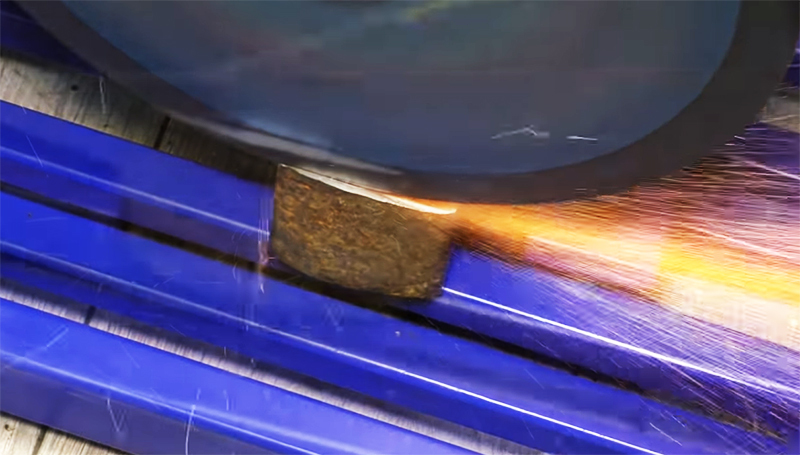
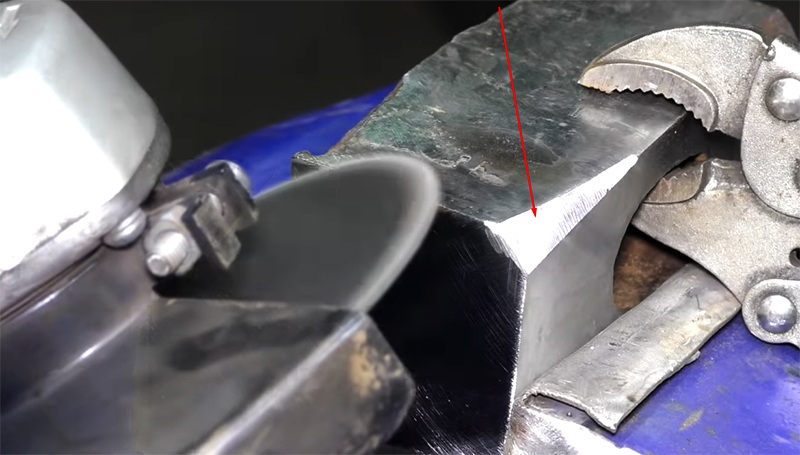
After all the work done, it remains only to cut off the excess from the edges. It's already simple. The sledgehammer is also clamped in a vice, and the work is done using a angle grinder with a cutting disc. In fact, this work can be considered complete, but the shine of the metal leaves few people indifferent. Therefore, it is worthwhile to work out a little more with this sledgehammer.
Surface polishing: for those who get the job done
It's time to work with different grit sandpaper and a sander. You can roughly imagine how polished metal will shine - it will give strength and make you work for two. But the result will be a reward for the perfectionist.
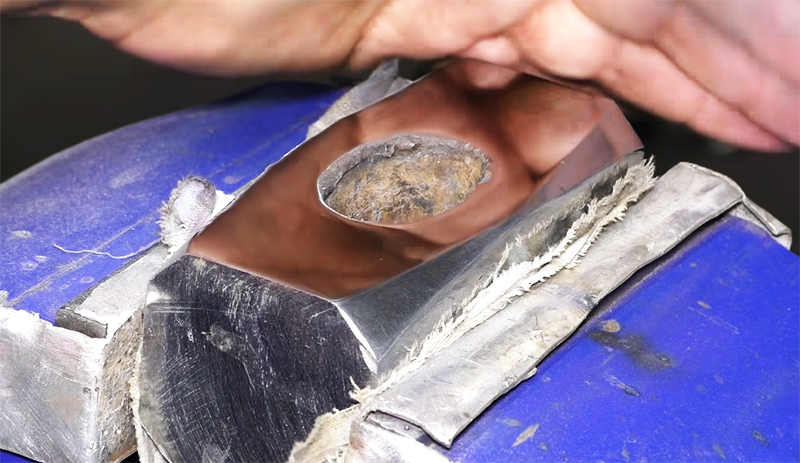
Impact planes, of course, should not be polished.
One more step to the final result
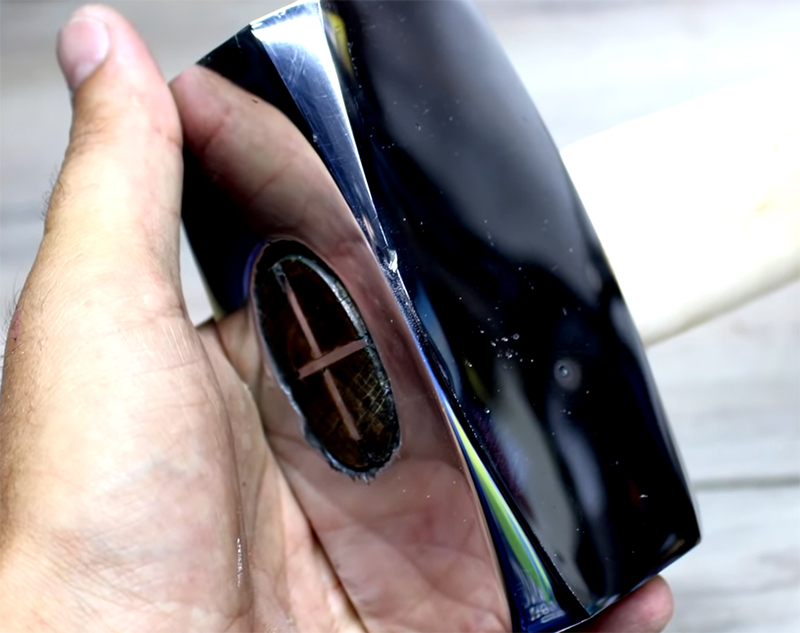
The main thing remains - to put the sledgehammer on the handle ─ and you can use it for its intended purpose. Here ─ how many people, so many opinions. Some people like hardwood, for others it is more convenient to work with a lighter material. But whatever is chosen, the result is the same - the instrument is restored and ready to work.
Old shovel and its restoration
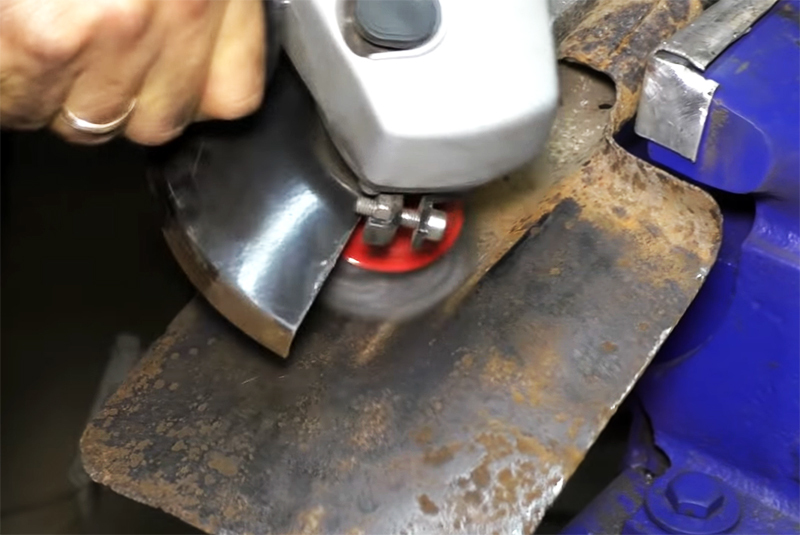
It's time to move on to a shovel of a rather interesting shape. Here, much less work will be required than working with a sledgehammer. Naturally, the first step is to remove rust from its surface. The problem is that you cannot use abrasives that are too coarse here - the metal is too thin. But the metal brush will be just right.
You should not pay attention to the sinks. It is clear that a restored shovel is no longer suitable for digging a large vegetable garden (it simply cannot withstand the loads), but there are other activities. For example, having planted it on a short handle, the shovel can be used for fishing. And in the trunk of a car, it will not take up much space. But she will be able to help out in certain situations.
Leveling the working edge of the shovel
It can be seen that the rust has worked thoroughly with the working edge, and therefore it should be trimmed. To do this, you need to scratch a straight line along the ruler, stepping back from the edge about a centimeter. If you use a metal ruler, it will be much easier. It bends to the shape of a shovel, and the line turns out to be correct.
The cutting line is ready, and the grinder, irreplaceable in every sense, comes into play. After the excess is cut off, you need to chamfer a little so as not to cut yourself during further work.
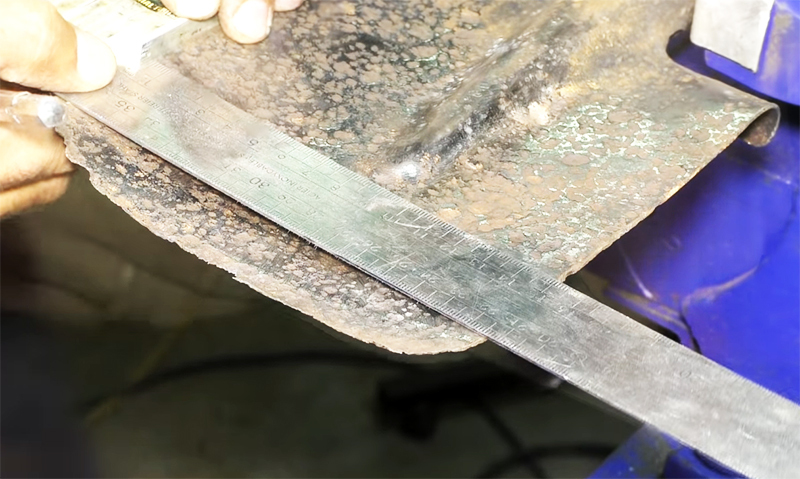
But now the shape of the working edge does not look like the original, and therefore you need to round off the corners. This is already a matter of a minute. After the work done, which will hardly take more than half an hour, the shovel can already be used.
Shovel refurbishment finishing touches
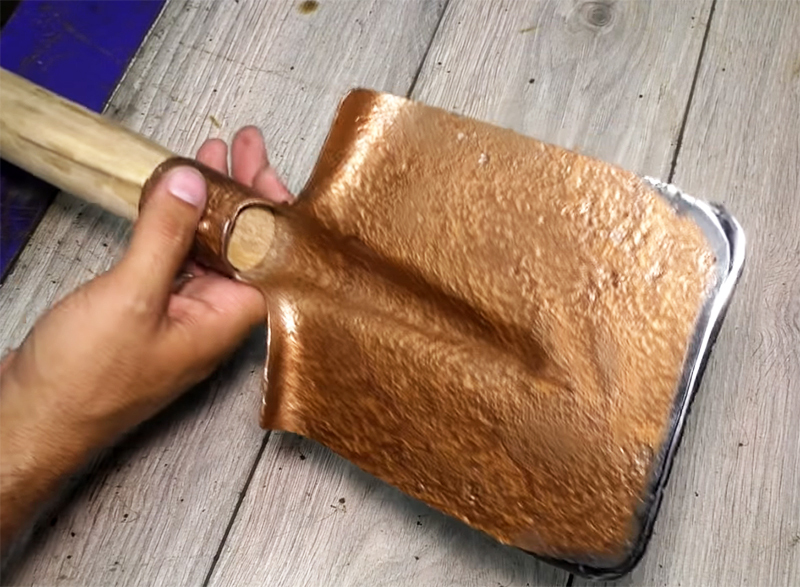
Perhaps some of the subsequent work may seem superfluous to many. However, as in the previous case, we will be perfectionists and will bring everything as close as possible to the ideal. The shovel itself can be painted black or even golden.
The working edge should be sharpened without fail, as well as put the restored shovel on the handle. The handle should not be long, so it will be more convenient to transport the tool. In addition, a large length of the handle is not needed - the shovel will not be used for heavy work.
Conclusion
In fact, if you wish, you can restore any tool, as long as it has not completely rotted away. Today, few people think about how much money such work can save. But for masters who constantly work with their hands, such a restoration can really help. Moreover, this kind of work is very interesting. If we exaggerate, then we can say that restoration of an instrument is like the work of a surgeon. Its goal is to return the "patient" to a fulfilling life. Perhaps it was said too grandiloquent, but the meaning is.
We really hope that the information presented in the article will be useful for home craftsmen in their work. If you still have questions on today's topic, the HouseChief editors will be happy to answer them. You just need to explain them in the discussions below. There you can also comment on the article, express your opinion whether it is worth doing such a restoration or it is easier to purchase a new tool in the store. Let's see what is the ratio of "homemade" and buyers among our audience. Also, please don't forget to rate what you read. Your feedback is very important to us.

