Workshop Is the place for the creative process. Clutter inspires no one, so problem correct organization of space in this place is very relevant. Everything should be in its place, even the smallest parts and fasteners. The order will help not only focus on the goal, but also significantly save time, because rummaging in search of what you need self-tapping screw can be very long. The easiest and most logical way out is to place all the little things in small containers by size and type. But finding the right container can take a long time. How can this procedure be improved? It is most convenient to use pull-out shelves, and even better - shelves that rotate along their axis. But such a device is usually very expensive, and few people decide on such a purchase for an ordinary workshop. In the meantime, you can make a shelf with your own hands, as the author of the YouTube channel did. Workshop Diy. And for this he needed... an ordinary bicycle wheel.
Read in the article
- 1 The wheel and its preparation
- 2 Base and fixture for rotating shelf
- 3 What to make containers for fasteners
- 4 Final assembly of the revolving shelf
The wheel and its preparation
Finding a bicycle wheel is not a problem. Everyone who owns such vehicles usually has a stockpile. Someone changes the damaged parts, and someone experiments with the diameter. Even if you don't have a wheel in stock, you can easily find it on any spare parts in the nearest market.
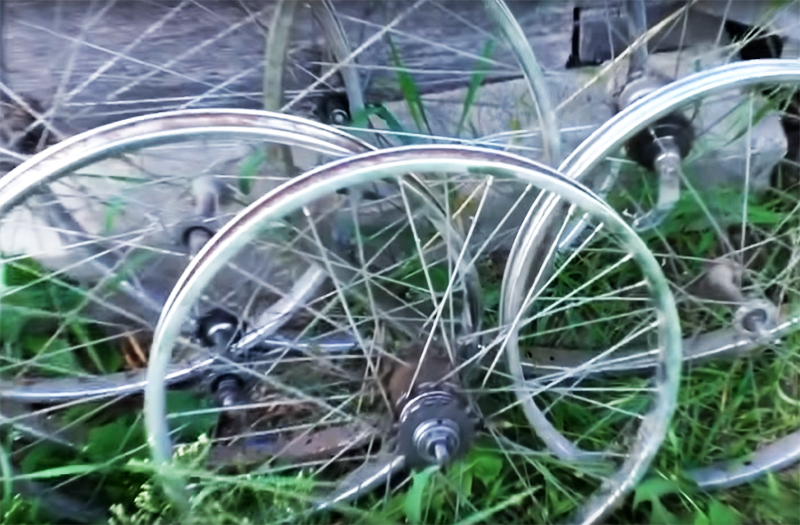
![For the manufacture of a shelf, the diameter does not have a special size, just the larger it is, the more spacious the finished product will be. Universal bike wheel shelf](/f/437261706d9092542a931fda66753cbb.jpg)
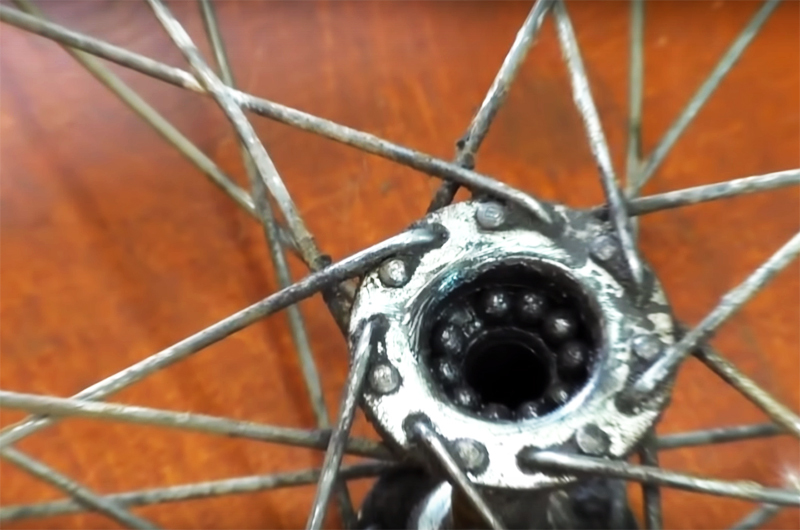
![Used wheels are usually unsightly; they are covered with rust, and the bearings are in poor condition. Used wheels are usually unsightly; they are covered with rust, and the bearings are in poor condition.](/f/f3898bcf96e01d5a5930fba3bad134e6.jpg)
All this will have to be fixed.
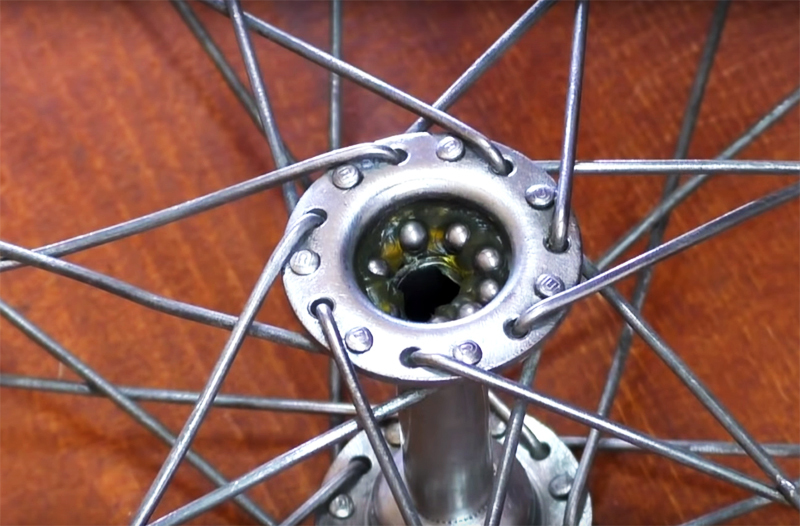
![Clean all parts from deposits, replace, if necessary, bearings and be sure to add new grease Clean all parts from deposits, replace, if necessary, bearings and be sure to add new grease](/f/db7368b75f89859fc6449d97d67bc9f8.jpg)
In addition to the wheel, you will need:
- plastic hose;
- a piece of a sewer pipe;
- remnants of OSB or plywood;
- square metal pipe;
- self-tapping screws.
Prepare from the tools:
- gas burner;
- drill;
- screwdriver;
- grinder;
- welding machine;
- glue gun.
Base and fixture for rotating shelf
According to the author's idea, the shelf will be mounted on the wall. But first you need to assemble the basic structure.
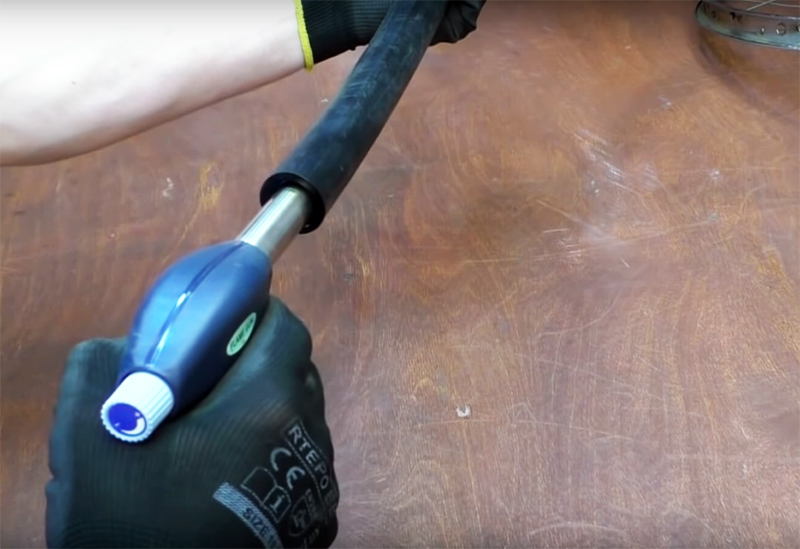
![To put the plastic hose in the place where the bicycle tire is usually located, it must be heated with a torch. To put the plastic hose in the place where the bicycle tire is usually located, it must be heated with a torch.](/f/d83f043896aa7266c3bcaa4422982b25.jpg)
After warming up, the plastic will become more pliable and take the shape you need.
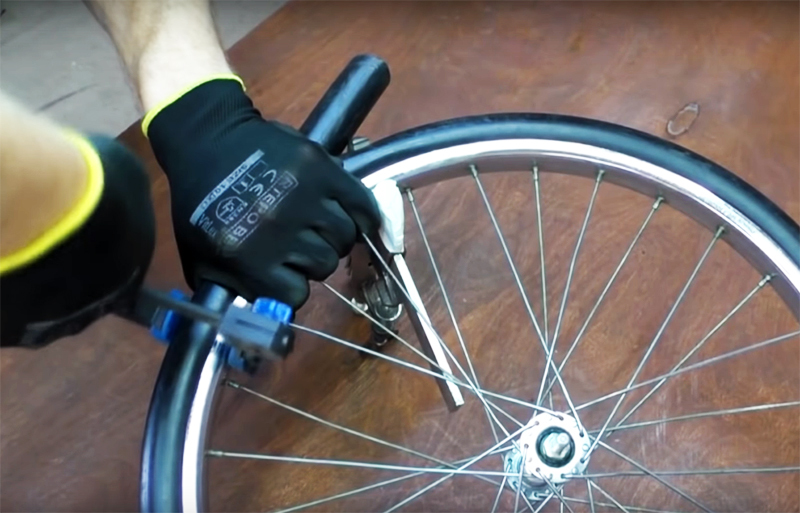
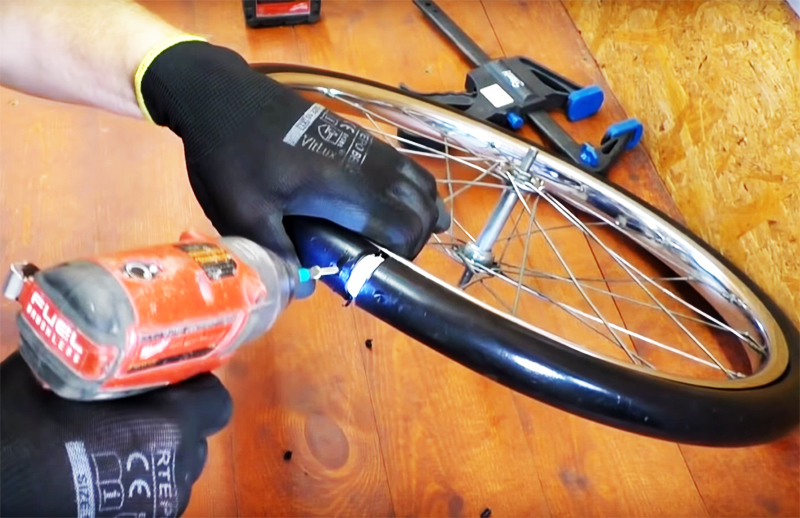
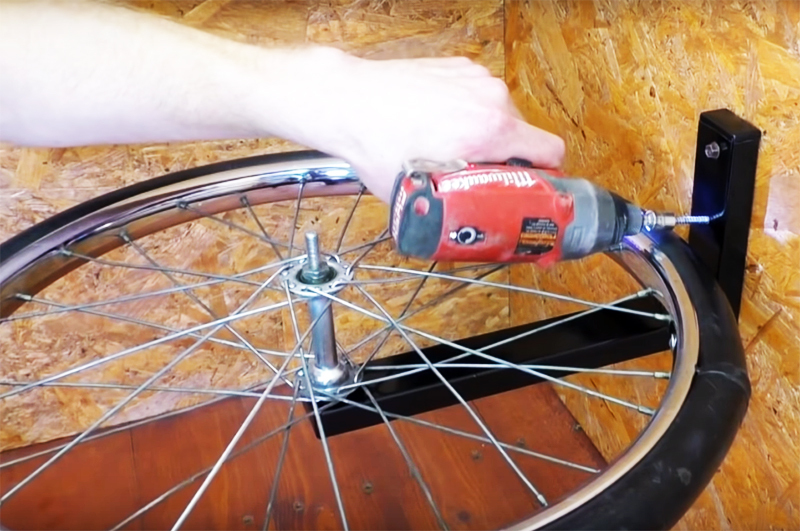
![Wrap the hose around the wheel, secure with clamps and screw the ends to the wheel Wrap the hose around the wheel, secure with clamps and screw the ends to the wheel](/f/0056b00d29de8d94c557c35a42c899b1.jpg)
![Use a pair of self-tapping screws for fastening, and if you get a groove in the gap, fill it with hot glue so that the joint is not striking Use a pair of self-tapping screws for fastening, and if you get a groove in the gap, fill it with hot glue so that the joint is not striking](/f/334189ae503e95ed6268c0a22c2752c6.jpg)
![To make a wall mount, you need to prepare a part in the shape of the letter " L" from a metal rectangular pipe To make a wall mount, you need to prepare a part in the shape of the letter " L" from a metal rectangular pipe](/f/cf7b05f8bc3e88fb905c2c3d34f6fcb6.jpg)
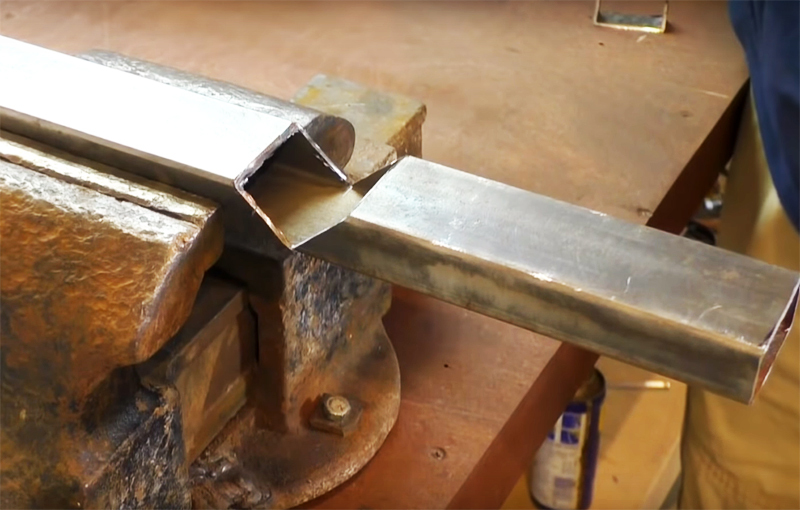
Make a wash, stepping back from the end of the pipe a distance equal to the radius of the wheel.
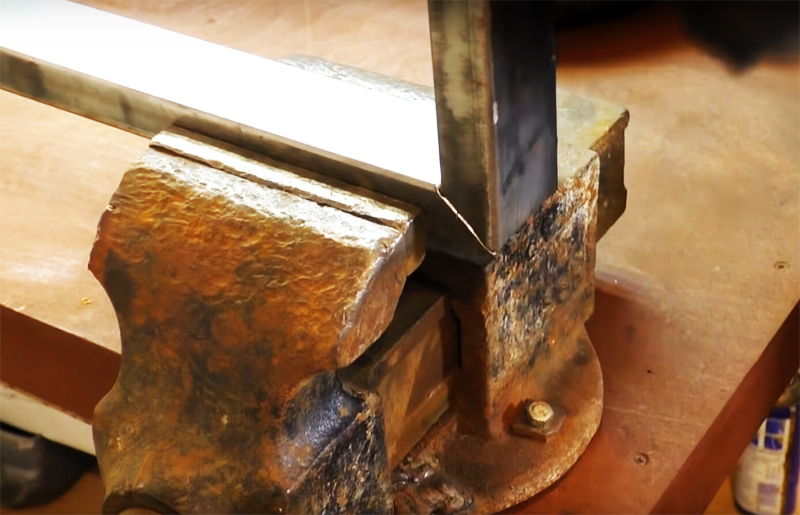
![Bend the pipe where you saw it, and you get the angle you want. Bend the pipe where you saw it, and you get the angle you want.](/f/5aac2c0874e5d618ff1a892aa8d6b4fc.jpg)
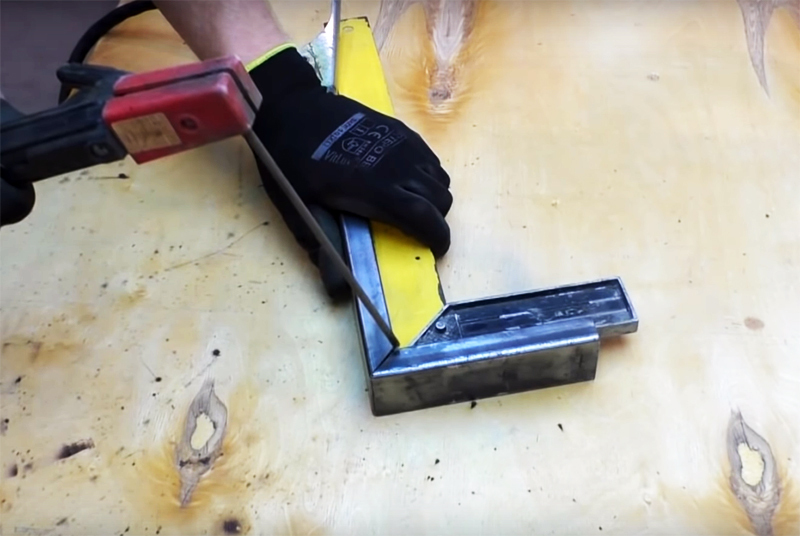
![Secure the corner of the holder by welding Secure the corner of the holder by welding](/f/9f0c40957becb6a81ecccc5a76a539dd.jpg)
Then you need to make several holes - one on the long end of the wheel holder and a couple on the short one to fix it in the wall.
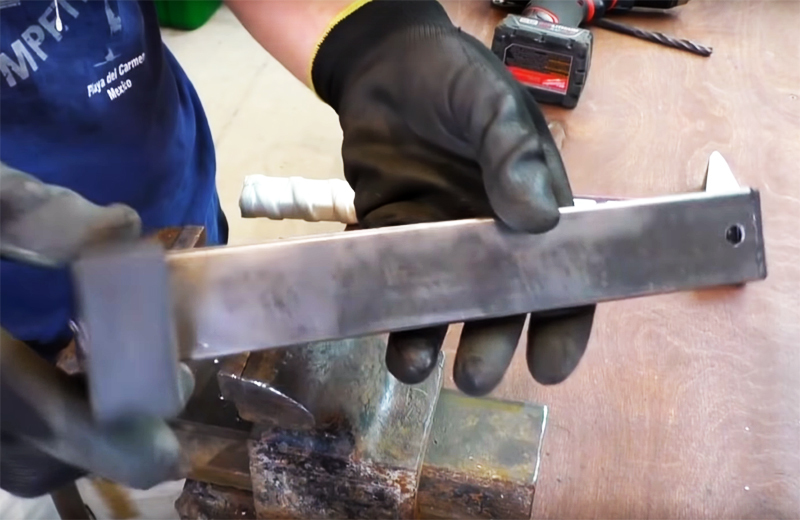
![Use the plugs on the ends of the holder and paint this part with spray paint Use the plugs on the ends of the holder and paint this part with spray paint](/f/51a41665e3d42bfa397f2f4a305c7163.jpg)
This completes the main assembly, now it remains to decide with containers for storing small items.
What to make containers for fasteners
You can use the same ready-made containers, but if you have time and a piece of sewer pipe, you don't have to look for something in the store.
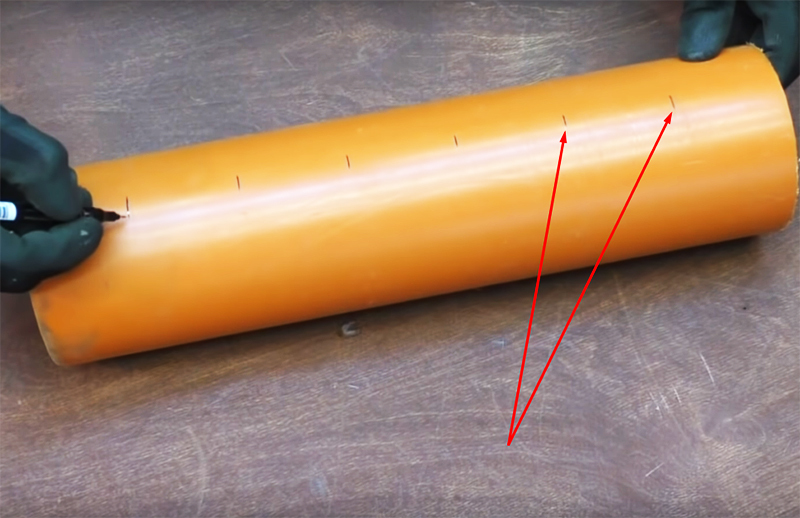
![Mark the pipe with a distance of about 8 cm Mark the pipe with a distance of about 8 cm](/f/b7b4ebe7bd8cd357a18b0aa7ee521bb8.jpg)
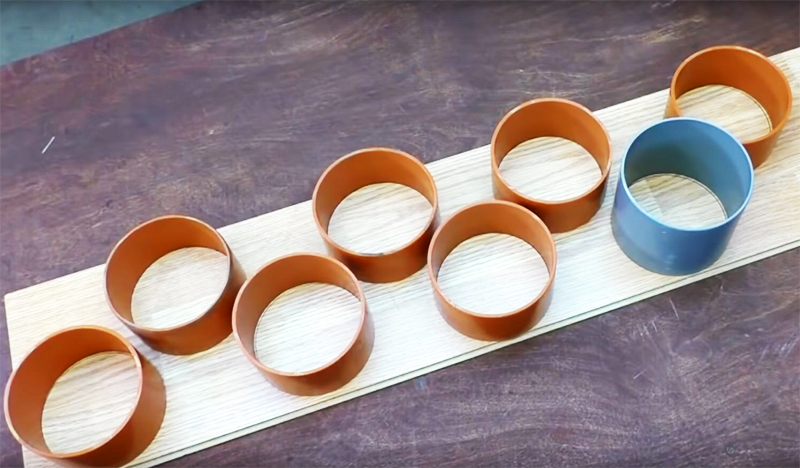
![Saw the pipe into equal lengths with a grinder and process the edges with a file Saw the pipe into equal lengths with a grinder and process the edges with a file](/f/ee6a6e72f2eb8252f7e203f16c541a55.jpg)
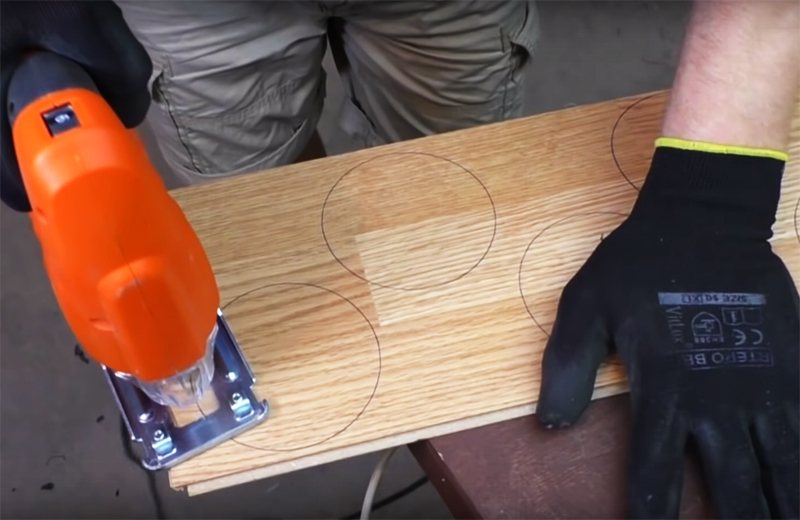
![From the remnants of laminate, OSB or plywood, cut into circles for the bottoms of containers From the remnants of laminate, OSB or plywood, cut into circles for the bottoms of containers](/f/a7aeaa239dcd6c9ce102c78452166c79.jpg)
Try to follow the markings exactly.
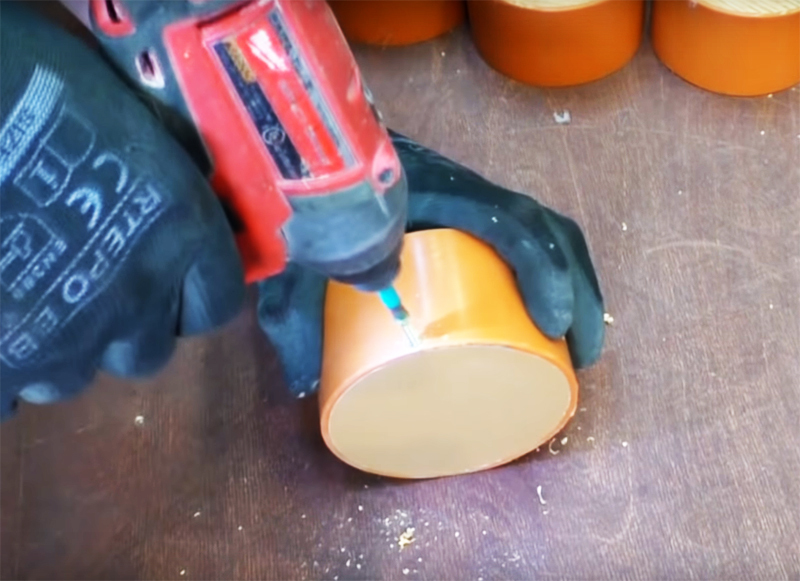
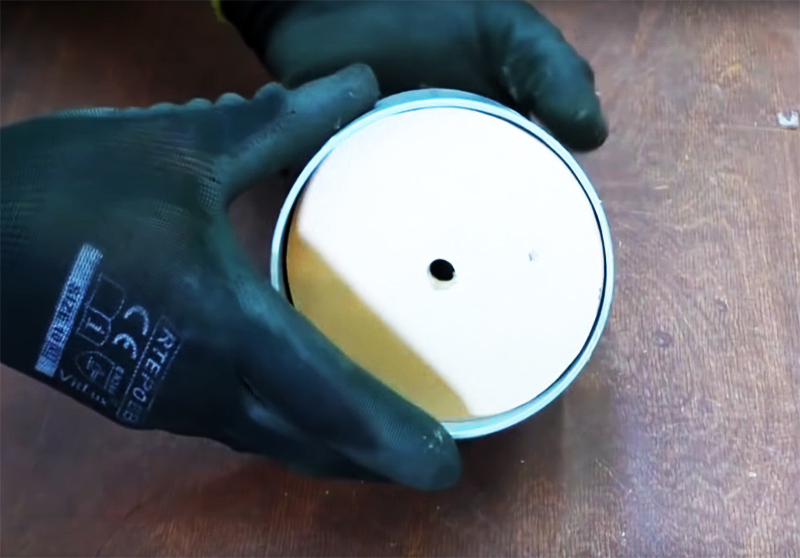
![Use three self-tapping screws to secure the bottom Use three self-tapping screws to secure the bottom](/f/fca9cd05821d51fe10fa8a49d019abb2.jpg)
Alternatively, use a glue gun.
![One of the containers will be located in the center of the wheel, so it is better to make a hole in its bottom, which will be fixed on the axle One of the containers will be located in the center of the wheel, so it is better to make a hole in its bottom, which will be fixed on the axle](/f/b37874613b60642a059af2b10c656d00.jpg)
Final assembly of the revolving shelf
It remains only to completely assemble the finished product and fix it on the wall.
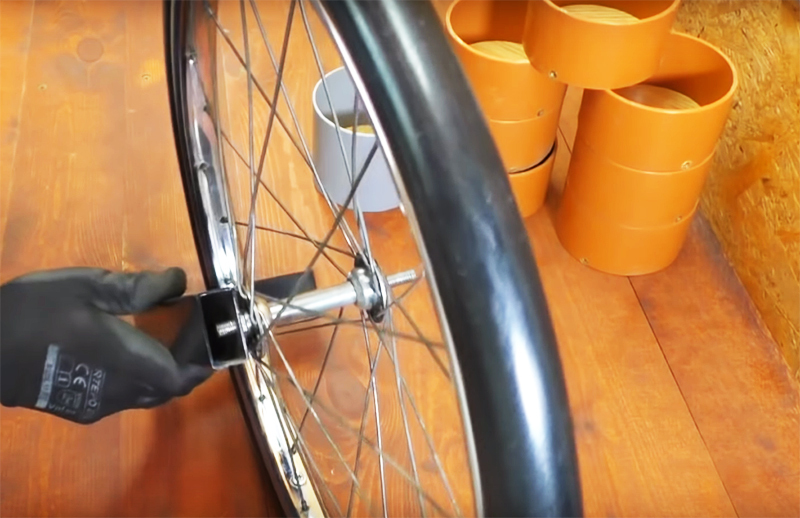
![Secure the wheel axle to the long end of the holder with a nut Secure the wheel axle to the long end of the holder with a nut](/f/20f40726b69b614093e500e696350c64.jpg)
![Through the holes of the short part of the holder, screw it to the wall with self-tapping screws Through the holes of the short part of the holder, screw it to the wall with self-tapping screws](/f/130ac72bc17071764fbc7c0e4b01728c.jpg)
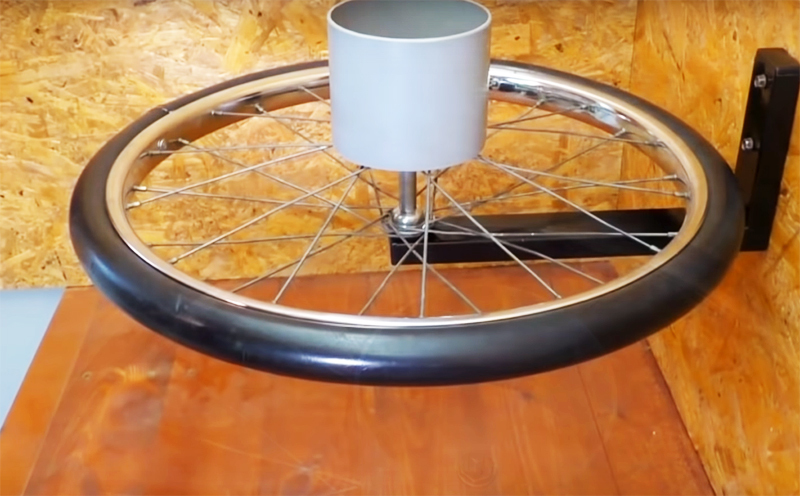
![Install the center glass and also fix it with a nut Install the center glass and also fix it with a nut](/f/f4e431709c23c7e227718c3e19c9c8ff.jpg)
It is better to make it tall, it will be convenient to store pencils and markers here for marking.
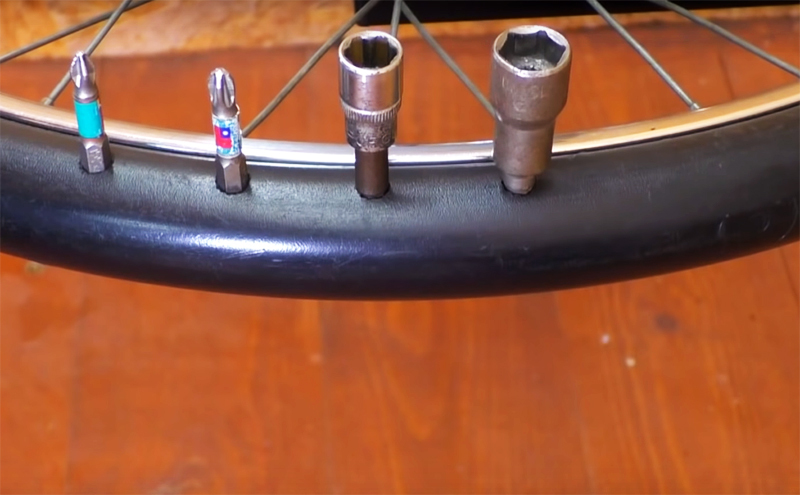
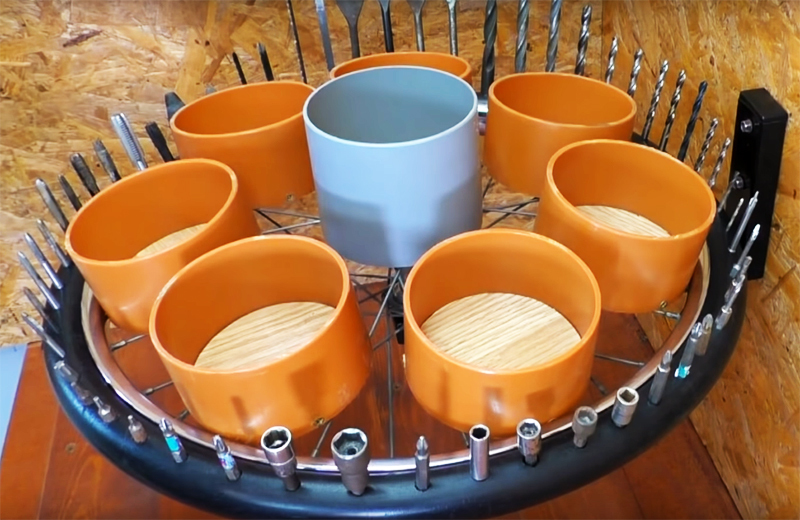
![Make small holes in the plastic pipe that takes the place of the tire with a drill: here you can store drills and bits Make small holes in the plastic pipe that takes the place of the tire with a drill: here you can store drills and bits](/f/08dd1f43a19a83081e5fcd3e58648dec.jpg)
![Place ready-made containers on a shelf in a circle Place ready-made containers on a shelf in a circle](/f/a037c4ec913200e7101533d034a1d9e3.jpg)
It is not necessary to somehow additionally fix them, with a calm turn of the shelf, they are already quite stable in their places.
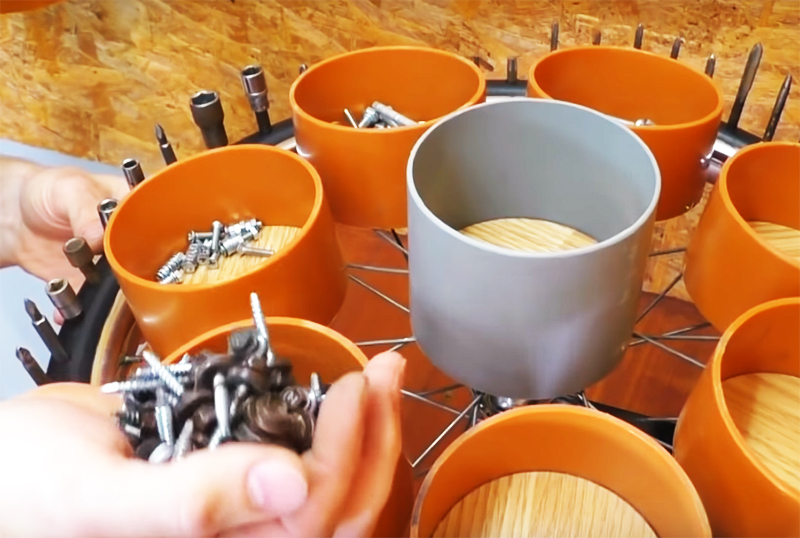
![Fill containers with fasteners Fill containers with fasteners](/f/1950477ab95c471030543215c7d72dbb.jpg)
Now you will find them literally in a matter of seconds.
The shelf is not only comfortable, it is also very original, takes up little space and has great functionality. You will love this practical design.
In fairness, it should be noted that there are a lot of ideas for storing little things in the workshop. In addition to this material, we suggest you watch this small video master class:
If you liked the author's idea, try to implement it in your workshop and be sure to write in the comments what worked or didn't work out in the end. Send us your master classes with detailed descriptions and photos, we will certainly publish the most interesting ones!