Huge container for irrigation for a penny

click fraud protection

The summer season is gaining momentum, and now is the time to make efforts to shape the future harvest. And this requires three conditions: top dressing, watering and sunny days. Moreover, watering is very important, because plants are sensitive to the amount and temperature of water. If you fill them with cold water from a well or plumbing, they will hurt and may even die. So many summer residents do the right thing when they put a container in a sunny area into which they collect water for irrigation. It warms up well during the day - and you can safely use it. Of course, there are large tanks on sale for this purpose, but their cost is quite high, and for many who suffered financial losses during the quarantine measures, it is even unaffordable. Meanwhile, you can make a voluminous pool for irrigation literally for a penny, and this was clearly demonstrated by the author of the YouTube channel Green Planet. You will love this idea and you can easily repeat it on your site.

What is needed to make an irrigation tank: savings in business

To make such a tank, you need 4 racks. These can be metal pipes about 2 meters high or wooden posts and even shafts for shovels. In addition to them, you need 3 meters of a chain-link mesh (it can be replaced with a rigid plastic mesh).

The most important thing is to find a high-quality plastic film-pipe. Do not save here: take as dense material as possible and do not buy a film at a discount, it may be damaged. The color of the film does not matter, although it is logical to assume that the black one will warm up better. You only need about 2.5 meters of such a pipe, and even the highest quality will not cost more than 300 rubles.

You also need to find a piece of old linoleum or roofing material to strengthen the bottom and a plastic pipe with a tap to connect the hose.

Even if you have to buy all of the above, you will meet a maximum of 800–1000 rubles, and in return you will receive a tank for a cubic meter of water. A similar plastic container costs at least 9,000 rubles - you can check it out. So the savings are obvious, and all the work will take an hour and a half at most.

How to make a tank: step by step photos

The tank will be stationary, this is not surprising, since the weight of such a container is very large. So choose a place where the sun shines most of the day: not under trees, or by a building or fence. When planning the location of the tank, think about whether it will be convenient for you to pull a hose to it from a well or water supply and, accordingly, whether it will be convenient to connect a hose for irrigation.
Huge container for irrigation for a penny
PHOTO: YouTube.com
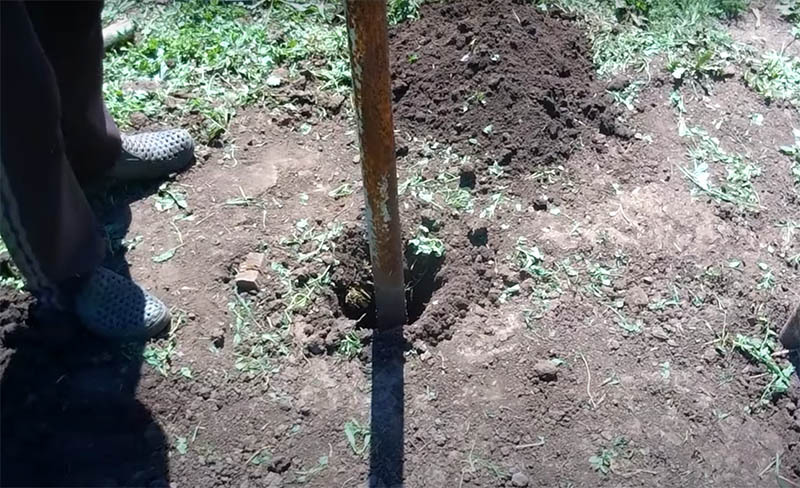
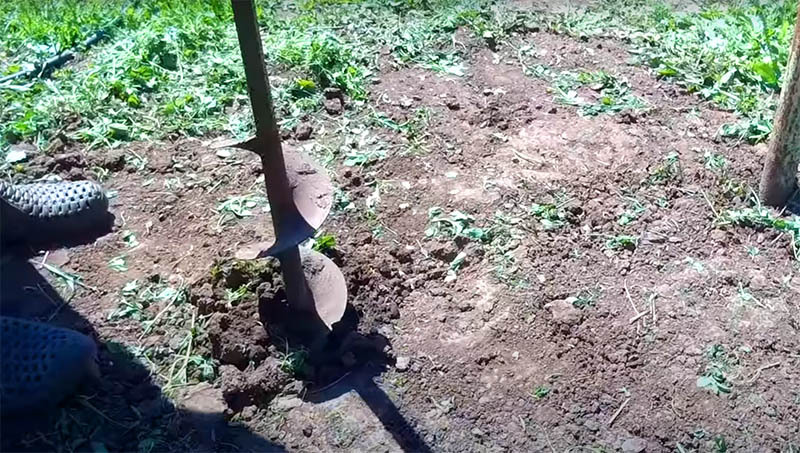
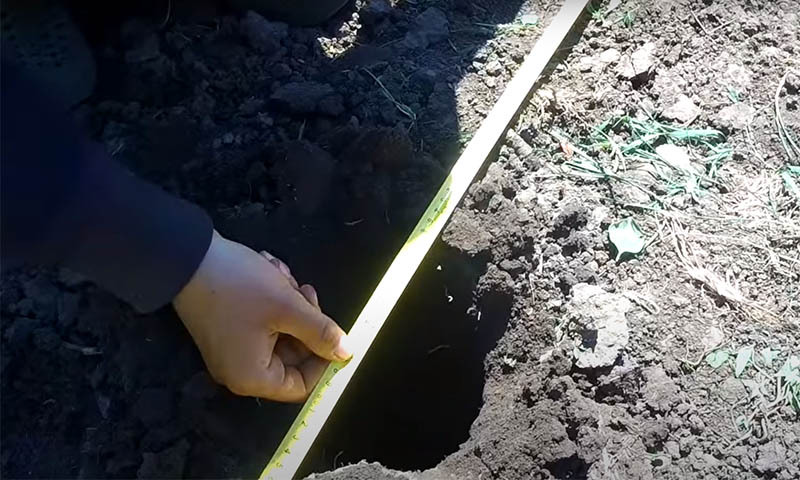
Start by installing the racks. To do this, use a garden drill to sink about half a meter into the ground - this will be quite enough for the racks. You don't need to do more - the pressure on them is minimal
If you have a one and a half meter sleeve, the distance between the posts should be strictly 75 cm. Do more - the tank will fill up, less - it will be bursting with water, and it can break. So it's better to measure several times before drilling.
PHOTO: YouTube.com
If you have a one and a half meter sleeve, the distance between the posts should be strictly 75 cm. Do more - the tank will fill up, less - it will be bursting with water, and it can break. So it's better to measure several times before drilling.
The posts can be reinforced simply with gravel or bricks, there is no need to cement them. However, it is possible that you will like the idea so much that you will build this structure every season, so next year you can think about stationary racks.PHOTO: YouTube.com
The posts can be reinforced simply with gravel or bricks, there is no need to cement them. However, it is possible that you will like the idea so much that you will build this structure every season, so next year you can think about stationary racks.
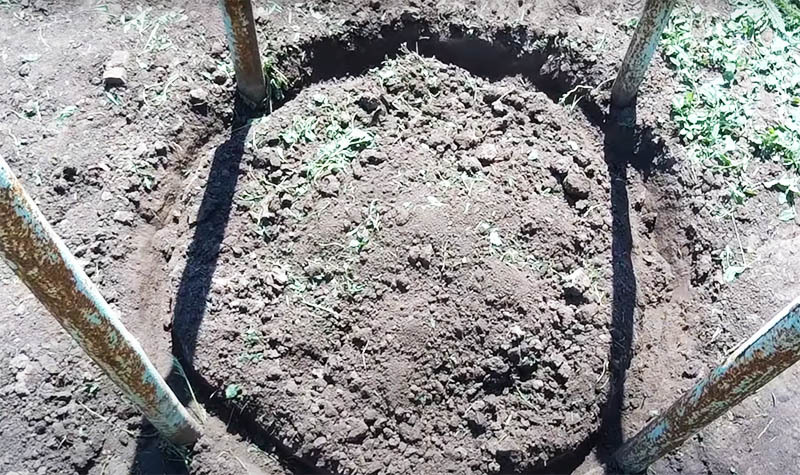
If you use a metal mesh-netting, then you need to exclude the possibility of damage to the film by its sharp ends. Therefore, along the circumference of the future tank, it is necessary to prepare a groove with a depth of about 7-10 cm in order to hide the ends of the mesh in it.PHOTO: YouTube.com
If you use a metal mesh-netting, then you need to exclude the possibility of damage to the film by its sharp ends. Therefore, along the circumference of the future tank, it is necessary to prepare a groove with a depth of about 7-10 cm in order to hide the ends of the mesh in it.
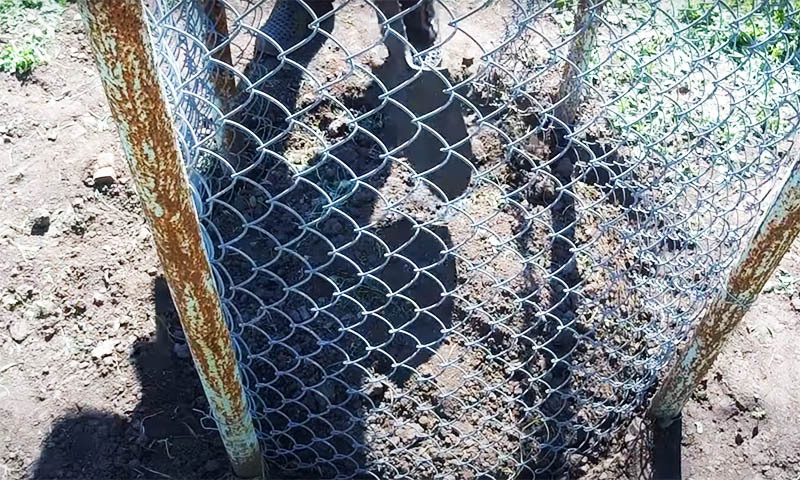
Install the mesh and dig in the groove so that the wire does not stick out to the sides, seal the bottom of the platformPHOTO: YouTube.com
Install the mesh and dig in the groove so that the wire does not stick out to the sides, seal the bottom of the platform
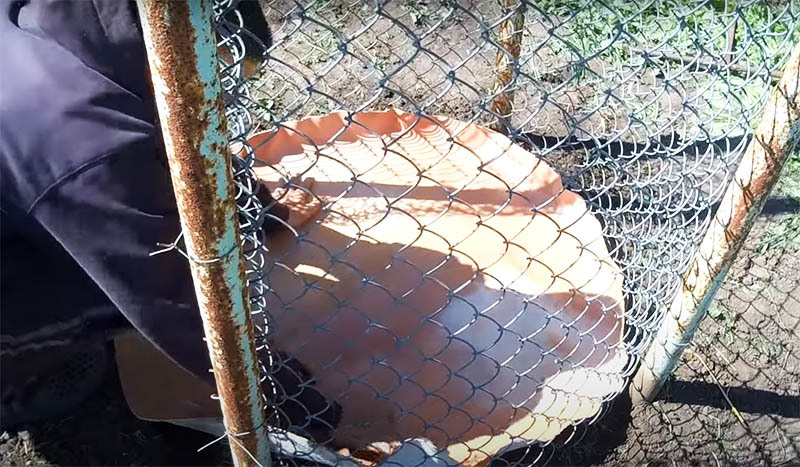
Lay a piece of linoleum or roofing material at the bottom of the site, slightly bending its edges up. This protection will prevent accidental insect or mole damage to your pool bottom. If you have poultry walking around the site, it makes sense to protect the walls of the pool with roofing material or linoleum to a height of at least half a meterPHOTO: YouTube.com
Lay a piece of linoleum or roofing material at the bottom of the site, slightly bending its edges up. This protection will prevent accidental insect or mole damage to your pool bottom. If you have poultry walking around the site, it makes sense to protect the walls of the pool with roofing material or linoleum to a height of at least half a meter
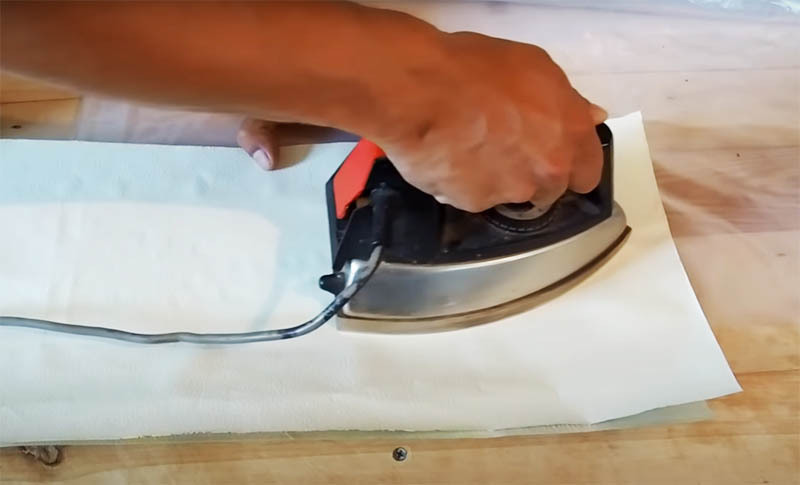
The polyethylene sleeve must be glued one cut at a time. This is easy to do using an iron and two sheets of paper. For reliability, make the gluing place wider, but do not forget to leave a small hole in the middle in order to insert the pipe.PHOTO: YouTube.com
The polyethylene sleeve must be glued one cut at a time. This is easy to do using an iron and two sheets of paper. For reliability, make the gluing place wider, but do not forget to leave a small hole in the middle in order to insert the pipe.
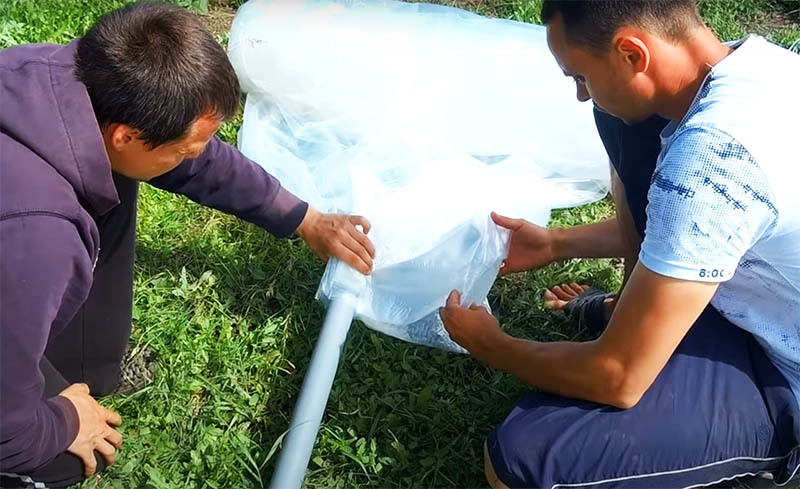
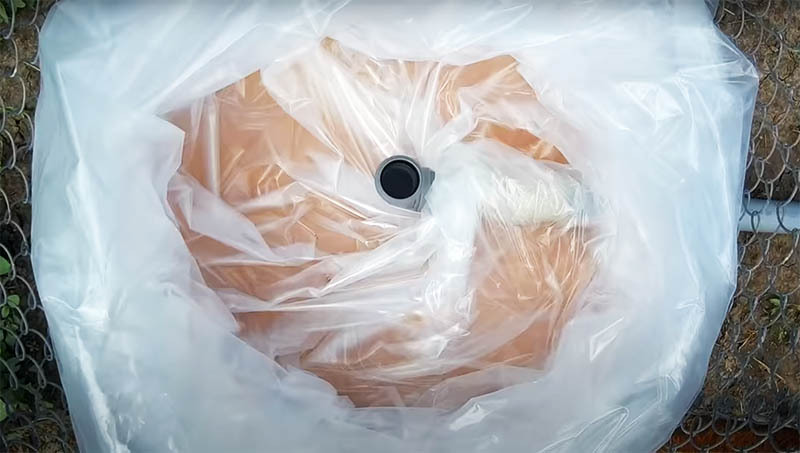
Already in place, insert the pipe into the sleeve and collect the bottom of the polyethylene around it in neat folds. If simply crumpled, the clamp will not be able to seal this cut.PHOTO: YouTube.com
Already in place, insert the pipe into the sleeve and collect the bottom of the polyethylene around it in neat folds. If simply crumpled, the clamp will not be able to seal this cut.
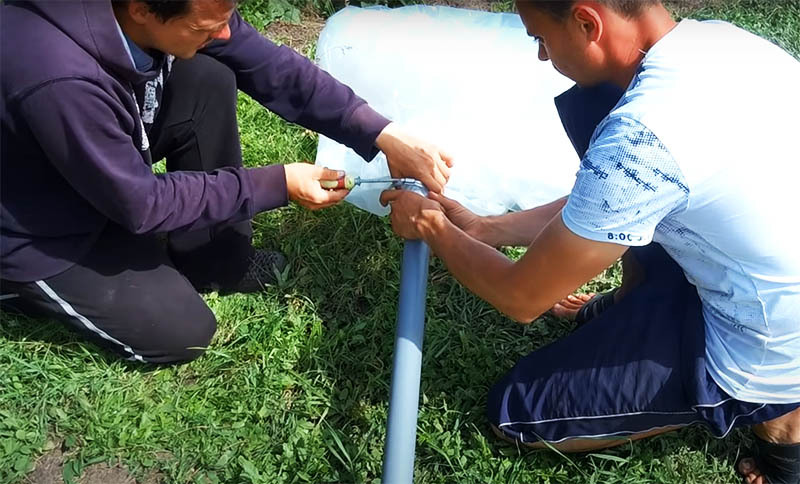
Secure the polyethylene around the pipe with a pair of metal clamps. You can do with one, but two will be much more reliable.PHOTO: YouTube.com
Secure the polyethylene around the pipe with a pair of metal clamps. You can do with one, but two will be much more reliable.
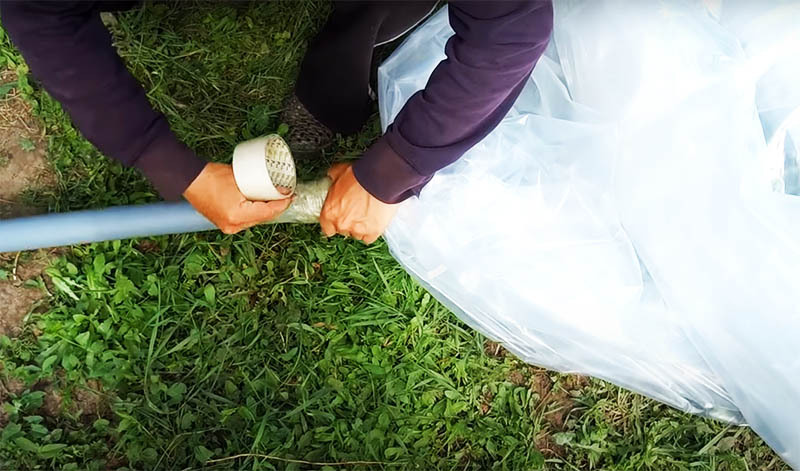
Fix the polyethylene permanently around the pipe with strong tape or duct tapePHOTO: YouTube.com
Fix the polyethylene permanently around the pipe with strong tape or duct tape
Install the sleeve into the prepared frame, lead the pipe through the net and straighten the bottom by pouring several buckets of water. After that, start filling the container, straightening the polyethylene along the walls.PHOTO: YouTube.com
Install the sleeve into the prepared frame, lead the pipe through the net and straighten the bottom by pouring several buckets of water. After that, start filling the container, straightening the polyethylene along the walls.
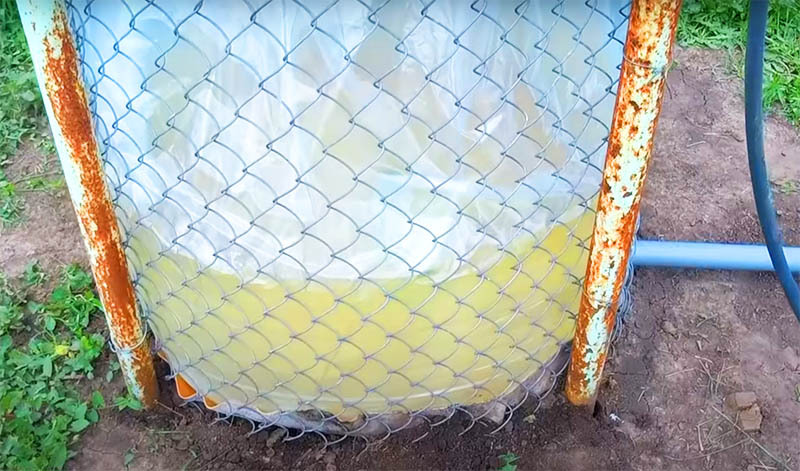
If everything is done correctly, the container will fill evenly, the polyethylene will press against the mesh. On a good level ground with vertically set uprights, the entire structure will be very stable.PHOTO: YouTube.com
If everything is done correctly, the container will fill evenly, the polyethylene will press against the mesh. On a good level ground with vertically set uprights, the entire structure will be very stable.
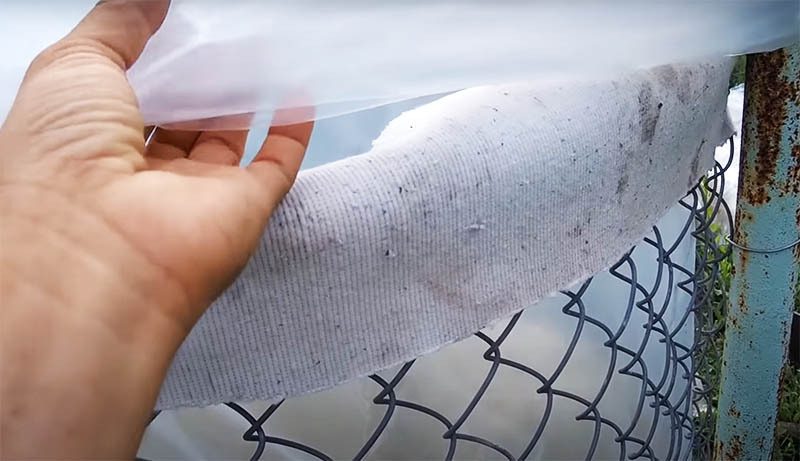
The top of the metal mesh also needs to be covered to preserve the polyethylene. To do this, use the same roofing material, linoleum, fabric or just a piece of oilclothPHOTO: YouTube.com
The top of the metal mesh also needs to be covered to preserve the polyethylene. To do this, use the same roofing material, linoleum, fabric or just a piece of oilcloth
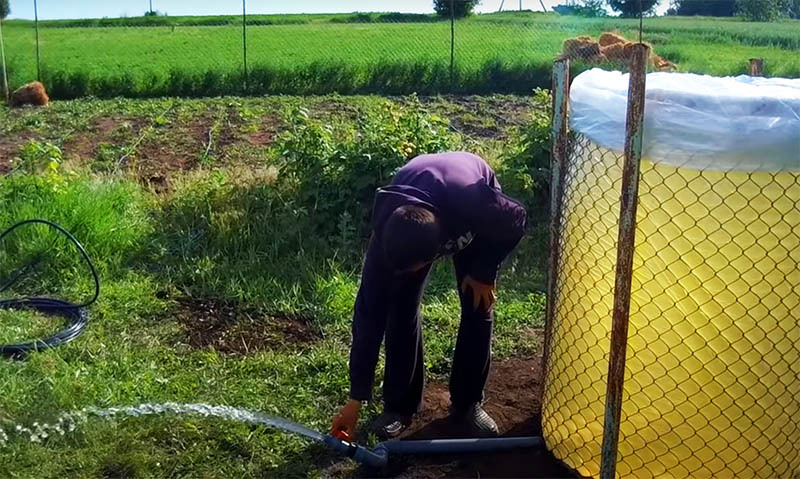
The pool for irrigation per cubic meter of water is ready. It remains only to connect the hose and open the tap. The head will be good enough, especially if you place the container on an elevated position.PHOTO: YouTube.com
The pool for irrigation per cubic meter of water is ready. It remains only to connect the hose and open the tap. The head will be good enough, especially if you place the container on an elevated position.

Such a pool will definitely serve you the whole season. And if you use a thick film and put it indoors for the winter, then two seasons. For a large area, you can put as many of these structures as you like - and forget about problems with watering.

It's hard to think of something simpler and more convenient than this tank, but here's another idea for you on this topic, now using wooden pallets:

If you are ready to share your opinion about this idea - write in the comments. Share your experience in making such structures!

Discuss0