In production renovation very often accurate measurements of the distance from point to point are required. And in addition to repair, such a task is sometimes relevant. And it's good if these distances are small - you can use a tape measure. Sometimes the use of this tool is simply impossible. And this is where laser or ultrasonic devices come to the rescue. But the purchase of such a high-precision instrument is not affordable for everyone. Therefore, let's try to figure out how difficult it can be to independently manufacture a rangefinder from spare parts from Chinese resources based on arduino.
Read in the article
- 1 What you need to purchase to assemble an ultrasonic rangefinder
- 2 The first steps in making a rangefinder on an arduino
- 3 Arduino programming: how to upload a sketch
- 4 Final assembly of the ultrasonic rangefinder and evaluation of the result
- 5 What should turn out in the end
- 6 Checking the readings of the ultrasonic rangefinder
- 7 Final part
What you need to purchase to assemble an ultrasonic rangefinder
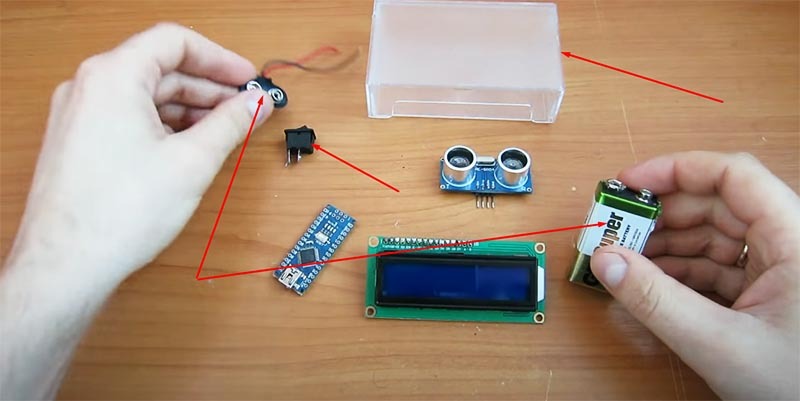
In order to make an arduino-based ultrasonic rangefinder, you do not have to spend large sums. On Chinese resources, which have become so popular recently, such elements are quite cheap.
The main visible element that allows you to visually read data from the device will, of course, be the liquid crystal display.
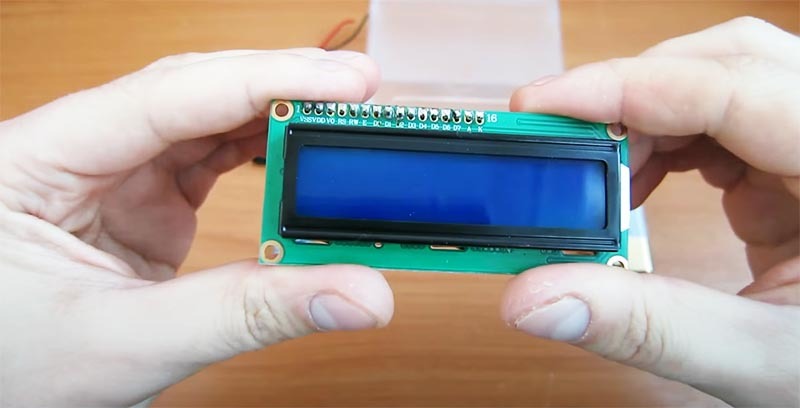
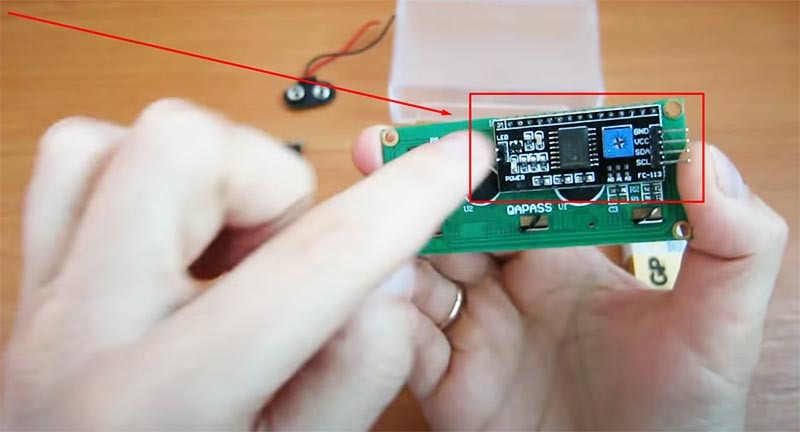
The second element that will directly contact the display is the I2C module (1602) for arduino. It is essentially an LCD adapter. It can be sold separately, although it is much more convenient to purchase the LCD already assembled with the module.
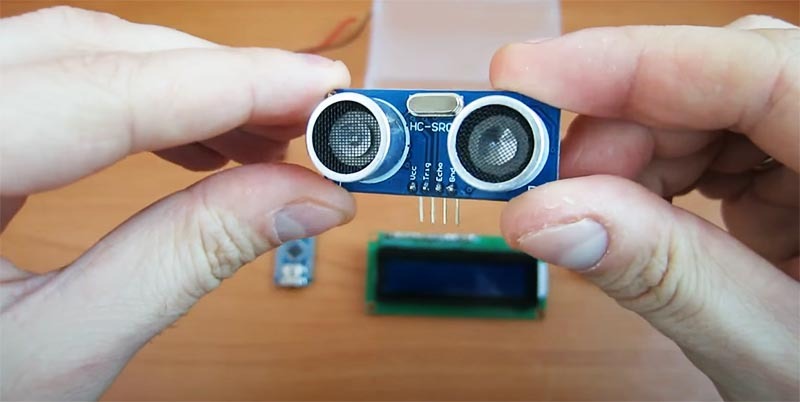
The next element is the "eyes" of the future rangefinder. Their role is played by the ultrasonic rangefinder board. It is quite compact, and therefore there will be no problems with placing it in a small box.
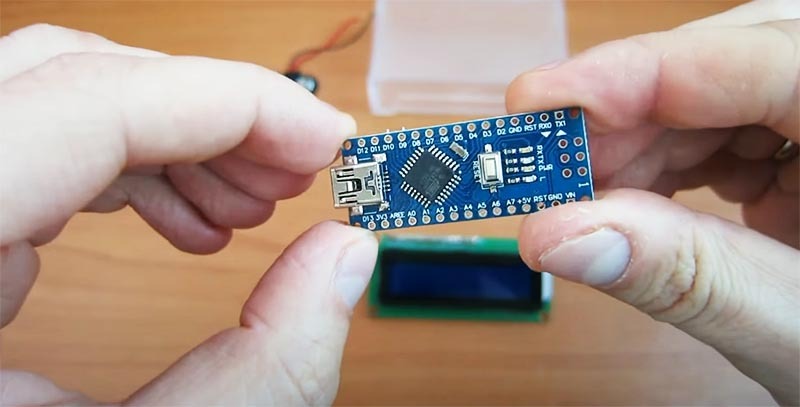
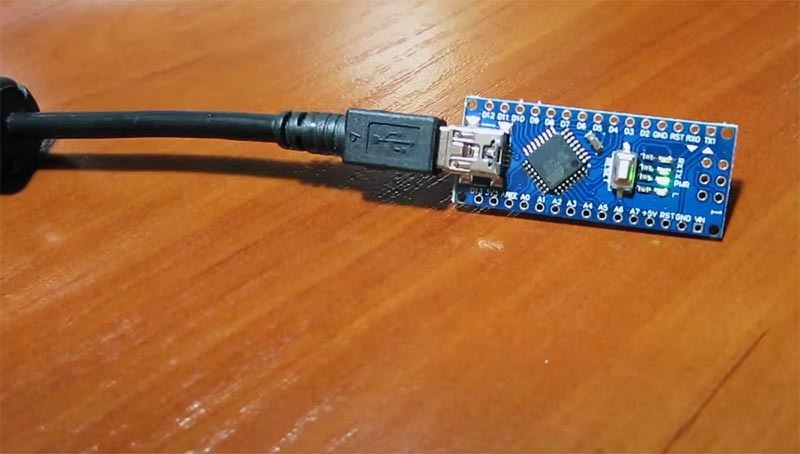
And finally, the "heart and brain" of the device being manufactured is the arduino board itself. On sale it is still pristine, so you will need to fill in a sketch on it. A link to it will definitely be in today's article.
Well, and finally - the remaining little things necessary for the operation of the ultrasonic rangefinder, including:
- 9 V battery, "Krona" type with connector;
- switch;
- any plastic box in which all the parts will fit, several pieces of wires.
The first steps in making a rangefinder on an arduino
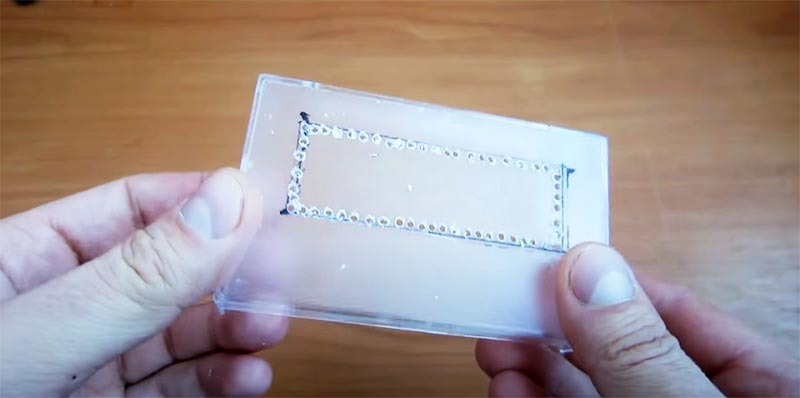
You should start work by marking the box for the purchased items. After marking, the excess plastic is cut out. To do this, you can use various methods, but they are all elementary and do not require detailed consideration.
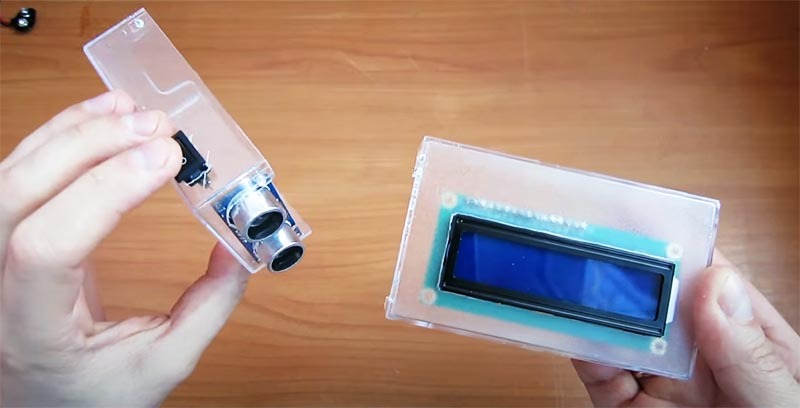
The display and ultrasonic rangefinder are installed in their places, after which you can proceed to more complex actions.
Arduino programming: how to upload a sketch
Those who have already encountered a similar question know that arduino works with special programs. They are easy to download from the Internet. But we have no right not to provide the sketch necessary for the rangefinder within the framework of this article. It can be downloaded to your PC.
Final assembly of the ultrasonic rangefinder and evaluation of the result
Further work will require some skills in owning a soldering iron. With the help of pre-prepared sections of wires, you need to collect all the parts into a single device. The scheme cannot be called complicated; with a certain amount of care, even a schoolchild can cope with it.
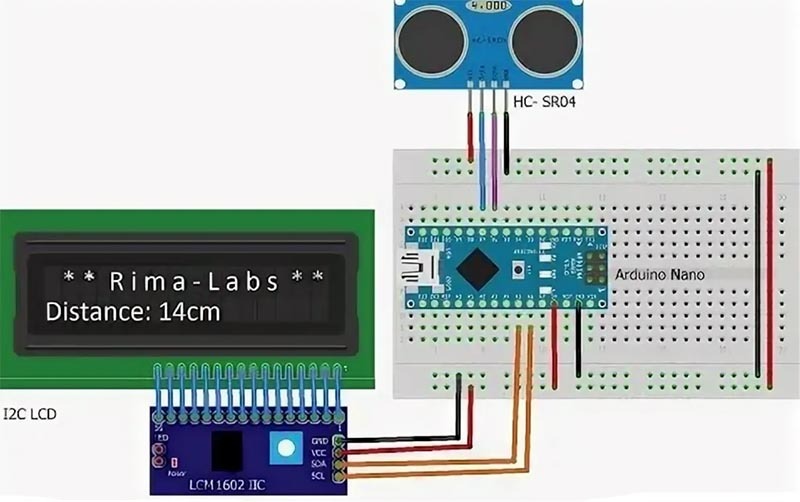
What should turn out in the end
After assembling the circuit, it remains to fix all the parts inside the plastic box with hot glue and close it. You should get a neat device, which is already time to test.
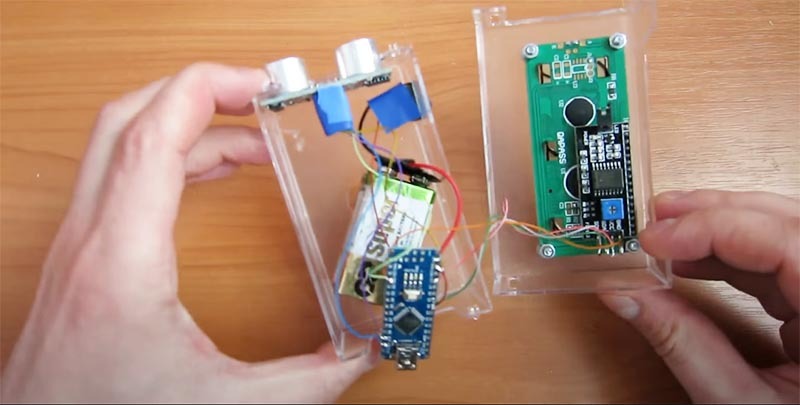
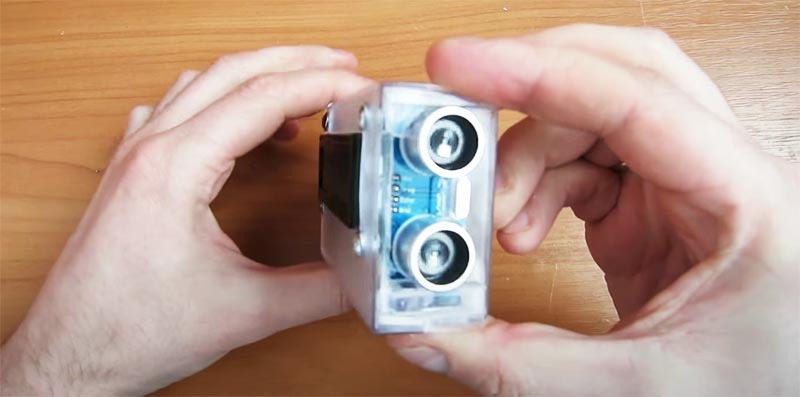
Checking the readings of the ultrasonic rangefinder
In order to check the accuracy of measurements and the performance of the assembled device, you can use a regular ruler. It should be borne in mind here that measurements are made by the device from the level of its rear wall.
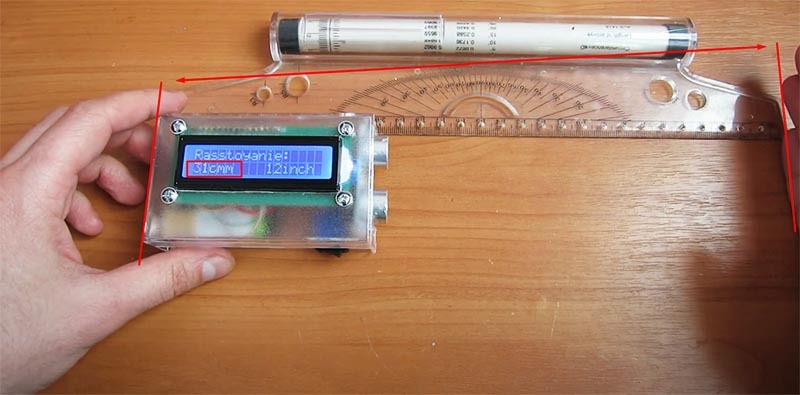
Final part
It may seem to many novice home craftsmen that working with arduino is very difficult and you need to learn it for a long time. In fact, it is only worth trying once for this occupation to fascinate a person so much that he himself will begin to invent various devices that require such a microcircuit. Moreover, the cost of the necessary elements is minimal, and it is extremely easy to find the necessary sketches for a particular purpose on the network. As for the rangefinder, it can be made not only by ultrasonic, but also by laser. The second option will be even more preferable - you can always see if there is an obstacle in the path of the beam.
We hope that home craftsmen who are beginning to work with Arduino will adopt the method of making an ultrasonic rangefinder presented today. Homius editors will be happy to answer all questions about today's article, if any, have arisen in the process of reading the information. You just need to explain their essence in the comments below. There you can share your use case for arduino, or even point out the incompetence of the author, if you suddenly discovered the presence of one. Yes, and please don't forget to rate the article. Your feedback is extremely important to us. And, of course, in the light of the spreading infection around the world, take care of yourself, your loved ones and be healthy!


