You can often hear that the basis of all modern landfills is plastic, and this is a plastic container for drinks. This is not surprising, for today such material is the cheapest and most profitable type of container for buyers and manufacturers. Each person, on average, throws away 3 plastic beverage containers per week, and it is not surprising that ecologists are desperately sounding the alarm, because this material, strong and durable, is able to persist without decomposition centuries. Pay attention: centuries! Why not reuse this wonderful quality without polluting the environment? It is no secret that it is plastic bottles that are becoming more and more popular material for various creativity. On the Internet, you will find a lot of options for crafts from this raw material. One of them deserves special attention. This is the experience of making a strong mesh from bottles that can be used for fencing and even for building a hammock! The author of this YouTube master class is the channel ALL IDEAS.
Read in the article
- 1 How to make weaving line from bottles
- 2 Plastic blank for weaving
- 3 Mesh assembly: the simplest weaving
- 4 Where can such a plastic mesh be used?
How to make weaving line from bottles
To make the mesh, you need plastic bottles.
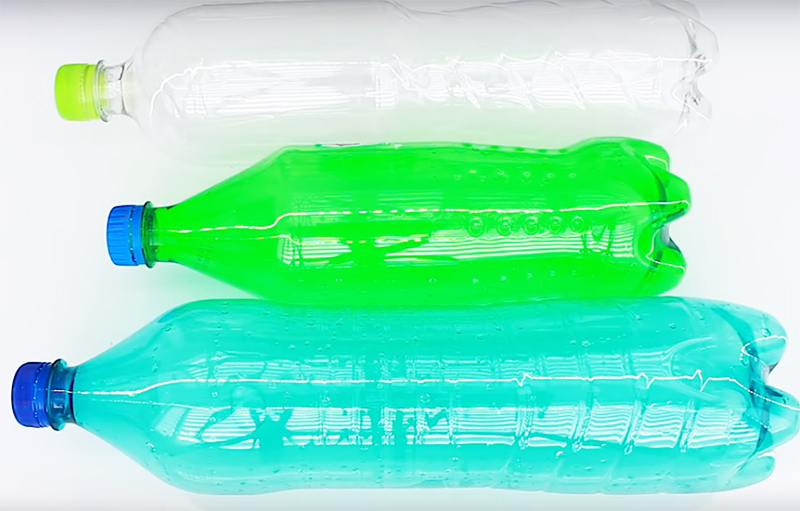
If you have the opportunity to use bottles of different colors, you can create multi-colored compositions.
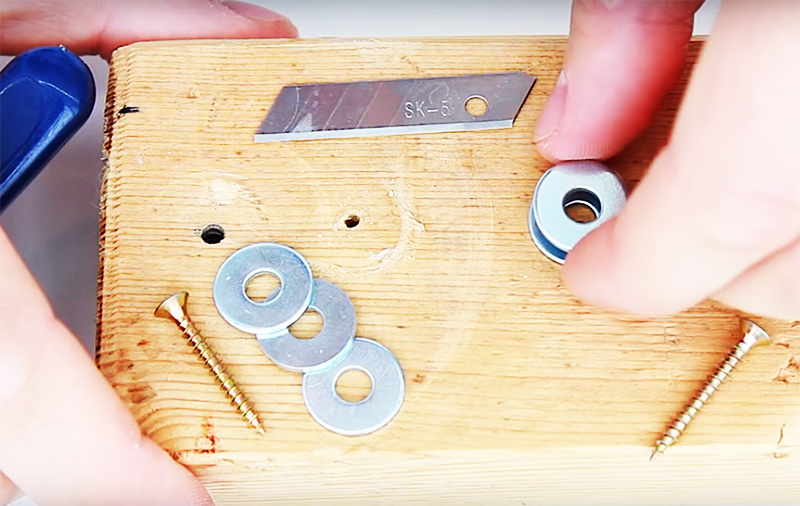
It is much easier to use a simple mechanical cutter, for which you only need a small board, a blade from a mounting knife, a few washers and a couple of self-tapping screws.
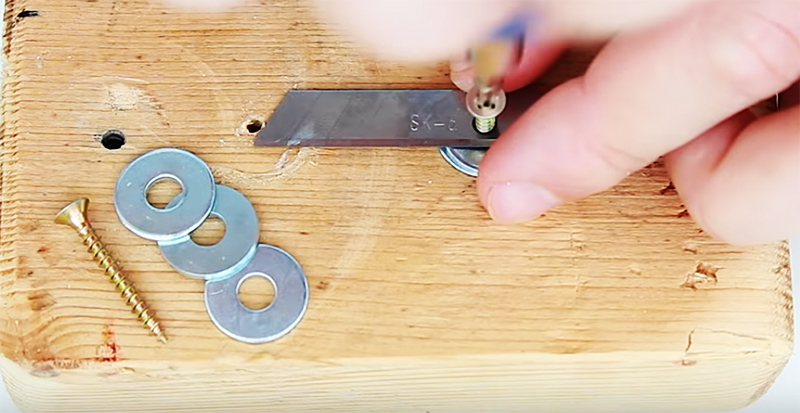
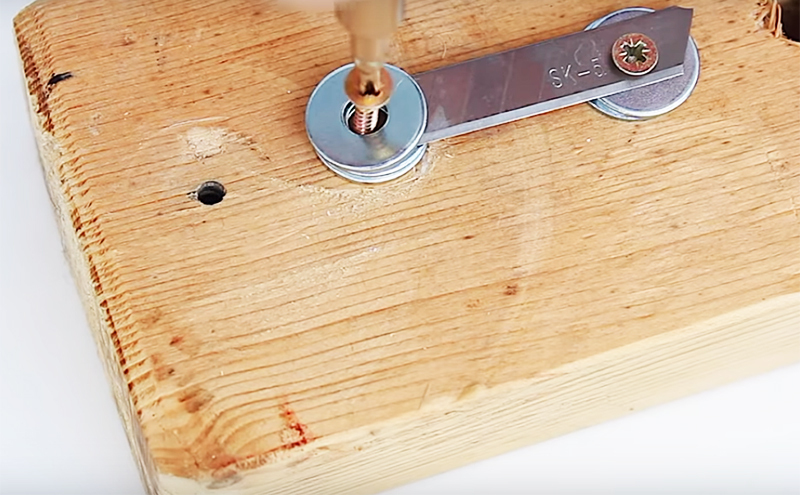
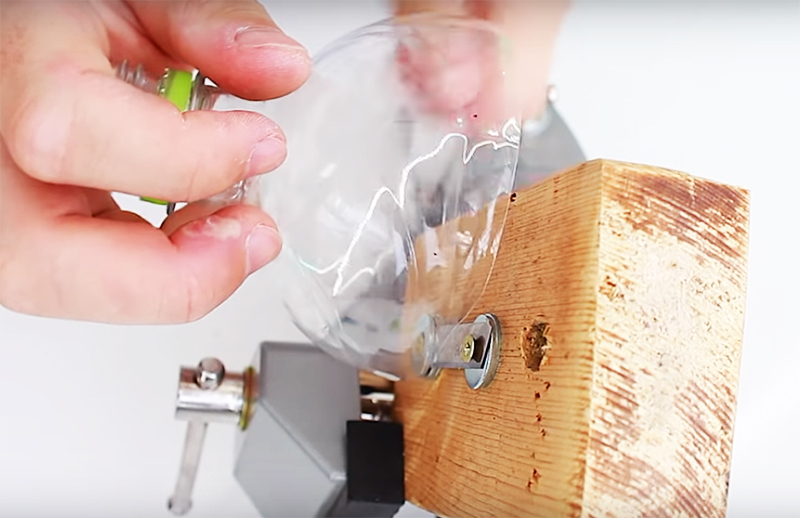
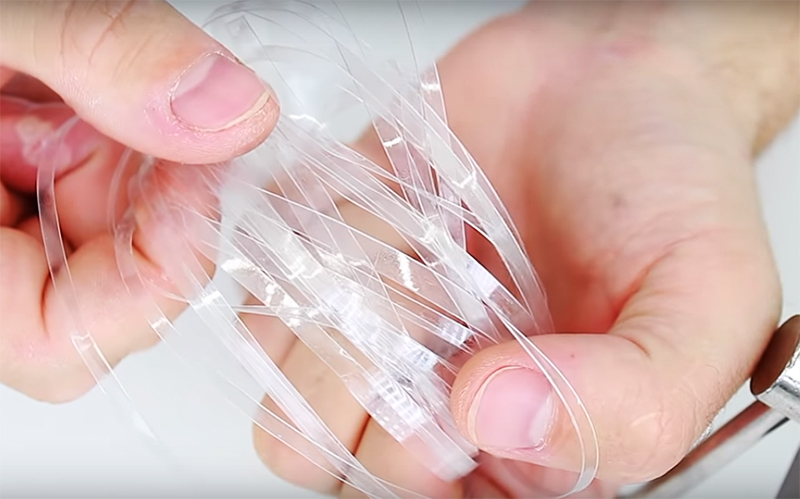
Plastic blank for weaving
Knitting from such a plastic strip is not very convenient - this is not a fishing line for you, it is quite tough and stubbornly returns to its original shape. Therefore, the strip needs to be shaped for weaving.
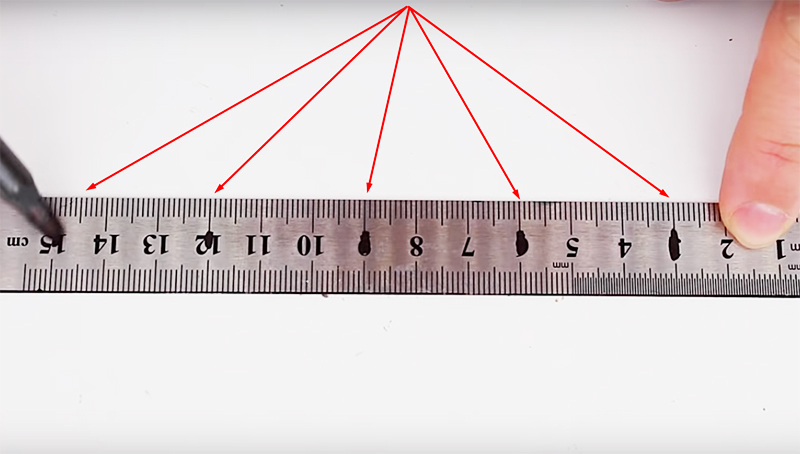
The width of the ruler should match the width of your future product. For example, if you are going to weave a hammock, you will need a ruler that is at least 80 cm wide. Any metal strip can be used instead of a ruler. Measure the grid cell spacing on the strip - usually about 3 cm.
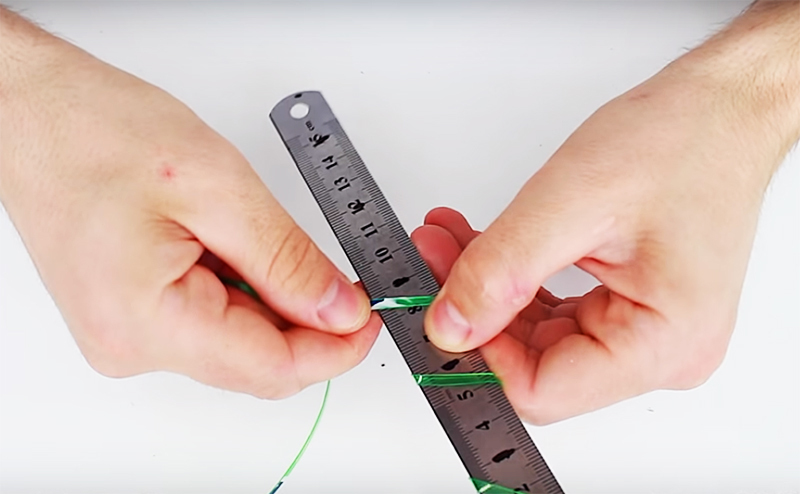
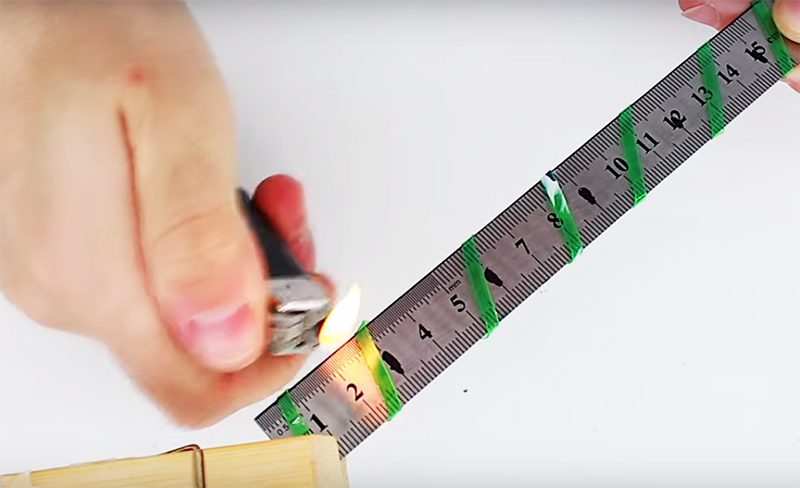
This can be done with a building hairdryer or a regular lighter, just walk along the edges of the ruler. The plastic will melt slightly and solidify in the desired shape.
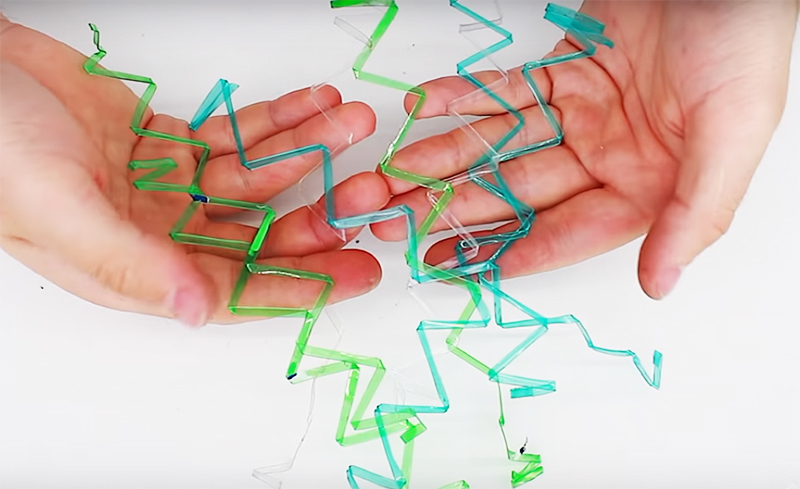
These bends will be the hitch point between the strips.
Mesh assembly: the simplest weaving
When you have made the required number of blanks, you can start weaving. How do you know how many stripes are required for a grid? Each strip, depending on the width of the template, will be approximately 2 to 3 cm. So calculate the desired length of the product based on these indicators, and be sure to make a small margin.
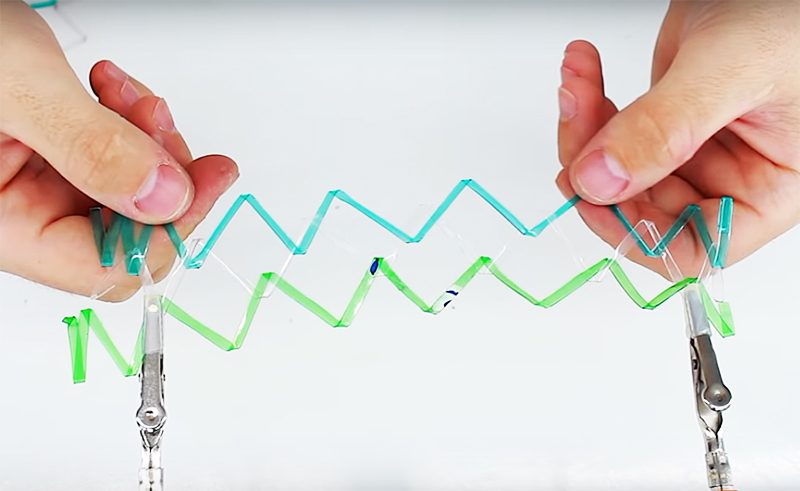
Use clothespins or nails and screws for this. Then just thread the second strip so that the bends of the workpieces mesh with each other.
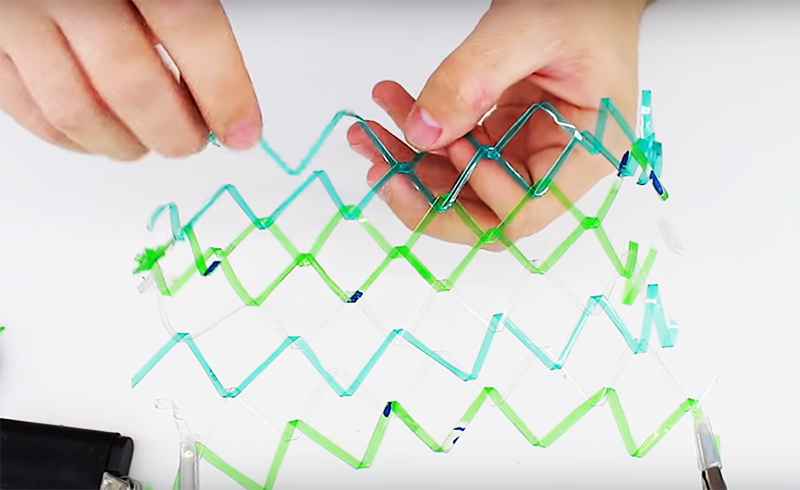
Alternate stripes of different colors if you have such options.
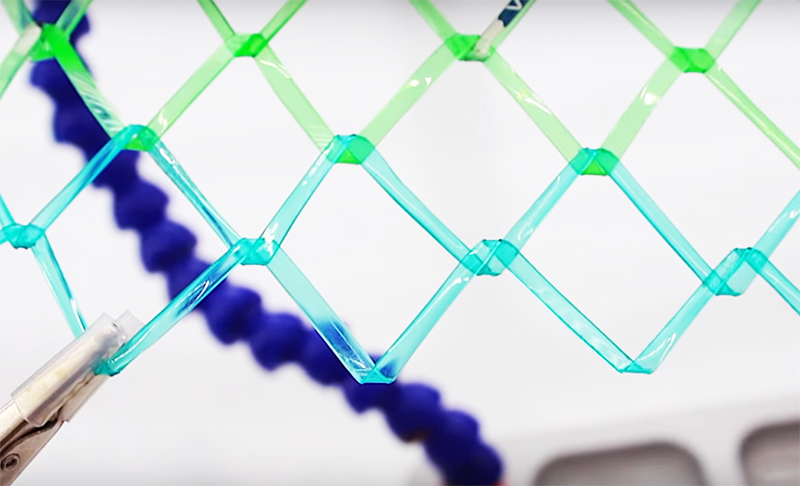
Where can such a plastic mesh be used?
The main advantage of such a product is its extraordinary strength. It will pass all your tests. The only thing this material is afraid of is temperature changes, so it is better not to leave a plastic hammock in the cold.
To make a hammock out of this mesh, you just need to fix the weaving on two slats at the beginning and end, and tie the ropes to the slats for hanging. In addition, plastic mesh can be used for fencing, for this you need to make frames on which it will stretch.
The net can be used for hanging planters, stretching over the house from attacks of predators and many other household purposes.
We showed you the easiest way to make a specialized cutter, but if you are going to get serious weaving from plastic, this video master class on making a more complex device for dissolution may be useful to you bottles:
Write in the comments what do you think about the idea of plastic weaving? Maybe you've already used a mesh like this in your home? Share your impressions and recommendations! Send your photos of products from such a mesh with a description of their manufacture, we will definitely tell our readers about your success.
PHOTO: YouTube-channel "ALL IDEAS»


