If you don't know what to do at home, collect all the stocks of plastic bottle caps and do unusual and interesting things with your own hands. The Homius editorial staff continues the series of articles with the hashtag #BestHomedoma. Self-isolation is a great time to do something useful. We will show you how to make a beautiful countertop or basket out of lids.
Read in the article
- 1 Organizer for storing small items
- 2 Top made of lids
- 3 Basket of lids
- 4 Curtain made of plastic covers
- 5 Mirror frame
- 6 Kitchen apron
- 7 Finally
Organizer for storing small items
You can make a handy organizer for storing nails, nuts, and other small parts using bottles with lids. To do this, cut off the top bottle. Try to cut as neatly as possible, in a horizontal position.
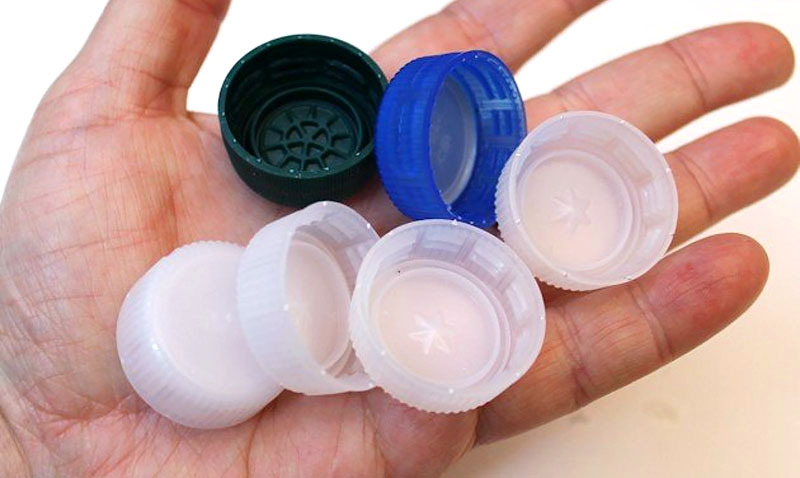
To keep your organizer neat, tweak the blanks after cutting with sandpaper. To do this, put part of the bottle with the lid down and go over the edges with sandpaper several times, removing all the irregularities.
The next step is gluing the blanks to the base. Take a small block of wood or a piece of plastic and carefully glue the blanks to the base.
Wait until the glue is completely dry - it is best to leave the craft to dry for 24 hours. After that, you can paint the organizer in any color you like using spray paint. Arrange nuts and hardware in separate compartments.
Top made of lids
If you have a lot of different colored lids, make a bright and beautiful countertop out of them. In this case, it is best to use metal covers, but if they are not available, plastic ones will do. Before starting work, prepare the base - form small sides 2–3 cm high along the edges and paint the entire surface in one color, best of all use matte black paint.
Then start laying out a beautiful composition of the lids - try to lay them out not chaotically, but in some order, for example, in zigzags or lines. Fold out all existing lids so that there is no empty space on the table. When the drawing is ready, start filling the surface.
The best option for pouring is epoxy resin. You need to work with it very carefully. Mix the epoxy and hardener before pouring on the countertop. To do this, you will need:
- two syringes without a needle;
- two plastic containers for mixing resin;
- wooden sticks.
Heat the resin until it becomes viscous, but do not boil and start the crystallization process. Put the resin in one syringe, the hardener in the other, and start mixing the two substances by pouring them into the container. Mix resin and hardener in a ratio of 1:10, that is, one part of resin will require 10 parts of hardener.
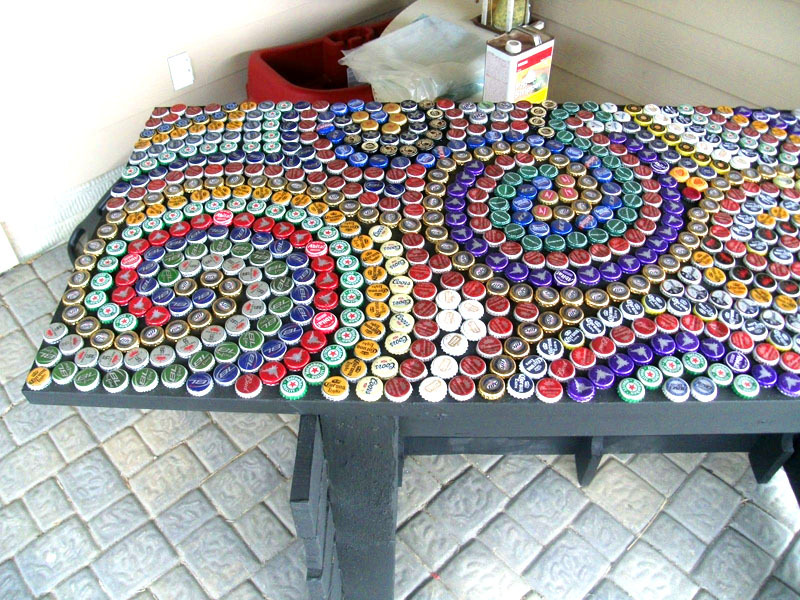
When the composition is ready, start pouring the first layer. Spread the mixture gently with a wooden stick to avoid clumping. It may take several coats to bring the countertop to a new look. Wait for the resin to harden, this may take 24–36 hours.
Basket of lids
If you have already done everything and do not know what to do with yourself in quarantine, you can arrange storage in the bathroom. To do this, you do not need to order beautiful baskets on the Internet and wait for delivery - you can make them yourself from plastic lids.
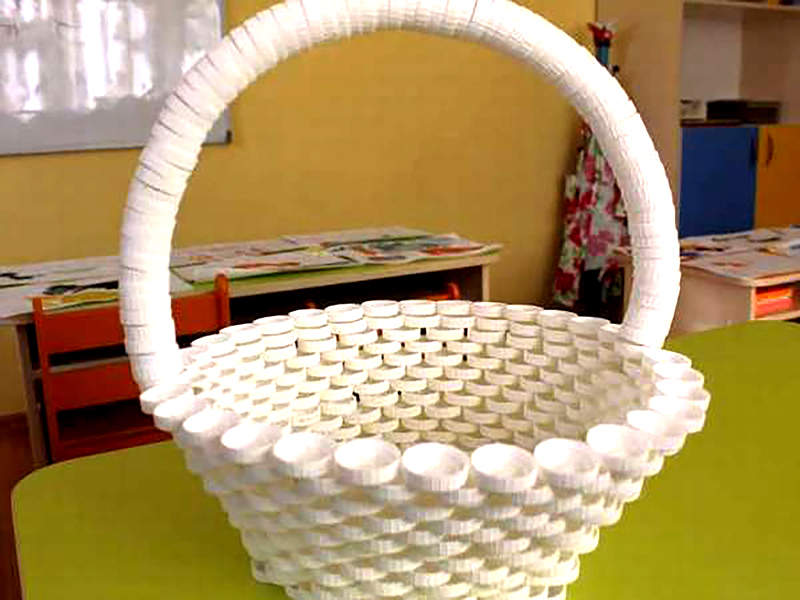 PHOTO: ukrop.tech
It is very easy to make such a basket. You will need about 50 caps, super glue or a hot glue gun. Start laying out the bottom of the basket by gluing adjacent pieces together. You can determine the optimal size of the future product yourself. To store a small towel or cotton pads, it is enough to make the bottom of the basket with a diameter of 7-12 cm.
Wait until the base is dry, and only then start laying out the walls. Place the lids right side out for the most beautiful look. It is enough to lay out 6-8 rows in height, if you want the basket to be deep, add a few more rows, but try not to make it too heavy.
After 24 hours. start laying out the basket handle. Such a handle will not be strong enough to carry the product from place to place, and you need for beauty, so just attach one row of lids and you can use the storage basket of things.
Curtain made of plastic covers
If you decide to decorate a room, but do not want to use standard methods, make a curtain with white plastic covers. You will need plenty of caps, as well as line and quick dry glue.
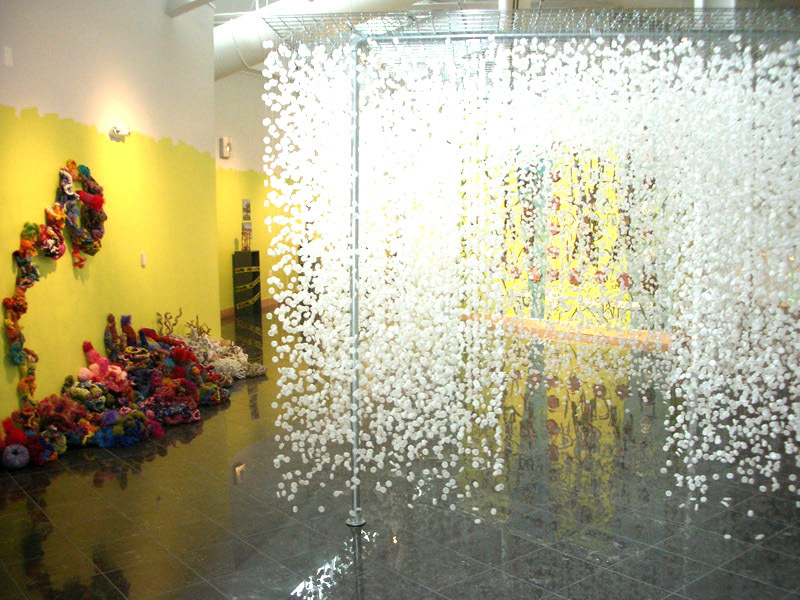 PHOTO: dekormyhome.ru
It is very simple to make such a curtain, follow the instructions:
- Prepare the base. This can be a plastic or wooden stick that you can then attach to the ceiling.
- Make small holes in the base and secure the scraps of line. Use different lengths of line to create a rain effect.
- Start gluing the caps to the line. Do not try to make everything perfect, and glue the covers at the same distance from each other.
When this work is finished, leave the workpiece to set for 24 hours. After this time, attach the structure to the ceiling.
Mirror frame
With the help of covers, you can make a beautiful and original mirror frame. Collect all the lids you have at home and put them together in a beautiful pattern - it could be a multicolored circle or a rhombus, a shape that resembles the sun with long and short rays. Do not rush to glue the covers, make sure that the future frame looks stylish and will fit into your interior.
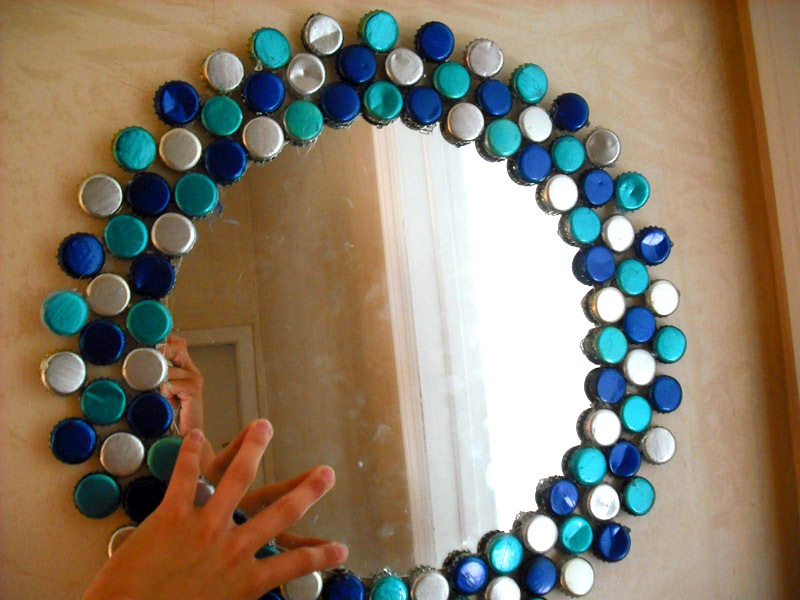 PHOTO: i.pinimg.com
It is very easy to make a frame from covers - first prepare a cardboard blank of the desired shape and glue a mirror to it. Begin to glue the lids only after the workpiece is completely dry. Thoroughly coat all the edges of the lid with hot melt glue and press them against the cardboard for a few seconds so that they better attach and do not fall off.
Kitchen apron
An unusual idea for using plastic or metal lids is making a kitchen backsplash. Paint the lids in any color or use them in an original shade, laying out different compositions.
Do not stick the covers directly onto the wall - prepare the base first. You can use thick cardboard, plastic or wooden rectangular blanks.
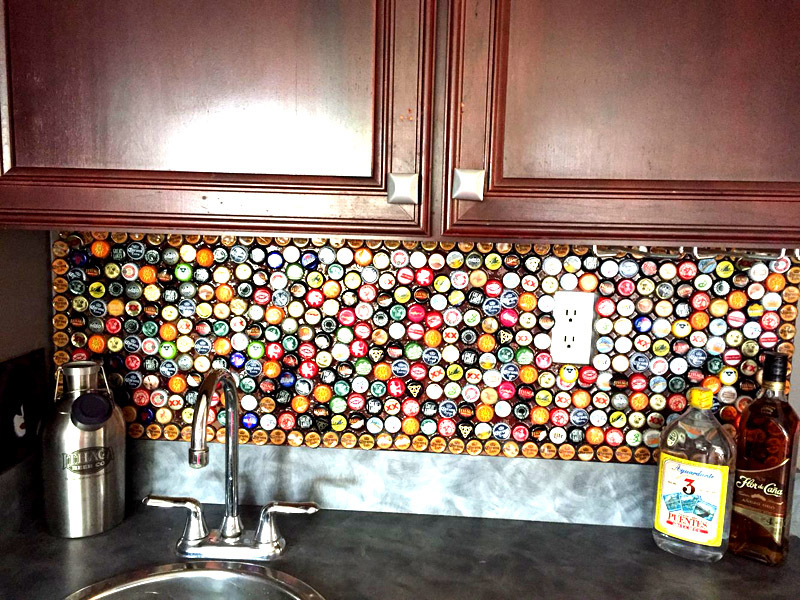 PHOTO: i.pinimg.com
There are two options for attaching the covers. A simple way is to glue and stand for 36 hours. until completely dry. The second method is more complicated and reliable - cover the finished kitchen apron with transparent glass. The main advantage of this design is that you can always update apron, re-glue the fallen covers.
Finally
Any craft made from lids will look stylish and original if you think over the composition in advance and choose such shades that will fit well into the interior of your apartment. Do not rush to make the craft as soon as possible, wait for the glue to dry, and, if necessary, apply a second layer so that the finished item is not only beautiful, but also durable.
What ideas for using plastic lids did you like? Have you made any lid crafts?


