Form for tiles from a vegetable box: simple and original

click fraud protection

The HousChief editorial staff continues the series of publications with the hashtag #BestHedom. This material is presented for those who use forced self-isolation every day for arrangement of your suburban area. Now is the time to start paving paths in the garden, recreation areas. There are many ways, but the most practical of them is perhaps paving slabs. But buying it in the days of self-isolation is not easy. However, you can make such a tile yourself, especially if you have in stock cement, sand and fine gravel. The only catch is in the form - where can I get it? A great idea was suggested by the author of the YouTube channel DIY garden and decor. He suggested using ordinary vegetable plastic boxes as a basis.

Read in the article

  • 1 Form preparation and what can be done with a broken box
  • 2 How to fill out a tile form
  • 3 How to decorate tiles

Form preparation and what can be done with a broken box

Different vegetable boxes are available. But you need the tiles to have the same size and thickness of about 4–5 cm. After all, if it is the same, then there will be no problems with styling.
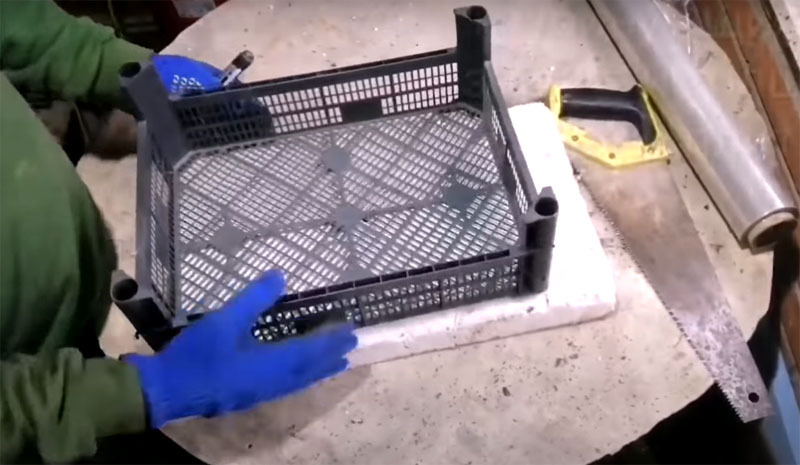
Mold for tiles from a vegetable box
PHOTO: YouTube.com
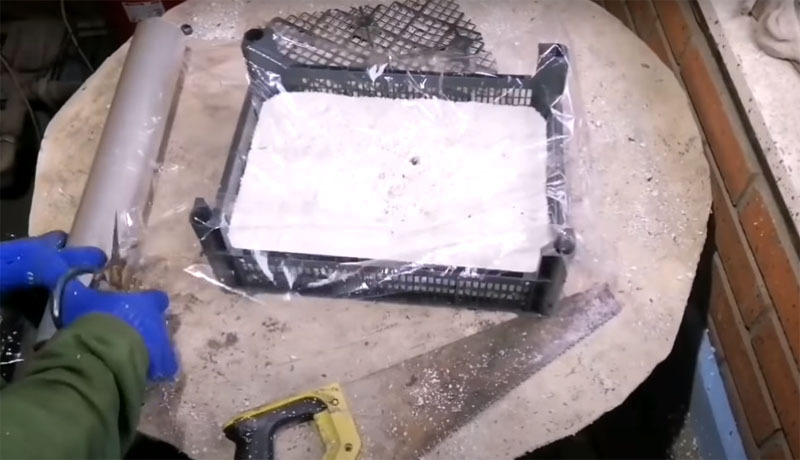
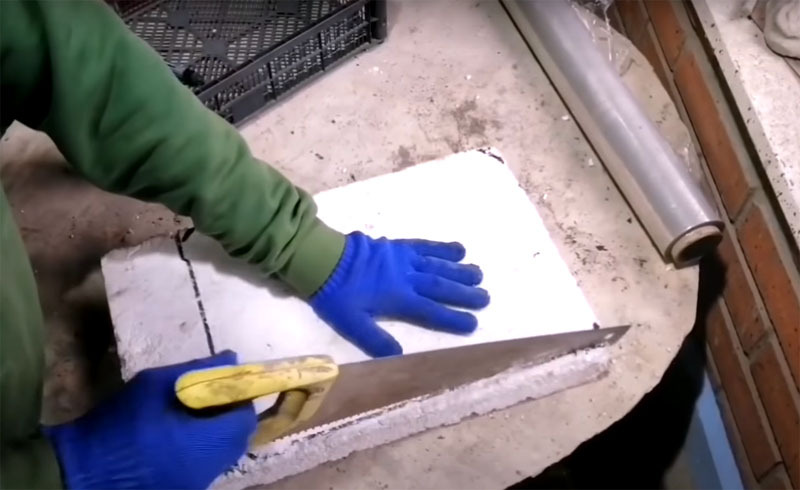
To reduce the depth of the form, a hard, thick material must be laid inside the box, which will fill the excess space.
A great option is a piece of insulation. It can be polystyrene or polystyrene foam. You just need to cut it to the shape of the box. You can also use a thick board
PHOTO: YouTube.com
A great option is a piece of insulation. It can be polystyrene or polystyrene foam. You just need to cut it to the shape of the box. You can also use a thick board
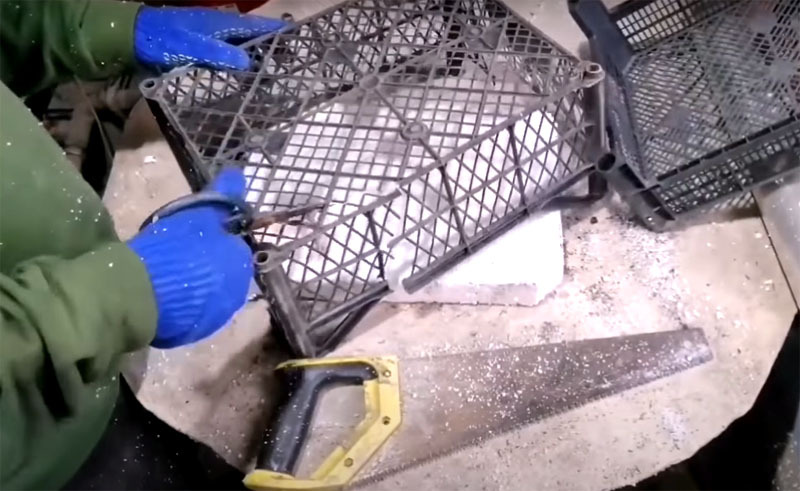
If you have broken crates in stock that do not hold their shape, do not throw them away. Cut off the mesh bottom and walls, they will be useful to you as a reinforcing part for future tilesPHOTO: YouTube.com
If you have broken crates in stock that do not hold their shape, do not throw them away. Cut off the mesh bottom and walls, they will be useful to you as a reinforcing part for future tiles
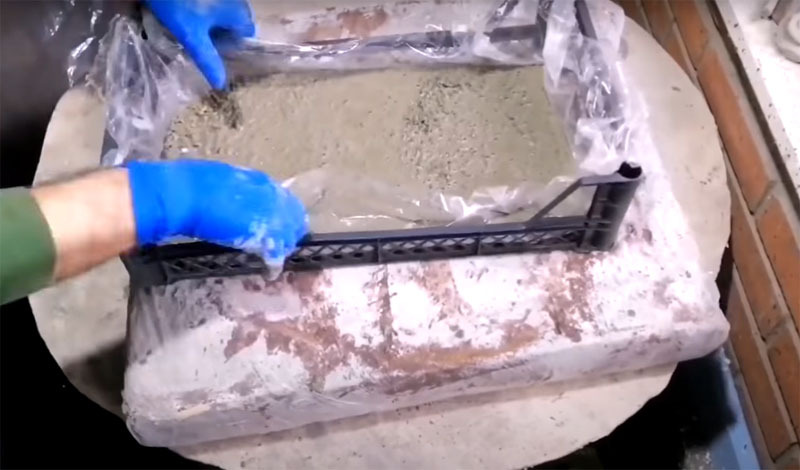
For easy removal of the finished tile from the mold, you need to lay the inside of the box with roll film. It is then easily separated from the finished tile.PHOTO: YouTube.com
For easy removal of the finished tile from the mold, you need to lay the inside of the box with roll film. It is then easily separated from the finished tile.
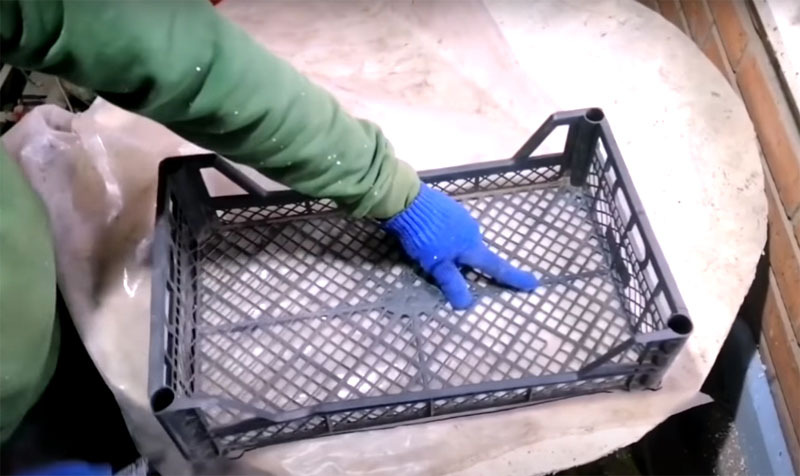
With a low drawer, everything is much easier - you just need to lay the bottom with a piece of thick film or even cardboardPHOTO: YouTube.com
With a low drawer, everything is much easier - you just need to lay the bottom with a piece of thick film or even cardboard
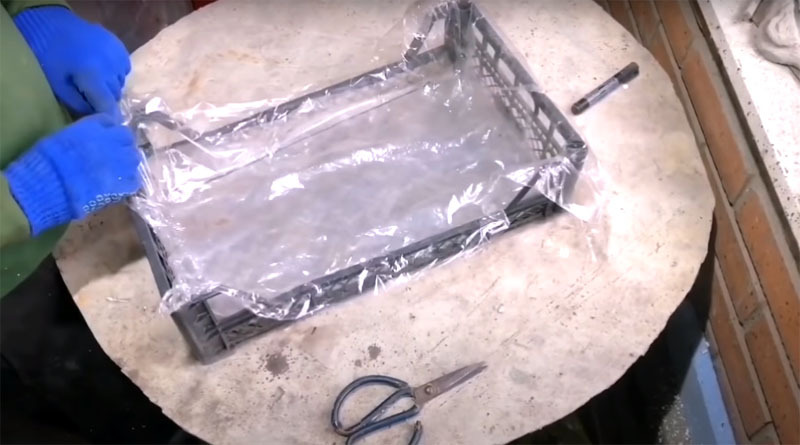
And in the low drawer, be sure to lay the film so that it covers not only the bottom, but also the walls.PHOTO: YouTube.com
And in the low drawer, be sure to lay the film so that it covers not only the bottom, but also the walls.

How to fill out a tile form

The strength of the future tile will be provided by cement of the M500 brand. You can also use the M200, but then the track will not be reliable.
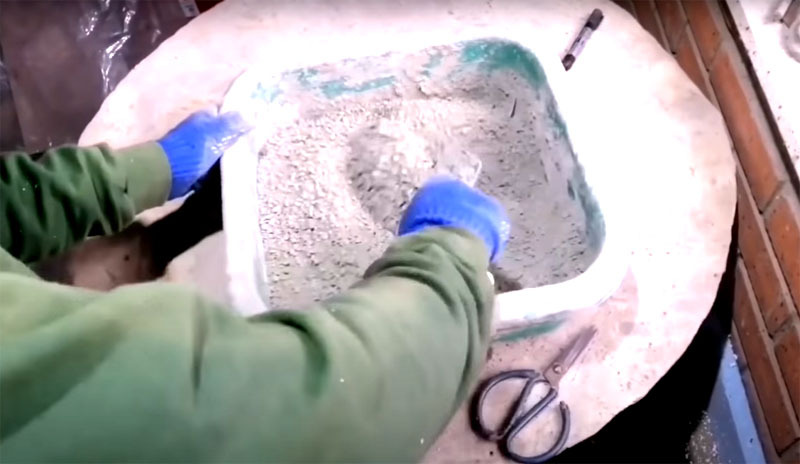
Mix sand, cement and gravel 2/1/5. Then add water and carefully replace the casting compound.PHOTO: YouTube.com
Mix sand, cement and gravel 2/1/5. Then add water and carefully replace the casting compound.
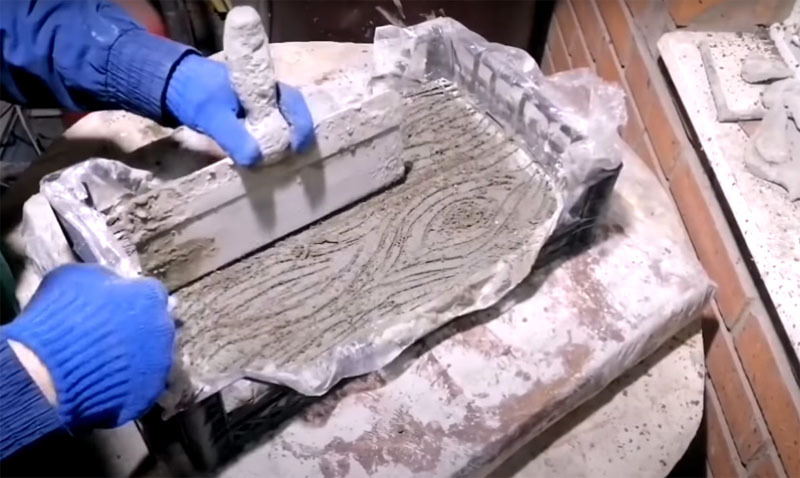
Fill out the form, distribute it evenly throughout the space and be sure to shake it lightly box so that air bubbles come out, the remains of which can adversely affect the strength of the future tiles. Then apply a second layer of mortar made of cement and sand in a ratio of 1/2, and carefully smooth the surfacePHOTO: YouTube.com
Fill out the form, distribute it evenly throughout the space and be sure to shake it lightly box so that air bubbles come out, the remains of which can adversely affect the strength of the future tiles. Then apply a second layer of mortar made of cement and sand in a ratio of ½, and carefully smooth the surface

If gravel is not available, use the same crate mesh, rods or pieces of metal mesh for reinforcement. If you just want a smooth tile, then leave the filled form until the next day.

How to decorate tiles

On the form, you can make various decorations - for example, use inserts or mosaics. Pieces of bright tile or colored tracing paper will do. Any pattern can be laid out. The author of this video suggested two more decor options:

Imitation of natural stone. To do this, on a surface that has not yet completely hardened with a knife, you can make grooves and select irregularities so that it looks like a piece of untreated stonePHOTO: YouTube.com
Imitation of natural stone. To do this, on a surface that has not yet completely hardened with a knife, you can make grooves and select irregularities so that it looks like a piece of untreated stone
Wood pattern. On an uncured surface, cut through the drawing with a sharp object like on a boardPHOTO: YouTube.com
Wood pattern. On an uncured surface, cut through the drawing with a sharp object like on a board
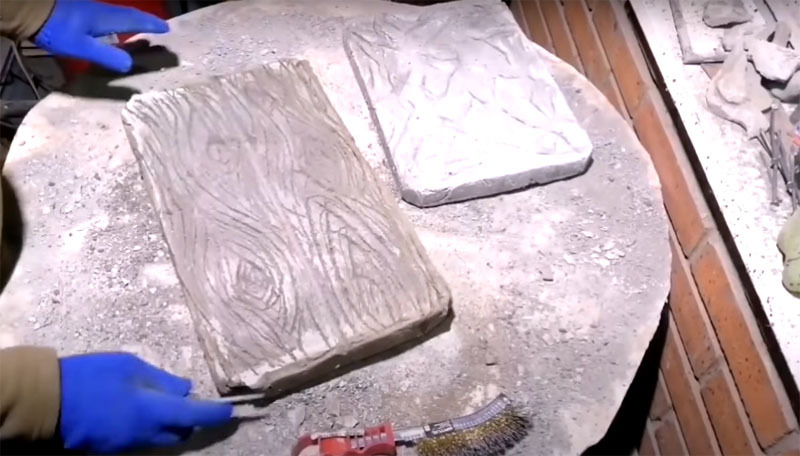
When the forms are completely solidified, not earlier than the next day, you can remove them from the boxes and remove all unnecessary irregularities at the edges and bottomPHOTO: YouTube.com
When the forms are completely solidified, not earlier than the next day, you can remove them from the boxes and remove all unnecessary irregularities at the edges and bottom

For a full set of strength, the tiles must be left in a dry place for a week.
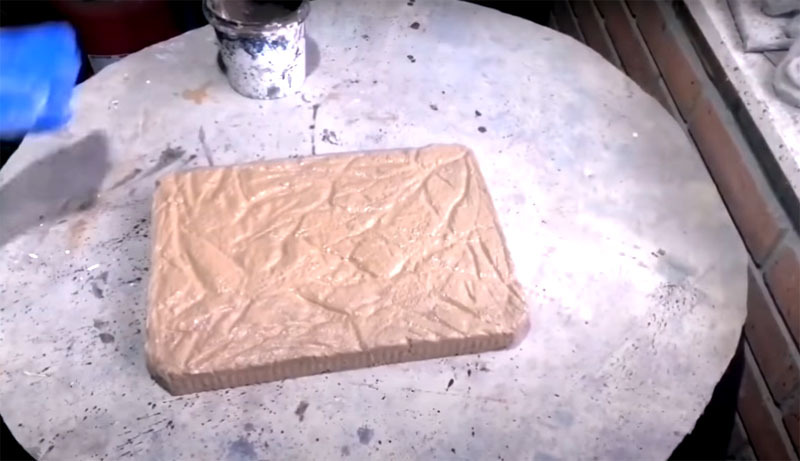
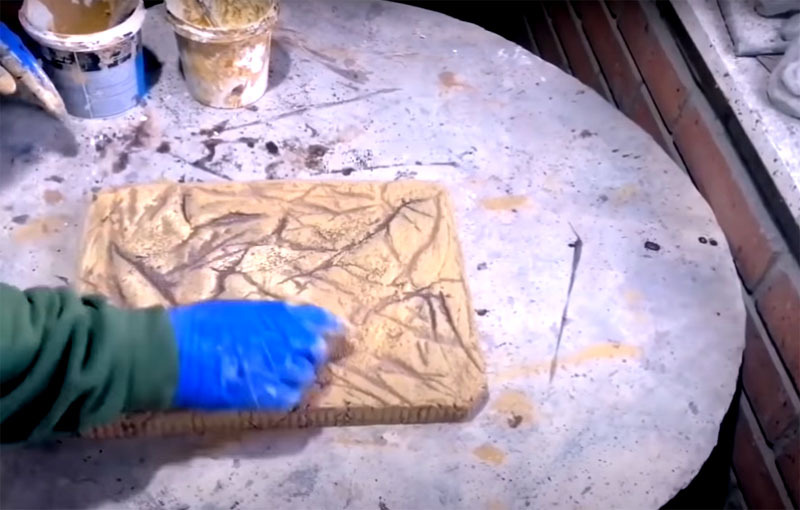
Tile for stone must be tinted with acrylic paint for outdoor use, mixed with a primerPHOTO: YouTube.com
Tile for stone must be tinted with acrylic paint for outdoor use, mixed with a primer
Then, for a more expressive relief, you can add darker tones, draw furrowsPHOTO: YouTube.com
Then, for a more expressive relief, you can add darker tones, draw furrows
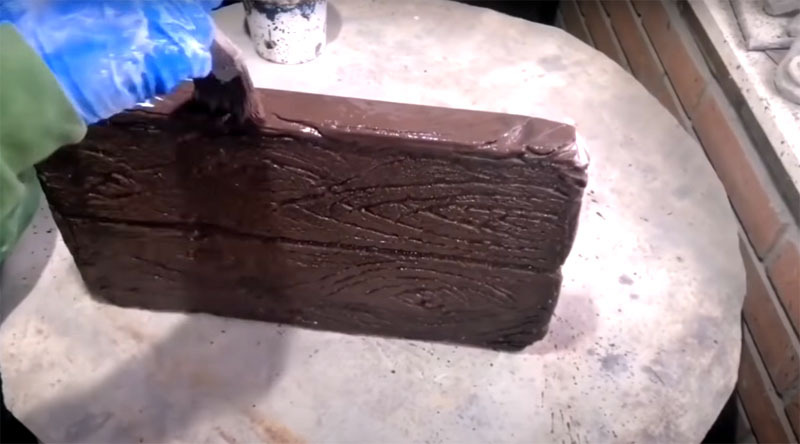
To imitate wood, the tiles must first be painted in a dark tone - brown. It must be applied not only to the surface, but also to the sides of the tiles.PHOTO: YouTube.com
To imitate wood, the tiles must first be painted in a dark tone - brown. It must be applied not only to the surface, but also to the sides of the tiles.
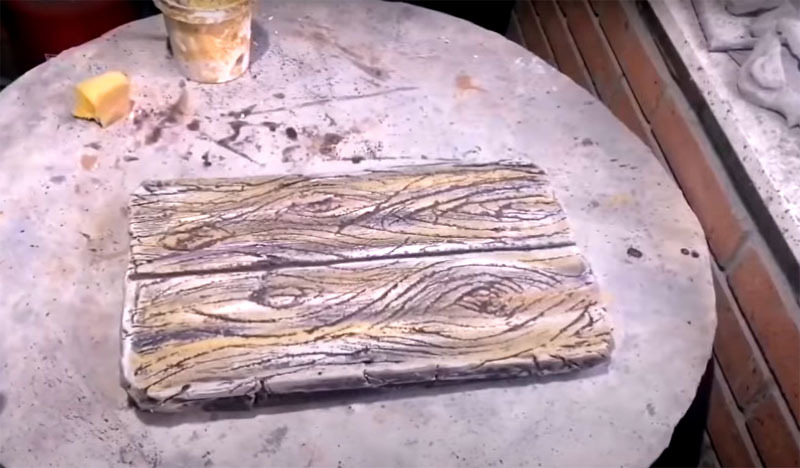
After, when the main layer is dry, the surface should be tinted with lighter shades.PHOTO: YouTube.com
After, when the main layer is dry, the surface should be tinted with lighter shades.

If you want the paint layer to last as long as possible, varnish the tiles.
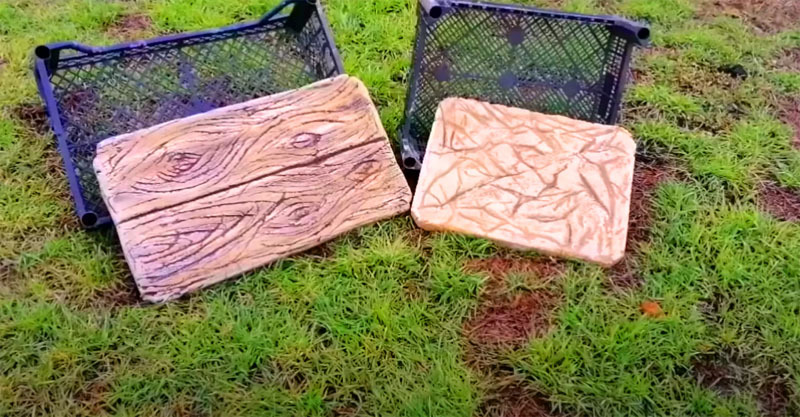
So, using a regular plastic box, you can make 2 types of paving slabs for your site.PHOTO: YouTube.com
So, using a regular plastic box, you can make 2 types of paving slabs for your site.

The process is simple, but the result is pleasing. Such an original tile will decorate your site. And if the option with a form seemed time-consuming to you, then here is a small video on how to make a tile without a form:

Don't waste your time! It's time to work hard on your site! Let us know in the comments if you liked the idea with paving slabs. And if you yourself have done something similar - send your photos!

Discuss0