The HouseChief editorial staff continues the series of publications with the #Beschvedom hashtag and acquaints readers with useful things that you can make with your own hands while in self-isolation. It is thanks to such articles that we will be able to spend the time spent in quarantine with the benefit of ourselves. And today next in line is a very interesting pastime, which is offered by the author of the YouTube channel Sergey. Let's try to figure out how to make an earthen battery to power the LED lighting of paths and poles.
Read in the article
- 1 Materials that will be required to make an earthen battery
- 2 Plates connection, polarity, connection
- 2.1 Filling cups with soil, planting plants
- 3 Checking the performance of the simplest earth battery
- 3.1 Connecting multiple LEDs
- 4 Inclusion in the circuit of the boost converter
- 5 How to properly equip the backlighting of garden paths
- 6 Final word
Materials that will be required to make an earthen battery
Every person strives for savings. And today the issue of resource conservation is more relevant than ever. Electricity is obtained from the sun, wind, rivers. However, there is a method that is not widely used, although it is quite simple. After all, if you take paths in the courtyard of a private house, then there will necessarily be plants around them, and hence the soil. It is the land that is another source of electricity.
Getting electricity from the ground is not difficult. And despite the fact that the voltage will be low, if certain nuances are observed, it will be quite enough to equip the illumination of paths in the courtyard of a private house or in the country.
For today's example you will need:
- 24 containers (plastic, paper cups, kefir or milk boxes);
- copper and zinc plates - 24 pcs.;
- wires for their connection, soldering iron;
- a platform on which all the containers will fit;
- thermo gun with glue stick;
- soil and plants.
Plates connection, polarity, connection
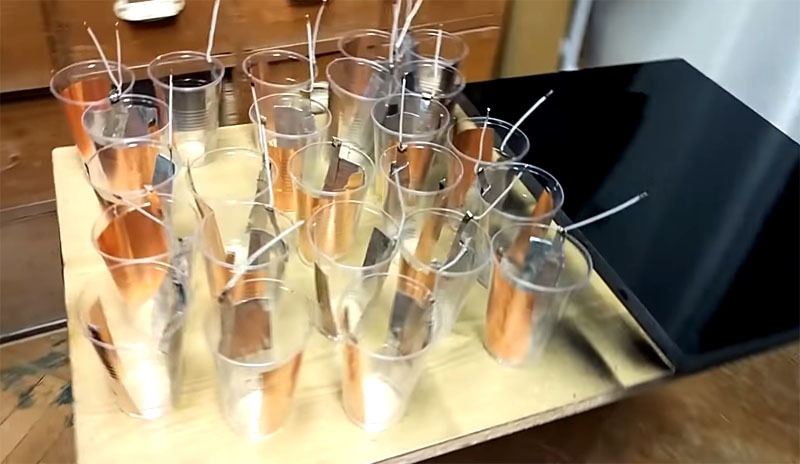
A piece of wire is soldered to each of the plates or connected in a different way. It should be remembered that the contacts should be as tight as possible. The magnitude of the resulting voltage depends on this. The connection is made in series, which allows a higher voltage to be obtained. In this case, the copper plate will always be a positive pole, and a zinc one - a minus one.
It is important not to reverse the polarity when connecting. To connect in series and obtain a higher voltage, you need to connect plus and minus to each other in turn. The result should be one chain.
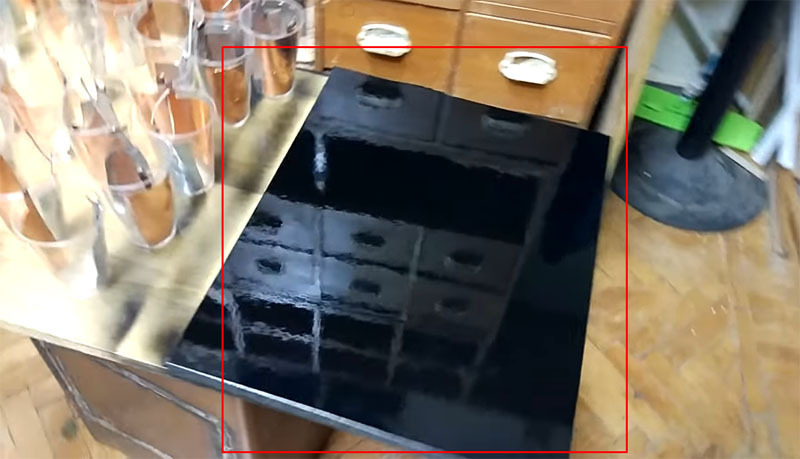
All cups must be fixed on one platform with hot melt glue. At the same time, so that it does not stand out much on the ground near garden paths, it is better to paint it black.
Filling cups with soil, planting plants
When all connections are made, you can fill the cups with soil and plant any plants in them. In this case, you should be careful that the plates in the containers do not touch. In fact, there can be as many such mini-batteries with an almost inexhaustible resource. If you place them along the garden paths and camouflage them with grass a little, the cups will be completely invisible.
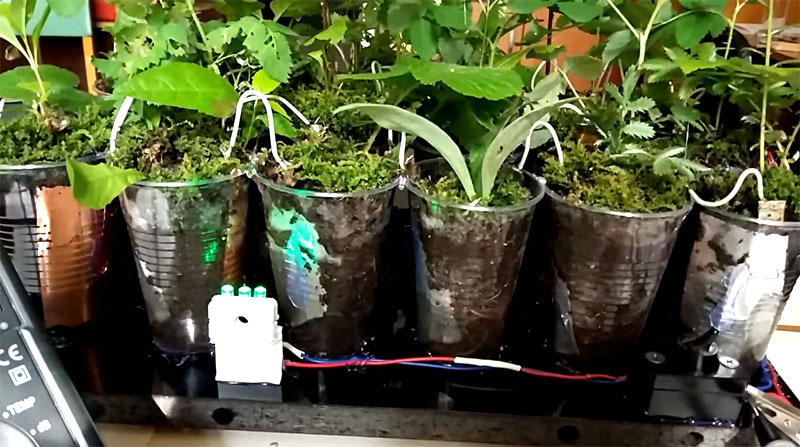 PHOTO: YouTube.com
Checking the performance of the simplest earth battery
Such work will take a minimum of time. The only thing that will have to be purchased in advance is copper and zinc plates, which will then need to be cut with simple scissors. The rest is likely to be found in any home or country house.
For example, 24 cups were taken. Depending on the moisture content of the soil, the voltage produced by such an earthen battery can vary from 20 to 25 volts. This voltage is enough to power several LEDs, but the current strength here will be small. Below we will figure out how it can be increased.
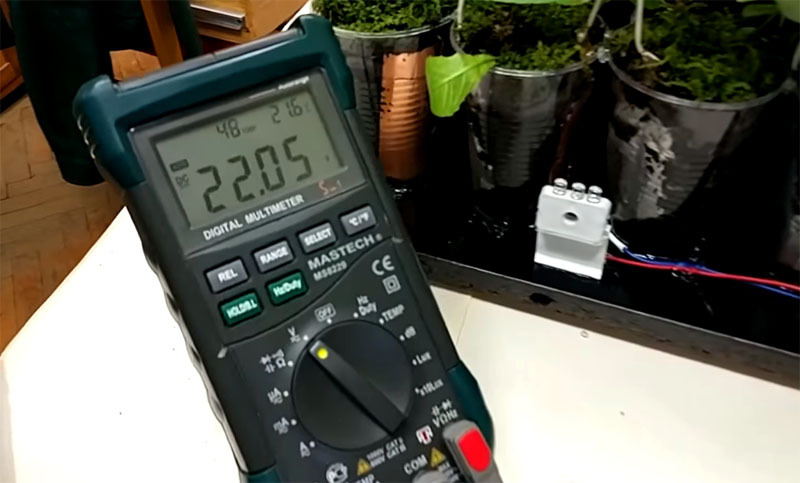 PHOTO: YouTube.com
If you look at such a battery from the side, then it is no different from a part of a flower bed. Absolutely any plants, vegetables or flowers can be planted in the ground. An earthen battery will look very nice anyway. And all the wires connecting the cups can be easily hidden under the vegetation.
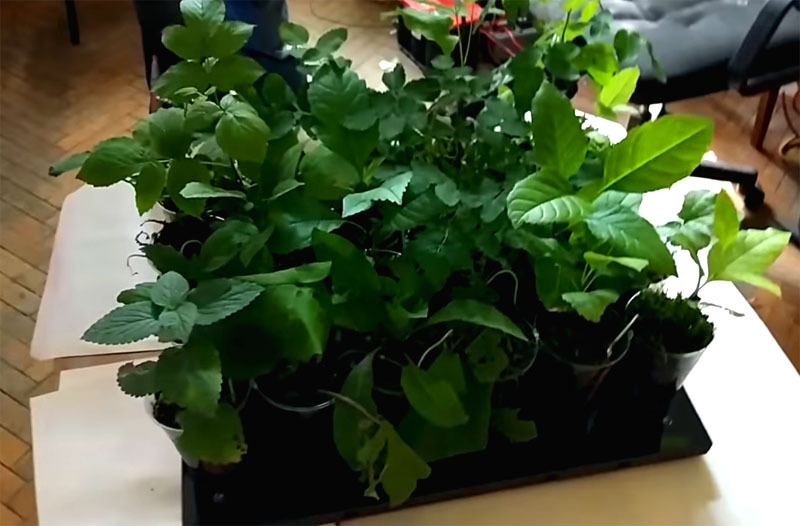 PHOTO: YouTube.com
Connecting multiple LEDs
To check the functionality of the ground battery, you can connect an LED strip or several separate elements to the contacts. Despite the good voltage, there will be little light from them for now. This happens because a large number of LEDs cannot be connected to the battery due to the low current strength. However, at this stage, the very fact that the earthen battery is capable of lighting LEDs is already encouraging.
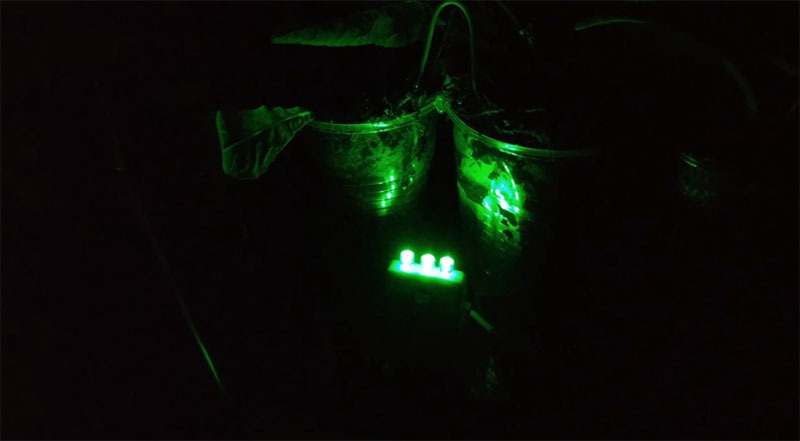 PHOTO: YouTube.com
Inclusion in the circuit of the boost converter
In order to increase the current strength of the simplest earth battery, it is necessary to purchase a step-up converter. Today, such devices can be found on various Internet resources, they are inexpensive. By connecting such a converter to an earth battery, you can significantly increase its energy capacity, which will allow you to connect more LEDs.
If we assume that there will be several such batteries, then it is quite possible to count on providing illumination along all garden paths on personal plot and adjoining territory.
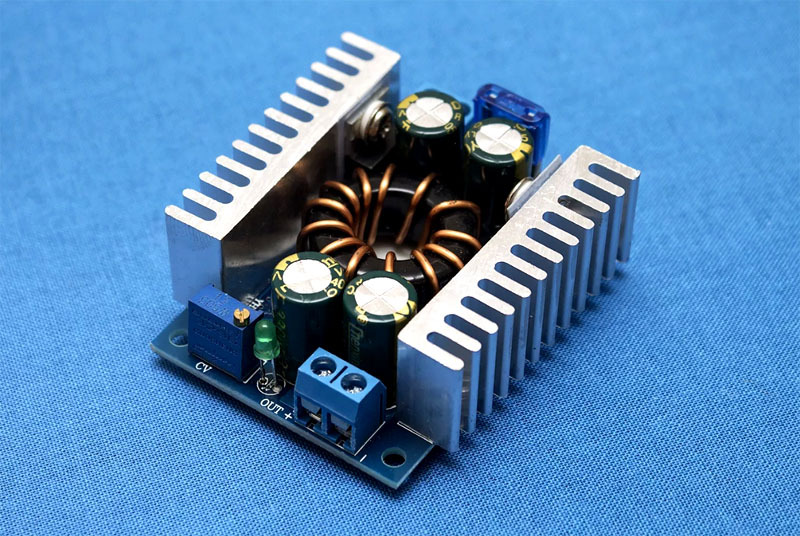 PHOTO: YouTube.com
How to properly equip the backlighting of garden paths
Most converters are not rated for voltages over 36 volts. This means that the switching of several ground batteries into one has certain nuances. And if the elements of one battery (glasses) are connected in series, then the batteries themselves must be connected in the same way. In this case, their current strength will already increase, and after being included in the converter circuit, it will allow powering many low-power LED lamps. Well, what kind of lighting to organize will be decided by the home master himself.
The illumination of decorative fountains in the local area looks very nice. But here it is worth remembering that lighting should not only be decorative, but also carry practical meaning. Although, more often than not, one does not interfere with the other. For example, if decorative illumination of tracks is mounted, then brightness is not needed here. It will be much more interesting to install weak colored LEDs. They will add mystery, and at the same time, illuminate the path so that the owner does not stray from it in the dark. We propose to consider several examples of such a backlight powered by ground batteries with boost converters.
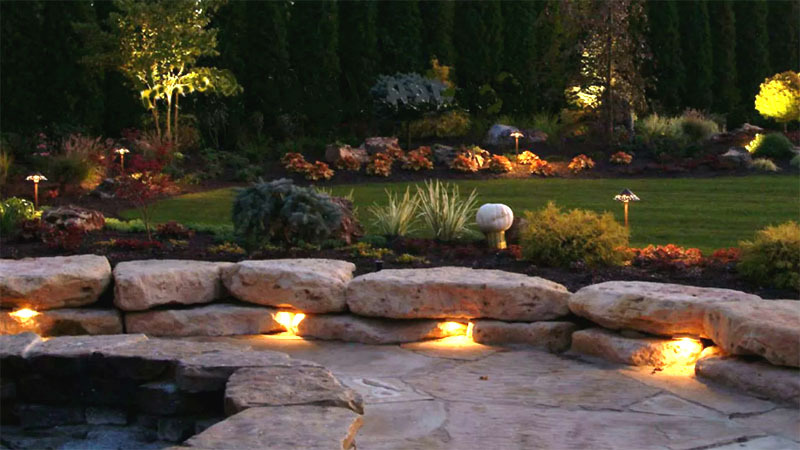 PHOTO: diz-cafe.com
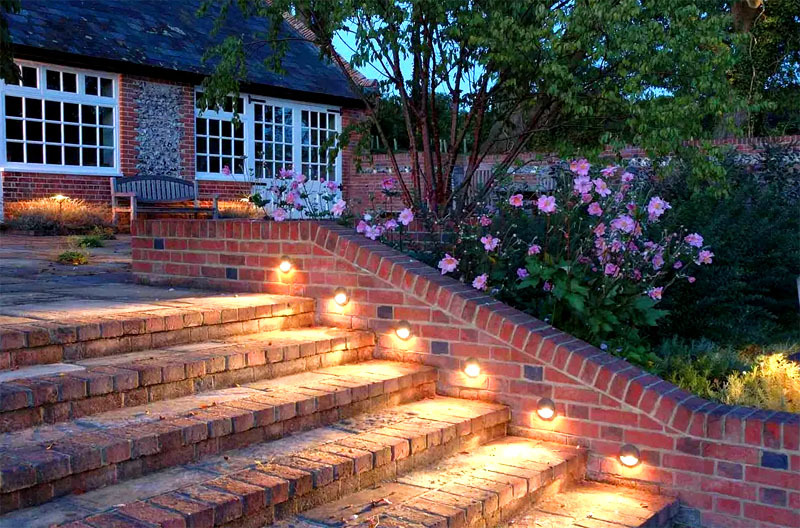 PHOTO: rehouz.info
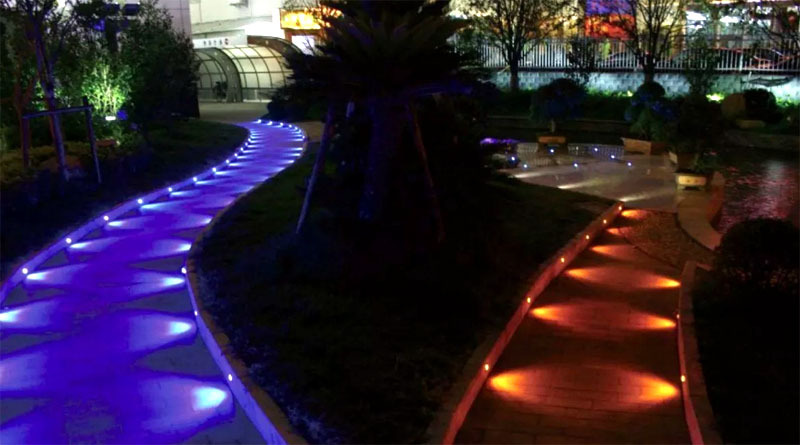 PHOTO: roomester.ru
Final word
LED backlighting for garden paths powered by an earthen battery is more than just a cheap option for generating electricity. We can say that it is completely free. Considering that the manufacture of such batteries will take a minimum of time, it is possible to equip power supply to illuminate all garden paths on the site in almost a day. Of course, it is possible to receive and store energy from the sun or wind, but the cost of equipment for such electrification is quite high. In addition, today, such work will allow you to escape from the daily routine into which many are driven by self-isolation. As for the disadvantages of such work, we could not find them.
We really hope that the information presented today will be useful to our readers. The quarantine will end sooner or later, and if you do not sit idly by during self-isolation, you can make many more different homemade products that will come in handy later. And our series of articles will try to help you with this.
If you still have any questions about the topic, ask them in the discussions below. HouseChief editors will answer each of them as fully as possible and as soon as possible. Here you can leave your feedback about what you have read or share your self-made self-made products. This information will be of great interest to other readers of our online magazine.
Did you like today's article? Then don't forget to rate it. Every opinion matters to us.
Take care of yourself and your loved ones!

