Potbelly stove from old disks for a garage: step by step instructions

The HouseChief editorial staff continues the cycle of publications with the hashtag #besthouse, and today we have prepared interesting material for those who are forced to spend time in self-isolation in their home or in the country. Surely you have a garage, and if you have not yet solved the problem with its heating, then this is the very moment when you can do it. Moreover, for the manufacture of a simple heating device, you only need basic welding skills, a grinder and a few old car disks. You will not even notice how time flies by at work, and this stove will certainly come in handy next fall. A master class of such work will be shown by the author of the YouTube channel Worbs Master.

Read in the article

  • 1 What is required to make a potbelly stove
  • 2 How to assemble a potbelly stove body
  • 3 How to make a door and a blower in a disc oven

What is required to make a potbelly stove

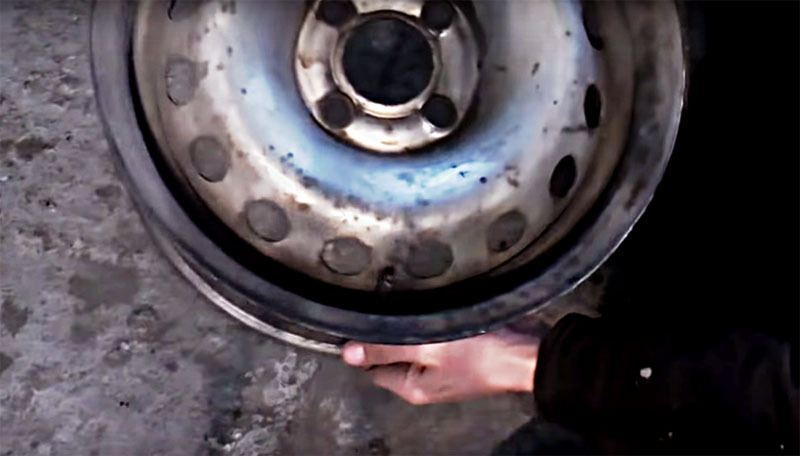
So, the most important material for making a stove is wheels.
Potbelly stove from old disks for a garage
PHOTO: YouTube.com
For a small heating unit, the simplest small discs are quite suitable. The metal on them is especially durable, it will resist burning out for a long time. Of course, if you take discs from KamAZ, then it will be a large and almost eternal oven, but do you need one for a garage

You will need to find 4 identical discs. In addition to them, you will need a piece of thick iron for the pallet and door, a metal pipe for the hood and a piece of square profile. Prepare from the tools grinder and welding machine.

By the way, if you still haven't found time to learn welding, then take advantage of this forced weekend.

How to assemble a potbelly stove body

So, you will need 4 disks, but with three of them you will need to work in a special way.
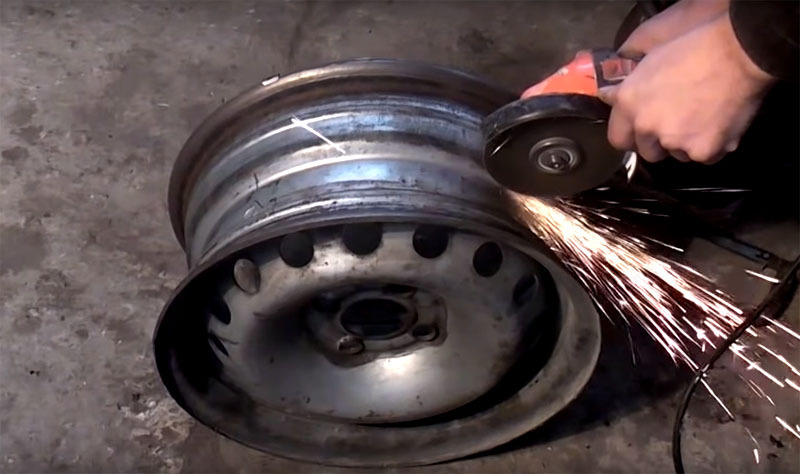
In the disk, which will be on the bottom, you need to cut a hole and make a removable tray for extracting ash
PHOTO: YouTube.com
In the disk, which will be on the bottom, you need to cut a hole and make a removable tray for extracting ash
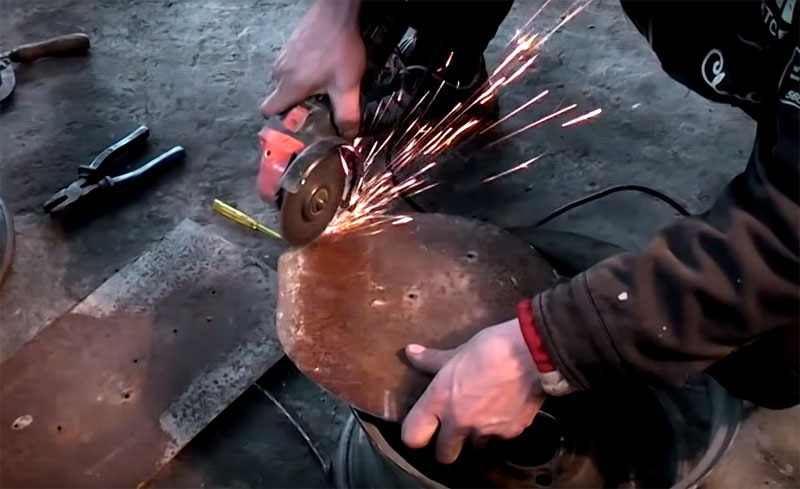
In the side of the disc, you need to cut a half-ring with a grinder, as shown in the photo. This half ring will be the base for the pallet.PHOTO: YouTube.com
In the side of the disc, you need to cut a half-ring with a grinder, as shown in the photo. This half ring will be the base for the pallet.
Measure the inside of the disc, make a template and cut a piece of thick sheet metal along it to make a circle that can then be welded to the half ring.PHOTO: YouTube.com
Measure the inside of the disc, make a template and cut a piece of thick sheet metal along it to make a circle that can then be welded to the half ring.
To easily remove the pallet, you need to attach a handle to it. Even a regular door bracket or any other suitable metal bracket will do. You can fix it with welding or bolts, as it is more convenient for you.PHOTO: YouTube.com
To easily remove the pallet, you need to attach a handle to it. Even a regular door bracket or any other suitable metal bracket will do. You can fix it with welding or bolts, as it is more convenient for you.
The second disc is installed on the lower rim downward, there is no need to redo something, and ash will then spill out into the pan through the ventilation holesPHOTO: YouTube.com
The second disc is installed on the lower rim downward, there is no need to redo something, and ash will then spill out into the pan through the ventilation holes
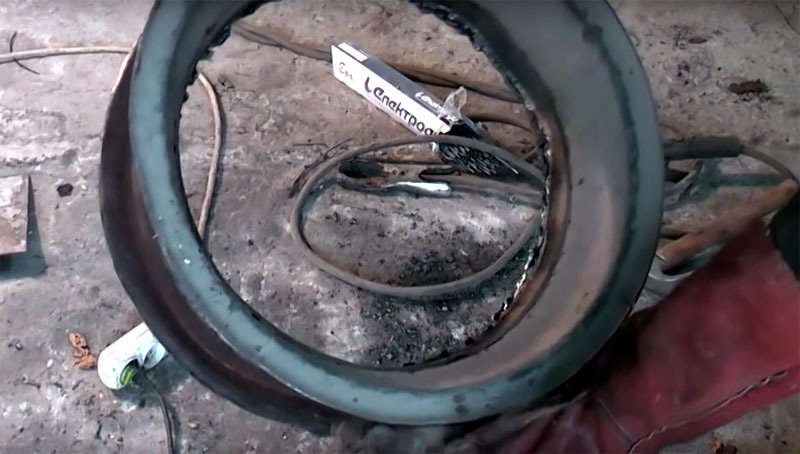
But in the third element, the rim must be cut so that the disc turns into a metal ring. Its task is simply to make the firebox higher so that you can refuel.PHOTO: YouTube.com
But in the third element, the rim must be cut so that the disc turns into a metal ring. Its task is simply to make the firebox higher so that you can refuel.
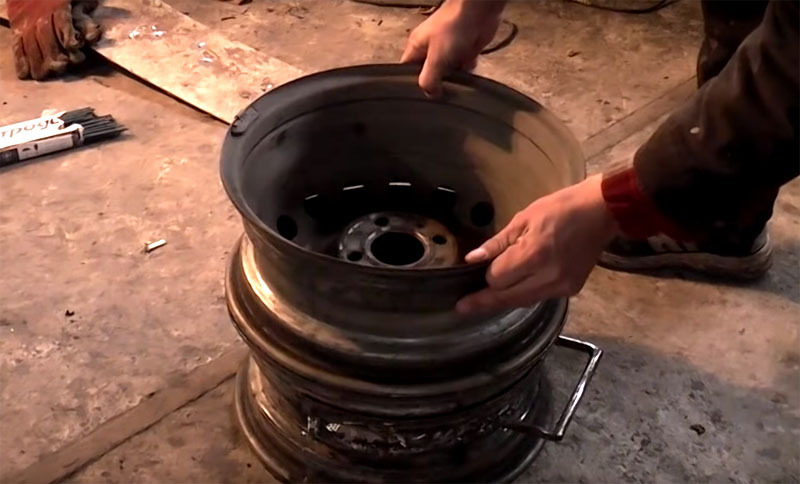
In this sequence, three discs are installed: first the one with the pallet, then the usual one without changes with the holes down and finally the ringPHOTO: YouTube.com
In this sequence, three discs are installed: first the one with the pallet, then the usual one without changes with the holes down and finally the ring
The final, fourth disc needs to be placed with the holes up, then all small ventilation ducts will need to be welded and only the axial one, to which the exhaust pipe will be attachedPHOTO: YouTube.com
The final, fourth disc needs to be placed with the holes up, then all small ventilation ducts will need to be welded and only the axial one, to which the exhaust pipe will be attached

The entire structure must be welded together, making continuous seams. This is where you can practice with the welding machine.

The furnace body is ready, you just need to make a few additions.

How to make a door and a blower in a disc oven

In a disk stove, as in a conventional stove, there must be a door for loading fuel and an adjustable blower to control the traction.

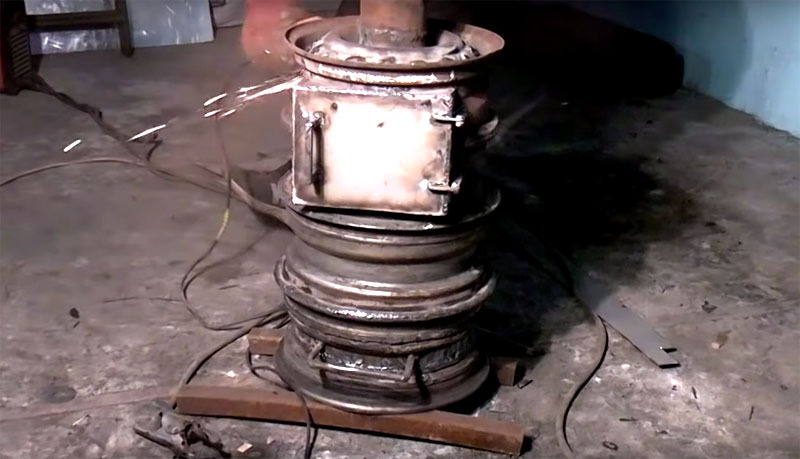
To make a door, you first need to cut out a square hole in the body, make a rim for the door from sheet metal, and from it - a canvas. All this is welded to the body, and the door is seated on strong hinges by weldingPHOTO: YouTube.com
To make a door, you first need to cut out a square hole in the body, make a rim for the door from sheet metal, and from it - a canvas. All this is welded to the body, and the door is seated on strong hinges by welding
Do not forget that the door must have a handle and, preferably, a lock, so that a burning log does not accidentally fall out and start a fire.PHOTO: YouTube.com
Do not forget that the door must have a handle and, preferably, a lock, so that a burning log does not accidentally fall out and start a fire.
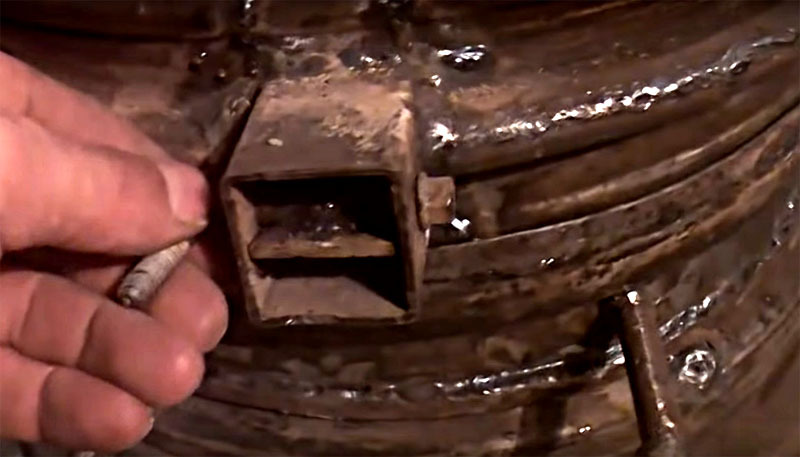
The author made an adjustable blower from a piece of a square profile. He welded it into a hole in the body and made a movable plate inside, fixed on a bolt with a handle on the outside. By turning the plate, you can regulate the air flow into the oven and control the intensity of the firePHOTO: YouTube.com
The author made an adjustable blower from a piece of a square profile. He welded it into a hole in the body and made a movable plate inside, fixed on a bolt with a handle on the outside. By turning the plate, you can regulate the air flow into the oven and control the intensity of the fire
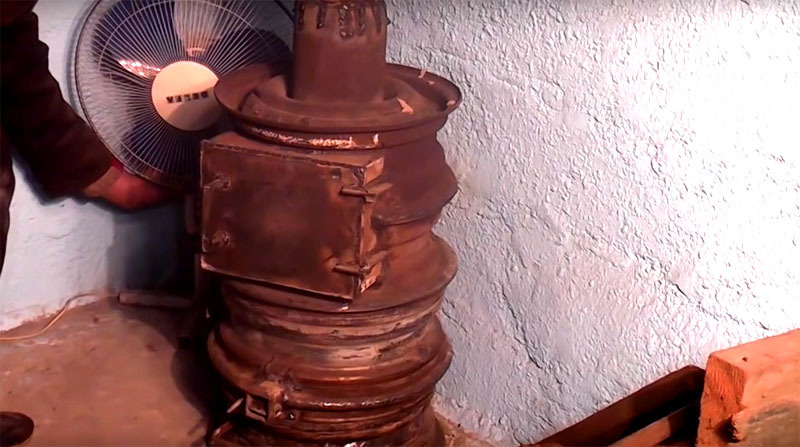
To complete the work, it remains only to weld the exhaust pipe and bring it out into the ventilation hole. It would also not hurt to make the stove legs so that the floor under it does not heat up from the heat and, God forbid, does not catch firePHOTO: YouTube.com
To complete the work, it remains only to weld the exhaust pipe and bring it out into the ventilation hole. It would also not hurt to make the stove legs so that the floor under it does not heat up from the heat and, God forbid, does not catch fire

To quickly fill the room with heat from the stove, the author uses an ordinary floor fan located nearby. He blows hot air through the garage. For the final touch, one could sand the surface of the oven and paint it with heat-resistant paint.

That's all, the oven is ready. And if you are in doubt about your abilities, here is a small helpful video on the basics of welding to help you cope with the task:

Do not waste your time in quarantine, do something useful, and then you will remember these days as well spent. At work, time will fly by very quickly.

Write to us in the comments how you liked the idea, and be sure to send your photos if you tried to make such a furnace! Take care of yourself and your loved ones, stay at home and everything will be fine!

Discuss0