The HouseChief editorial staff continues the cycle of publications with the hashtag #besthouse, and this material will certainly be of interest to those who are waiting for the epidemic in their dacha or in private households. We can say that you are in luck: you are free to breathe in the fresh air, because the courtyard is your private territory. So for summer residents, the days of forced self-isolation can provide a lot of useful time to prepare for the season and restore order. Those who have stocked up on building materials in advance can do it themselves during this time. build a gazebo or bath. So do not postpone anything until later: the quarantine cannot be extended indefinitely, and when it ends, it is possible that you will have to work out a forced rest at the workplace. Here, for example, is the author of a YouTube channel VALERA Diy invites you to get creative with a chainsaw in hand. He showed how to make very original lamps for a bath from a sawn tree trunk. This experience is not difficult at all to repeat.
Read in the article
- 1 What is required for work: material and tools
- 2 The sequence of making a wooden lampshade
- 3 Drying wooden lampshades: a mistake or a highlight?
- 4 Finishing touches, processing and application
What is required for work: material and tools
As the name implies, you need a log to make a lamp. It could be the trunk of a tree cut down in the garden. In principle, the larger the barrel diameter, the better. Can freshly cut trees be used? The author did just that. This, however, led to cracking of the finished product during drying, but for a rude hand-made style, such a defect is not only not significant, but can even be considered a highlight.
What tools do you need to work? Primarily - benzo- or an electric saw. Even if you do not master this instrument yet, it doesn’t matter, it’s just a great opportunity to hone your skills. In addition to the saw, you will need a plane and Angle grinder with disc nozzles.
The sequence of making a wooden lampshade
So, for work, you need to choose the right trunk with a minimum number of branches and twigs.
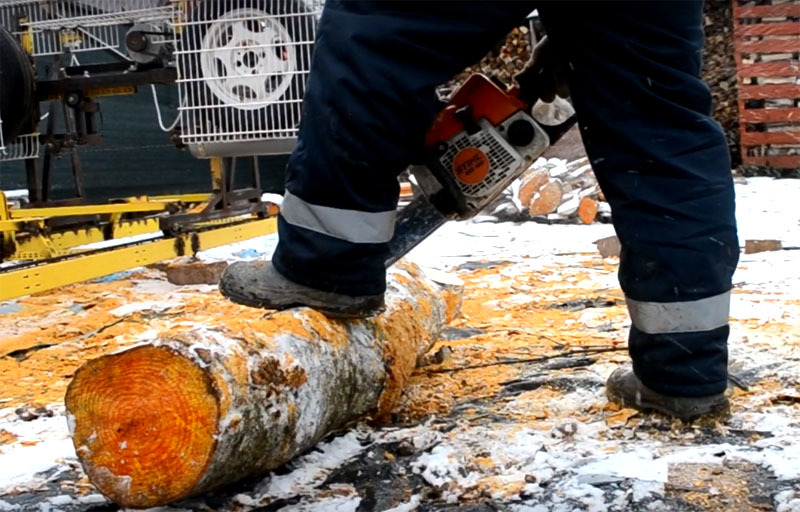
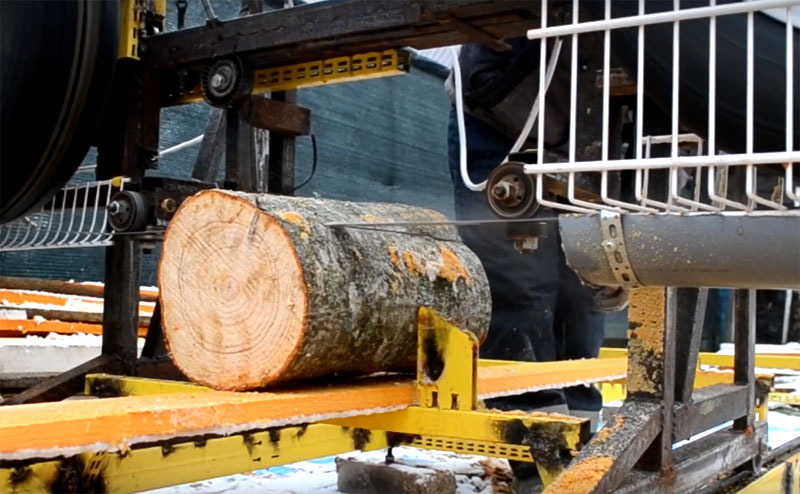
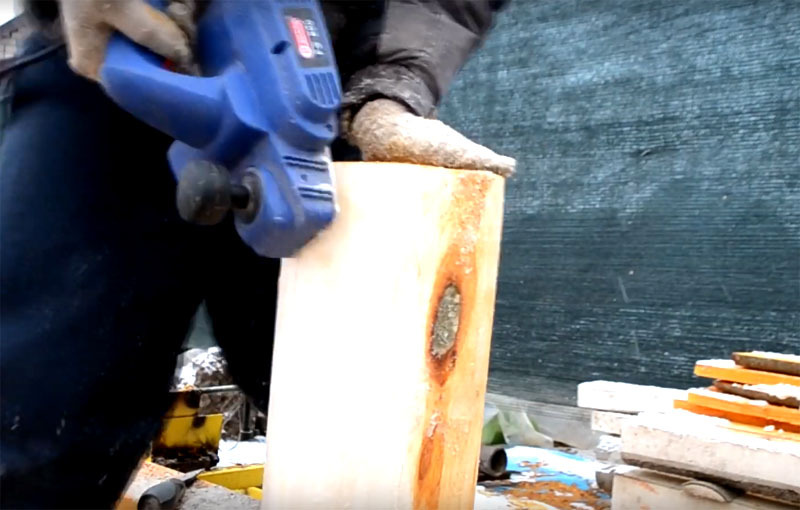 PHOTO: YouTube.com
Then the most difficult part begins: you need to select excess wood in the harvesting and make the lampshade look like a lattice.
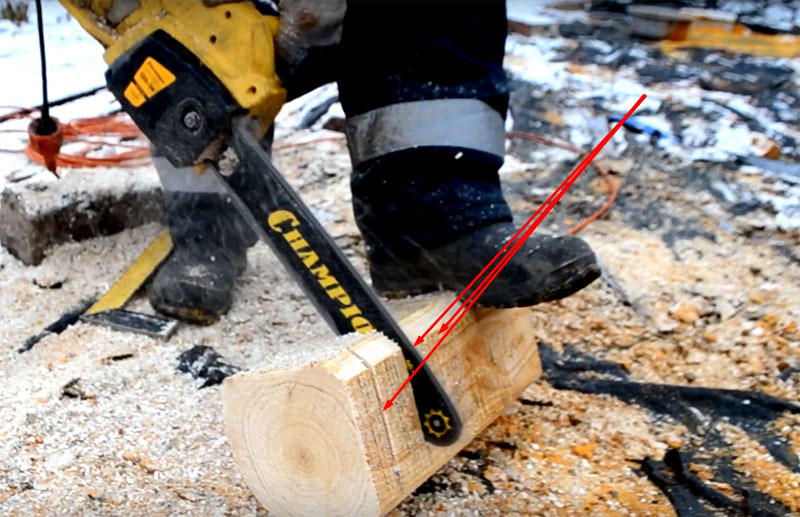 PHOTO: YouTube.com
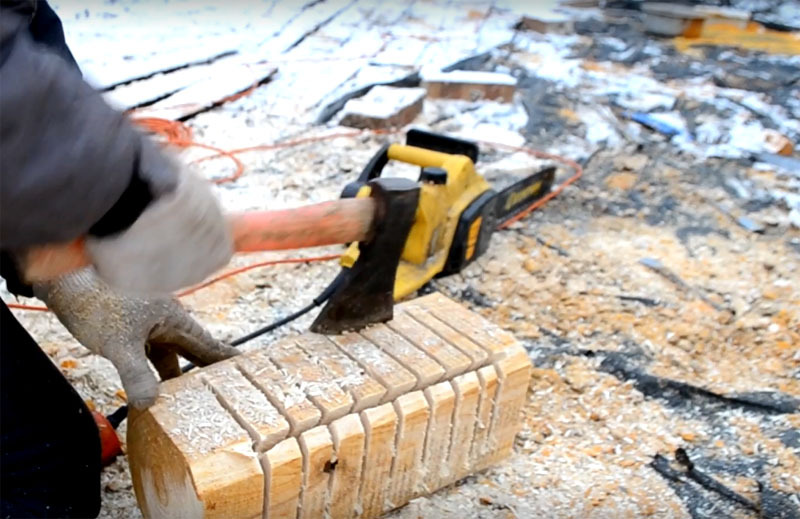 PHOTO: YouTube.com
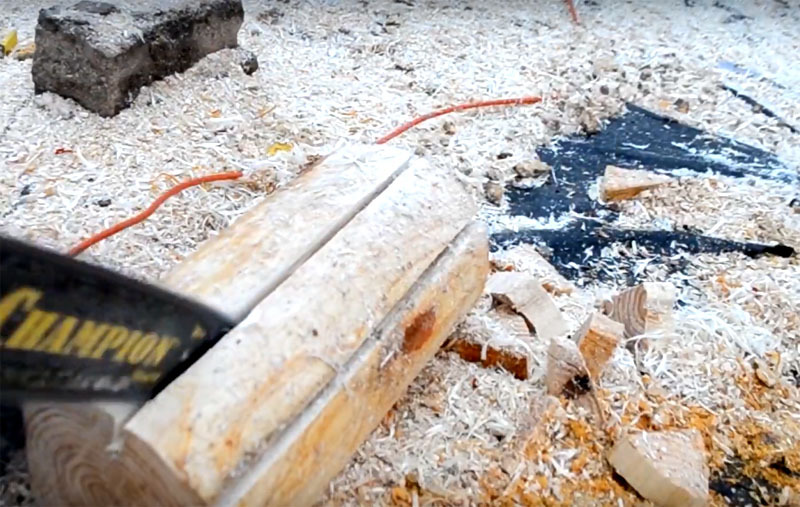 PHOTO: YouTube.com
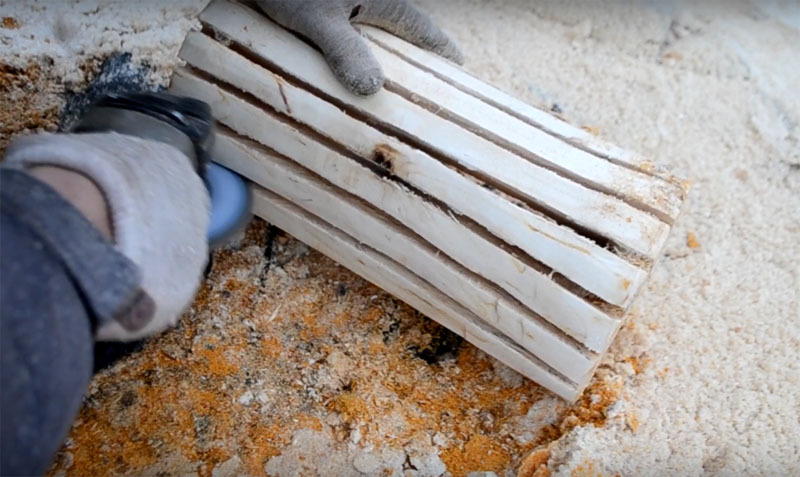 PHOTO: YouTube.com
Drying wooden lampshades: a mistake or a highlight?
Once the fixtures have taken shape, you can put them to dry before putting in the final touches.
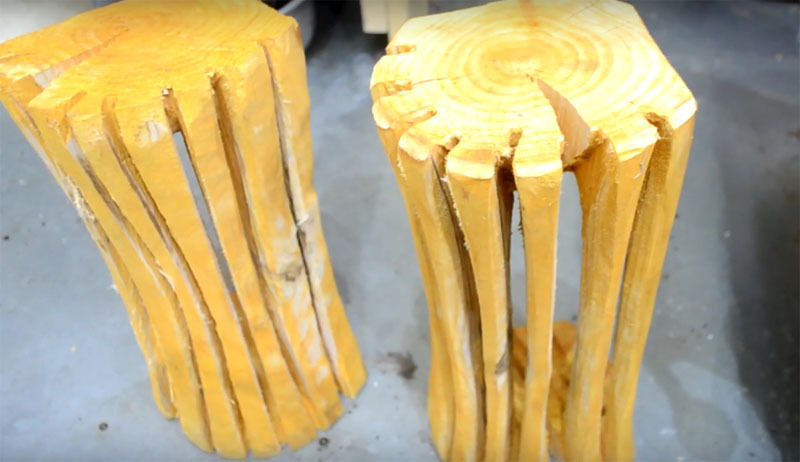 PHOTO: YouTube.com
Should I be upset about such an incident? Decide for yourself, but the author was not at all upset. He defined his products as being in keeping with a rustic style that stands for exceptional naturalness. And he is, in general, right. The presence of small defects will only emphasize the natural material. And if you use well-dried wood for your work, then it is possible that you will not have such a problem at all.
Finishing touches, processing and application
After drying, you should again do the grinding of the product.
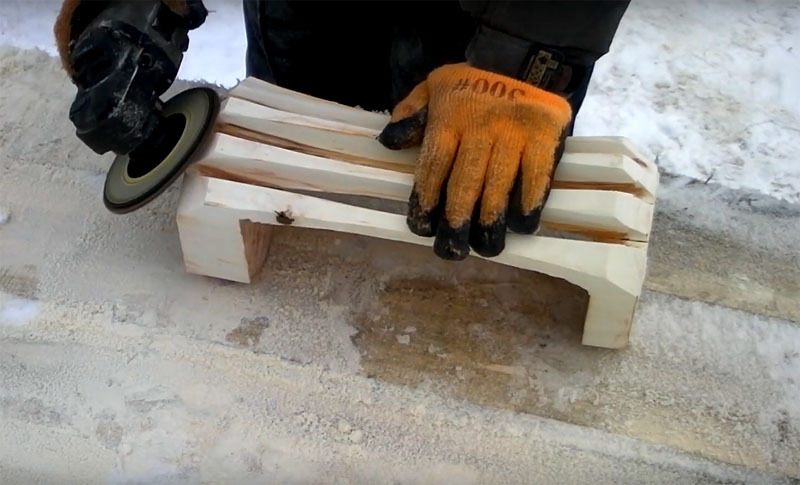 PHOTO: YouTube.com
Do I need to cover the finished lampshade with wood stain or varnish? It all depends on where you intend to use it. If in a steam room, it would be nice to wax the surface to protect it from moisture. In any case, the wood will quickly darken without protection, so you can use and stain. The varnish is likely to crack from heat and moisture.
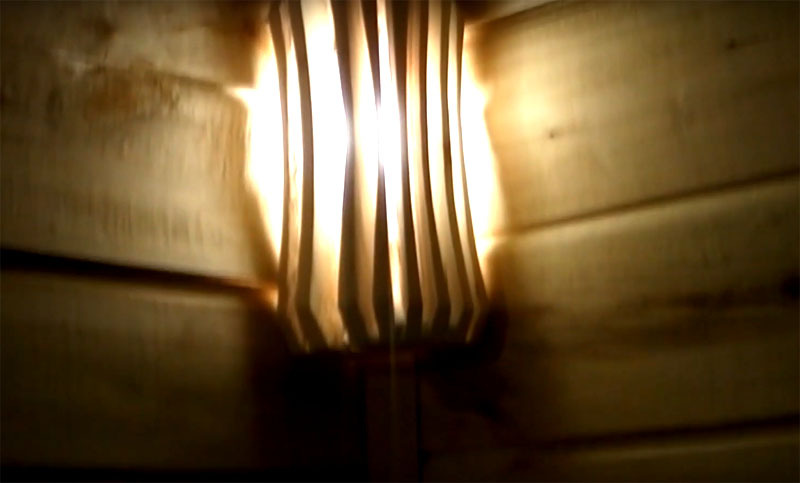 PHOTO: YouTube.com
Such an interesting lampshade, no doubt, will decorate your bathhouse, gazebo or even the kitchen in the country. Under it, you can hide a street lamp on the house.
And here, in addition, one more idea of a wooden lampshade in the video master class:
Write in the comments how you liked this step-by-step project, and what you would add to it yourself. Send us a photo of your wooden lampshades, maybe you have already done something similar?
Take care of yourself and your loved ones, use the quarantine time for your own good! Everything will be fine!

