๐Ÿ’ก What can be done from an old LED lamp

A long time ago, in the days when we lived in a country called the Soviet Union, there were no outlets in the entrances of apartment buildings. However, the country is called differently, but nothing has changed: there were no sockets, so there are no sockets. But here's what is interesting: in those ancient times, young people who had the habit of spending their leisure time on staircases sites, somehow managed to turn on the tape recorders, which for hours in groups. How did they do it? The secret turns out to be simple: to connect the tape recorder, a so-called "swindler" was used - a device that transmitted current through the socket of an ordinary light bulb. And there are sockets for light bulbs in every entrance. So it turned out that the youth had everything - and darkness, her friend, and music, without which, as you know, you cannot remain. If you look from a practical point of view, then such a device would not hurt to have it in a modern house in case of problems with sockets. How to make it from an ordinary LED lamp told the author of the YouTube channel AVTO CLASS, and we will learn from his example.

Read in the article

  • 1 What is needed to convert a lamp into a rogue
  • 2 How to disassemble a lamp and what to do with it
  • 3 How to insert wiring into a lamp to create a rogue

What is needed to convert a lamp into a rogue

As a matter of fact, not much is needed. You will need a soldering iron, a small indicator light and an extension cord, which will connect to the rogue.
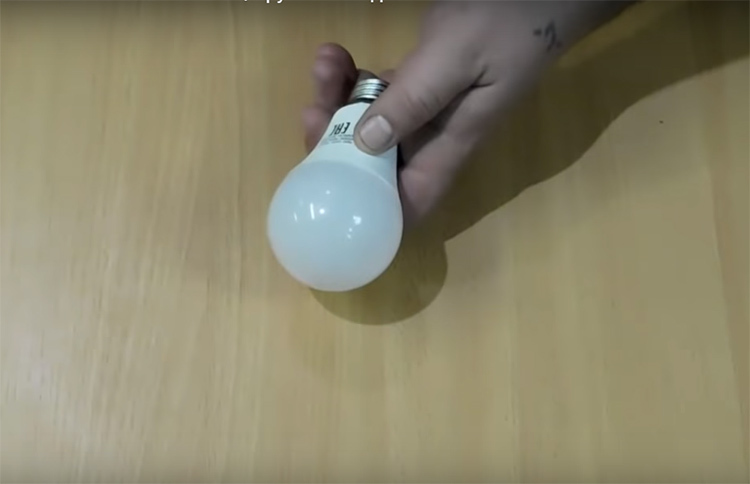
The main ingredient in this dish is an old LED light bulb. These very rarely fail, but if this did happen, leave the lamp for this very purpose.

How to disassemble a lamp and what to do with it

It is very simple to disassemble the LED lamp: the transparent part of the case is a plastic part-hemisphere, which can be removed by simply pressing the case.

When you remove this part of the lamp, you will see a board with LEDs. If the lamp stops working - most likely, this is the board.
The board with the wires connecting it to the socket must be removed from the lamp body. All this stuffing will no longer be useful to you, so you can send it to the trash bin without too much regret.

How to insert wiring into a lamp to create a rogue

Now, in order to turn the lamp body into the device we need, we need to make some changes to the filling.
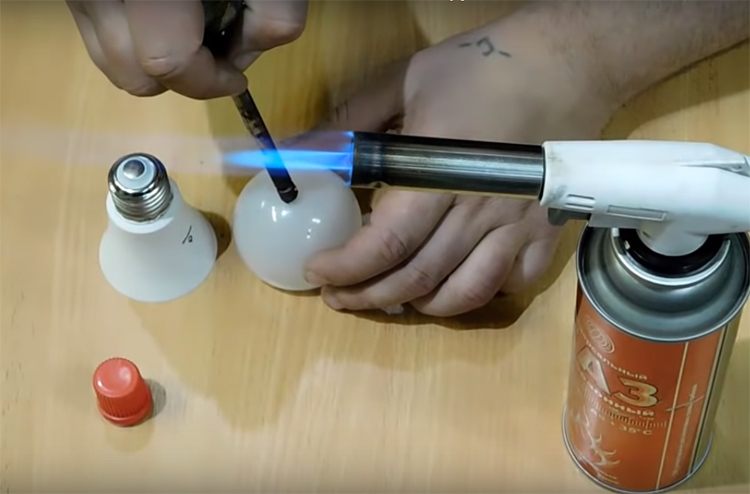
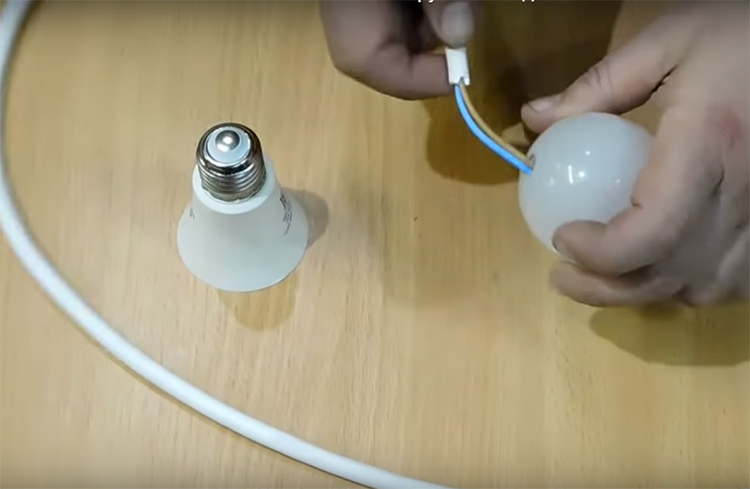
First of all, in the removable part of the case, you need to make a hole of such a diameter that the extension cord can pass freely. The easiest way to do it is with a hot screwdriver, which can be heated on a gas cylinder or just on a regular stove.
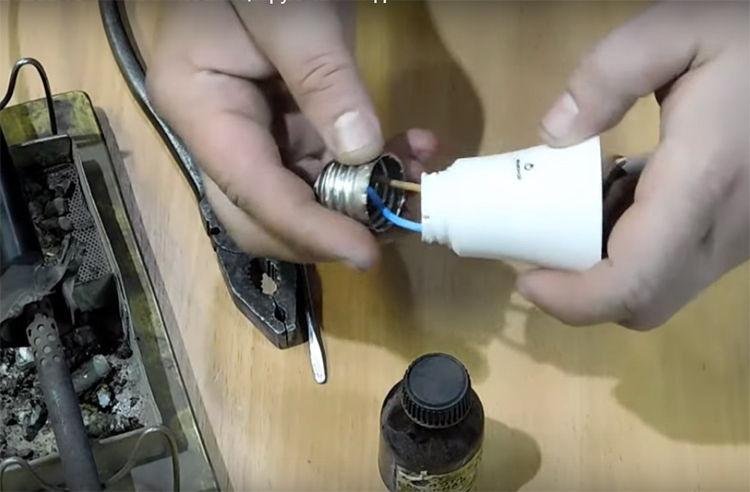
Through this hole you need to thread an extension cord with pre-stripped ends of the conductors
Now you need to solder the ends of these veins to the metal of the cartridge. This is the most difficult part in the whole work, as it requires painstaking and accuracy.
To begin with, the ends of the wiring should be tinned.
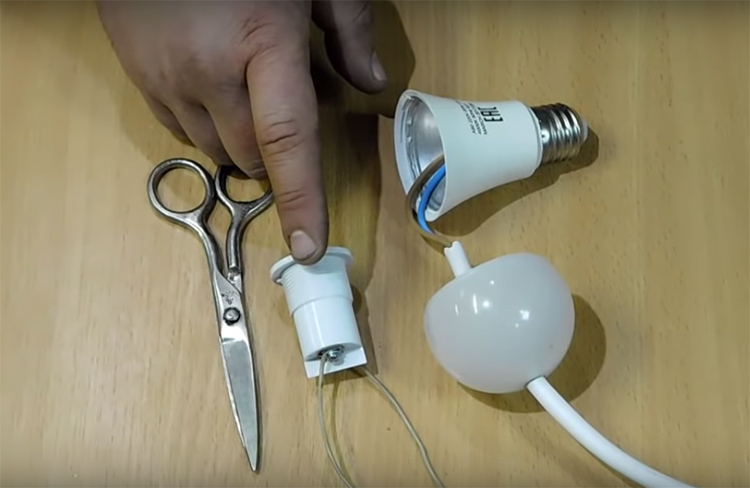
To make it easier to solder the ends of the wiring to the socket, you can remove the second plastic part of the housing. It is also dismantled with a little effort.
To control the presence of power, an indicator must be built into the lamp. It will show that the current is really there. You will find such indicators in any store with electrical parts. Its contacts are soldered into the gap of one of the cores of the main wiring.
The joints must be insulated. The author did it with electrical tape, but it would be much easier to use heat shrink
Now that all the parts are connected, you can finally assemble the rogue's body. Please note: the indicator for this device must be selected in such a miniature size so that it fits into the body of the light bulb
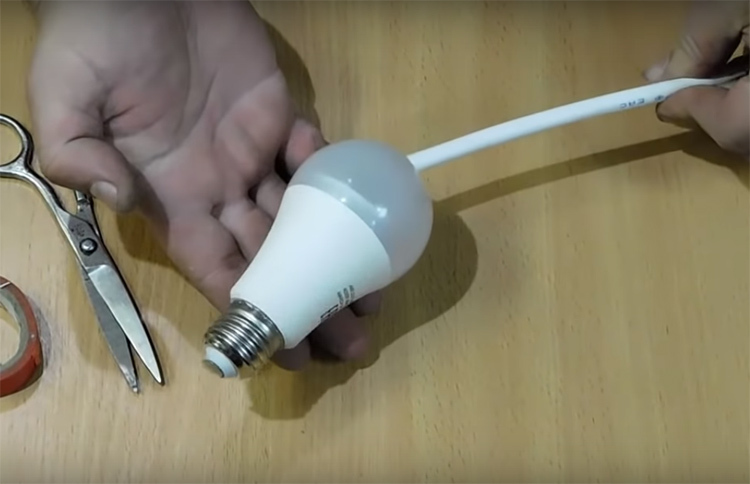
Assembled, this part looks like this: neat and simple. The power wire comes out of the lamp housing
Such a device will help you solve the problem with the lack of sockets in any place where there is a socket with a light bulb. But you need to remember one very important thing: the wiring leading to the lighting devices will not withstand too much consumer load, so do not abuse this method of connection

And this example is far from all that can be done with an old LED lamp. Here is another example of creative thought in this direction. The author of the following video figured out how to make a volumetric tile using the body of such a lamp:

What do you think about the rogue design? Do you think it would be useful to you at home? For what purposes can it be used? Write about it in the comments. And if you have your own experience in making homemade products based on an LED lamp, then send us your photos with a description of the process. We will definitely publish your master class!

PHOTO: YouTube-channel "AVTO CLASSยป

Discuss19