πŸ˜ƒ Useful rework from a broken blender

Electrical appliances cannot last forever. For example, in a hand blender, the weakest part is the attachments. They often fail. It turns out that the handle with the motor is still quite suitable for work, but without attachments it is useless. And it's a pity, because in this situation the whole device has a direct road to the trash can. But do not rush to draw a conclusion. It is possible to use the engine of this device in a new form. A master class on this matter was shown by the author of the YouTube channel Evgeniy Budilov. Perhaps this experience will be useful to you, especially since it is not at all difficult to repeat it.

Read in the article

  • 1 How to disassemble a blender for rework
  • 2 Additional details for reconstruction: what to buy
  • 3 Final assembly of the engraver from the blender

How to disassemble a blender for rework

To make minor changes to the existing design of the device, you will have to disassemble it, and get rid of some parts altogether.
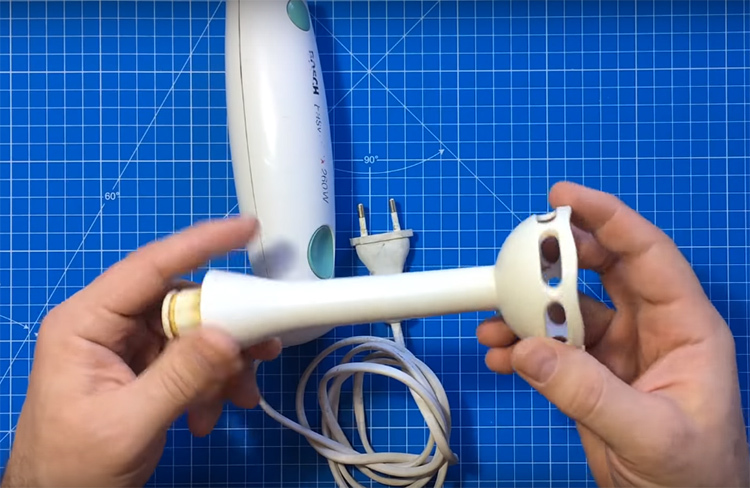
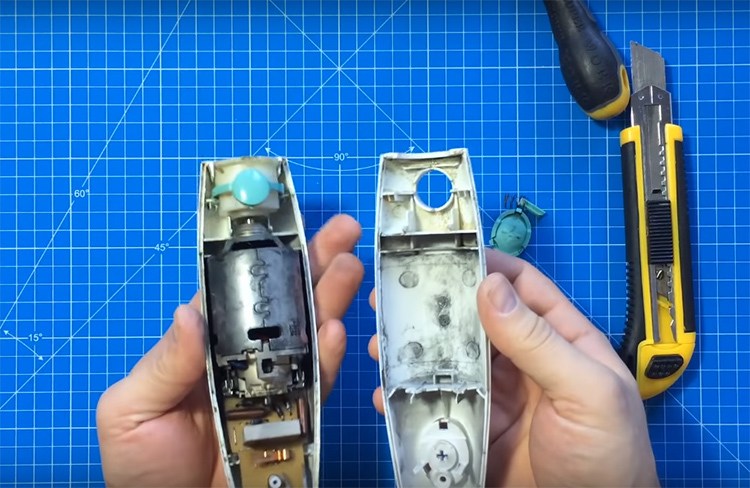
First of all, you need to admit that you still have to part with the attachments. You won't be able to use them again
To disassemble the case, you must first remove the control buttons. They are usually made of soft rubber, and underneath is a switch that can be easily unscrewed with a screwdriver. Get ready for the fact that the shape of the bolts may be unusual, in this case a set of replaceable screwdriver bits will come in handy

Additional details for reconstruction: what to buy

The blender design has a button that is not very convenient to control the engraver. In addition, a special tool is required to attach a drill or other accessory to the motor.
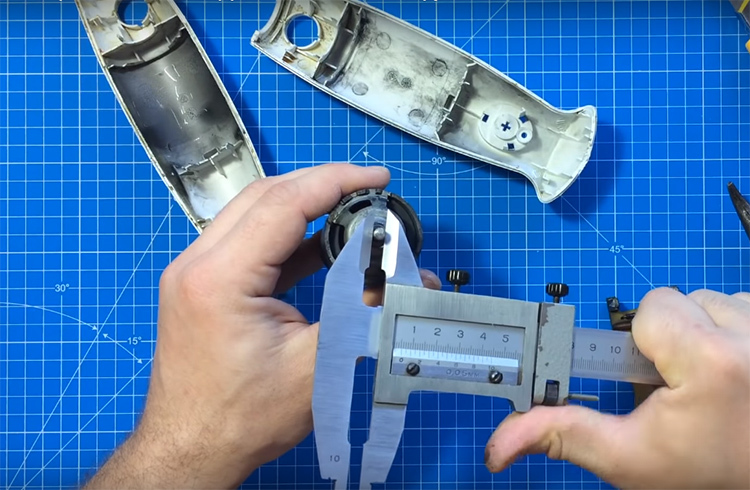
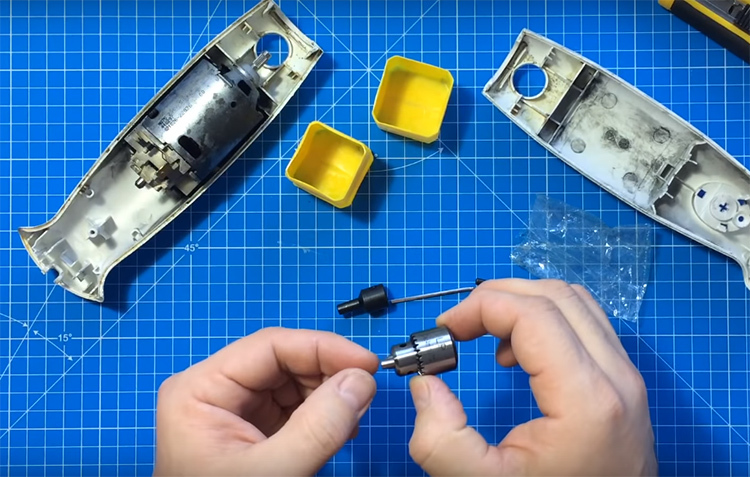
Remove the motor and measure the parameters of the rotating shaft. You need to order a nozzle for this size. Suitable attachments can be found on the pages of the Chinese mega-market or on domestic sites specializing in tools. It is important to choose a product that matches your measurements, since blender shafts can have different diameters.
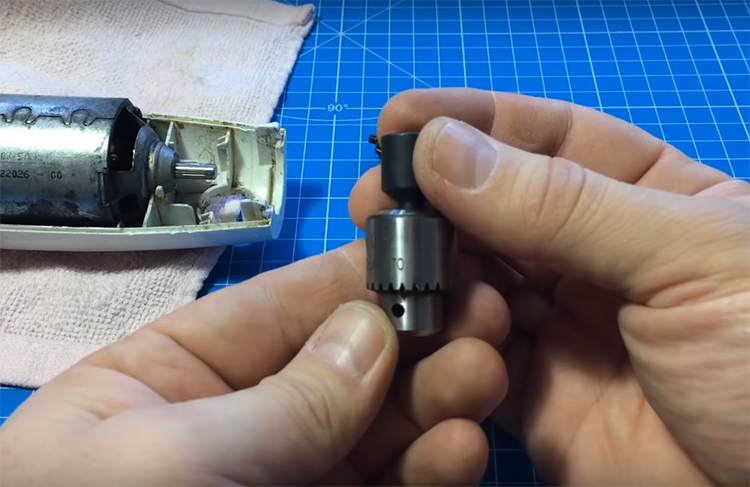
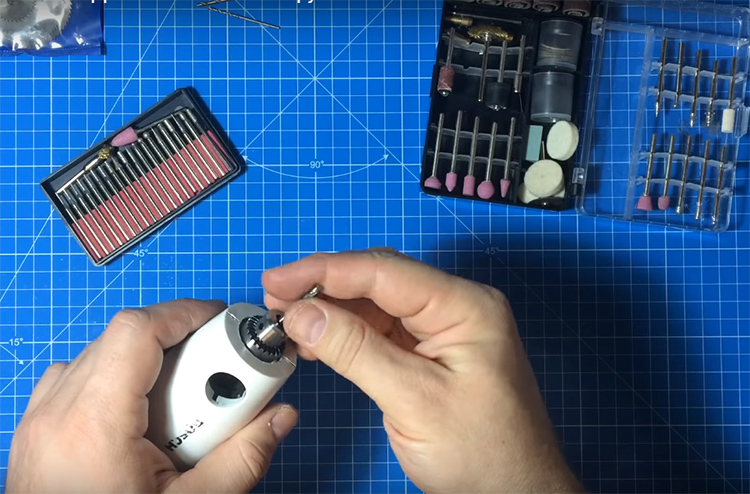
This nozzle looks something like this. You can already attach a drill or other engraving devices to it. Typically, these attachments are sold complete with a key and a locking head.
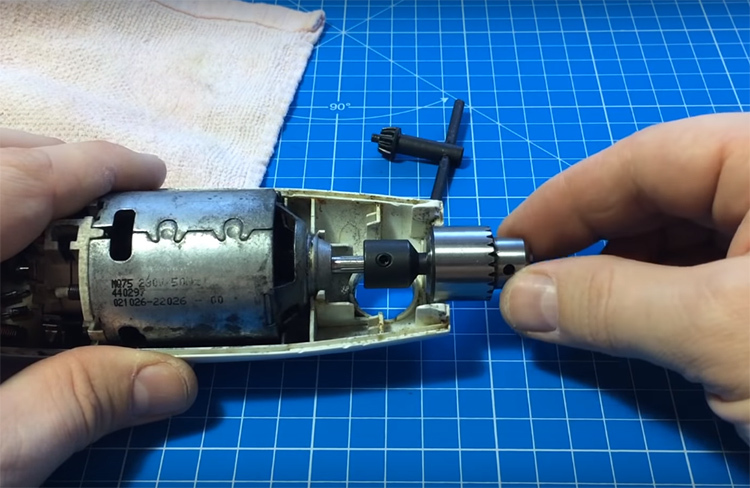
To fix the nozzle on the shaft, you need to install this part, which secures the entire structure to a pair of clamping bolts
Now the blender motor can be put in its place, and the nozzle will fit comfortably in the standard hole
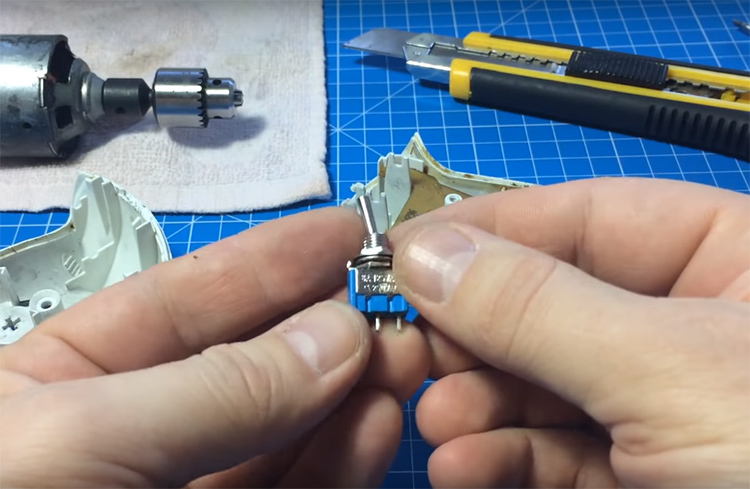
One more small detail is required to complete the reconstruction. This is such a small switch. You can buy it in the same place as the attachment.
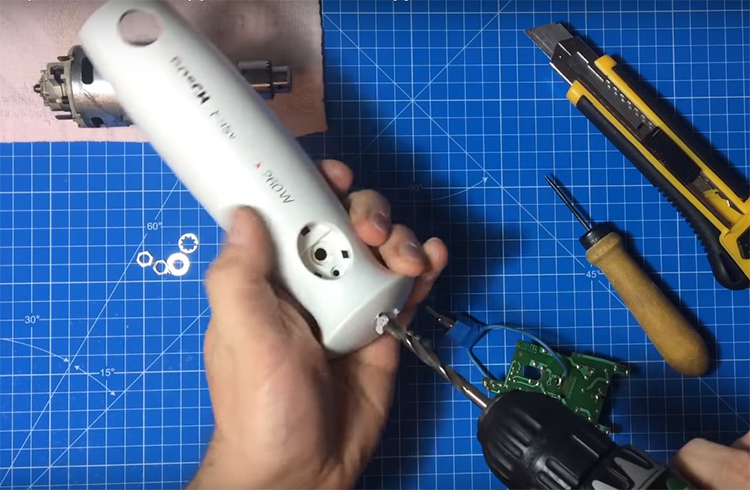
To install this switch, you need to drill a through hole in the back of the blender body.
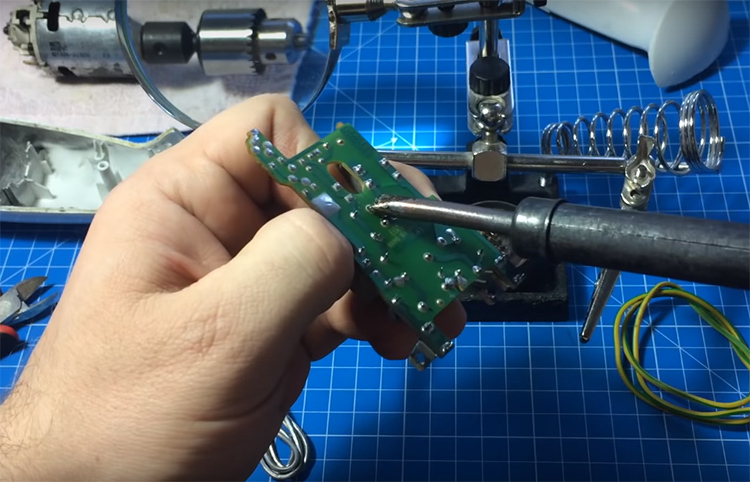
The switch itself is soldered to the main blender board. First you need to remove the contacts of the old button, then irradiate and solder the power wire with a break to the switch
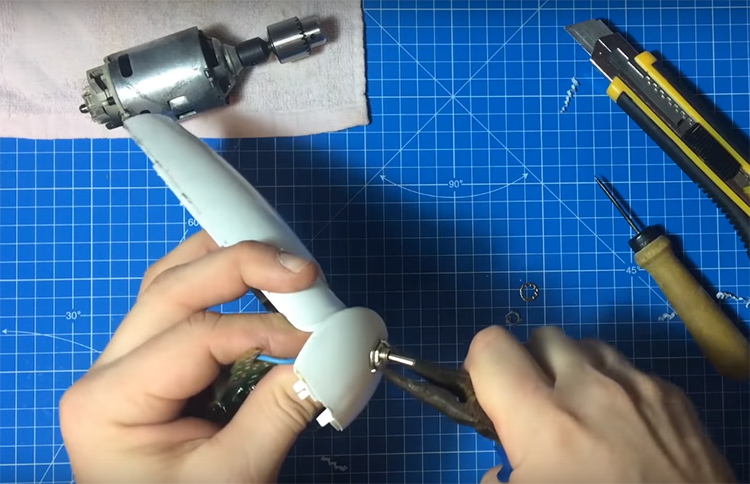
Bring the switch key through the drilled hole in the handle body and secure with a washer and a nut

Final assembly of the engraver from the blender

All the necessary changes to the design have been completed. There are not many new parts, moreover, they do not take up extra space.
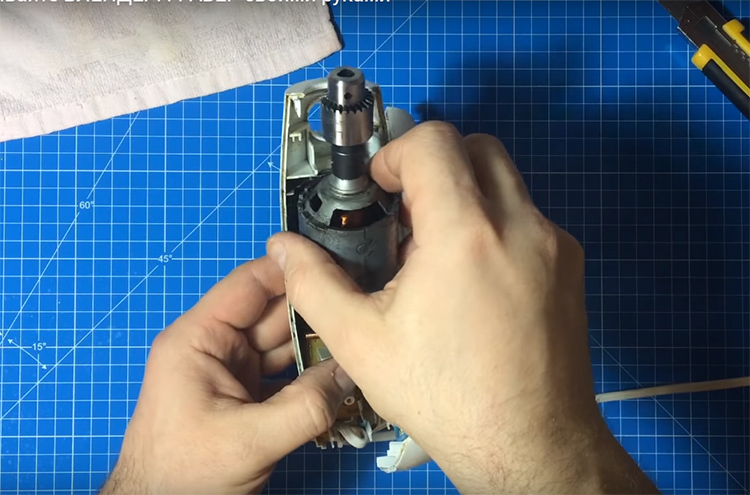
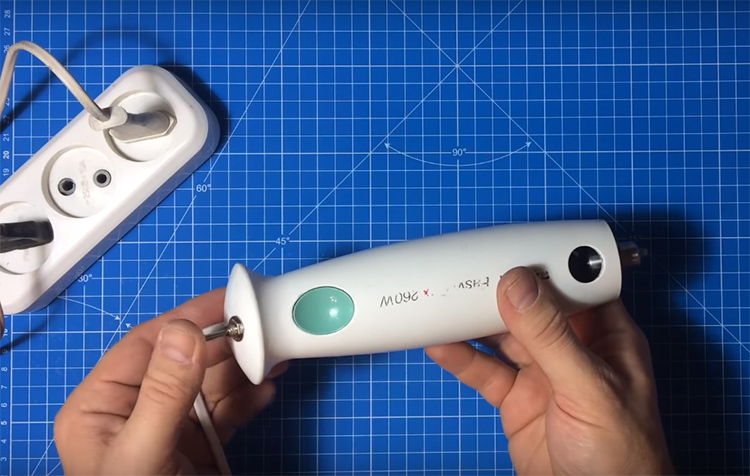
Now all the details of the future engraver are in place, you can assemble the body. There will be nothing superfluous in it, you can put rubber button covers on your grooves. The buttons themselves will no longer work, but at least the case will look neat
Externally, the handle has changed little: only a switch lever on the back side and a nozzle have been added, which does not change the appearance of the device in any way
Since now you have the most important thing - the driving mechanism, you can buy a set of attachments for the engraver. This can be a variety of grinders, drills and even a tiny circular saw.
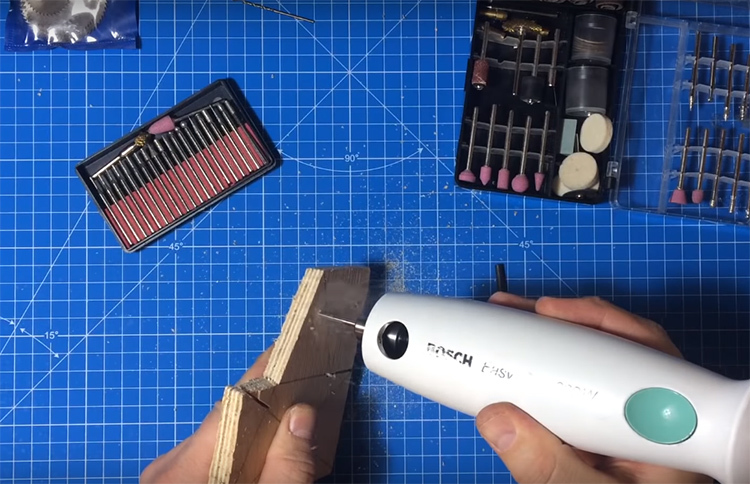
The power of the device is impressive. The drill installed on it easily passes through the plywood of a centimeter thickness, and the circular cuts the aluminum profile. Such a tool can be useful in various repair and creative work around the house.

This is a very simple alteration that does not require any radical changes in the design. Of all the additional parts, you only need a drill bit and a simple switch. The blender body in a plastic shell fits comfortably in the hand and weighs relatively little. The power cord remains standard. So, if you prepare in advance, all the work will take you from the strength of an hour and a half, and, instead of the device that you already were ready to send to the landfill, you will have a useful and practical thing that will definitely come in handy in farm. It must be said that such an alteration is one of the most popular and widespread among the authors of video channels. Here's another example of such a reconstruction:

In this version, you can get an engraver with speed control, which is sometimes very convenient.

How did you like this idea of ​​converting an old blender into a hand engraver? Did you understand everything in the master class? Could you repeat it yourself? If you've done something similar before, share your impressions of the power of the device in the comments! And if you have come up with another way of using the old blender, send us your photos of the process with a description, we will be happy to publish your master class.

PHOTO: YouTube-channel "Evgeniy BudilovΒ»

Discuss0