Living in an apartment or a private house, over time, a person gets used to the furniture that surrounds him. However, there comes a time when the usual wardrobe or chest of drawers ceases to correspond to the new interior and does not fit into it. And no matter how sorry the familiar thing is, you have to get rid of it. However, there is a way to give new life to such pieces of furniture. The author of the YouTube channel offers his own version of turning the Soviet old trellis into an elegant dressing table. Bubenitta.
Read in the article
- 1 The first steps towards the restoration of Soviet-made trellis
- 2 Preparation of surfaces for painting
- 2.1 Applying an adhesive primer
- 3 Selection of the required tone of paint and the beginning of work
- 4 Painting elements of the future make-up table
- 5 Decor elements to be purchased
- 6 Installation of mirror lighting for make-up table
- 7 Additional equipment for make-up table
- 7.1 Additional drawers for the table
- 8 What should turn out
- 9 Conclusion
The first steps towards the restoration of Soviet-made trellis
Surely, almost everyone has memories of the trellises with tricuspid mirrors that stood in every hallway in the post-Soviet space. It is such a piece of furniture that will be used in the work described today. It is worth noting that some of the decor items were ordered from AliExpress. Links to these products will definitely be provided along the way.
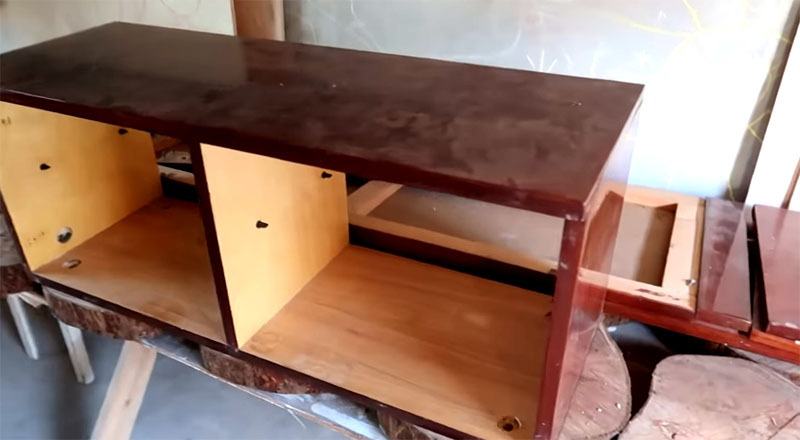
First you need to completely disassemble the trellis, so it will be much easier to work with it. Parts that are unnecessary for further restoration, including narrow side mirrors, old legs and door handles, can be thrown away immediately. The rest will be renovated.
Preparation of surfaces for painting
In order to get rid of the unnecessary work of removing old varnish, it makes sense to use an adhesive primer in the work. Of course, a little surface treatment will be needed, but it cannot be compared to the complete removal of varnish. And what was the coating on the old furniture, needless to say.
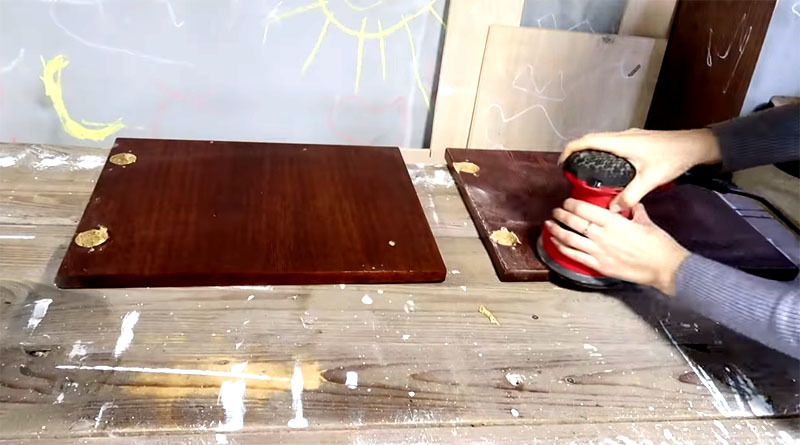
All surfaces must be lightly sander, although in the absence of it, you can do with the usual manual processing using sandpaper.
When the gloss is removed, the surfaces are degreased with a solvent, after which they are completely ready for painting. Such work will not take much time, but it must be done.
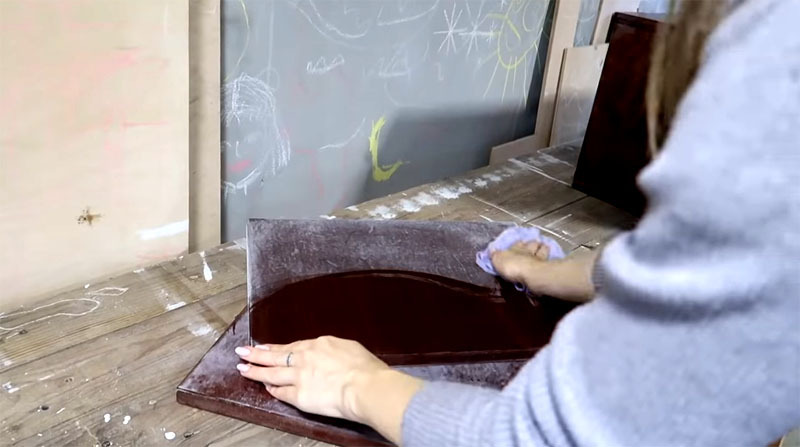 PHOTO: YouTube.com
Applying an adhesive primer
The consistency of the adhesive primer resembles a slightly thinned putty, but this should not be embarrassing. When applied with a roller, it rolls easily into a thin layer. However, even one layer of white soil is enough to completely hide the old trellis color. No gaps or dark spots remain on the surfaces.
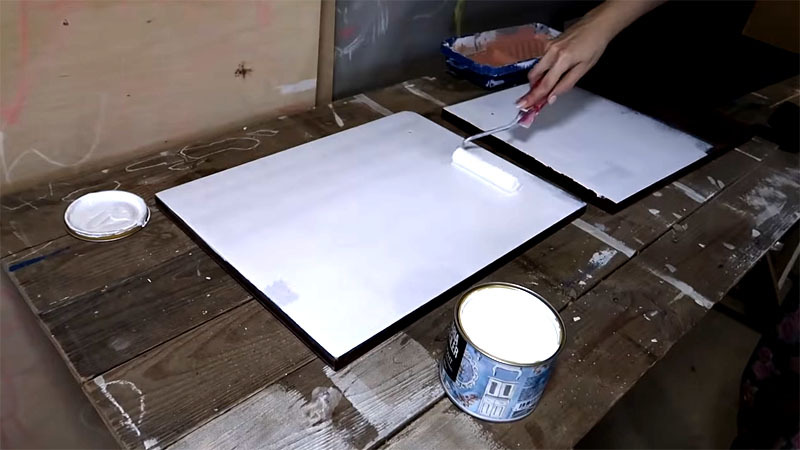 PHOTO: YouTube.com
Selection of the required tone of paint and the beginning of work
The color of the purchased paint does not always correspond to the desired one. But this is a small problem. Modern acrylic paints are good because their shade can be easily changed by adding a special color scheme. After the color seems suitable, you need to apply paint on a small surface and wait for it to dry. In this case, the paint may lighten a little, this should also be taken into account.
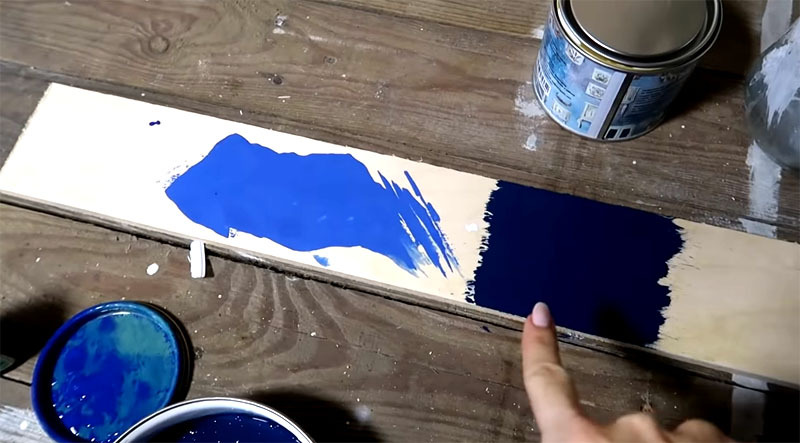 PHOTO: YouTube.com
Painting elements of the future make-up table
The primer dries very quickly. After it has completely dried, you can start painting the surfaces. Despite the fact that the paint, if it is of high quality, covers the surface evenly from the first time, after the first layer has dried, you should go over it with a roller again. This will make the color much richer.
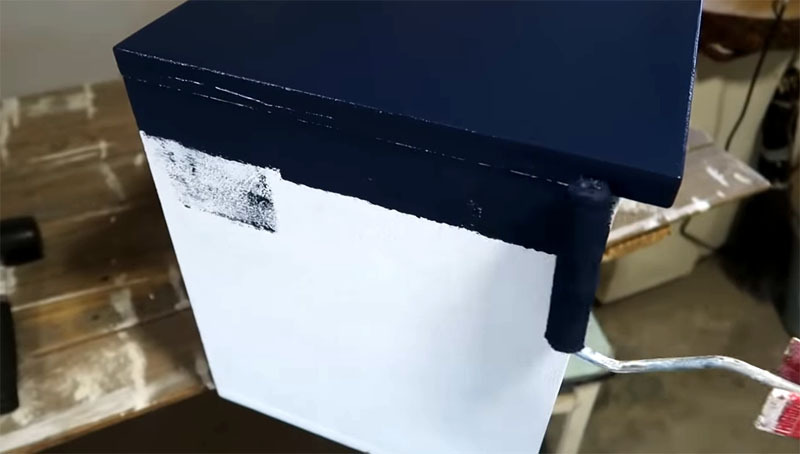 PHOTO: YouTube.com
The final coat should be matte acrylic varnish. After it dries, you can start assembling the make-up table.
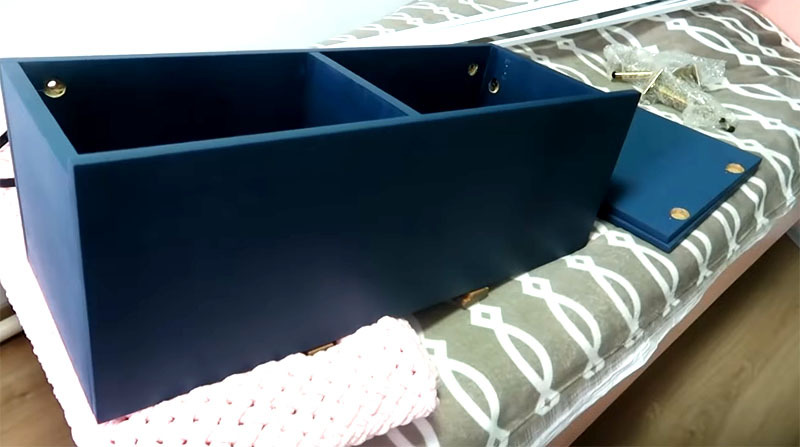 PHOTO: YouTube.com
Decor elements to be purchased
Elements that will be used in decorating the table should be purchased in advance. In this case, AliExpress ordered new trellis legs to replace the old wooden ones, corner elements, as well as handles in the form of golden lion heads. The contrast of gold and dark blue color gave the bedside table some charm, sophistication and emphasized originality. You can order these items using the following links:
- handles in the form of lion heads;
- decorative corners;
- legs for trellis.
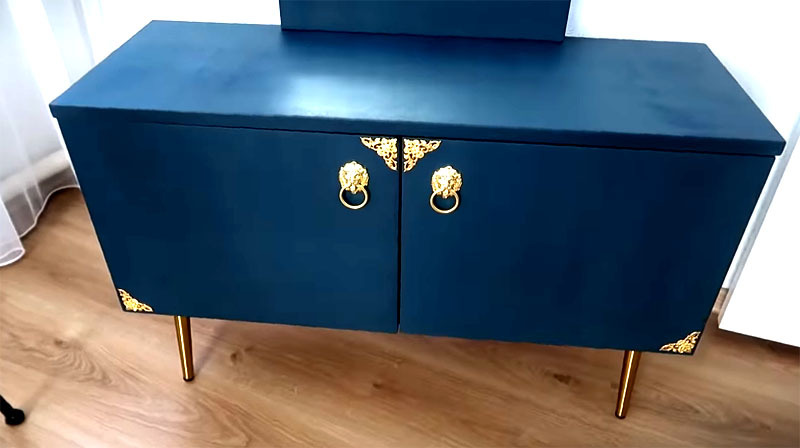 PHOTO: YouTube.com
However, collecting the restored trellis is only half the battle. It is also necessary to think over the lighting of the mirror itself, as well as the additional elements necessary for the table to be called a dressing room.
Installation of mirror lighting for make-up table
For illumination on the same Chinese resource, LED lamps powered via USB from an adapter were chosen. It is very convenient and safe. You can order similar lamps here.
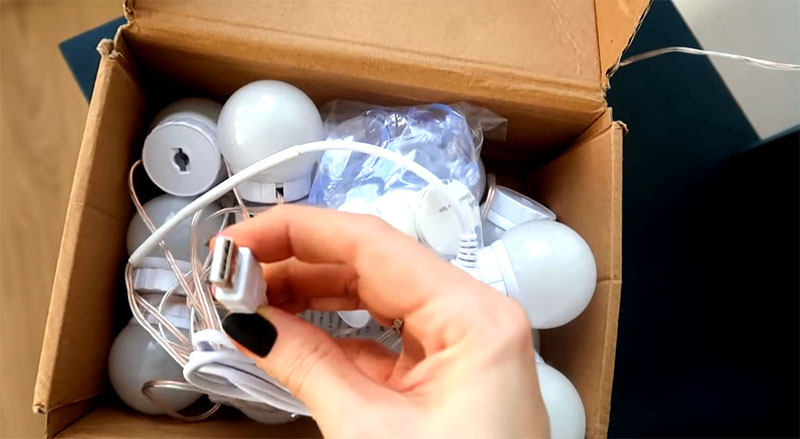 PHOTO: YouTube.com
It is extremely easy to install such lighting fixtures. The manufacturer offers a choice of 2 mounting options - on suction cups or using double-sided tape disks. Here it is already more convenient for someone - both types of mounts are included. In our case, double-sided tape discs were chosen - they seemed more reliable. It should be noted that before installing the luminaires, it is necessary to thoroughly wash and wipe dry mirror, and also mark the location of the lamps so that they are located at the same distance one from another.
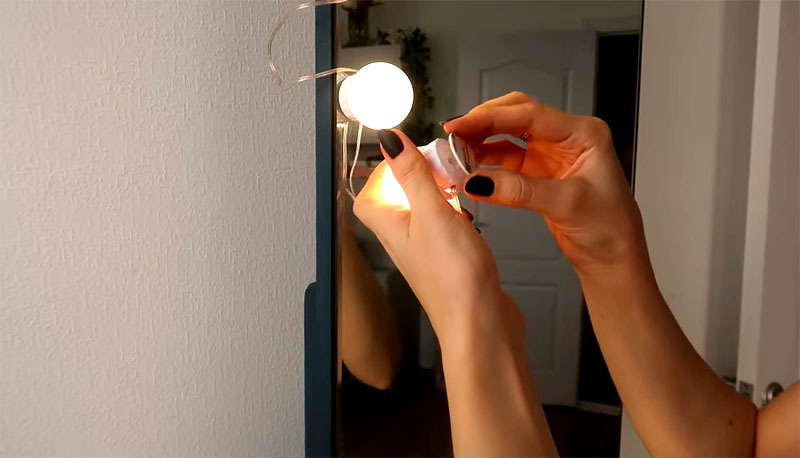 PHOTO: YouTube.com
Surplus wires are hidden behind a mirror and fixed on the back wall. To do this, you can use double-sided tape or a regular hot glue gun. The insulation of the wire is quite dense and of high quality, and therefore there will be no harm to it from the high temperature of the composition.
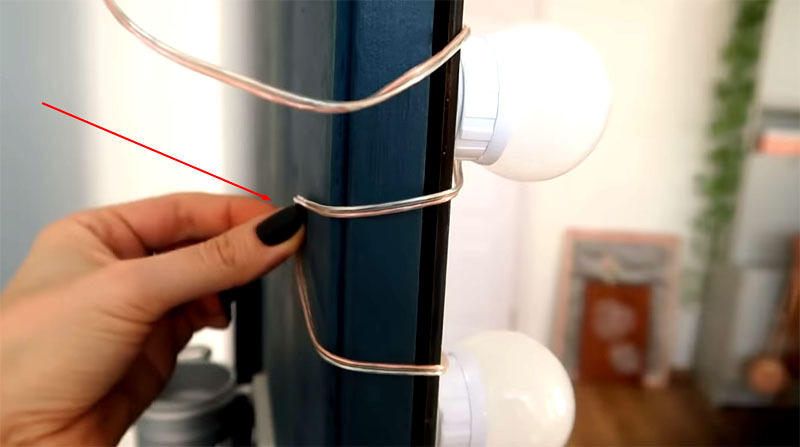 PHOTO: YouTube.com
Additional equipment for make-up table
It is very important that in such a piece of furniture, various devices are provided that allow you to arrange cosmetics and additional equipment. The first thing that was purchased for this was a holder for a hair dryer and combs. It can be found in any store that specializes in similar products. The bracket was fixed behind the mirror in such a way that neither it nor the wires from the hair dryer or curling iron could be seen from the front side. This means that this arrangement has added aesthetics to the exterior.
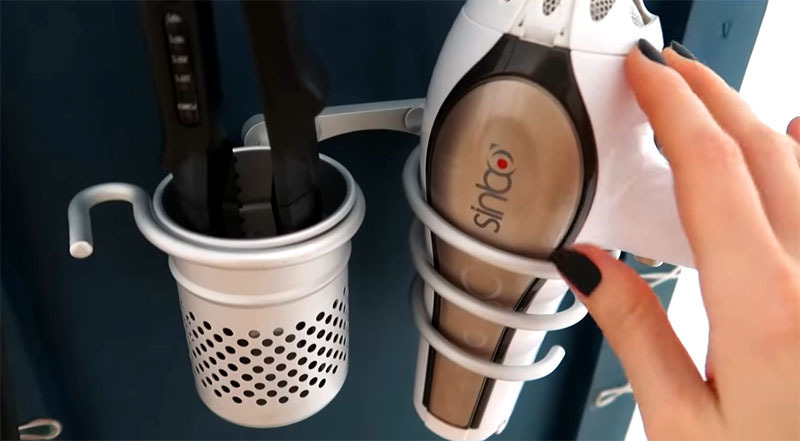 PHOTO: YouTube.com
However, electrical equipment needs to be connected somewhere. For this purpose, an ordinary extension cord with a tee is perfect, which must also be fixed behind the mirror from below. The lighting will also be powered from it. The main thing with such work is to observe electrical safety techniques. Do not attach the tee while it is energized.
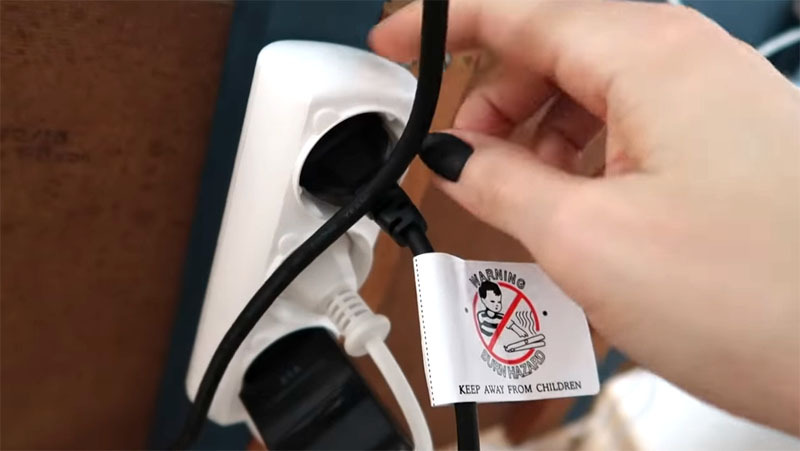 PHOTO: YouTube.com
Additional drawers for the table
Various boxes for small things and cosmetics can be purchased ready-made, but in order to save money, it is better to buy ordinary plastic containers, paint them in the desired colors and glue them together.
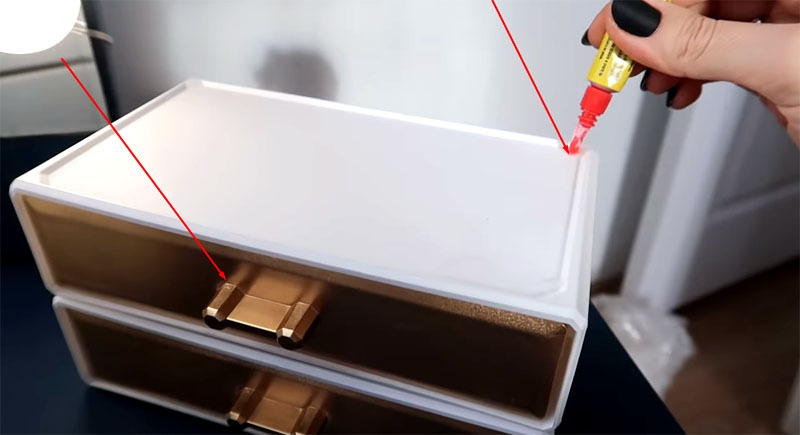 PHOTO: YouTube.com
What should turn out
When all the work is completed, you can admire the results of the work done with your own hands. In general, if all the materials are at hand, such a restoration will take no more than two days, although if you wish, you can keep within one. It all depends on the speed of drying of the paint.
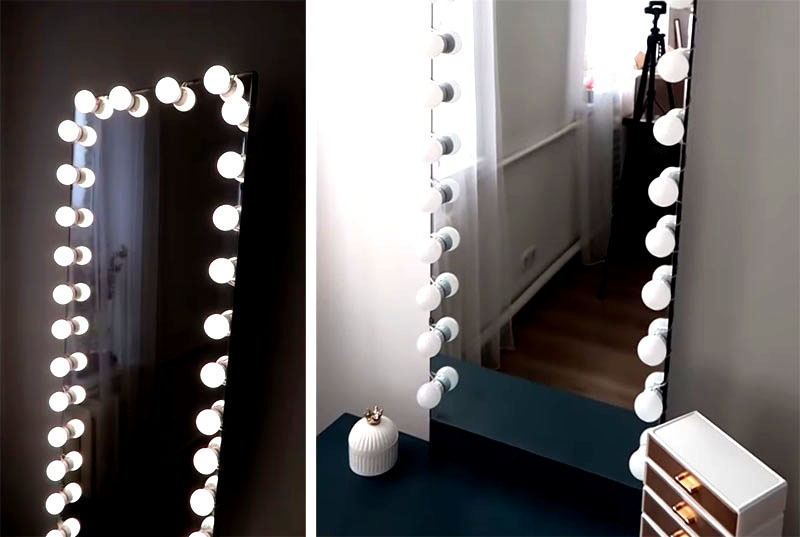 PHOTO: YouTube.com
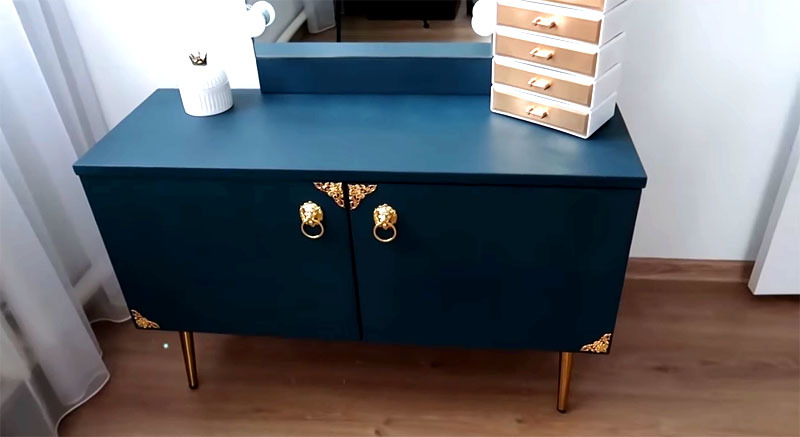 PHOTO: YouTube.com
Conclusion
You can make sure that you should not throw away, albeit old, but very high-quality furniture made in the USSR - it will still serve for a very long time. The main thing is not to be lazy and spend 1-2 days on its restoration. And the result will delight the owners and surprise guests with its appearance and versatility. As for the costs of trellis restoration, they will be several times less than when purchasing a factory-made dressing table or making it to order.
We really hope that you will take note of today's instruction. If you have any questions related to this instruction, you are welcome in the discussion below. HouseChief editors will be happy to answer each one, and as soon as possible. There you can also leave your comment on the article, express your personal impressions of what you have read, or share your opinion on whether it is worth doing such a restoration. Like today's article? If so, don't forget to rate. Your feedback is very important to us.


