Every kitchen has a variety of knives that can be dangerous if stored carelessly. A hand-made knife holder will not only protect the chef, but can also become a stylish accessory for the kitchen interior. In this article, we will provide several master classes with detailed instructions, as well as demonstrate original ideas for homemade coasters.
Read in the article
- 1 Filler coasters
- 1.1 Bamboo sticks
- 1.2 Polymer bristles
- 2 Book stand
- 3 Wall mounted magnetic knife holder
- 4 Do-it-yourself knife stand made of wood
- 4.1 Tabletop
- 4.2 Suspended
- 5 Plywood stand
- 6 Stands for other instruments
- 7 DIY kitchen stand and organizer ideas
- 8 Summing up
Filler coasters
They are among the most simple to manufacture and effective in appearance. As a filler, both bulk materials can be used: sand, cereals, legumes, and bamboo sticks or polymer bristles.
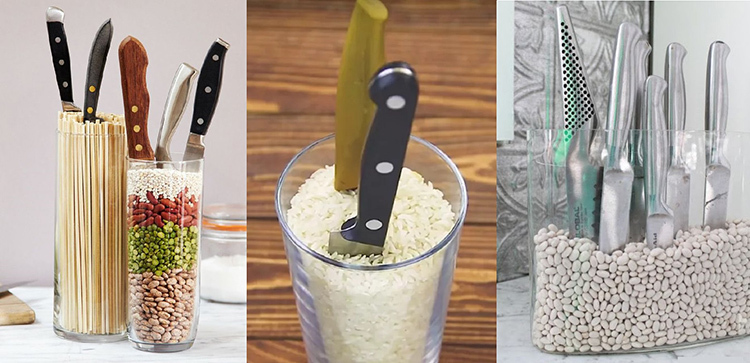
Of the advantages, the following can be noted:
- compactness and mobility - can be installed on any work surface of the kitchen, while it will not interfere;
- ease of use - no need to aim with a knife to get into the slot;
- suitable for knives of any size;
- does not need special complex care, it is enough to replace or rinse and dry the filler.
Disadvantages mainly relate to free-flowing fillers:
- it is necessary to thoroughly wipe the knife, excessive moisture can lead to the appearance of mold in the cereals;
- if the free-flowing filler is laid in layers, then after some time of active use of the stand, they will mix.

Bamboo sticks
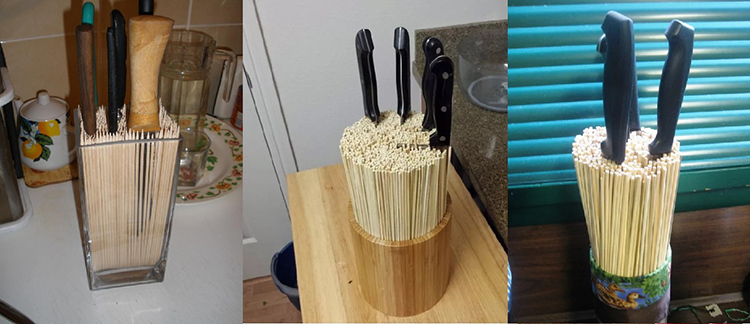
Making a stand filled with bamboo sticks does not require any special step-by-step instructions. We just take a suitable container, which can be glass, tin or wooden jars, boxes or vases, and fill it with bamboo sticks.
Polymer bristles
Thick, stiff polymer bristles are more suitable material for the stand, they:
- does not rot;
- is not a nutrient base for mold and mildew;
- easy to clean, including using household detergents and disinfectants.
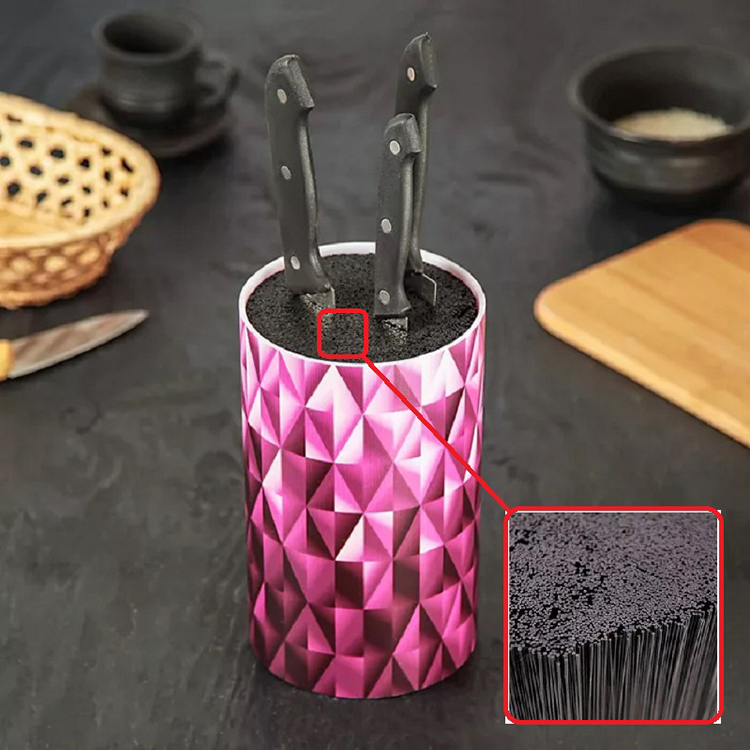
To make do-it-yourself knife stands using polymer bristles, you will need:
- PVC pipe with a diameter of 80 mm;
- pipe plug;
- broom with polymer bristles;
- glue;
- nitro paint in a bottle.
| Illustration | Description of action |
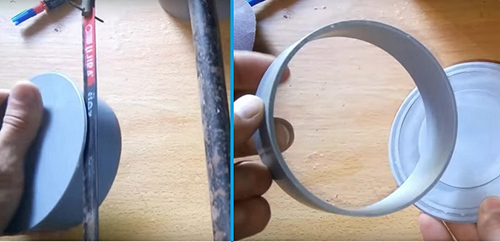 | We cut off the cover of the plug with a hacksaw for metal and clean the cut points |
 | We cut the resulting ring, insert it into the pipe, mark the overlap and remove it |
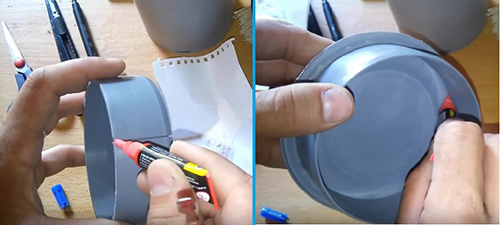 | We glue the cut ring and glue it to the base |
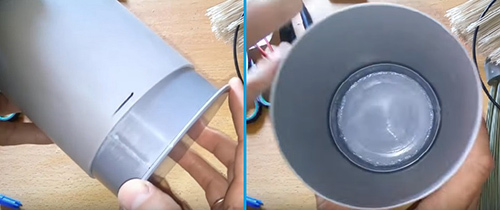 | The resulting plug should enter the pipe without much stress. |
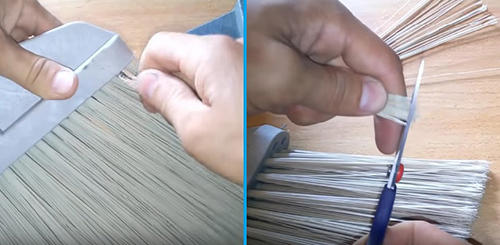 | Pull the bristles out of the brush, preferably together with a retainer that holds the bristles together. Cut to length of the pipe |
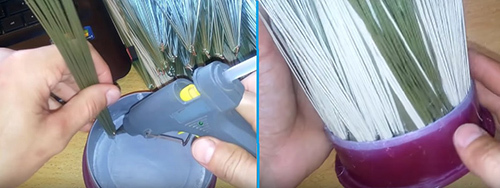 | We glue the bristles to the lid with silicone glue. It is necessary to arrange the beams as tightly as possible |
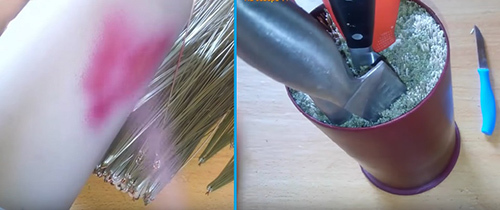 | We paint the case, and the stand is ready |
You can get acquainted with the manufacturing instructions in more detail by watching the video:
Book stand
For her, it is recommended to choose books in a hard cover, preferably laminated, so that you can keep it clean with household chemicals. You will also need:
- screwdriver or screwdriver;
- several self-tapping screws for wood;
- PVA glue;
- twine.
| Illustration | Description of action |
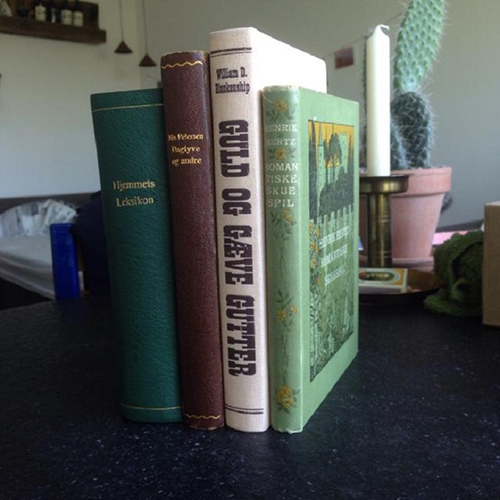 | We select 3-4 books and put them in random order, forming a composition |
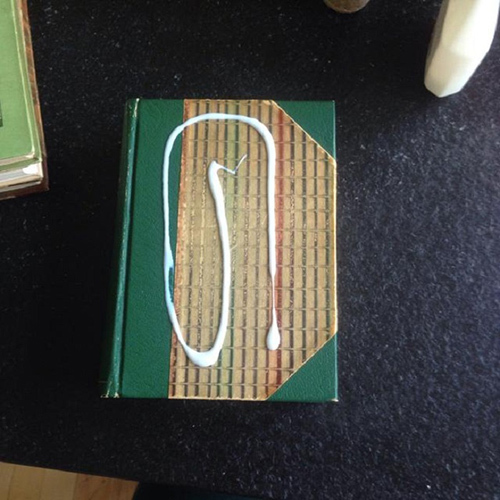 | We fix the covers with glue and let the structures dry |
 | We tighten the screws along the center line, while it is necessary to fix all the books to each other |
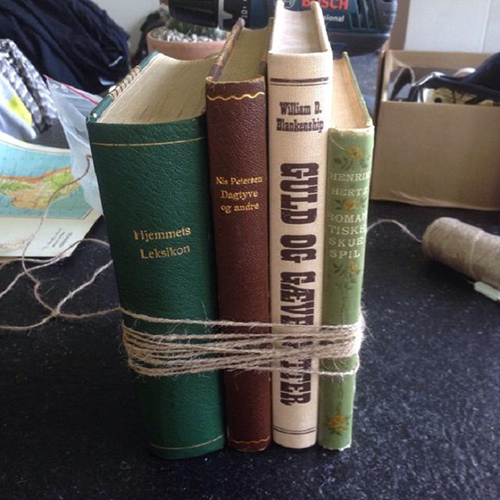 | Tying books with twine |
Wall mounted magnetic knife holder
Most kitchen knives are made from metal. Therefore, magnets are widely used to attach them. One of the more ergonomic options is the hanging stand. It has several advantages:
- versatility - you can not only fix knives of any size, but also use it to place any metal utensils;
- ease of use and maintenance;
- saves space on the working surface of the kitchen countertop;
- hygienic - the knives come into contact with the stand with a small surface area, without creating a bacteria-friendly environment.
To make a type-setting wooden knife holder with a magnet, you will need the following materials and tools:
- wooden blocks made of different types of wood or stained in different colors;
- joiner's glue;
- clamps;
- milling cutter;
- jigsaw or circular saw;
- Bulgarian;
- magnets, hot melt glue, varnish.
| Illustration | Description of action |
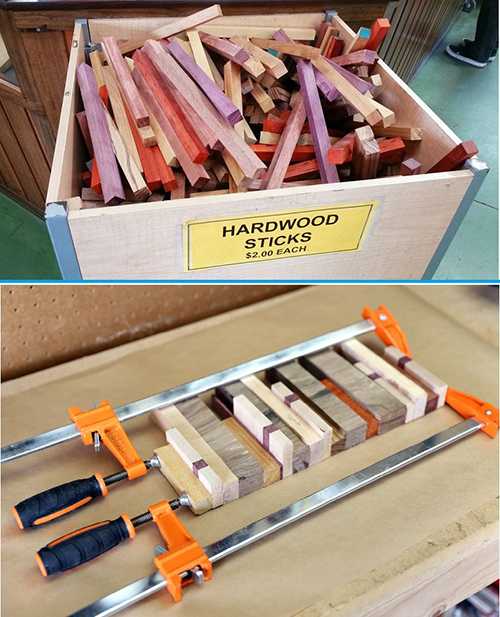 | We select wooden dies for the typesetting board and connect them with glue (fix with clamps) |
 | We process the workpiece with a milling cutter or electric plane until a flat surface is obtained on both sides. |
 | Using a circular saw or jigsaw, we cut longitudinal edges |
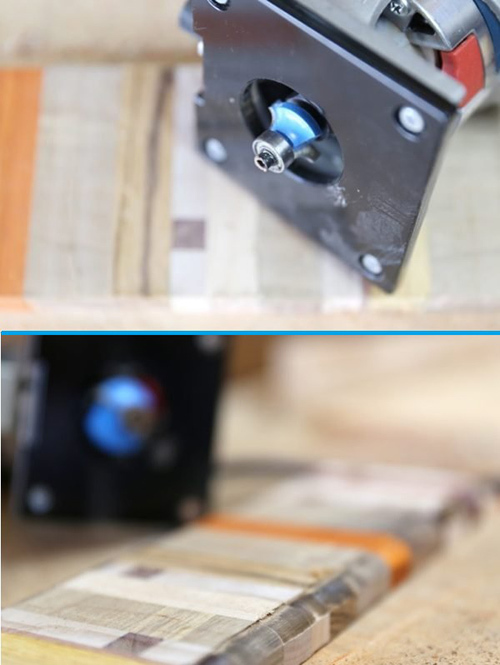 | Round the edges of the front side with a milling cutter with the corresponding nozzle |
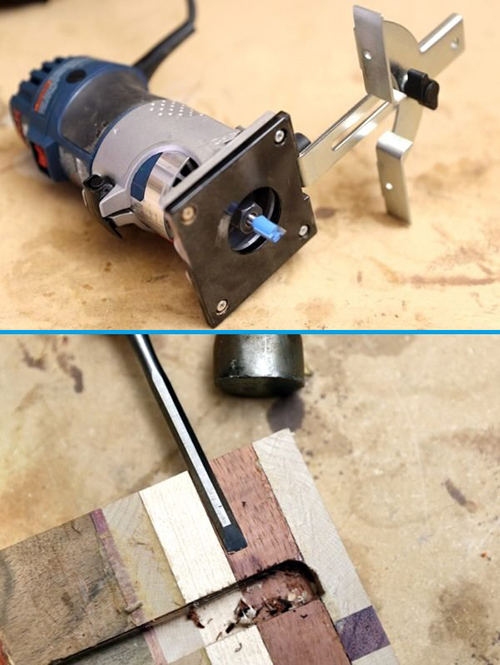 | Using another nozzle on the back side, select a groove along the entire length of the dial board. Adjust the corners with a chisel |
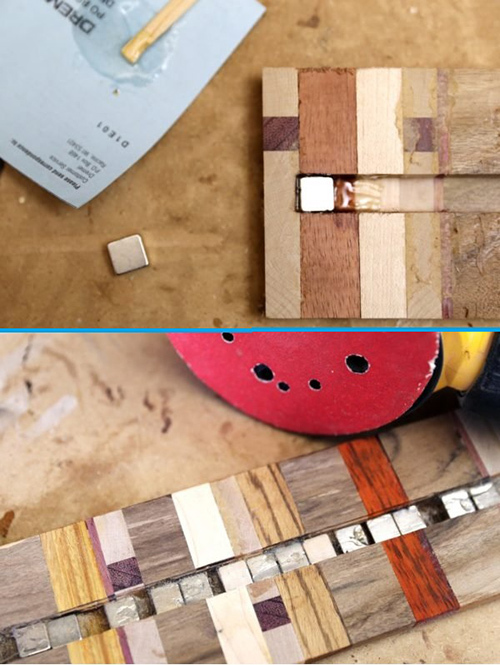 | We glue the magnets with hot glue along the entire length of the groove |
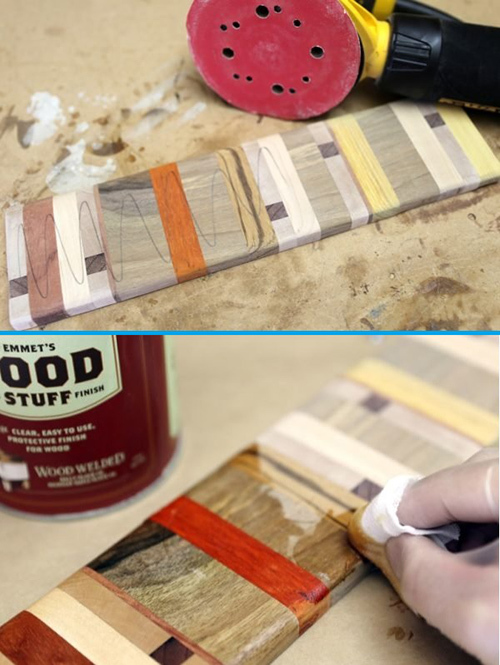 | Grind the front side with a grinder with an emery wheel and varnish it |
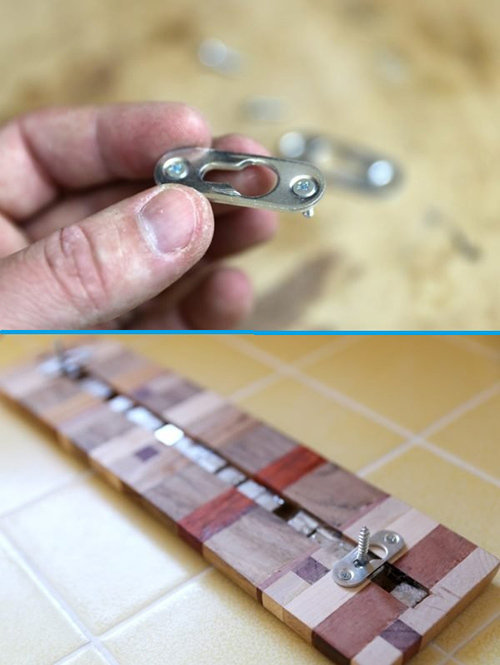 | We fix the holders |
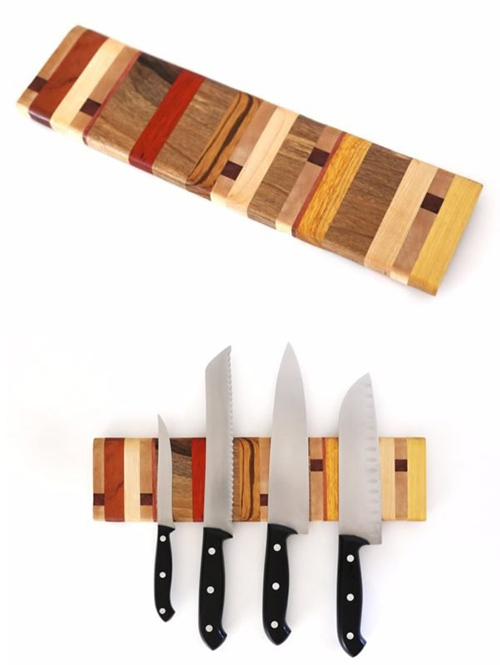 | Admiring the result |
Do-it-yourself knife stand made of wood
Wooden coasters are one of the most common among homemade products due to the ease of processing the material. They also provide other benefits:
- roominess - can accommodate up to 10-12 knives;
- ergonomics - knives are located at an angle, which makes their extraction more convenient;
- ease of manufacture. It mainly depends on the complexity of the design, but the simplest models can be made without the use of expensive tools, even without much experience in carpentry work.
Among the shortcomings, it can be noted:
- hygroscopicity;
- susceptibility to biological corrosion (rot, fungus, mold);
- difficulties in cleaning internal cavities.
Tabletop
To make a table stand for knives you will need:
- solid wood or glued timber board 150 × 150 × 15 mm - 2 pieces;
- solid wood board 150 × 200 × 30 mm - 1 piece;
- joiner's glue;
- varnish, antiseptic impregnation.
- milling cutter (manual or stationary) or chisels.
| Illustration | Description of action |
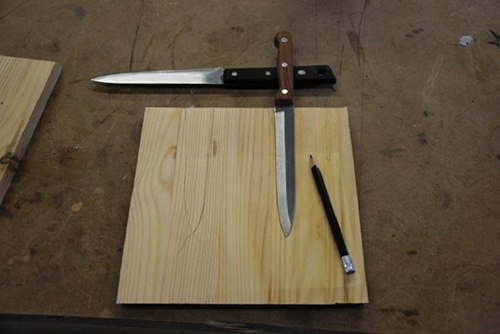 | On the boards of the body, mark the contours of the knife blade |
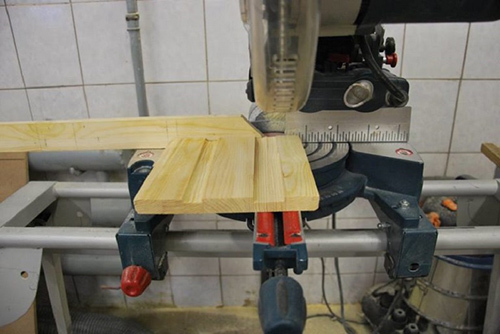 | Using a router or chisel, cut grooves in one of the blanks. Groove depth 2-3 mm, width 3-4 mm more than the marked contour |
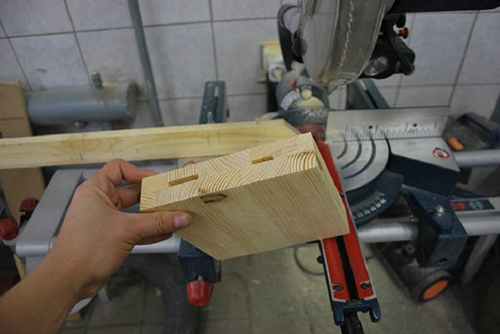 | Using wood glue, we fasten the blanks |
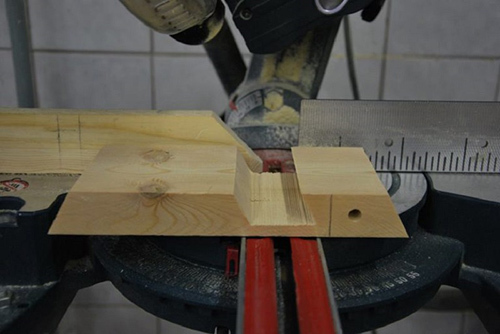 | In the stand, cut a groove with a width equal to the body of the stand |
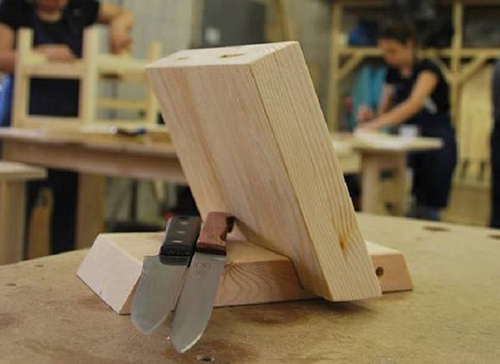 | We fix both blanks with wood glue |
Suspended
The offered stand is compact and can be mounted on a wall or installed on a work surface against a wall. In both cases, it does not take up much space.
To make a vertical knife rack, the following materials are required:
- edged board from solid pine 200 × 250 × 20 mm - 1 piece;
- solid pine planks 50 × 250 × 5 mm - 3 pieces;
- birch veneer for edges - 4-5 m;
- joiner's glue;
- Double-sided tape;
| Illustration | Description of action |
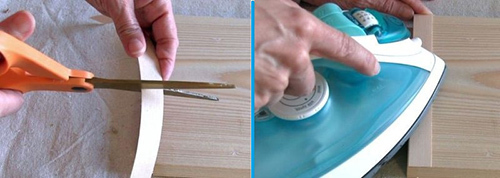 | Cut the edging veneer into strips of 200 mm. We apply glue and use an iron to glue it to the edges of the board. To achieve the required cell thickness, you need at least three layers of veneer |
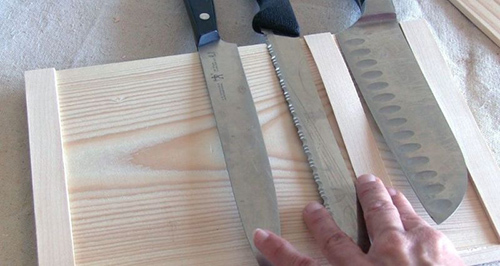 | We mark the required width of the cells using the available knives. We immediately glue the veneer as a delimiter |
 | We glue the slats over the veneer. You can use PVA glue or double-sided tape |
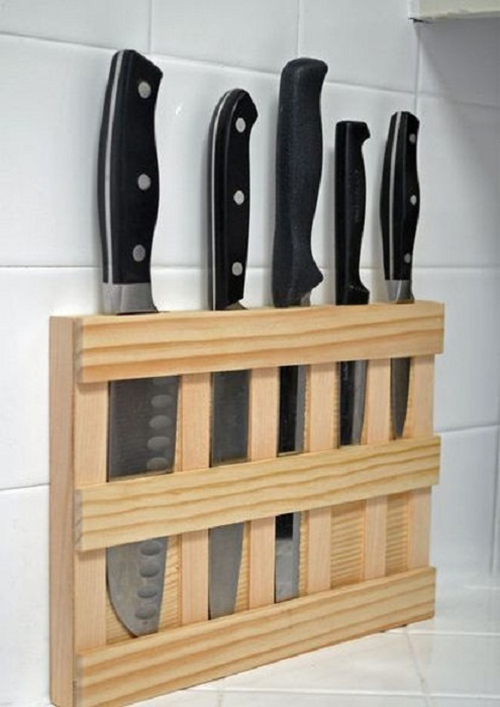 | We fix the finished product on the wall |
Important! Before the final assembly of the stand, all wooden elements must be treated with an antiseptic primer, and the front sides must be varnished.
Plywood stand
Plywood, especially the moisture resistant FSF grade, has a higher strength than solid wood with comparable labor costs for processing. Therefore, this material can be used to make more complex and compact structures with the same strength characteristics.
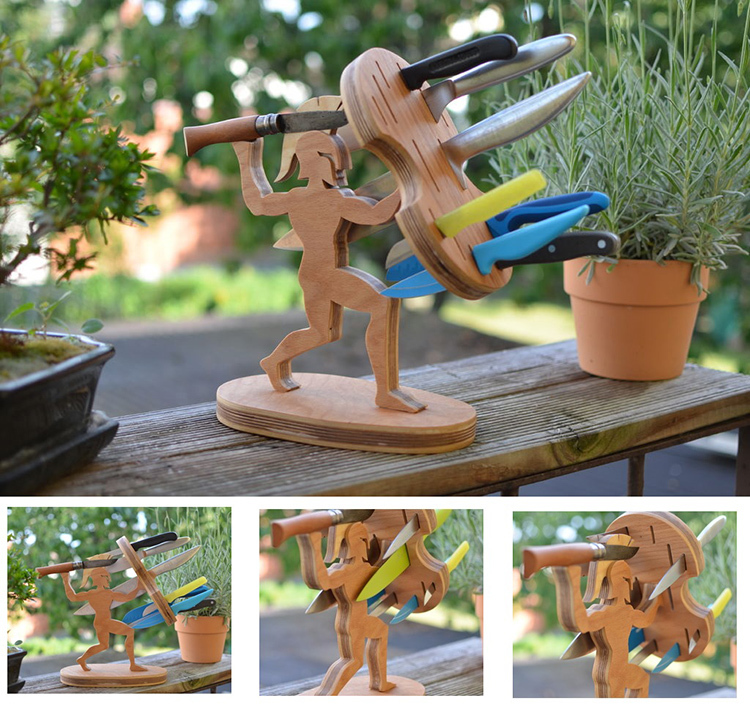
The model of the "Spartan Warrior" stand is one of the most original in design. It's pretty easy to make. To work, you will need the following materials and tools:
- FSF plywood - 6 mm and 12 mm;
- joiner's glue;
- lead shot, sinkers, small metal nuts, etc.
- magnet (round) with a diameter of 6 mm;
- sandpaper.
In principle, cutting can be done with a conventional hand-held jigsaw, but it is more advisable to use a jigsaw, router or laser cutter (CNC machine). You will also need a drill from the tools.
The main difficulty in the manufacture of the "Spartan Warrior" knife holder is the small volume and laboriousness of the work performed, as well as the lack of detailed drawings. The table below provides drawings in PDF format, which must be downloaded, printed on a printer, and then transferred to plywood.
| Item name | File |
| The lower part of the stand is blind, 6mm thick | Download PDF |
| The middle part of the stand with the container for the lead weight. Plywood thickness 12 mm | Download PDF |
| The upper part of the stand with grooves for attaching a warrior figure. Thickness 6 mm | Download PDF |
| Middle part of a warrior with a helmet | Download PDF |
| Warrior's side (blueprint consists of two halves) | Download PDF 1 Download PDF 2 |
| Top (6 mm), with cutouts for knives | Download PDF |
| The middle (12 mm) and lower (6 mm) part of the shield with cutouts for knives and a groove for attaching to a thorn on the warrior's hand | Download PDF |
The manufacturing process has the following stages:
- The schemes available in the files are printed.
- With the help of glue, they are glued to plywood sheets.
- They are cut out with a jigsaw or a power tool, and then the places of the cuts are skinned.
- A blind hole with a diameter of 6-8 mm is drilled in the warrior's helmet. A magnet is installed in it on hot glue.
- All elements are assembled (fixed with glue).
- The cuts in the shield are made as follows: at the top and bottom of the cuts, a hole with a diameter of 2-3 mm is drilled; then use a jigsaw to cut out everything unnecessary inside the slot.
Making a stand for knives in the form of a warrior made of wood can be viewed in more detail on the video:
Stands for other instruments
Stands that serve as organizers are necessary in the kitchen not only for knives, but also for the rest of the utensils. Their designs and materials of manufacture must meet a number of requirements:
- strength and durability - kitchen utensils, as a rule, metal have sharp projections and edges. To prevent rapid wear of the product, the material of manufacture must have a fairly high hardness;
- hygiene - this parameter applies to both material and construction. The material must withstand cleaning with detergents and disinfectants. The structure should have a minimum amount of embossed decoration where grease and dirt can accumulate. And also provide free access to all cells;
- ergonomics - provided with numerous cells of various sizes and wall heights.
To make an organizer for kitchen utensils from cans, you will need:
- 4-6 cans of the same type;
- board 200 × 300 × 25 mm;
- old leather belt;
- paint that matches the color scheme of the kitchen set;
- glue, screws.
| Illustration | Description of action |
 | We take several cans of the same type. We thoroughly clean them from the remnants of the contents and paint. We also paint the board, which will be the base |
 | Using a regular nail, punch a hole in each jar. We apply the cans to the board in working position and mark the attachment points first with a pencil, and then with a nail |
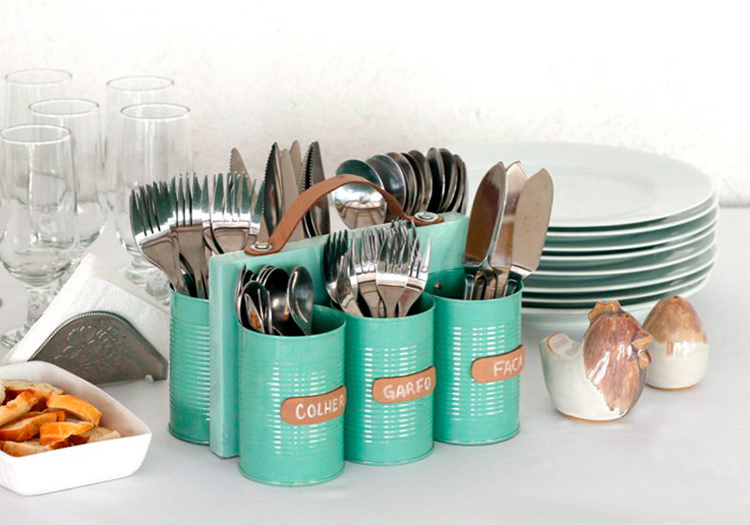
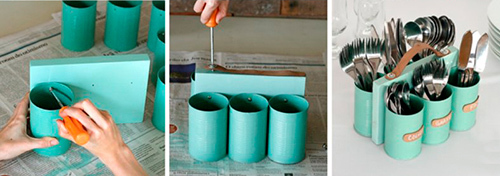 | We fasten the cans to the base. We fasten a piece of stone from above in the form of a handle. Small pieces of a belt, in the form of labels, are glued to cans |
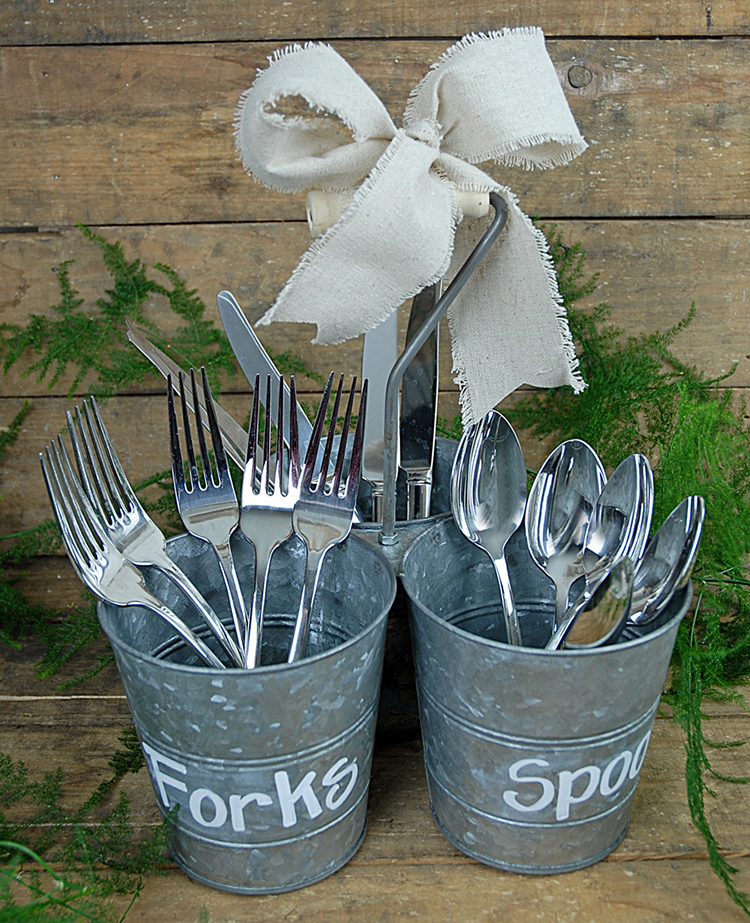
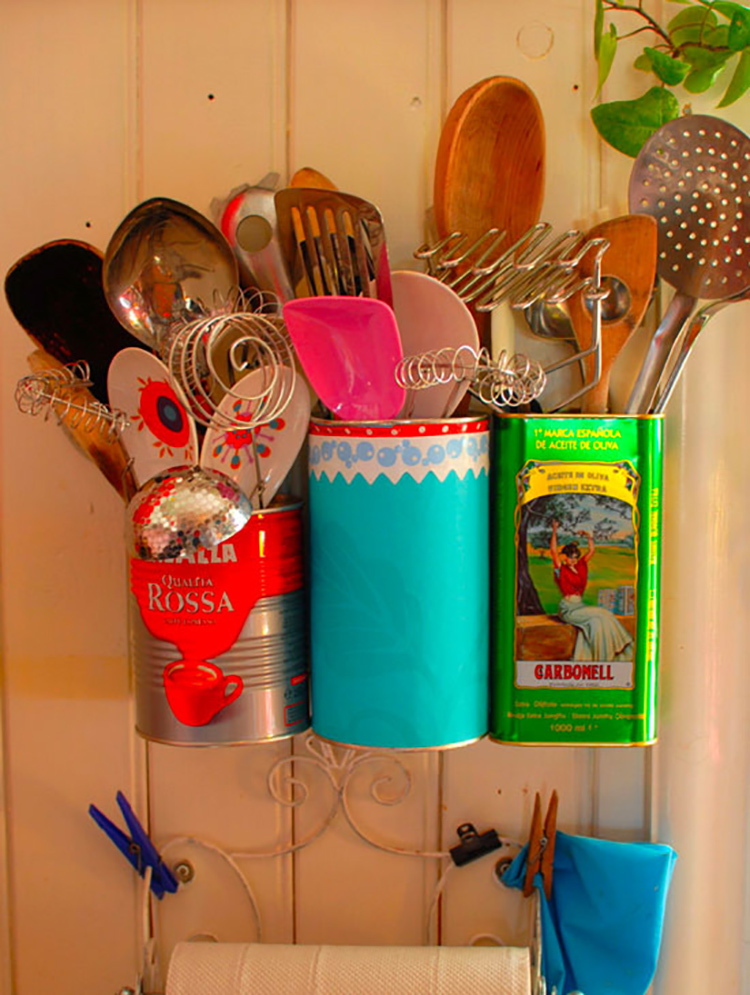
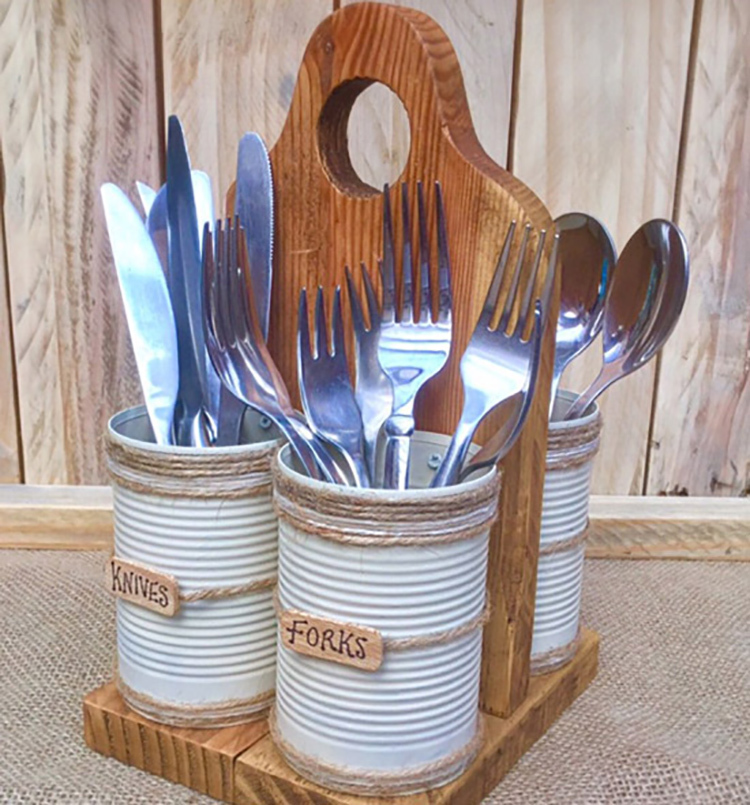
Below are several options for organizers for kitchen utensils from jars
1 out of 4
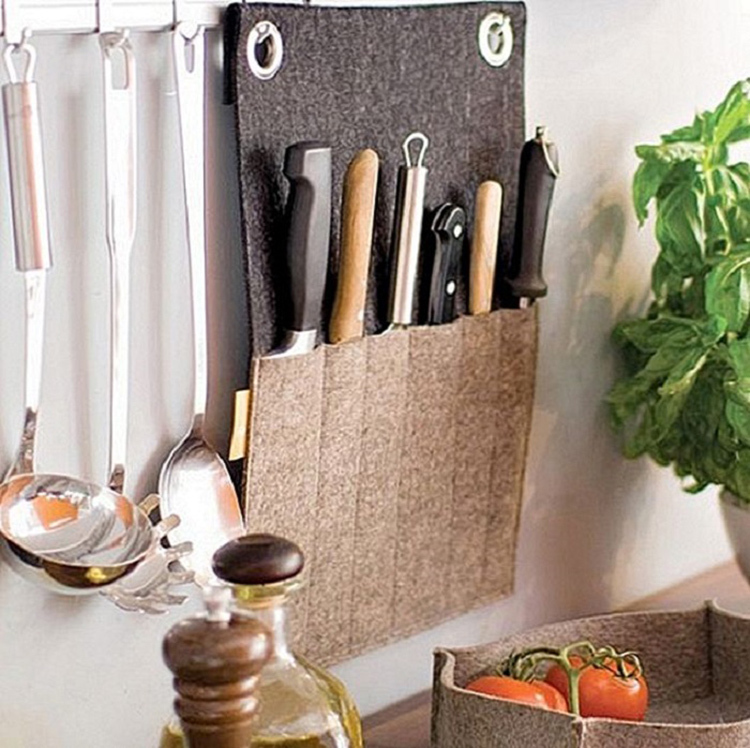
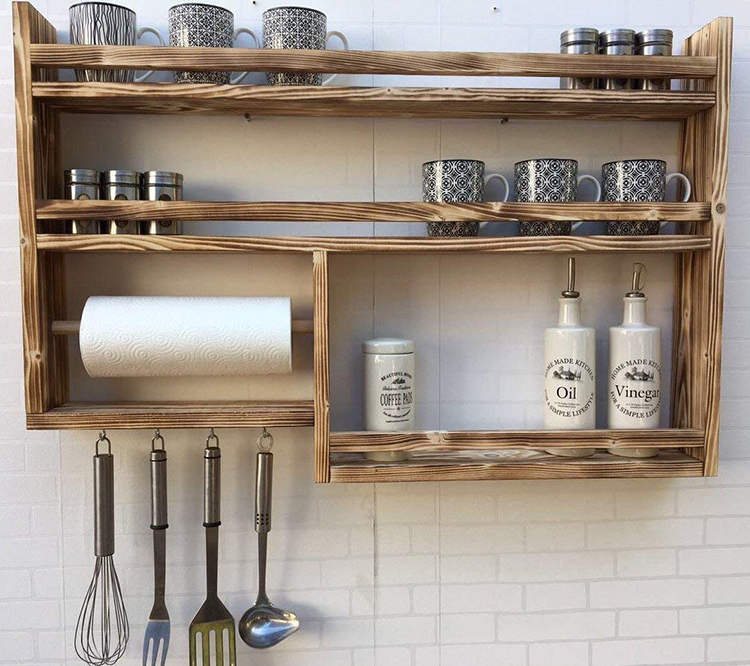
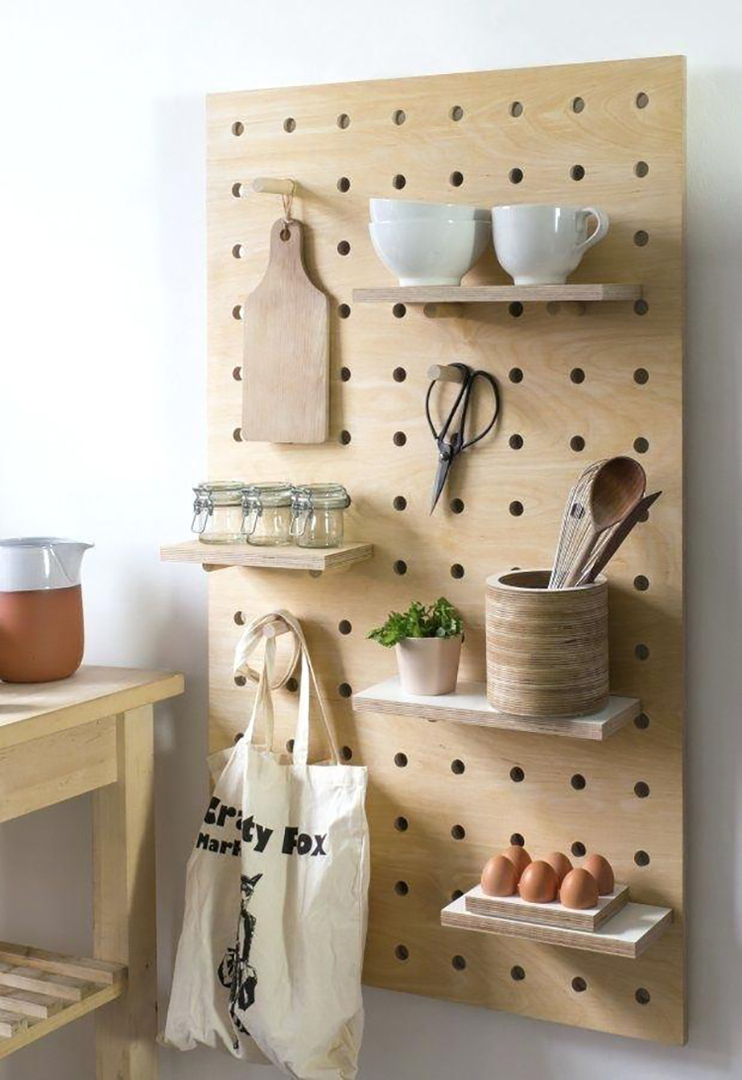
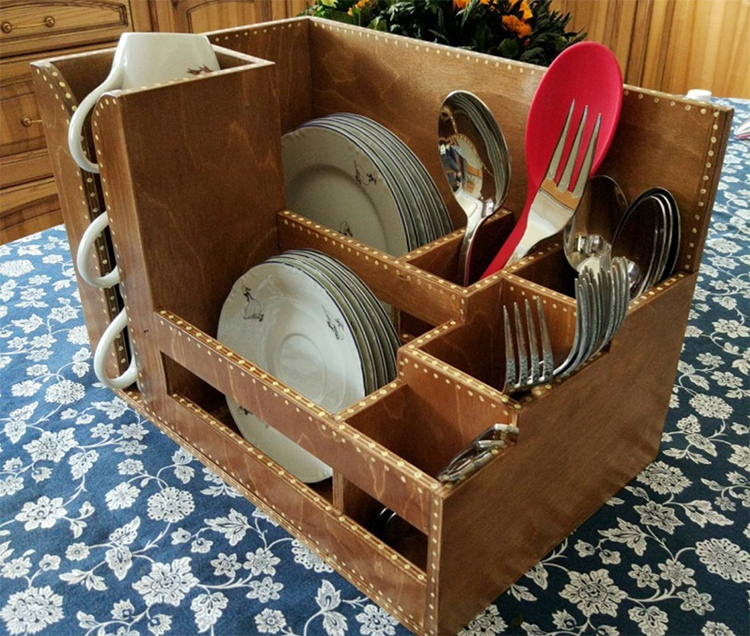
DIY kitchen stand and organizer ideas
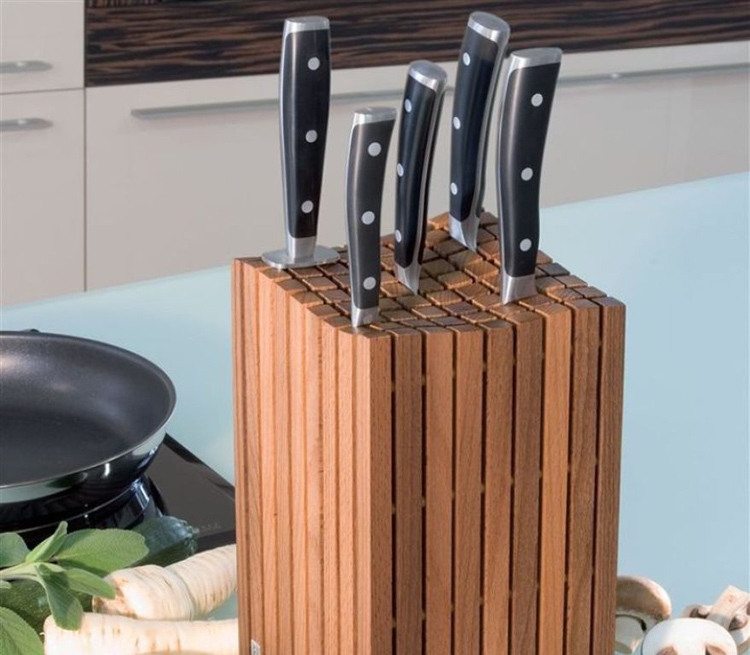
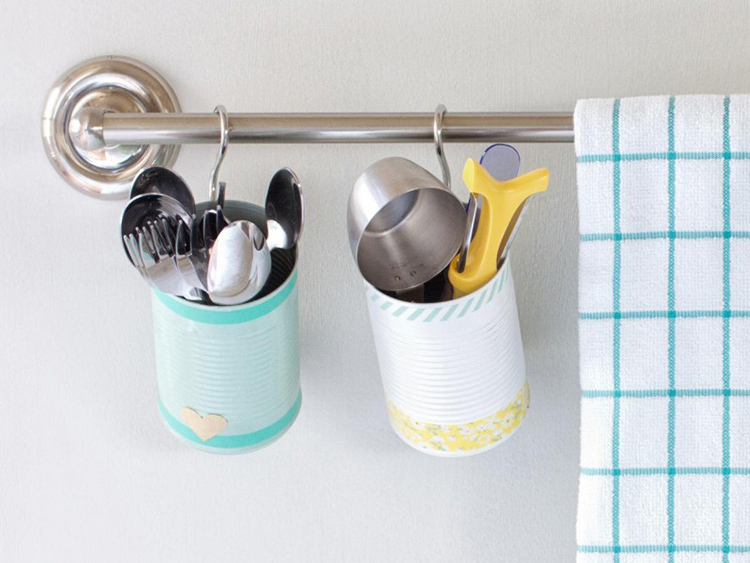
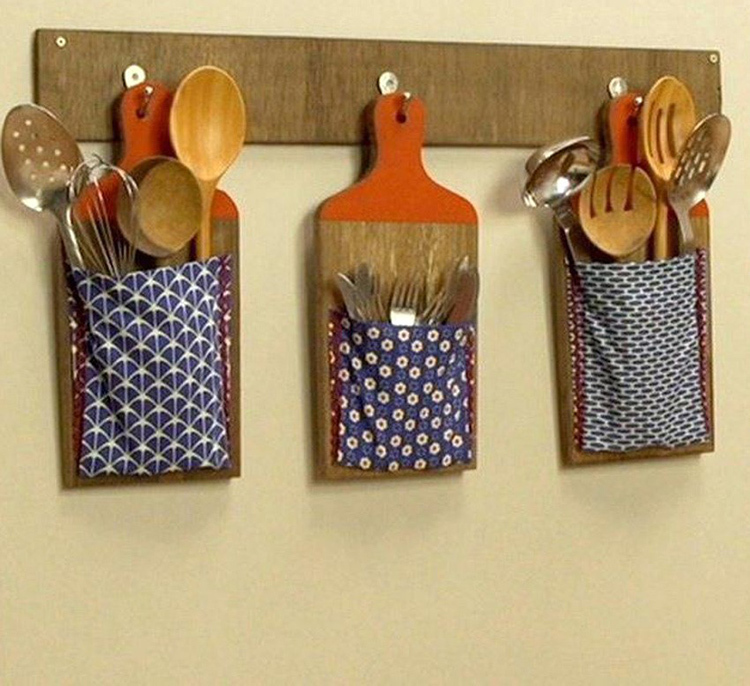
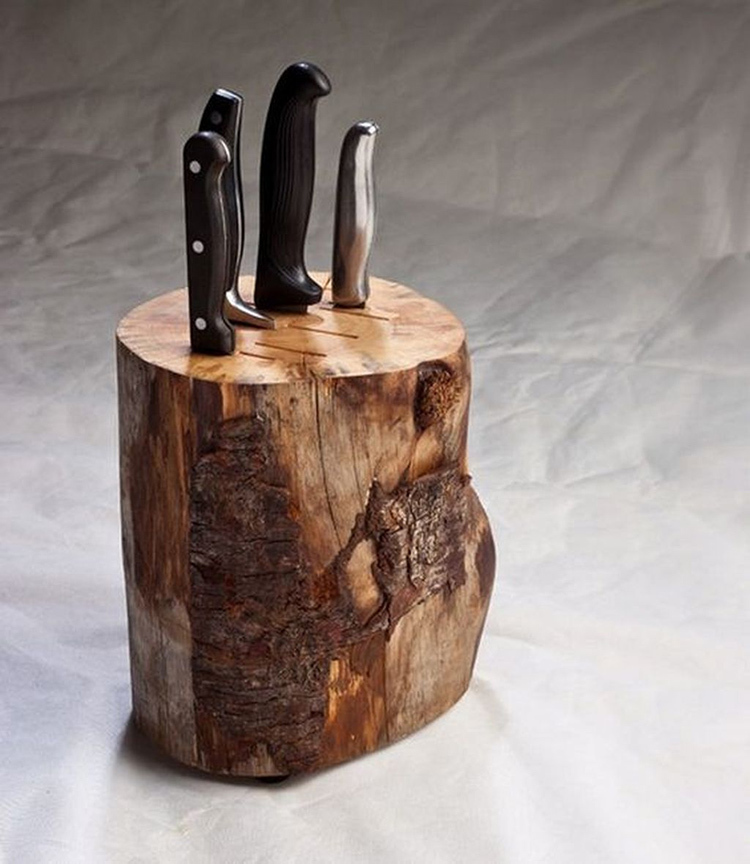
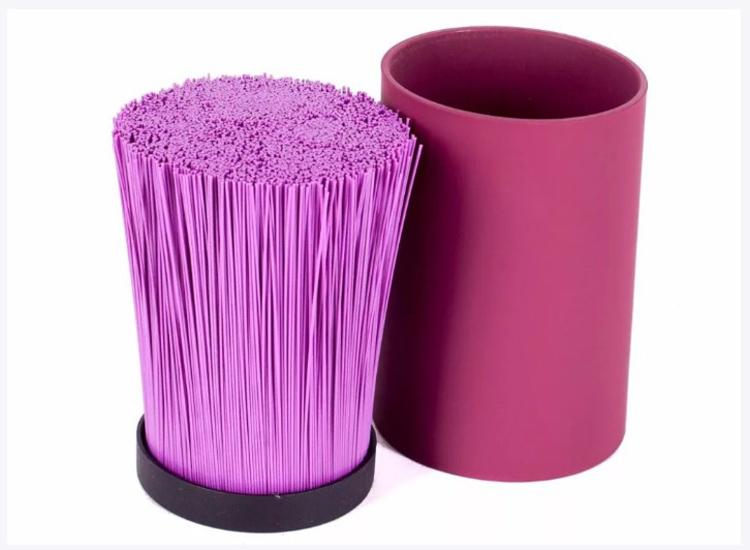
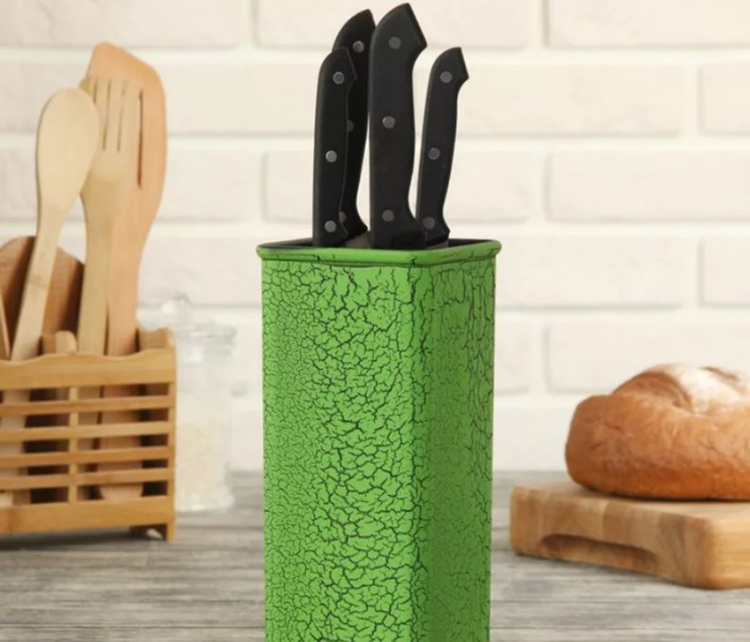
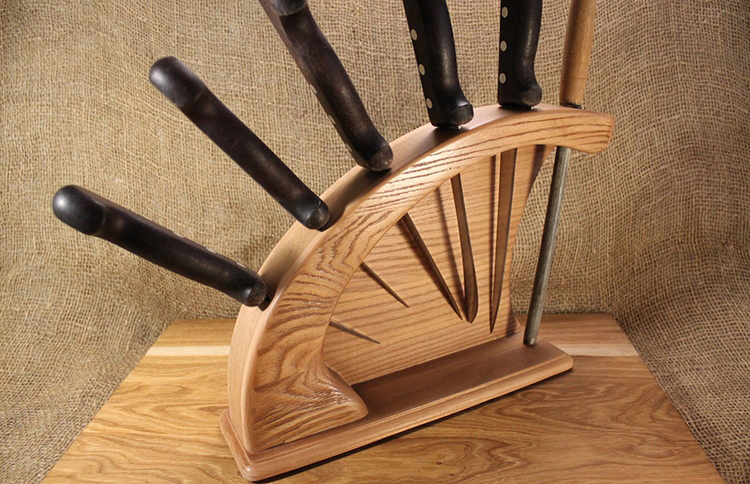
There are many ideas for knife holders and organizers for other kitchen utensils that you can do yourself.
1 out of 12

Summing up
Making various accessories, stands and organizers for kitchen utensils with your own hands will make your kitchen design unforgettable and unique. However, you should not go beyond reasonable limits. There are many products, especially those made in China, that cost much less than do-it-yourself costs. And their designs and constructions are also quite unusual. However, if you fundamentally want to make something with your own hands, the information in this article will help you.
If the article turned out to be useful, recommend it to your friends and take part in the discussion.
