Super-homemade chopping ax

The biggest misconception is that the kitchen is a woman's place. It is known that men are the most magnificent cooks, and who, if not them, are the constant inventors of various kitchen gadgets. Improving the cooking process is their constant hobby. There are a lot of homemade products for the kitchen on the network, their authors sometimes perform miracles of ingenuity, and even the simplest things appear in a new quality. For example, the author of a YouTube channel DENDEN TV was able to improve... an ordinary kitchen chopping hatchet. He turned it into a semi-automatic device, and you can easily repeat this experience at home.

Read in the article

  • 1 Don't be afraid to ruin your instrument
  • 2 What and how to make a cutter stand
  • 3 Final assembly of the torch

Don't be afraid to ruin your instrument

Any alterations bring some changes to the existing instrument. Sometimes these changes are so dramatic that it is impossible to use the thing in its usual quality later. But not in this case: don't worry about your hatchet.
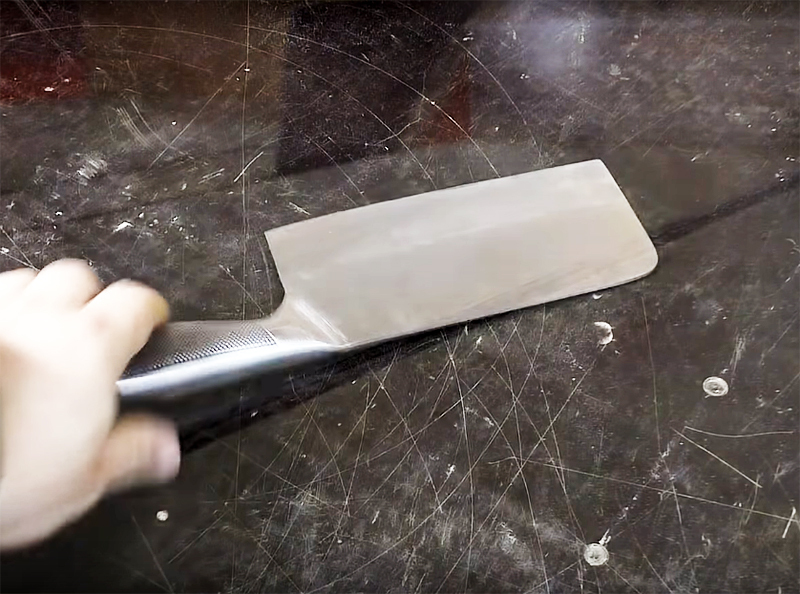
Super-homemade chopping axPHOTO: YouTube.com
Even if you do not want to use the homemade product later, the hatchet will remain in service, as before
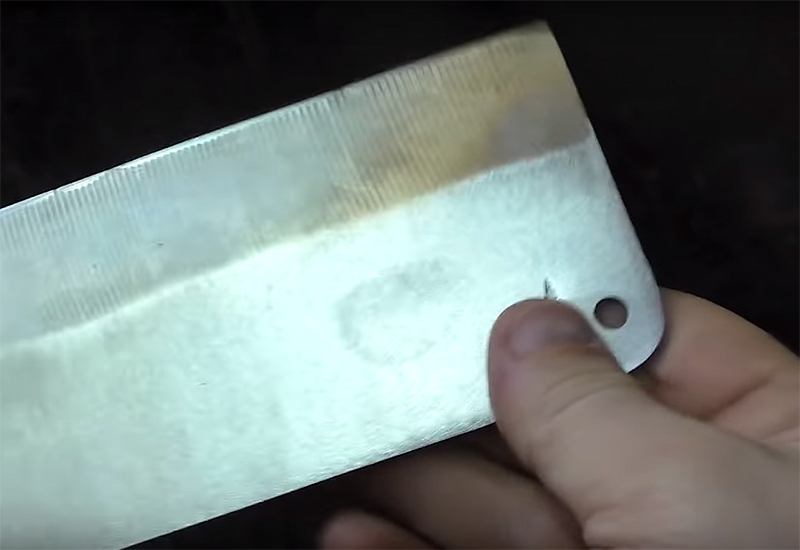
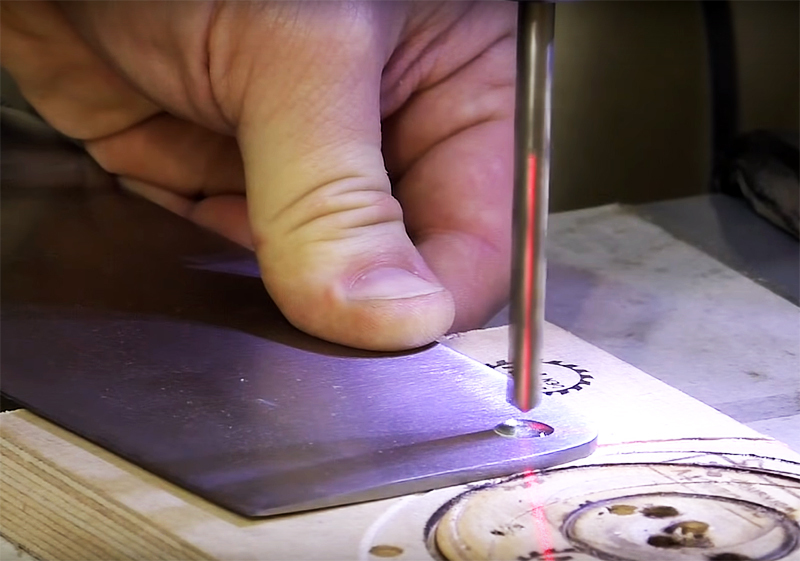
Anything you change in it โ”€ make a small hole at the top of the bladePHOTO: YouTube.com
Anything you change in it โ”€ make a small hole at the top of the blade
This change will not affect the future performance of your kitchen tool.PHOTO: YouTube.com
This change will not affect the future performance of your kitchen tool.

What and how to make a cutter stand

The author used multilayer plywood for the manufacture of the homemade body. But this is not necessary - you can just as well use a regular wooden block and board.
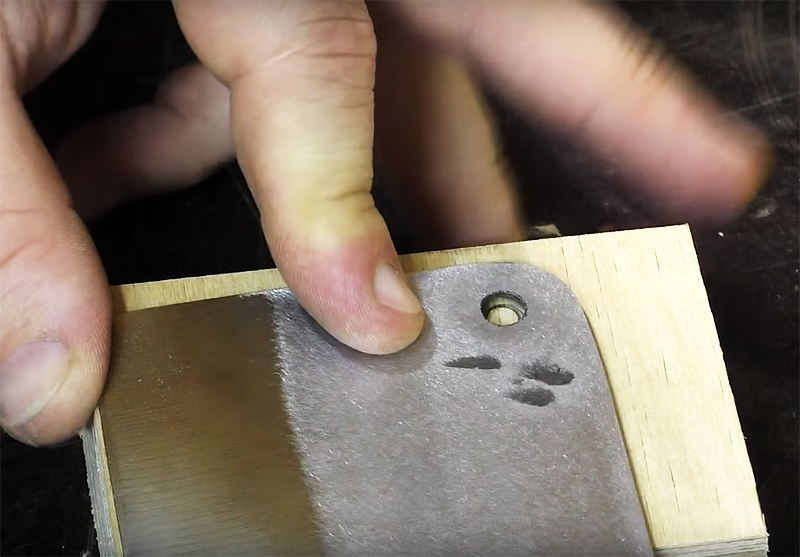
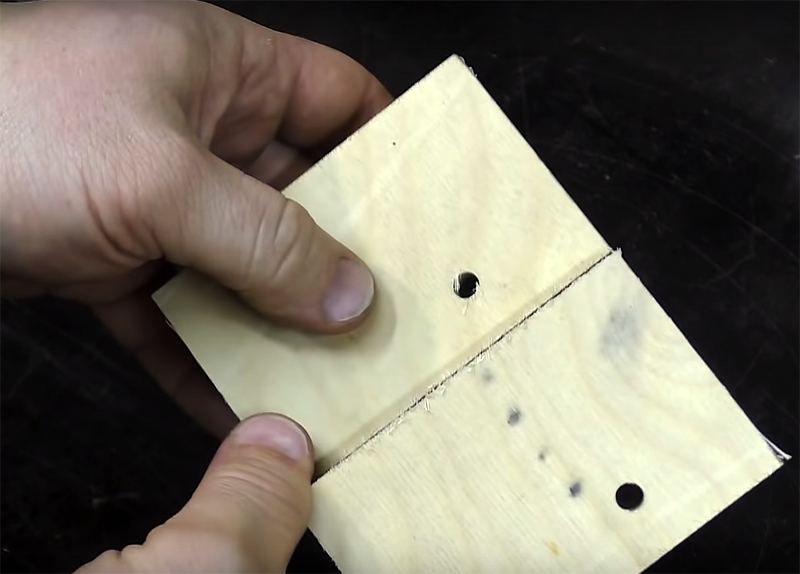
Prepare two pieces of about 8 x 10 cm and mark on them a place to drill the same hole as on the hatchetPHOTO: YouTube.com
Prepare two pieces of about 8 x 10 cm and mark on them a place to drill the same hole as on the hatchet
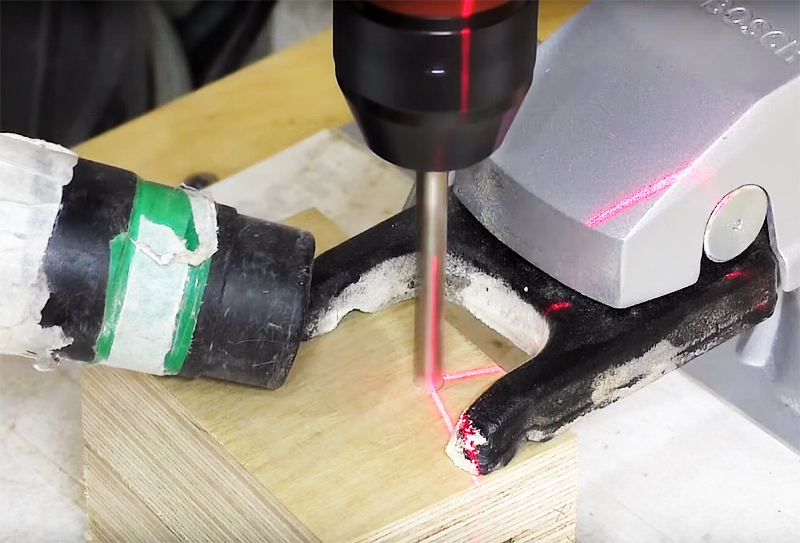
Drill through the bars in a strictly vertical position of the drill. This is important, so it is better to use a laser level or a fixed drill.PHOTO: YouTube.com
Drill through the bars in a strictly vertical position of the drill. This is important, so it is better to use a laser level or a fixed drill.
These blanks will subsequently fix the hatchet blade.PHOTO: YouTube.com
These blanks will subsequently fix the hatchet blade.
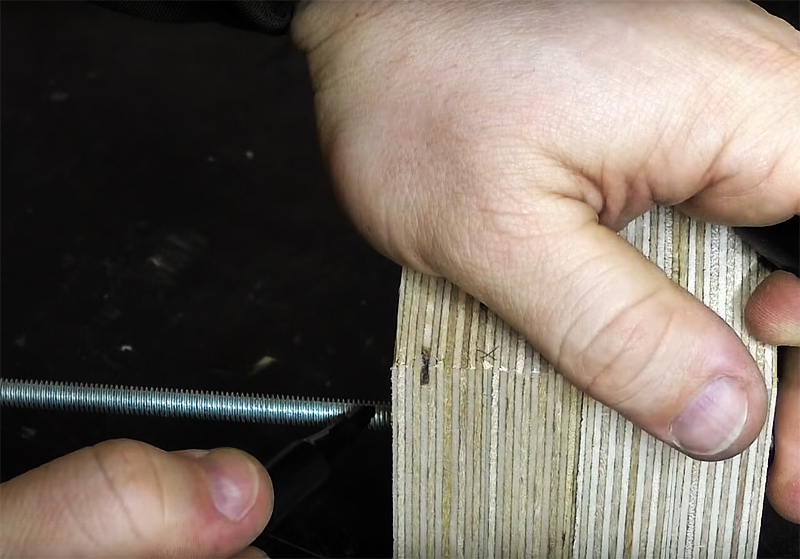
A metal stud with a screw thread will connect all these three parts. Mark the desired length of the stud and cut it off. Remember to align the thread edge and remove any burrs after sawing off.PHOTO: YouTube.com
A metal stud with a screw thread will connect all these three parts. Mark the desired length of the stud and cut it off. Remember to align the thread edge and remove any burrs after sawing off.
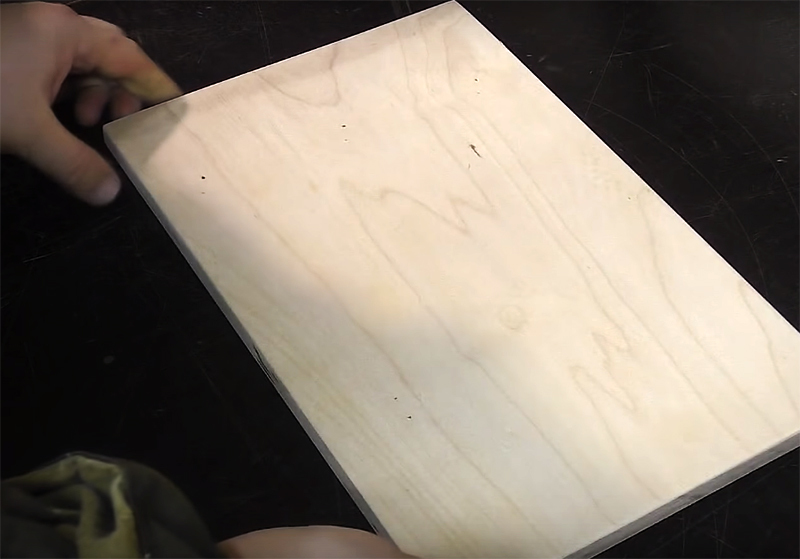
The basis of the homemade product will be a cutting board. Again, this can be plywood or solid wood. Remember to sand the surface thoroughlyPHOTO: YouTube.com
The basis of the homemade product will be a cutting board. Again, this can be plywood or solid wood. Remember to sand the surface thoroughly
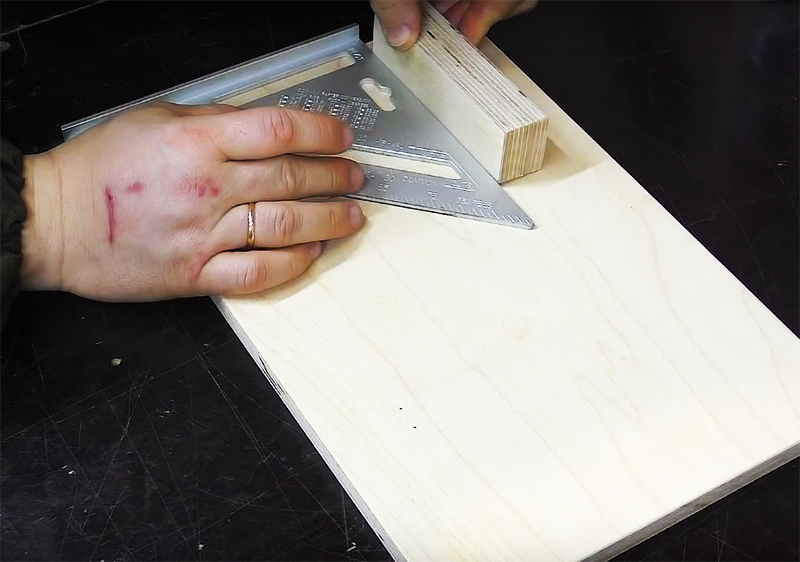
Step back about a couple of centimeters from the edge of the board and attach a small strip 15 cm long. This will be the product feed guide. You can attach the bar with wood glue or a pair of self-tapping screws, screwing them from the bottom sidePHOTO: YouTube.com
Step back about a couple of centimeters from the edge of the board and attach a small strip 15 cm long. This will be the product feed guide. You can attach the bar with wood glue or a pair of self-tapping screws, screwing them from the bottom side
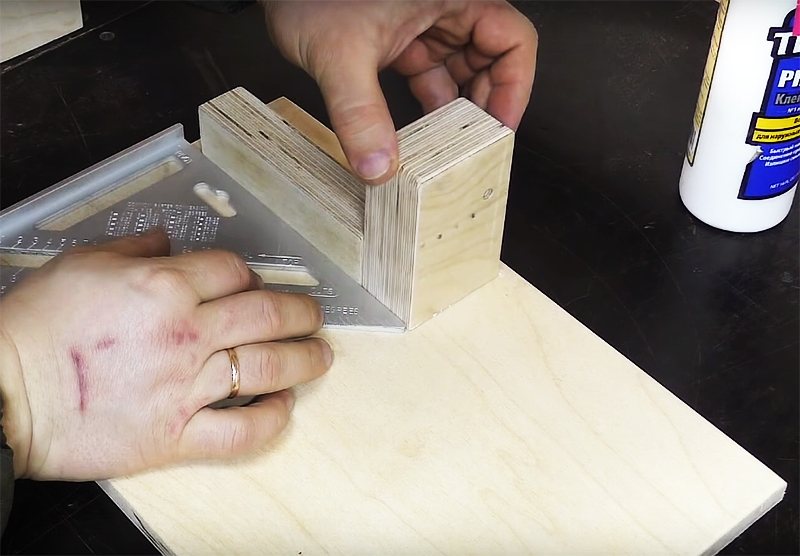
A workpiece from a bar must be placed strictly along the edge of the guide bar. Attach it with glue or self-tapping screws, or better - both together.PHOTO: YouTube.com
A workpiece from a bar must be placed strictly along the edge of the guide bar. Attach it with glue or self-tapping screws, or better - both together.
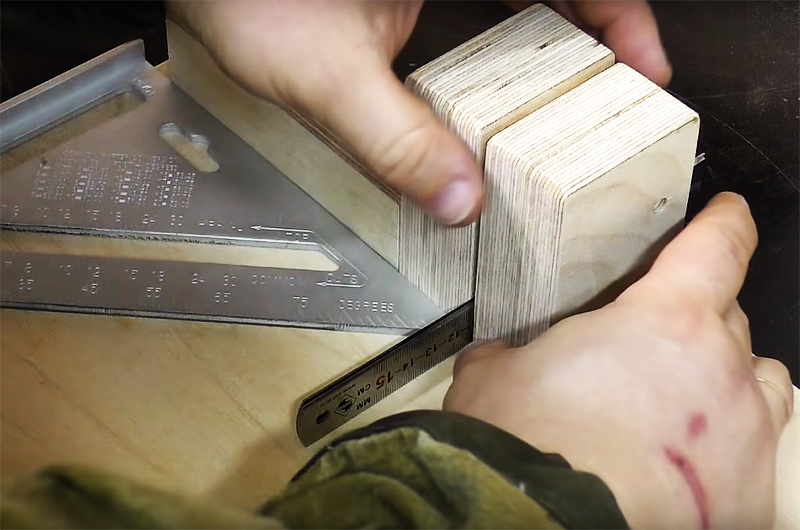
The second block should be secured at a distance equal to the thickness of the cutting hatchet blade. Use the hatchet itself as a template or, as the author did, several metal rulersPHOTO: YouTube.com
The second block should be secured at a distance equal to the thickness of the cutting hatchet blade. Use the hatchet itself as a template or, as the author did, several metal rulers
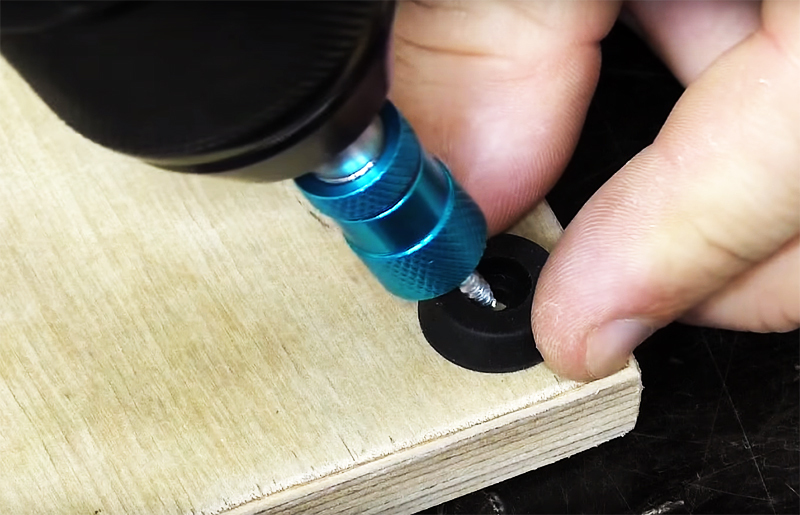
To prevent your new tool from scratching the surface of the table, attach rubber washers-feet to the corners of the board from the bottom.PHOTO: YouTube.com
To prevent your new tool from scratching the surface of the table, attach rubber washers-feet to the corners of the board from the bottom.

Final assembly of the torch

The base and the hatchet are ready to become one.
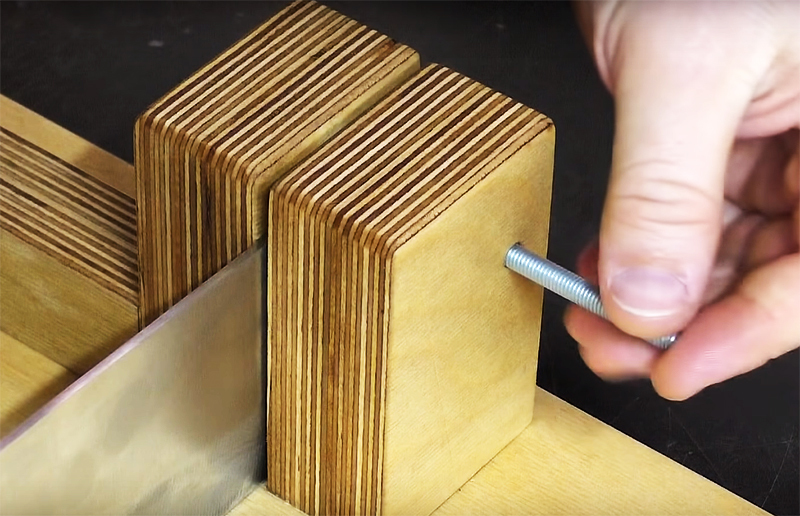
Insert a hatchet blade between the sticks on the boardPHOTO: YouTube.com
Insert a hatchet blade between the sticks on the board
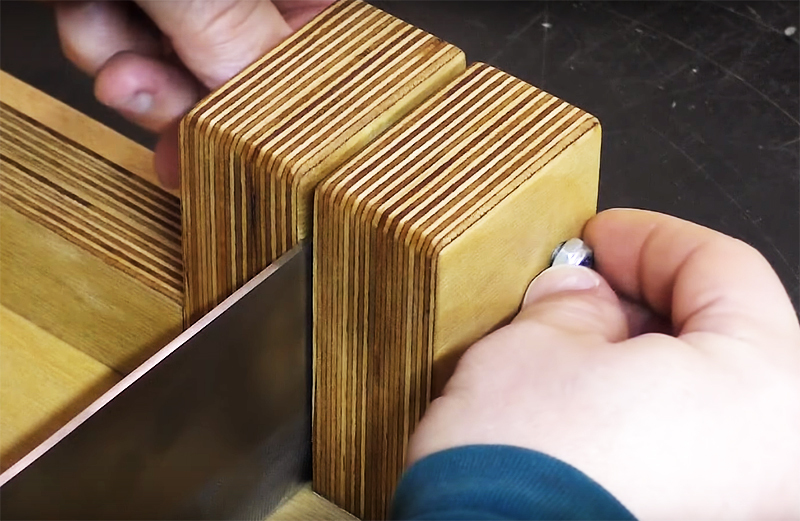
Fix the tool with a pin and secure it on both sides with nutsPHOTO: YouTube.com
Fix the tool with a pin and secure it on both sides with nuts
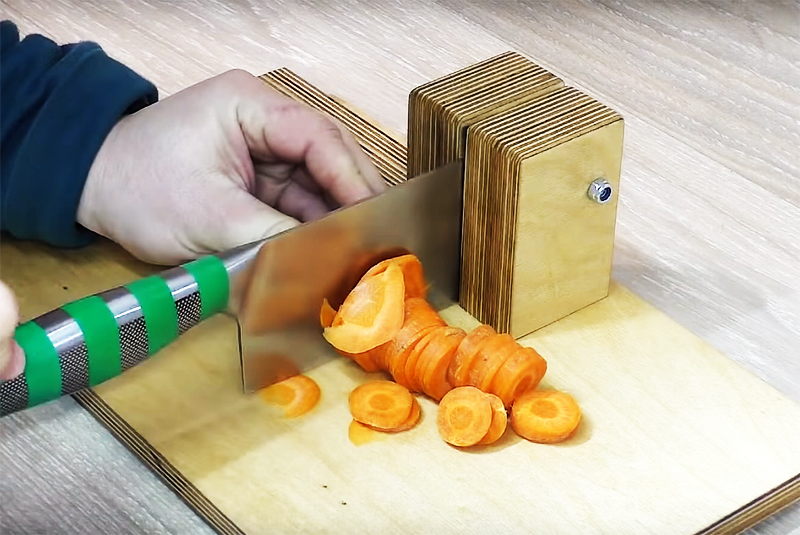
Enjoy the work of a semi-automatic cutterPHOTO: YouTube.com
Enjoy the work of a semi-automatic cutter

What is its advantage: you will not put extra effort, even such hard vegetables as carrots will be cut easily and quickly. You can cut hard sausages into even thin circles thanks to the guide bar.

Of course, the success of the device will depend on the sharpening of the blade. The sharpening should be updated periodically, since it is very easy to do this - you just need to unscrew one of the nuts and remove the hairpin, and then the hatchet itself. You can simplify the task even more by replacing one of the nuts with a "butterfly".

Users noted with humor that such a kitchen tool is very useful for those housewives who do not know how to use sharp knives. Laughter laughing, but the device is really quite safe, unless, of course, deliberately stick your fingers under the knife.

And one more important point: be sure to treat all wooden parts with special oil for cutting tables, this will protect the surface.

By the way, if you are fond of homemade products, then this little knife can be very useful to you, since it is not difficult to make it:

How did you like the homemade hatchet? Do you think such a tool would be useful in your home? Write about it in the comments! And if you yourself are an inventor, then send us your photos with a description of the process, we will certainly publish the most interesting materials!

Discuss0