How often do we get upset if an old tool breaks down. And it seems like it's high time to replace it with a new one, but a habit is a force against which it is difficult to go. So we repair the power tool, using it until it crumbles in our hands. And today we will talk about just such a case - the breakdown of an old, but such a familiar screwdriver. How to repair it with your own hands and what breakdowns occur most often - the author of the YouTube channel offers to deal with these issues Remonter.
Read in the article
- 1 The most common breakdown: what to look for first
- 2 Dismantling the screwdriver, troubleshooting
- 2.1 Elimination of the first breakdown: procedure
- 2.2 Assembling the button and checking its functionality
- 3 Installing a new button for turning on and adjusting turns
- 4 Summing up
The most common breakdown: what to look for first
Screwdriver motors, if it's not cheap Chinese consumer goods with a claim to a "firm", work for a very long time. But the speed controllers in such a power tool are a problematic unit. And their breakdowns are varied. Screwdriver may simply stop working or, conversely, will rotate at maximum speed without the possibility of shutdown. Therefore, if a home craftsman has a screwdriver that he is used to, then it is better to have a button with a regulator in reserve for him.
Today's example will address a similar problem.

The problem with this screwdriver is that the reverse button stopped working in it (jammed in one position), and besides, the tool stopped turning off. It is worth installing a rechargeable battery in it, the cartridge begins to rotate at maximum speed, completely unresponsive to pressing a key. Well, there is a need to understand what the problem is and, if possible, fix it. As they say, an autopsy will show.
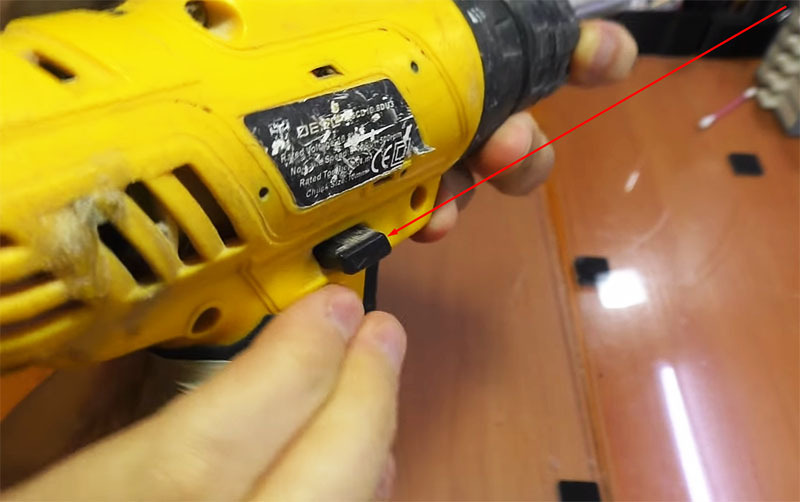
Dismantling the screwdriver, troubleshooting
You can disassemble this power tool in a couple of minutes. It is enough to unscrew a few screws, remove the contact brackets from the battery socket and split the case in half. Inside, everything is predictable - the engine and the speed control button, equipped with a reverse.
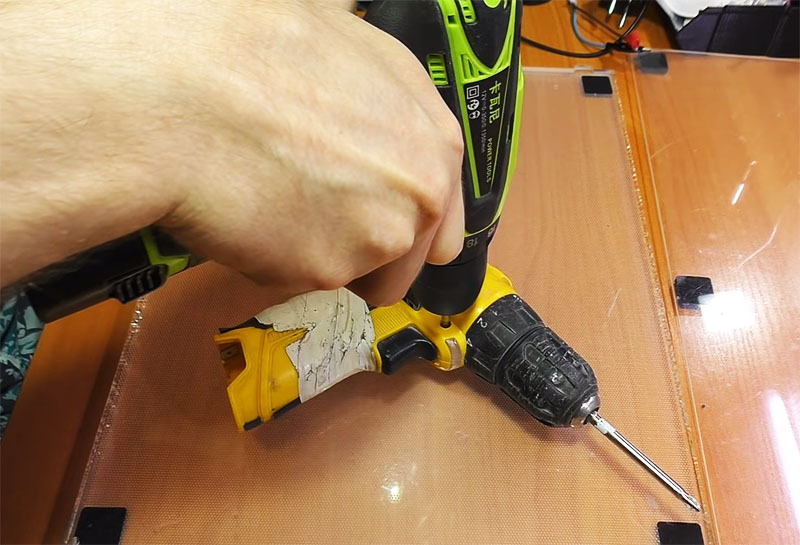
Now you need to carefully remove the button from its seat and carefully examine it for visible faults. In today's example, the first malfunction due to which the reverse button was jammed was detected immediately. It was that the button itself was not fully pushed out, and this did not allow switching the direction of rotation of the cartridge.
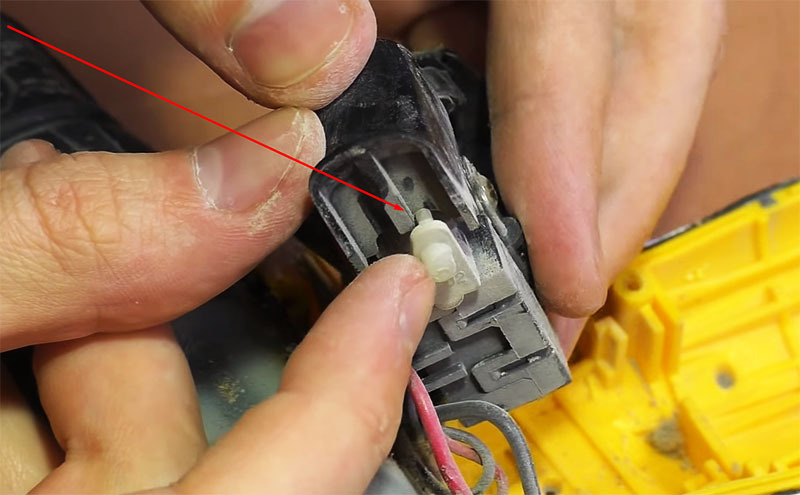
Elimination of the first breakdown: procedure
In order to fix the problem, you will need to disassemble the button. First you need to unscrew the screw on the case and remove the transistor, and then use a soldering iron to dismantle the diode. When this work is done, it remains to bend the plastic latches and divide the button body in half.
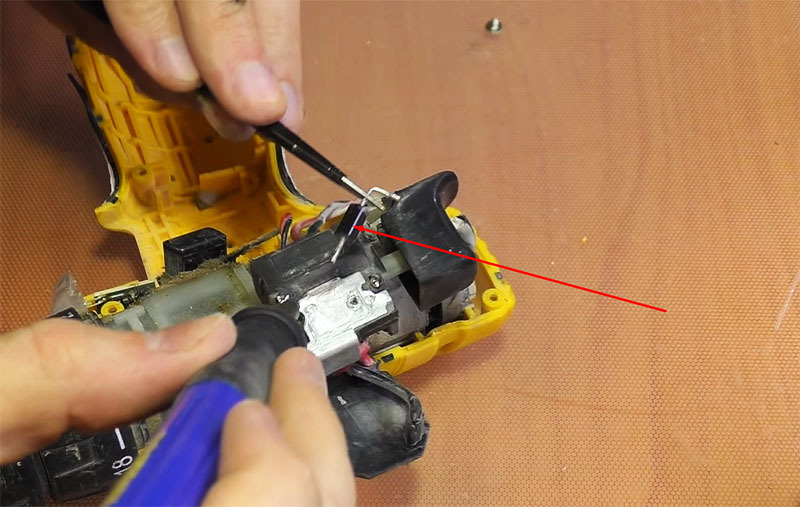
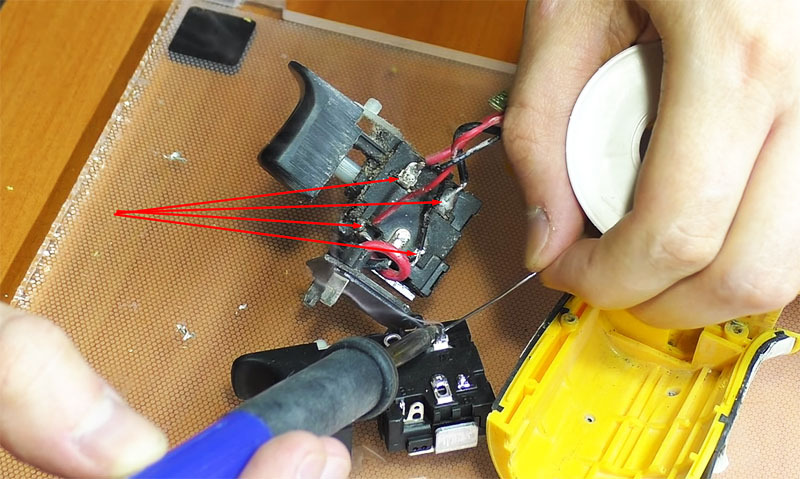
When the button itself was removed from the regulator, it was found that one of the contacts had simply broken off. This happens if the power tool is used for a long time and a lot. In an amicable way, in this case it is worth immediately replacing the regulator, but this is such a detail that rarely lies in stock in the pantry. This means that you need to go to the store or order a button on Chinese resources, which will be much cheaper. In the meantime, the regulator is somewhere in the jurisdiction of the postal services, you can at least try to restore the old part.
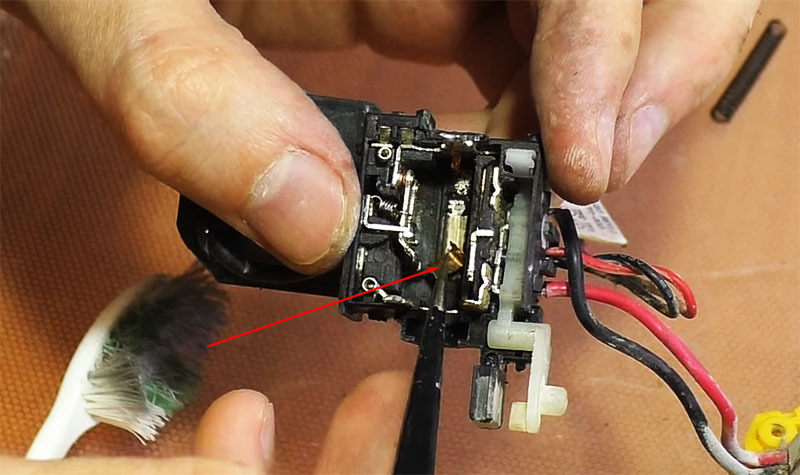
Here, all contacts are brass, and therefore it will not be difficult to solder them. However, it should be understood that if you use a common refractory solder sold in stores in the form of rods, the job becomes more difficult. Better to use solder wire, which doesn't even require flux. Rosin is already present in the wire.

Assembling the button and checking its functionality
The regulator is assembled in the reverse order - first, they snap onto the latches and connect the halves of the case, then the diode is soldered, and then the transistor is installed in place.
Important! Care should be taken when installing the diode. The polarity of the element must not be reversed.
After all the elements are in place, you can check the performance of the screwdriver without closing the case (just in case). As expected, not everything went smoothly. In our example, the problem of the always-on button and the reverse wedge was eliminated. However, there was no speed control, and it never appeared.
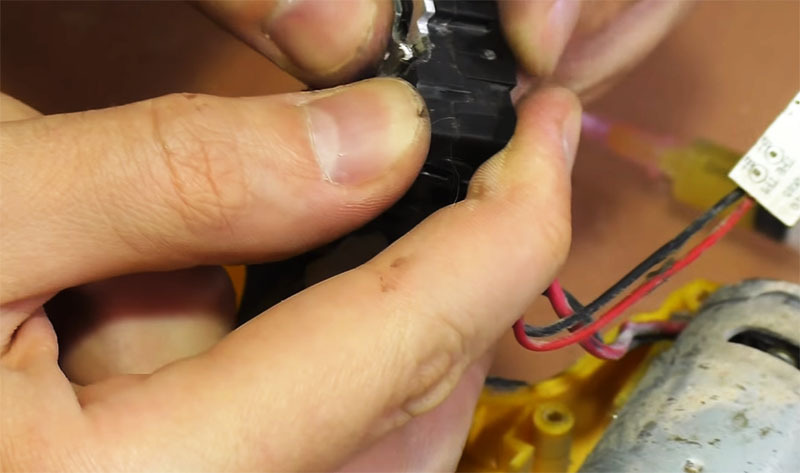
The problem of adjusting the speed also turned out to be simple. Having disassembled the contact group, it could be seen "in all its glory." This is natural, given the age and experience of the power tool used for the installation of stretch ceilings.
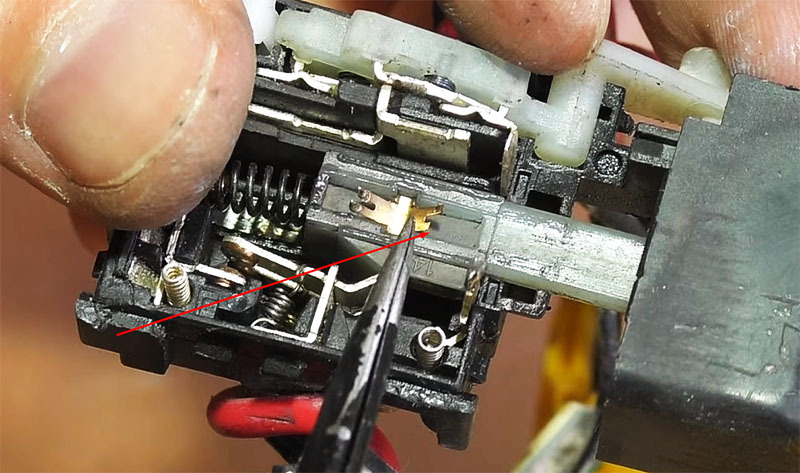
Well, while the new regulator goes by mail, the screwdriver can be used, however, not quite fully, but in the absence of a better one, it is quite acceptable.
Installing a new button for turning on and adjusting turns
After a certain time, when the regulator arrives at its destination, you can start replacing. If we talk about cost, then as of February 2020, the cost of such a part on Chinese resources will be 450-500 rubles. This despite the fact that the master will choose not the cheapest regulator.
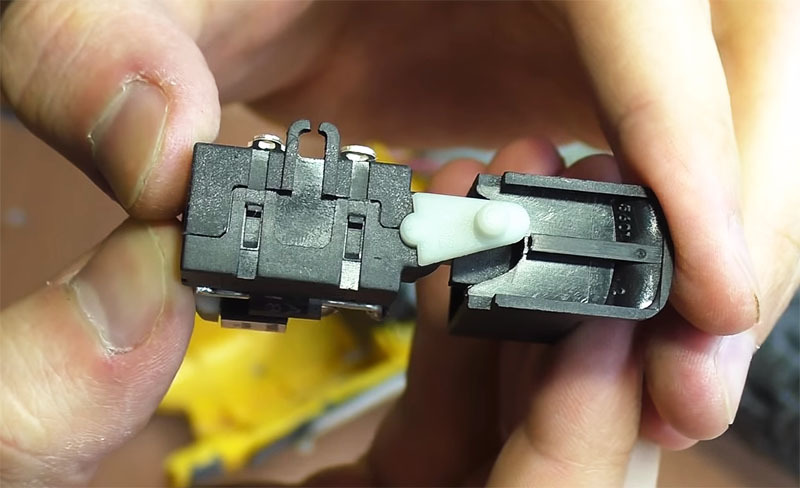
In order to install a new button, you need to do a little work with a soldering iron. All wires are re-soldered from the old button to the new one. And here many novice craftsmen make a common mistake - they unsolder all the wires, after which they begin to frantically think which one should go and where. In order to avoid such problems, the HouseChief editorial board advises to work with each residential area separately. Having unsoldered one of the wires, it should be immediately commuted with a new button. This will eliminate the risk of mixing up the contacts.
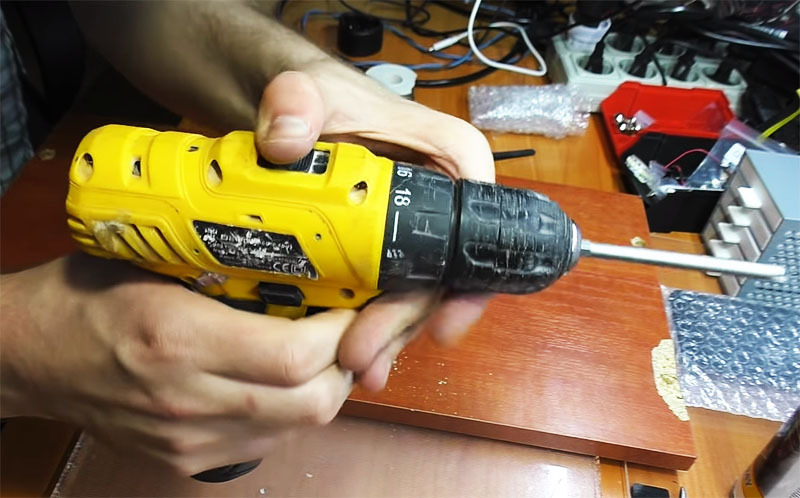
After the wires have been transferred to the new regulator, it can be stowed in the seat, after which check that the power tool is working, the ability to adjust the speed and change direction rotation. Only then can the screwdriver be fully assembled. Now he is "back in the ranks" and is ready to work for several years.
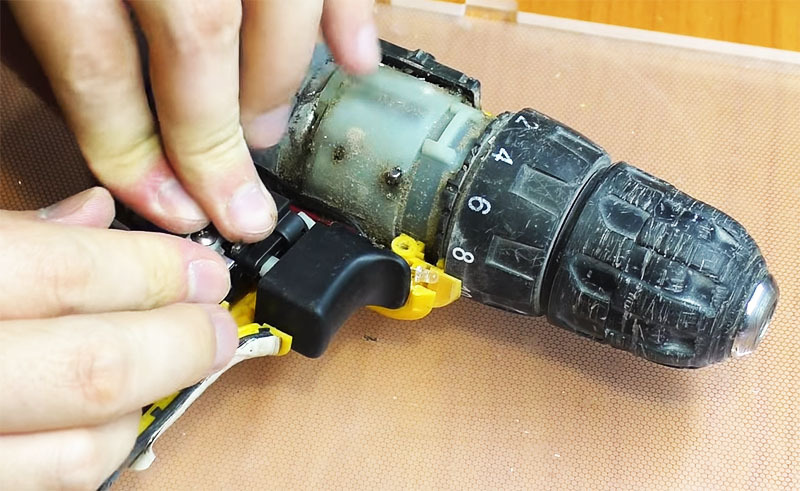
Most often, when talking about a breakdown of a screwdriver, it is the speed regulator that is meant. This element is the most vulnerable and poorly tolerates not only moisture, from which the lubricant partially protects, but also dust. It is she who, when mixed with grease, causes maximum damage to parts.
Summing up
It is noted that if a person rarely uses a power tool, then at the slightest breakdown he will not "bother" with repairs, but simply acquire a new one, albeit inexpensive. But when a master works with the same instrument day after day, he is absolutely not ready to change it even for a more expensive and branded one. As the saying goes, "the spool is small, but expensive." And, in fact, explaining this to novice masters is unlikely to succeed. All comes with experience.
We really hope that the information provided will be useful to home craftsmen and specialists who work in the field of repairs. Perhaps something in the article remained incomprehensible to you. If so, summarize in the discussions below. HouseChief editors will be happy to clarify all the incomprehensible points. There you can also comment on the article, express your opinion on the style of presentation and content. This is very useful for the author for personal growth. And regardless of whether you liked the article, rate it. Your feedback is very important to us.


