To avoid a short circuit, the wires must be carefully insulated. Even the smallest contact can cause a lot of sparks and a fire. To ensure a sufficient level of insulation, electricians most often use electrical tape or special heat shrinkage. As dielectrics, they completely prevent live wires from contacting. But what if both are not available? We propose to figure out how to reliably insulate a wire without electrical tape using a plastic plug or other available means. If necessary, our tips will be useful to you.
Read in the article
- 1 How to reliably insulate a wire without electrical tape using a plastic plug: procedure
- 2 We use a glue gun
- 3 Cooking threads
- 4 We use a plastic bag
- 5 Old wires are a source of insulation
- 6 Final part
How to reliably insulate a wire without electrical tape using a plastic plug: procedure
If suddenly there was no electrical tape at hand, but you need to insulate two wires with high quality and reliability, do not be upset.

A standard plastic bottle stopper can come to the rescue. You also need to have a construction or ordinary, but very sharp knife and a lighter in stock. In this case, work is performed in the sequence shown in the table.
| Illustration | Procedure |
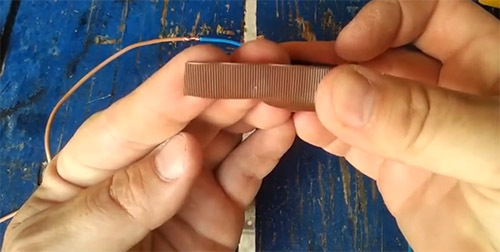 | We take a construction knife and carefully cut the side surface perpendicular to the bottom. Given that the knife is sharp enough, you should act very carefully. Next, we cut off the side surface along the circumference. We make an incision not along the entire perimeter of the bottom, but only along its part. This will allow you to hold the cover in your hands while insulating the wires. |
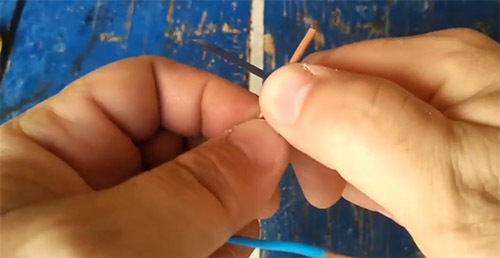 | We clean the wires with the same construction knife or other tool. We remove a sufficient amount of insulation so that we can subsequently twist it. |
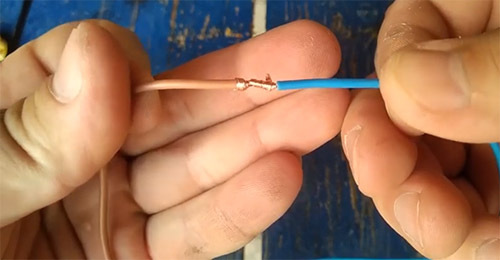 | We carefully twist the prepared wires together, forming a high-quality connection. |
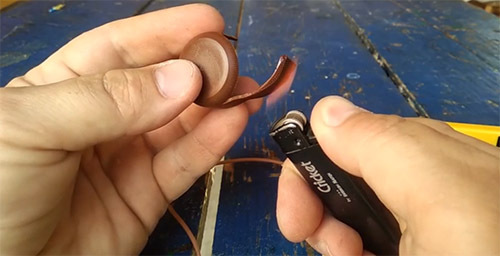 | We take a lighter and start melting the cork. The flame must be sufficient for the material to melt. Hold the lighter over the cork until it lights up. After that, after waiting for a while, the flame should be extinguished and quickly proceed to the next stage. |
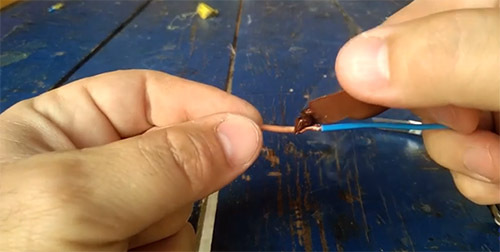 | We apply the molten part of the wire to the twist. We begin to rotate the plug around the wires, ensuring the formation of a solid layer of plastic at the place of their connection. You should act quickly, but carefully. Over time, the plastic will begin to cool and harden. In this case, it will be almost impossible to form a reliable insulating layer with its help. |
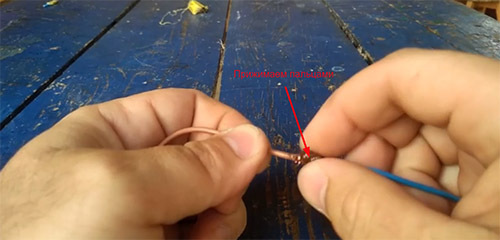 | After the twist is completely wrapped in plastic, we wait until it cools down a little, and begin to press lightly with our fingers, giving the optimal shape. |
Attention! The insulation formed in this way will reliably adhere to the surface.
We use a glue gun
If you do not have a lighter at hand, and the formed connection will not be exposed to mechanical stress during operation, you can safely use a glue gun. Work in this case is performed in the following sequence.
| Illustration | Procedure |
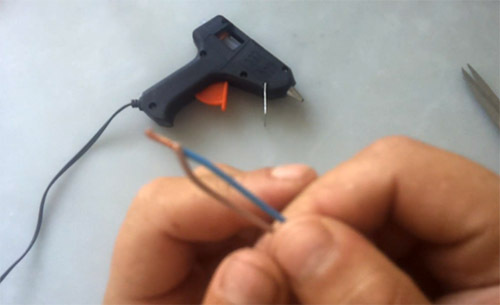 | Using a construction knife or a special tool, we remove the insulation protection from the surface of the wires. We strip the wires in such a way that the cleaned area allows us to form a high-quality twist. |
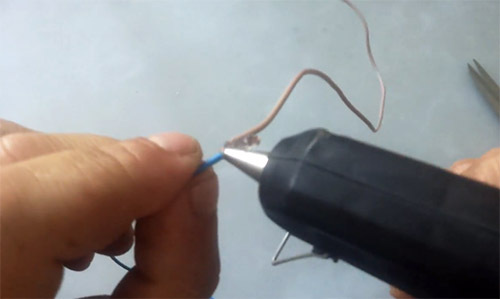 | We take a glue gun and warm it up to operating temperature. We apply molten metal to the surface of the twist. The composition must form an insulating cover of sufficient width. |
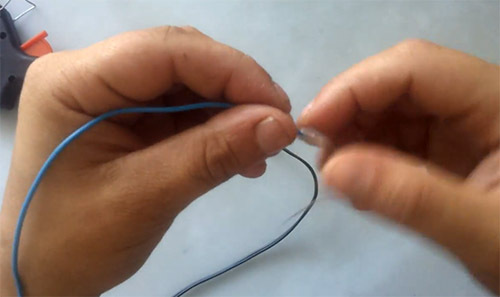 | The applied layer is given a little time to cool down, and then with the help of fingers, give the joint an optimal shape. After the composition has completely solidified, the compound is considered ready. |
Attention! Such protection is sensitive to mechanical stress.
Cooking threads
No matter how strange the title sounds, the threads are able to ensure the formation of a high-quality insulating layer. Before starting work, prepare a spool of ordinary thread for sewing. Their number and color do not matter. However, they must be strong enough to withstand tight winding.
The choice is made solely based on personal preference.
| Illustration | Procedure |
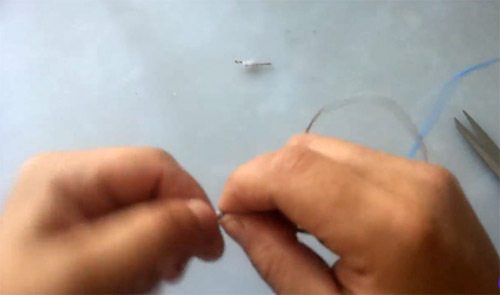 | Cooking the twist. We remove the insulation from the ends of the wires. We fold the two wires parallel to each other. We twist the wires, ensuring a high-quality connection. |
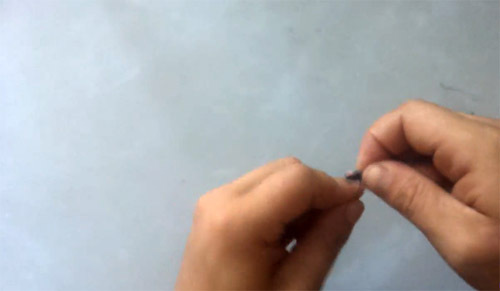 | We take the threads and start winding them on the twist. We form a fairly dense insulating layer. We wind the threads not on the twist itself, but on the adjacent area. The thread should be held taut. This will form a high-quality protection. |
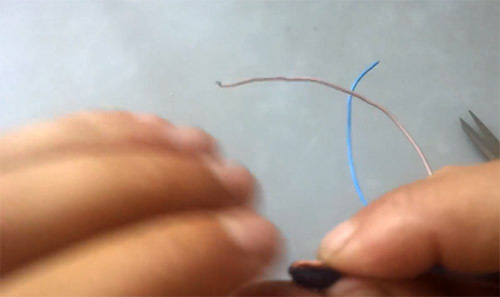 | We bend the peeled wire. We press it against the wound layer of threads. |
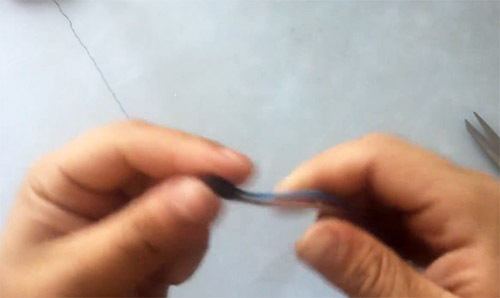 | We continue to wind the thread on the twist. You should get high-quality pupa-shaped insulation. The more layers you manage to wind, the thicker the layer will turn out, the more reliable the protection will be. |
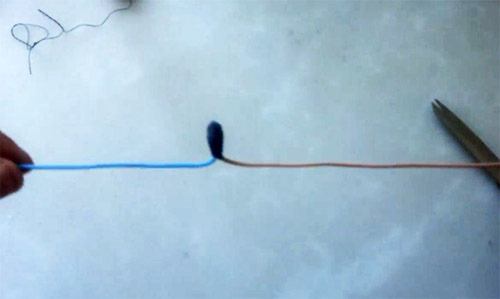 | So that during operation the connection remains unchanged, we fix the tip of the thread with varnish or glue. The composition of the latter does not matter. The main thing is to pour a small amount onto the formed coating and press lightly. |
Attention! The formed protective layer is able to withstand significant mechanical stress.
We use a plastic bag
If difficulties may arise with glue, threads or a glue gun, then there is a plastic bag in every home. Today, manufacturers are actively using polyethylene as a packaging material.
You should proceed in the following sequence:
- Preparing a plastic bag. If possible, you should take a new one.
- We cut the polyethylene into separate strips. The length can be unlimited. The width should be 2-3 cm.
- We clean the ends of the wires to be connected. We form a twist, the length of which should be sufficient to form a high-quality strong connection.
- We wind the strips of polyethylene onto the contact.
- We form three layers. The protection should extend one centimeter beyond the twist.
- With the help of a lighter, we melt all layers of polyethylene, achieving their plasticity.
- Gently press the melted polyethylene to the base with your fingers. When in a molten state, polyethylene begins to shrink. At this stage, the process of forming the protective layer can be considered complete.
Old wires are a source of insulation
If all of the above methods did not inspire confidence in you, and you do not want to risk it, use what is already on the wire. The option is relevant for a single wire, located, for example, in a box. You should proceed in the following sequence.
| Illustration | Procedure |
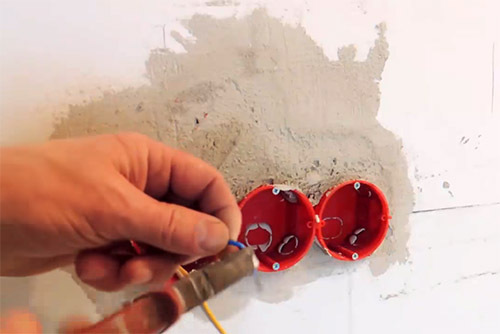 | We clamp the end of the wire in pliers and begin to actively bend and unbend it. In this case, the metal core must break off, and the insulating layer remains intact. |
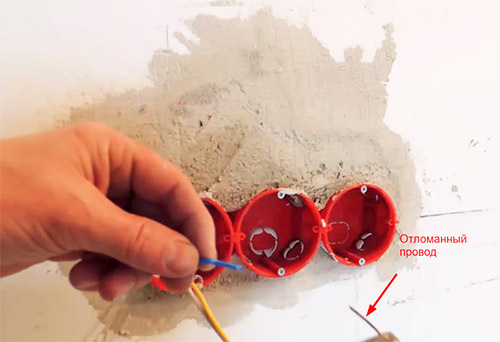 | Using pliers, the broken wire is removed from the insulation layer. As a result, the remaining part remains inside and reliably protected from contact with other wires. The other wires in the box are similarly protected against short circuits. |
Final part
The lack of insulating materials can cause some inconvenience when installing the power supply system and repairing electrical equipment. However, this does not mean at all that work should be stopped. Even from such a difficult situation, you can find a way out. You can temporarily use the means at hand, and therefore, as soon as the opportunity arises, replace the formed layer with certified electrical tape.
We hope that when you find yourself in a freelance situation, you will use our advice. Leave questions on this topic in the comments, and the Homius editorial staff will give an exhaustive answer to each of them. If you have used other methods for insulating wires, share them in the comments. Rate it if the article seemed interesting to you. In conclusion, we suggest watching a short video, which describes in detail the procedure for forming an insulating layer.


