For floor decoration now there are a lot of different materials for every taste. But in fact, finding something original is really not easy. Take, for example, linoleum: it is traditionally painted either under a tree or under a stone with different variations. Parquet or laminate - the same story. What if you want something like that? With a twist? As an option - self-leveling floor. Here you have 3D, wood cuts, and even natural pebbles, if you like. But we must admit that all this is quite expensive, and you are unlikely to be able to cope without the help of professionals. Meanwhile, there is another interesting idea that will make your interior unique: a chintz floor.
Read in the article
- 1 On what floors can chintz parquet be made and what to take as a basis
- 2 Chintz parquet in stages
- 2.1 Stage 1 - align the floors
- 2.2 Stage 2 - glue the fabric
- 2.3 Stage 3 - priming the fabric
- 2.4 Stage 4 - varnishing of chintz parquet
On what floors can chintz parquet be made and what to take as a basis
Chintz parquet has a literal name. That is, he really has chintz at the base of the coating, fixed and protected with several layers of varnish.
The main condition is a perfectly flat surface. So if you have a plank floor with "walking" boards, you will have to solve this problem first, because you yourself you understand: the movement of the floor will lead not only to cracking of the varnish layer, but also to deformation and even tears of the fabric under him.
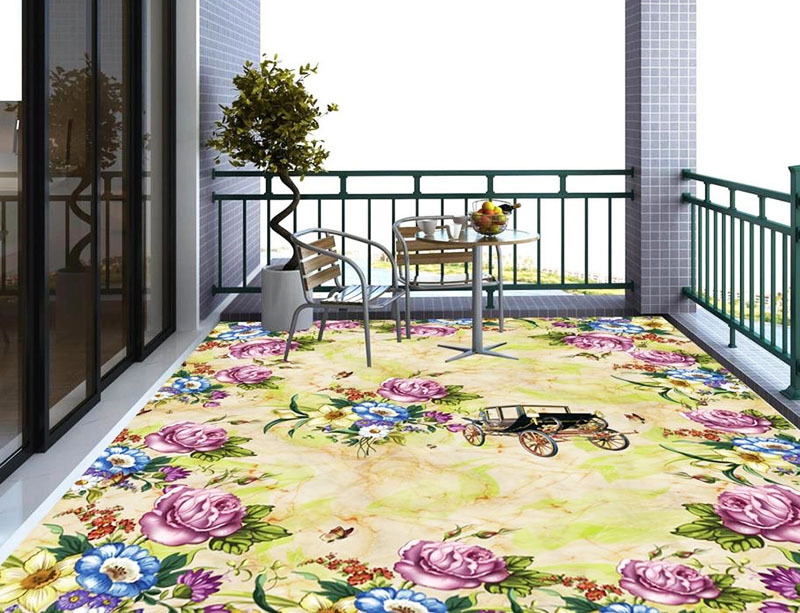
Where will such floors look good? Basically, anywhere. Unless in the bathroom and hallway it is undesirable to do such. In the bathroom - because of the humidity, and in the hallway - because of the increased load, which only the tiles can withstand. But the living room, bedroom, nursery and even the kitchen are excellent choices. And how many interesting ideas you can bring to life!
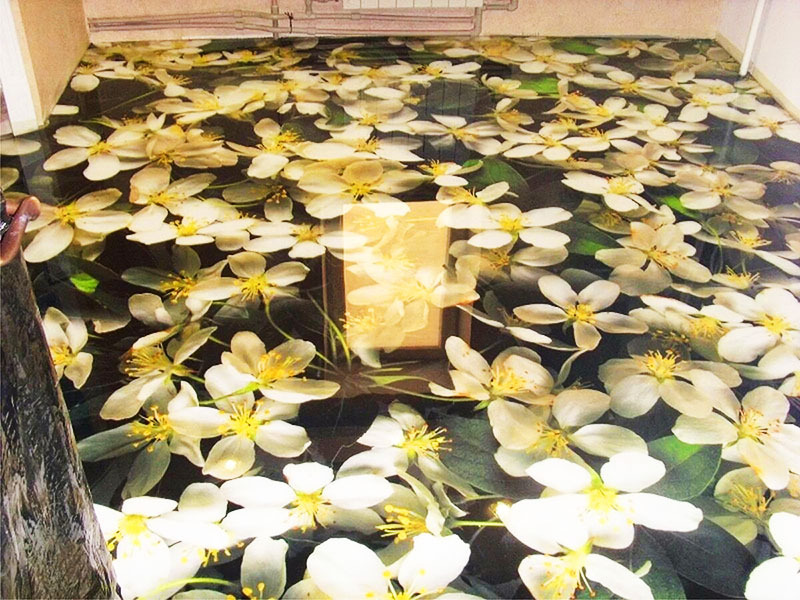
Chintz parquet in stages
Making a chintz floor is not difficult, the main thing is to be patient, because it will take you several days.
Stage 1 - align the floors
As you already understood, the floor should be perfectly flat, not wobbly and free from drops, cracks and gaps. It is better to cover the plank floors Fiberboard or OSB, and carefully putty and level all joints. After leveling, the floor must be covered with linseed oil or a good penetrating oil primer.
Stage 2 - glue the fabric
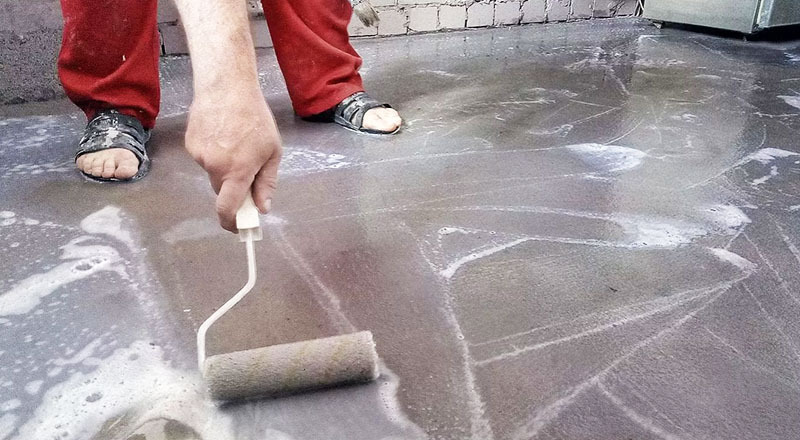
To get started, you need to clearly know the size of the room and choose the right amount of fabric for them, taking into account the fit of the picture. In most master classes, a recommendation is given to glue chintz on PVA glue, but keep in mind: PVA has property to turn yellow over time, so that your coating, impregnated with this composition, may change its Colour. PVA was used when there was no alternative on sale, even wallpaper was glued to it, this is a fact. And now there are a lot of synthetic compounds that do not darken and do not give yellowness.
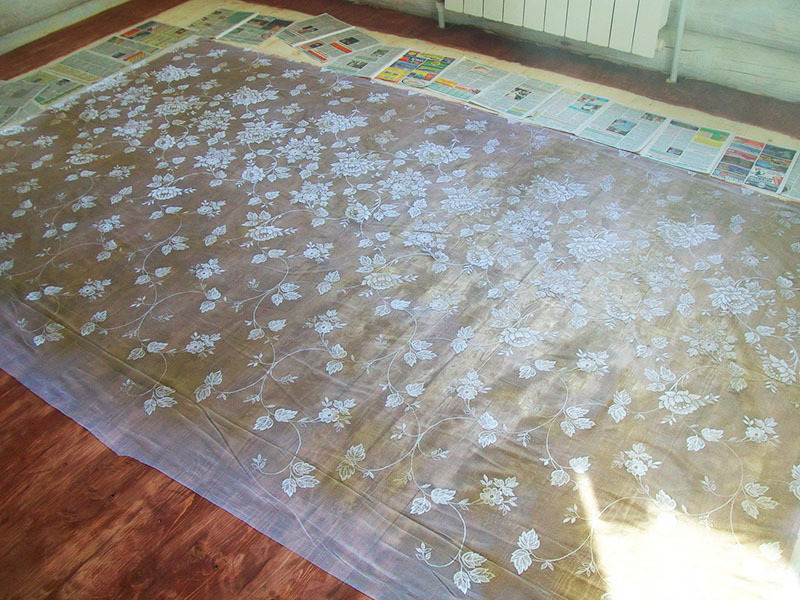
To make it easier to glue, fix the canvas from one edge with nails or even just clerical buttons and move away from this line, leveling the fabric like wallpaper to prevent wrinkles and bubbles air. In this regard, it is more convenient to work with a narrow canvas - chintz is one meter or one and a half meter wide. But the two-meter fabric, which is sold for bedding, will not be easy to straighten.
Stage 3 - priming the fabric
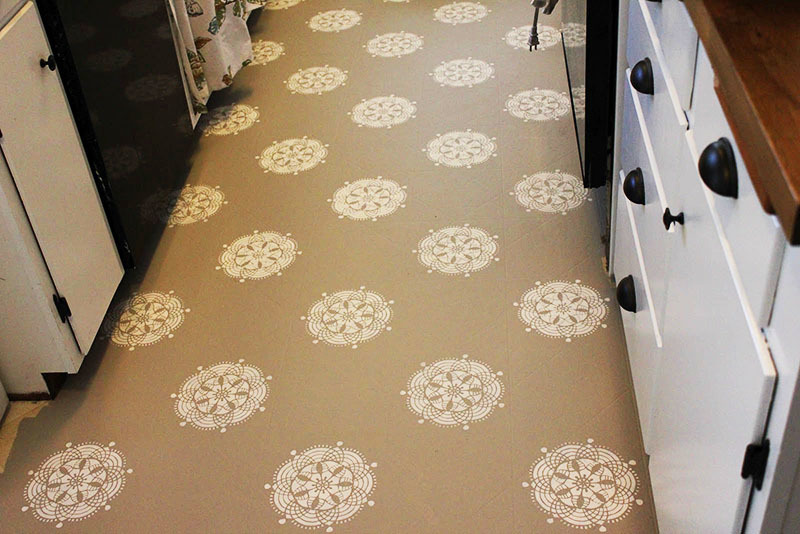
Subsequent application of varnish layers can lead to a change in the color of the fabric, and where it is unevenly saturated from below with an adhesive composition, the color may turn out to be different from other places. So you need to prime the fabric again so that the varnish lies flat and does not form stains. And again, in the old fashioned way, it is advised to prime with PVA glue, which gives the same effect. Yes, not right away, but it will definitely turn yellow. PVA is mixed with water in a ratio of 1 to 4. Or the same acrylic varnish will help you out.
Stage 4 - varnishing of chintz parquet
A responsible and difficult stage that will take you at least a couple of weeks. The fact is that each subsequent layer of varnish needs to be left to dry for a day longer than the previous one, so you will achieve a really durable coating. What varnish should I use? Again, remember about the possible color change over time. So the most transparent and resistant are polyurethane and alkyd varnishes. Their only drawback is a very pungent odor, which is difficult to bear during work. And keep in mind that it is not recommended to open windows when applying and drying the coating, so that cracks in the coating do not appear due to the temperature drop.
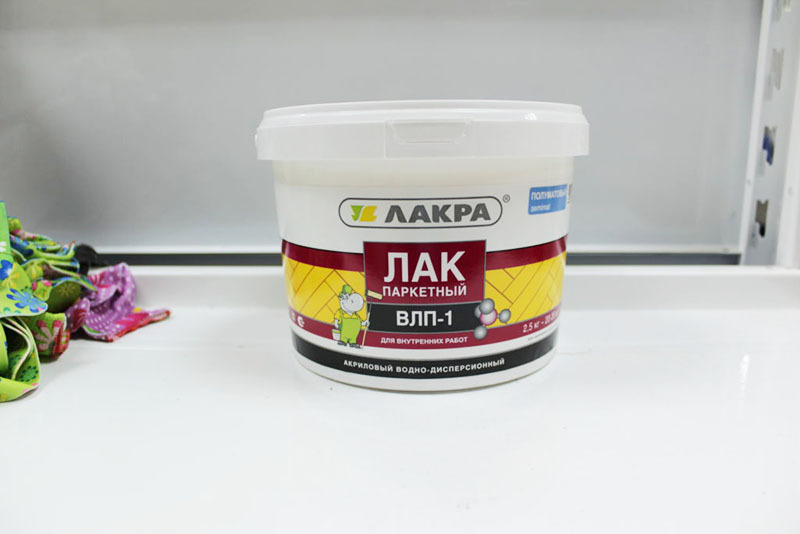
An alternative is a modern water-based parquet lacquer that is resistant to mechanical stress. It does not have such a pungent odor and does not change its color.
The varnish must be applied in at least 5 coats. It is better to use a roller for work and it is important to ensure that no debris gets in during work, no smudges or bubbles appear.
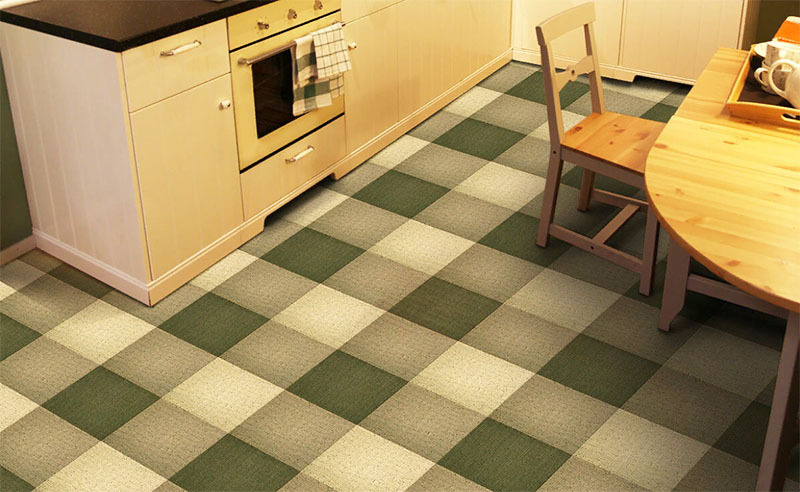
To some, this procedure will seem too long and troublesome. But on the other hand, as a result, you will get a completely original, unlike any other coating that will serve you for many years.
And there are other, no less creative ideas for the floor, for example, as in this video:
How do you like this idea? Have you seen floors like this? Maybe you can share information about their operation? Write about it in the comments!
