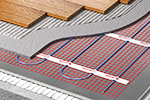
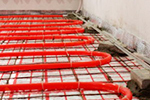
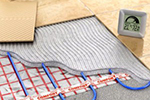
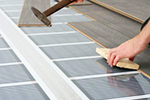
To keep the house always warm and comfortable, you need to take care of the heating in a timely manner. Correctly performed underfloor heating installation will solve many problems. Such a system can be used as the main and additional heat source. You just need to correctly choose the appropriate option and calculate its technical characteristics.
Read in the article
- 1 Factors affecting the calculation of the power of the warm floor
- 2 Underfloor heating installation: preparing material and tools for work
- 3 Do-it-yourself floor heating technology
- 3.1 Preparatory work
- 3.2 Thermal insulation of the surface
- 3.3 Creation of a scheme and installation of a warm floor
- 3.3.1 Electric underfloor heating
- 3.3.1.1 Cable underfloor heating
- 3.3.1.2 Thermomats
- 3.3.2 Infrared underfloor heating
- 3.3.2.1 Rod
- 3.3.2.2 Foil
- 3.3.3 Installation of a water-heated floor: an algorithm of actions
- 3.3.1 Electric underfloor heating
- 3.4 Installing a thermal sensor
- 3.5 System connection and testing
- 3.6 Filling the screed
- 4 Laying the floor covering on a warm floor
- 4.1 Ceramic tile
- 4.2 Linoleum
- 4.3 Laminate
Factors affecting the calculation of the power of the warm floor
Calculation of the technical characteristics yourself can cause serious difficulties. Even a slight deviation from regulatory requirements can disrupt the operating mode of the mounted system. The initial data is:
- area of each room, in which it is planned to mount the "Warm floor" system;
- characteristics of the material used in the construction of the structure;
- thermal insulation level;
- characteristics of the thermal insulation layer laid on the base of the floor surface;
- type of floor covering;
- furniture and its location in a particular room;
- characteristics and operating mode of the elements of the "Warm floor" system.
Attention! You can use reference tables to calculate the underfloor heating.

Underfloor heating installation: preparing material and tools for work
To carry out installation work, prepare all materials, accessories and tools. The list of materials depends on the type of underfloor heating. So, for an electrical system, you must have:
- heating cable;
- connecting wires;
- temperature sensor, regulator;
- protection system;
- grounding element;
- fasteners;
- a piece of chalk;
- damper tape.
The list of tools may vary. The standard list includes a chisel, drill or perforator, hammer, metal shears, screwdriver or a screwdriver, measuring tool.
Do-it-yourself floor heating technology
The order of work directly depends on the selected type of heating system. To mount warm do it yourself floor, you need to figure out the sequence of actions. This will avoid common mistakes.
Preparatory work
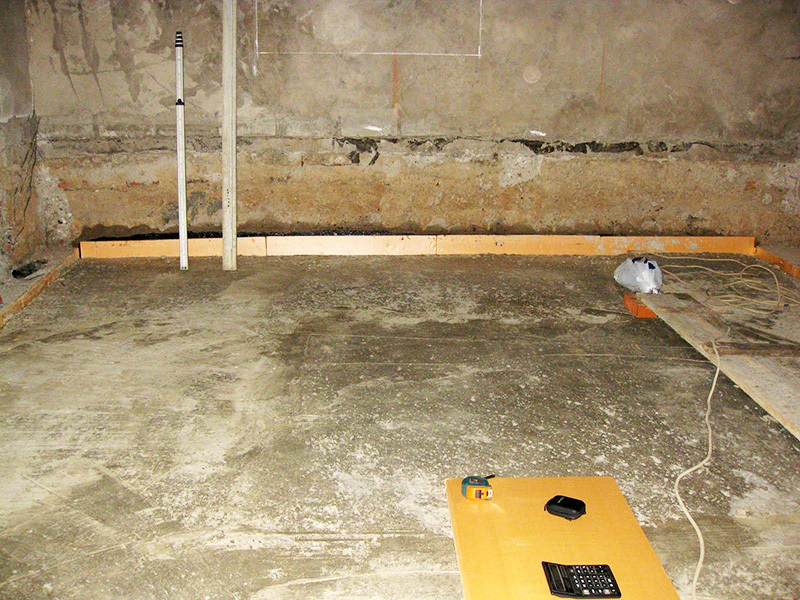
The heating circuit is mounted on a previously prepared base. Without fail, all protruding elements, the old floor covering are removed from the surface, the strength of the supporting structures is checked. For leveling, special building mixtures are most often used, since additional time is required to dry the cement screed.
Thermal insulation of the surface
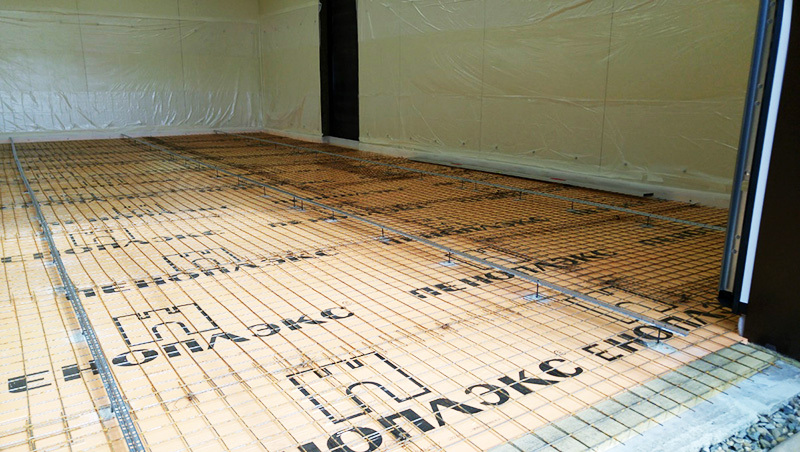
The type of insulation used may differ significantly. Penofol is often used for the installation of an electric underfloor heating. The presence of a foil layer allows the heat generated by the heating circuit to be returned back to the room. The thermal conductivity coefficient of this heat insulator is 0.031 W / mK.

A comment
Mikhail Starostin
Head of the team of the repair and construction company "Dom Premium"
“Penofol is laid with the foil layer upwards. Scotch tape is used to connect the strips. "
Also, polystyrene foam or polystyrene foam with a thickness of 20 - 50 mm is used as a heater. If the underfloor heating is installed on the balcony, the layer thickness is increased to 10 cm.
When laying the heat insulator, the regulatory requirements for the distance between the insulation layer and the wall are taken into account. The parameter depends on the thickness and type of insulation. For penofol it is 5 mm, for thicker boards - at least 10 mm. To compensate for the expansion of the floor covering, the perimeter of the room is pasted over with damper tape.
Creation of a scheme and installation of a warm floor
The process of laying the heating circuit begins with the development of its layout. The mutual arrangement of elements directly depends on the type of system. When choosing a specific type, you should definitely take into account the requirements for a particular type of warm floor.

Electric underfloor heating
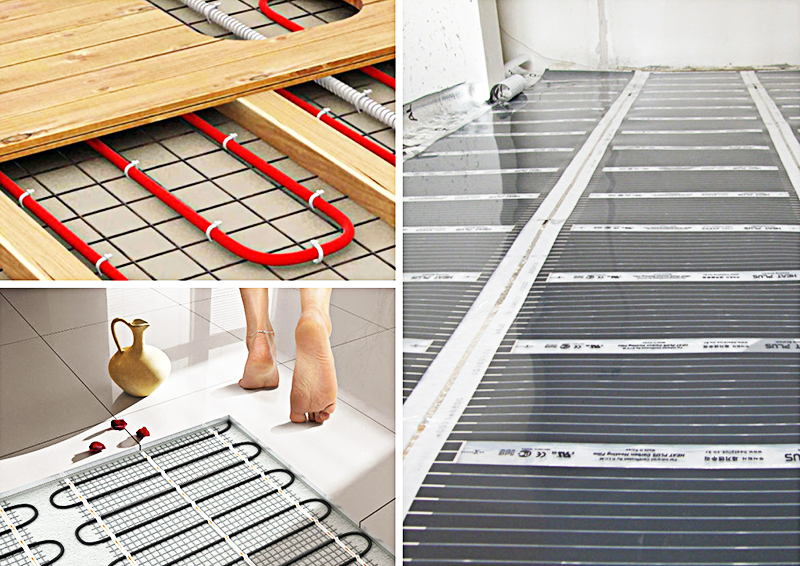
Such systems are used as a source of main and additional heat. Joule heat is used to heat the room. Installation of heating cables and special mats is possible. We offer you to understand the distinctive features of each type.
Related article:
Warm electric floor: types, characteristics and installation procedure of various types of systems, an overview of leading manufacturers, popular models and reviews of real buyers, the procedure for calculation - in our publication.
Cable underfloor heating
Before the installation of the cable warm water floor, the installation diagram is drawn. The heating circuit is positioned in such a way that there are no large appliances and furniture above it. Necessarily provided for indents from the wall with a width of 5 - 10 cm. The required amount of cable is calculated. The works are performed in the following sequence:
| Illustration | Description of action |
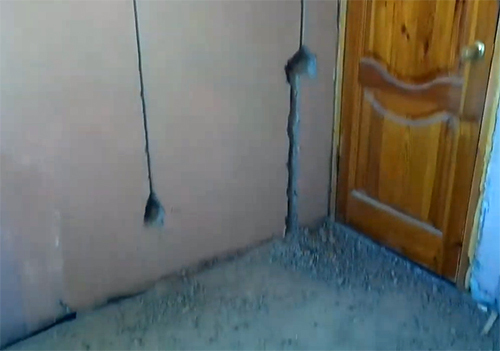 | The box for the thermostat is mounted. The required hole is formed in the wall. The groove for the power cable is being grooved |
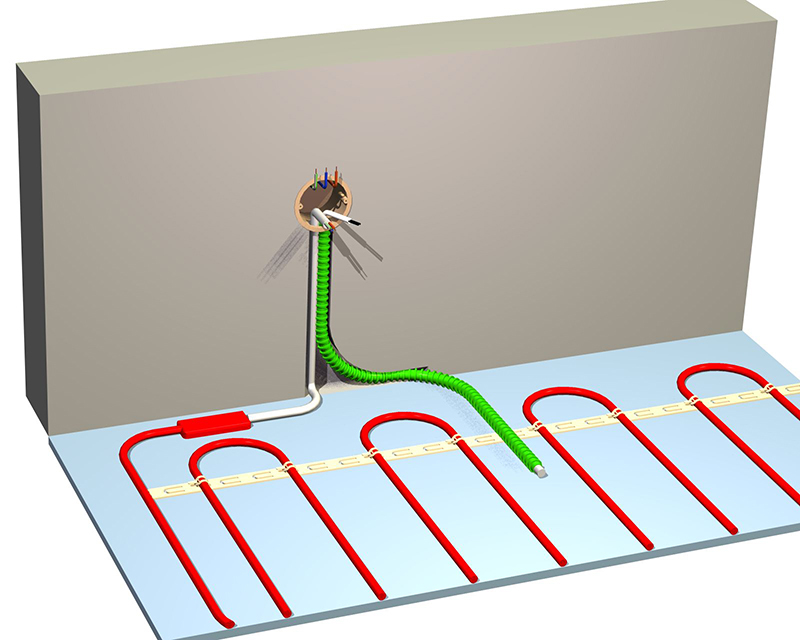
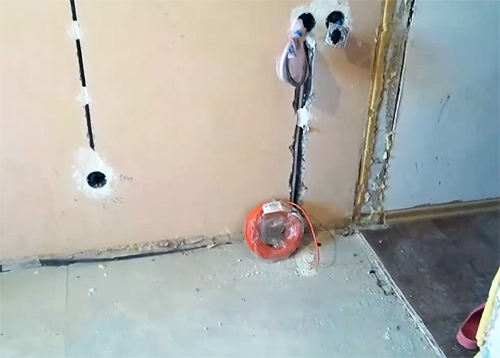 | The corrugation is laid, into which the power cable is placed. The end of the corrugation with the sensor is recessed into the subfloor. It is positioned so that in the future it will be between the turns of the warm floor |
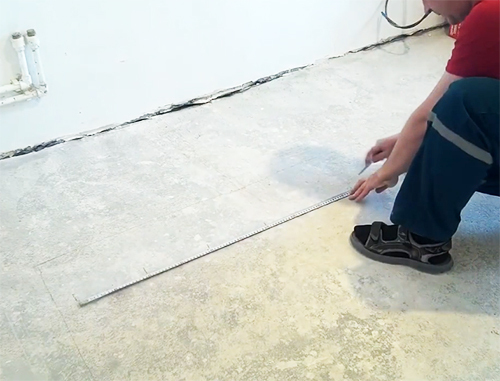 | The floor is thoroughly cleaned of dust and dirt, primed. Use a marker and a ruler to mark the location of the heating circuit |
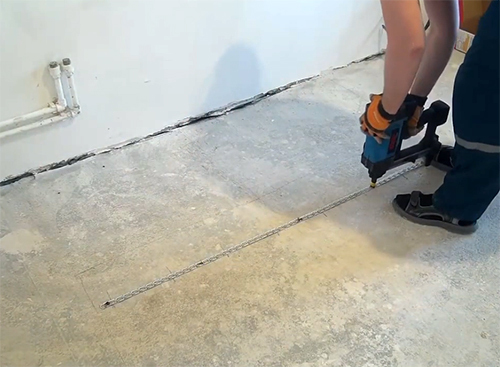 | Using a punch and dowel-nails, according to the markings made, the mounting tape is attached to the subfloor |
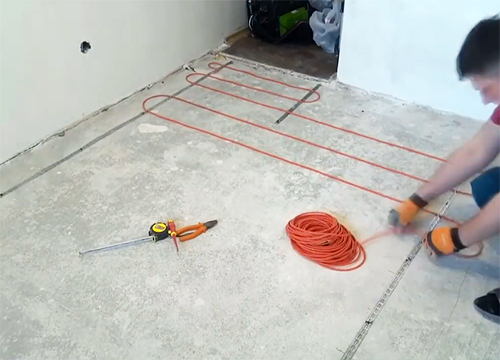 | The heating cable is laid out with a predetermined step in accordance with a previously selected scheme |
The installation procedure is described in more detail in the following video:
Thermomats
If thermomats are selected as a heat source, work is carried out in the following sequence:
| Illustration | Description of action |
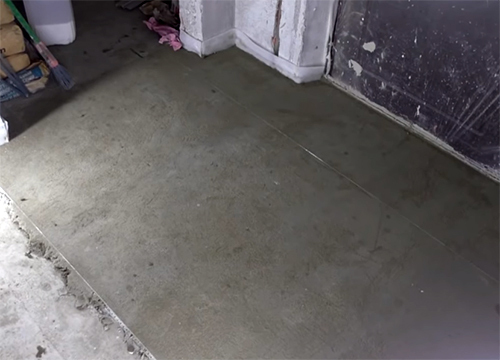 | The laying scheme is drawn, excluding those zones where the placement of large-sized pieces of furniture is planned. The thermostat box is mounted. The power cable is connected. The foundation is being prepared. The screed is poured |
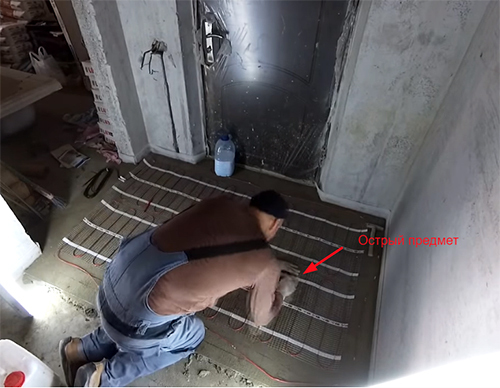 | Without letting the screed dry completely, as a rule, on the second day after pouring, the thermomats are laid out and, using a sharp object, for example, a screwdriver, repeat the contours of the cable |
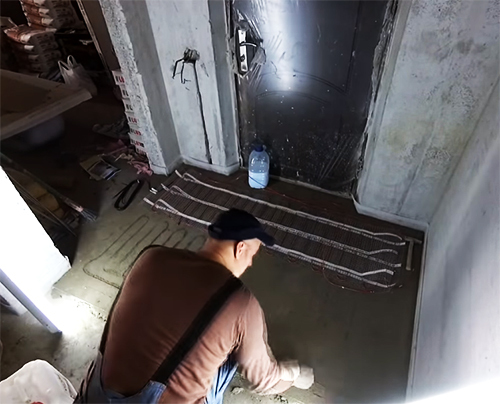 | The thermomats are lifted and, according to the marks made, they form recesses, the size of which should correspond to the dimensions of the cable |
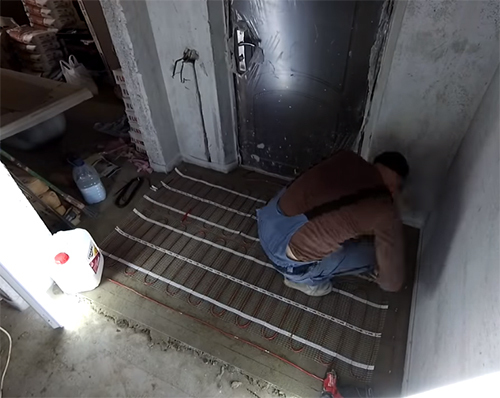 | The thermomats are laid by pressing the cable into the prepared grooves. Move away from the wall with a thermostat. If it is required to adjust the thermomats to the contours of the room, the film is cut, leaving the power cable intact. |
Attention! Overlapping thermomat is not allowed.
Infrared underfloor heating
To heat the room, not only Joule heat can be used, but also infrared radiation. The installation procedure in this case is somewhat different. We offer you to get acquainted with the intricacies of the work.
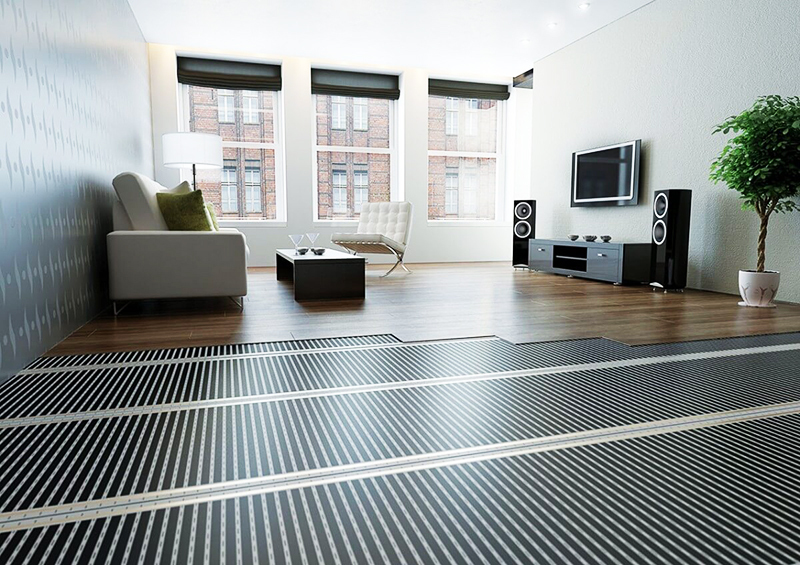
Rod
When starting the installation of a core underfloor heating, you should definitely read the instructions of the manufacturer. It describes in detail all the nuances of the location of the heating circuit. In the most general case, the work is performed in the following sequence:
| Illustration | Description of action |
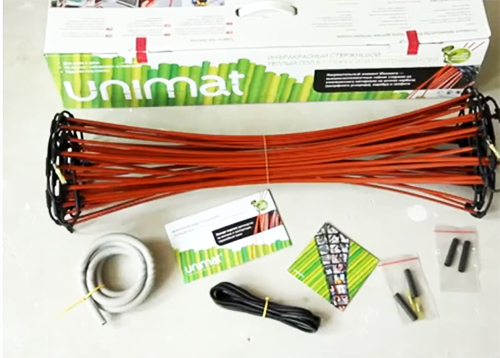 | Before starting work, check the completeness of the "Warm floor" system and prepare the tool |
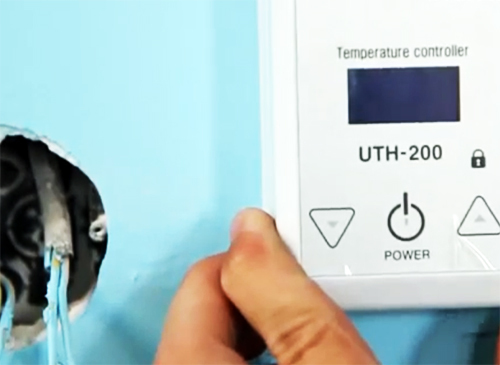 | The location of the thermostat is selected. Preferably a public place on the wall |
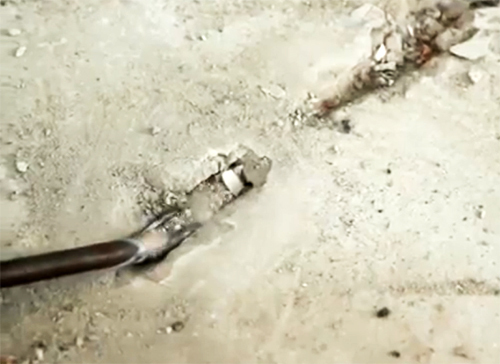 | If the installation will be carried out in a thin screed or in tile glue, first a groove for the temperature sensor is grooved |
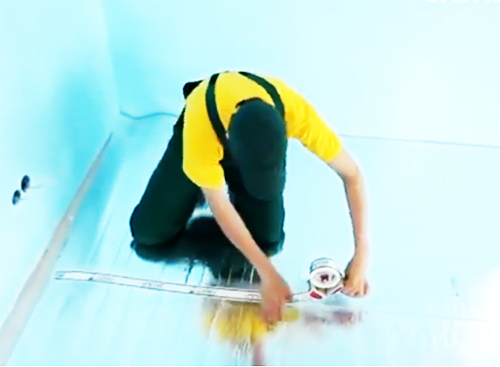 | Reflective material is laid. It can be laid over the entire surface or only where the heating circuit will be located. The reflective strip is attached to the base floor with a stapler, glue or tape. Also, the sheets are connected to each other using adhesive tape. |
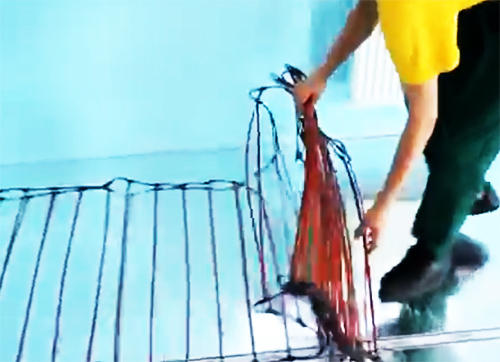 | The carbon mat is being laid, starting from the side of the thermostat |
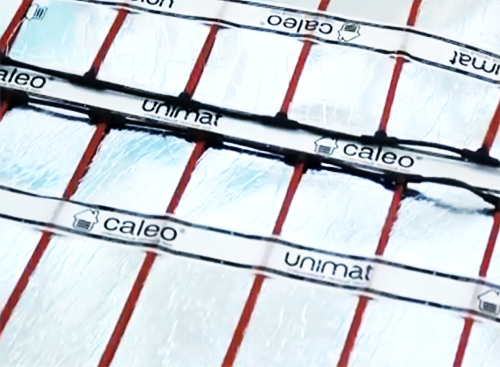 | To avoid displacement of carbon rods during installation or during subsequent operation, the rods are fixed with tape. Warm floor is connected to the power supply system |
Foil
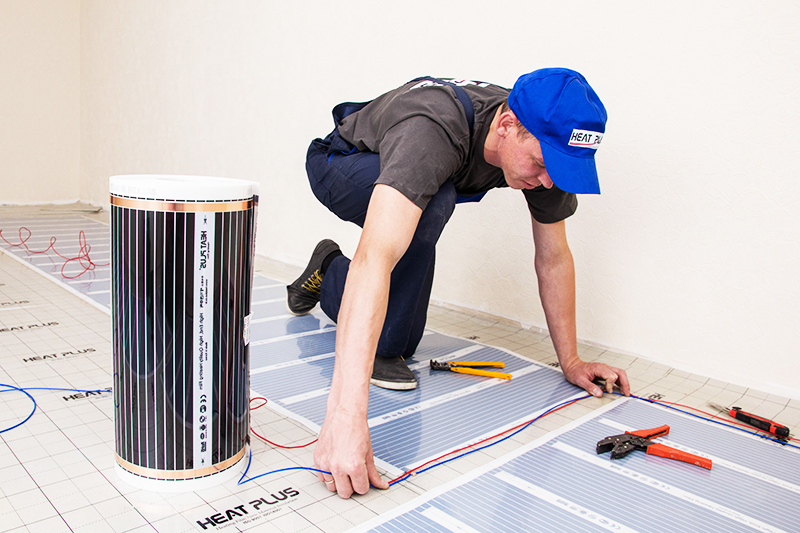
Installation of the film floor is executed in the following sequence:
- a drawing is being developed, in accordance with which installation work will be carried out. The location of furniture and large household appliances is taken into account. The distance from the walls should be 5 - 10 cm;
- a junction box is installed under the thermostat. The power cable is connected. A strip for the wire of the temperature sensor is grooved;
- the foundation is being prepared. Height differences should not exceed 3 mm per meter. The entire base is thoroughly cleaned and primed. A heat-reflecting substrate with a laminated base is laid;
- the heating film is cut to size in accordance with the developed scheme. Overlapping is not permitted. The film should be placed end to end or with a gap of 1 - 2 cm. The installation procedure may differ depending on the manufacturer's recommendations;
- contacts are mounted. One is inserted between the layers of the film, the second is located above the copper bus and squeezed with pliers. Wires are connected to the terminals. All contacts and ends of the copper bus are insulated with bitumen tape.

A comment
Mikhail Starostin
Head of the team of the repair and construction company "Dom Premium"
"It is impossible to use foil-clad material as a heat-reflecting substrate."
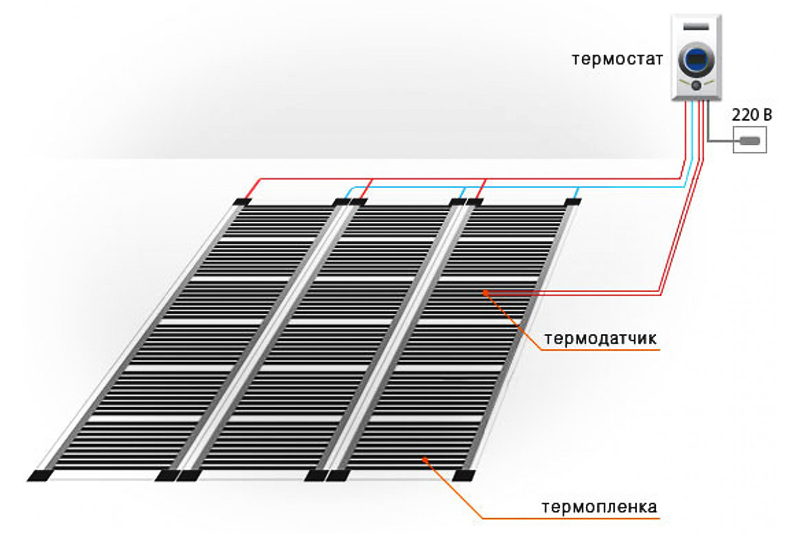
You can get acquainted with the procedure for performing installation work in more detail in the following video:
Related article:
Film warm floor: principle of operation, advantages and disadvantages, manufacturers, how to install and connect a warm floor to the network, advice and recommendations of specialists - read the publication.
Installation of a water-heated floor: an algorithm of actions
To avoid paying large electricity bills, you can do installation of underfloor heating. In this case, hot water, continuously circulating through the heating circuit, will act as a heat source. The work is carried out in the following sequence:
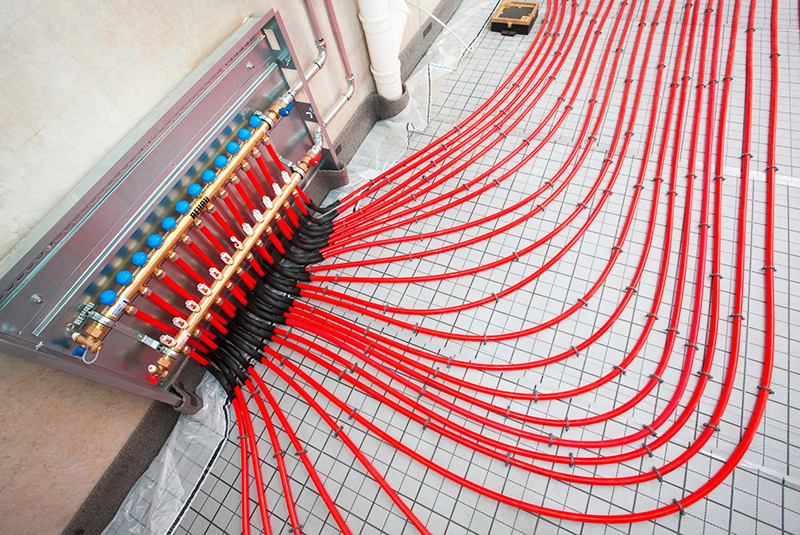
- a place is selected and a manifold cabinet is installed, inside which a mixing unit with a pump is mounted. Most often, for this purpose, the center of the house is installed so that the length of the supply pipes for the heating circuits of various rooms is minimal;
- the main pipeline is connected to the cabinet from the boiler. If the system will work in automatic mode, an electric cable is laid to connect the corresponding module;
- the foundation is being prepared. The rough floor surface is leveled. The maximum difference in height should be 5 mm. The base is cleaned of dust. A waterproofing layer is laid on top. It is possible to use a polyethylene film;
- a damper tape is installed around the perimeter of the room, thanks to which it will be possible to compensate for thermal expansion. Its height depends on the height of the topcoat. After laying the last, the excess is cut off;
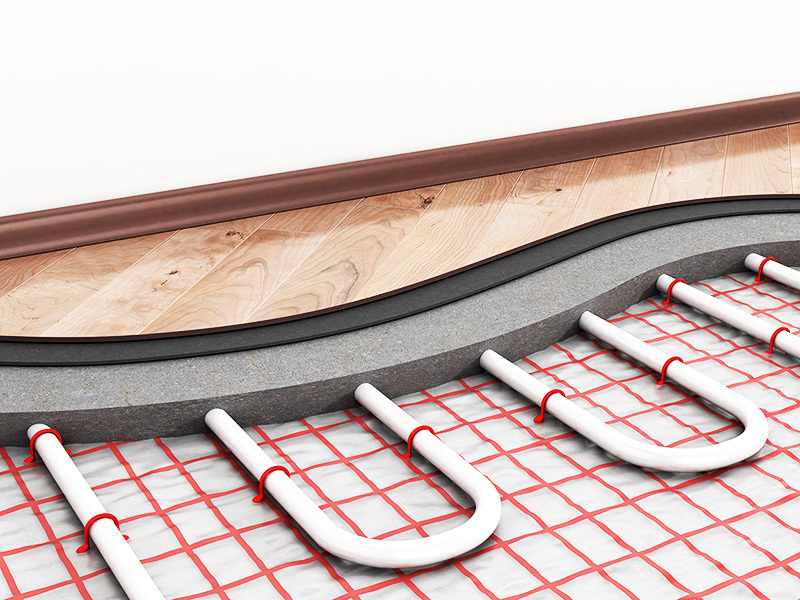
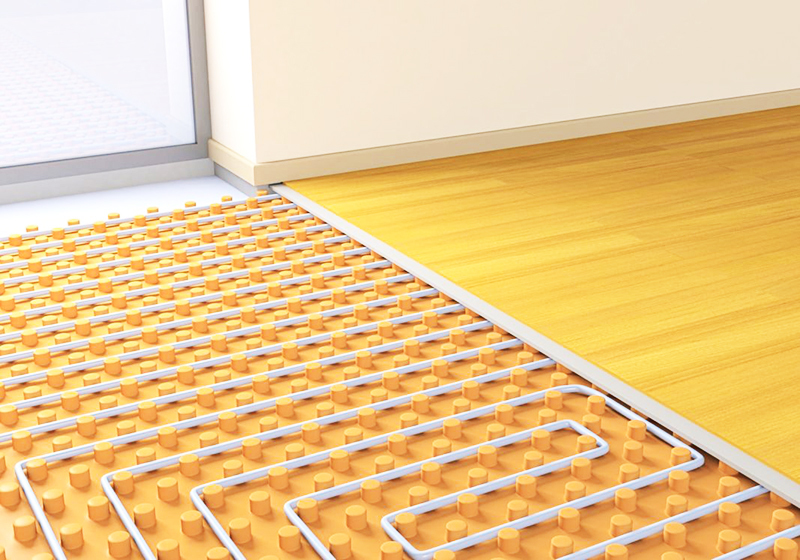
- a heat-insulating layer of expanded polystyrene is laid, and on top are mats with bosses or a mesh to which the pipes will be attached. Performed pipe laying in accordance with the calculations performed. The most widespread is the "snail" scheme, in which the supply and return lines are located side by side. This ensures uniform heat transfer;
- the ends of the heating circuit pipes are connected to the manifold. If it is planned to use a room thermostat to control the temperature, servos are installed;
- the taps in front of the mixing unit are closed. The tightness of the heating circuit is checked at a pressure of 6 bar.
Related article:
Warm floor water: design features and main elements, advantages and disadvantages, calculation procedure, leading manufacturers and reviews of real consumers, the procedure for installing the system with and without a screed.
Installing a thermal sensor
The installation of the temperature sensor is carried out in a previously prepared groove in which the corrugation is located. At the same time, it is very important to ensure such an arrangement of the corrugation so that it does not rise above the heating circuit. To exclude bending of the wire and premature cracking of the corrugation, the angle of its bend is made smooth. The end of the corrugation, which will be located under the screed, is covered with a layer of sealant.
Attention! The heat regulator is installed in every room.
System connection and testing
After all elements of the system are assembled into a single structure, it is connected and tested. The procedure depends on the type of heating circuit and the manufacturer.

Filling the screed
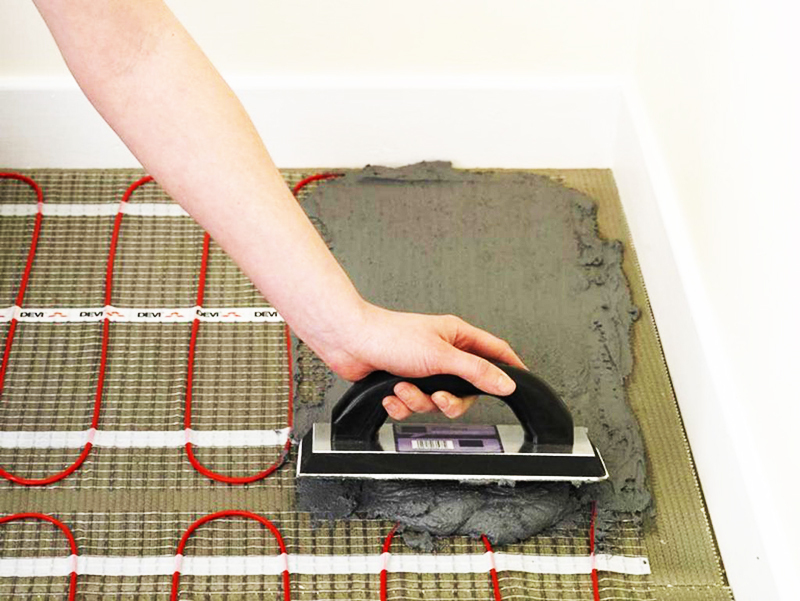
After checking and testing the system, the screed is poured. Its thickness should be at least 2 cm for an infrared underfloor heating and at least 3 cm for a water circuit to ensure uniform heating of the surface. Recommendations for a specific system are indicated by the manufacturer in the instructions.
To prevent the destruction of the screed in rooms with an area of more than 30 m² and (or) wall lengths of more than 8 m, shrinkage joints are provided. Care should be taken to ensure that they overlap the expansion joints of the main structures. At the base, the thickness of the formed gap is 10 mm. From above it is treated with a sealant.
Laying the floor covering on a warm floor
The order of laying the flooring directly depends on its type. We offer you to get acquainted with the main types and rules for performing work. This will avoid common mistakes made by novice masters.
Ceramic tile
Ceramic tile became widespread. With its help, the floor in the bathroom, in the kitchen, in the corridor and on the balcony is made out. Uniform heating of the surface will create comfortable conditions for everyone living in the house.
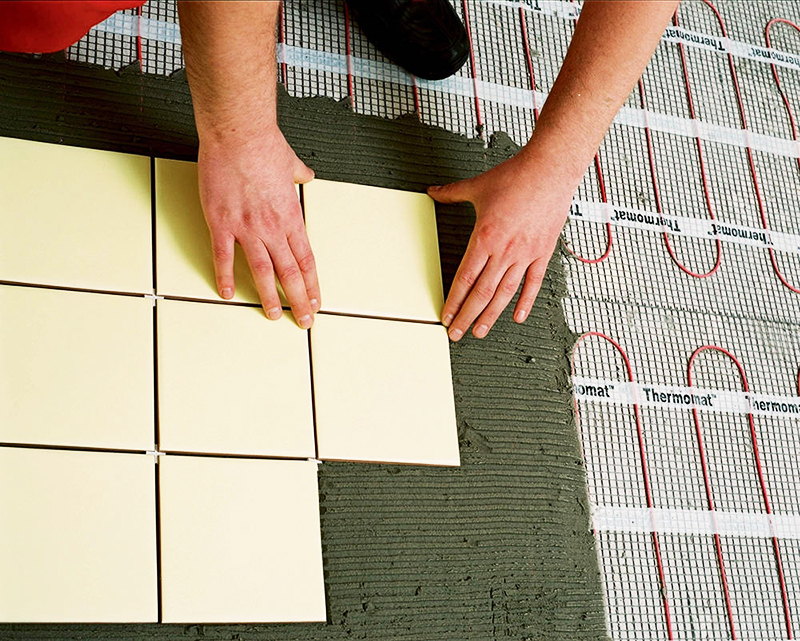
We suggest watching the following video in order to understand the procedure for laying ceramic tiles on a warm floor:
Related article:
Warm floor under the tiles: main types, the procedure for installing a water structure, characteristics, advantages and disadvantages, existing types and distinctive features of electrical systems and the procedure for performing installation work, average prices and real reviews consumers.
Linoleum
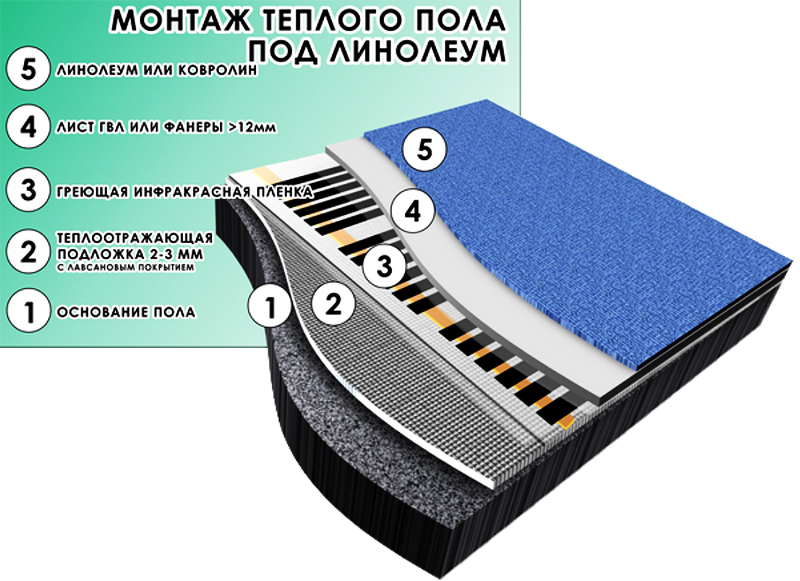
Considering that during operation linoleum will be constantly heated, it is worth carefully choosing the appropriate option. To do this, you should carefully study the recommendations of the manufacturer of the finishing material.
Linoleum is laid on a screed, which is pre-cleaned of debris, dirt and various protrusions. Its external configuration should match the contours of the room. To prevent displacement of linoleum during operation, it is fixed with a plinth. If several sheets are to be laid, they are connected together with tape or glue.
Related article:
Not everyone knows how to mount correctly warm floor on a wooden floor under linoleum. In this review, we will consider in detail the types of technologies and the sequence of work for self-installation of the coating.
Laminate
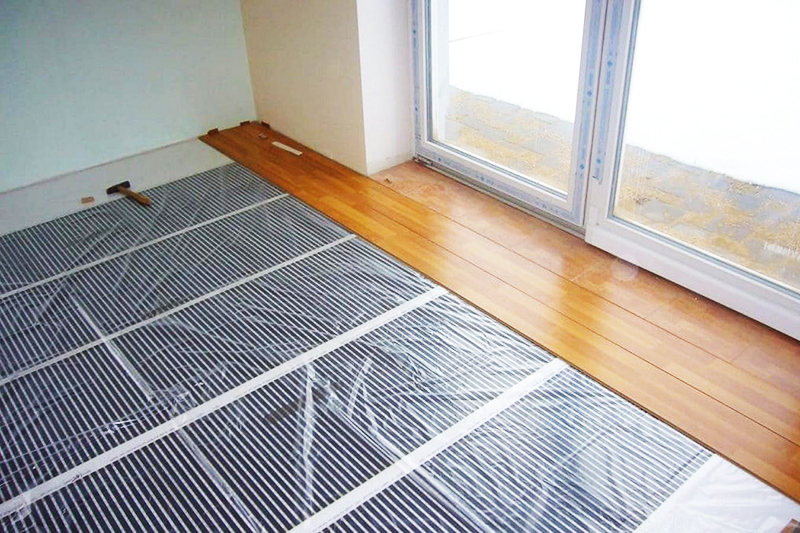
Laying laminate performed on backing, the thickness of which depends on the condition of the base. When installing on a thin screed, a 3 mm thick substrate can be used. The order in which the panels are connected depends on the selected laminate model. Be sure to leave a gap between the wall and the decorative coating being formed.
Related article:
Warm floor under the laminate: selection criteria and recommendations for choosing a substrate, the main types of underfloor heating, their advantages and disadvantages, the procedure for installing different types of systems, the best models and reviews of real buyers.
Share in the comments which floor heating system you prefer. You carried out the installation yourself or invited specialists.

