
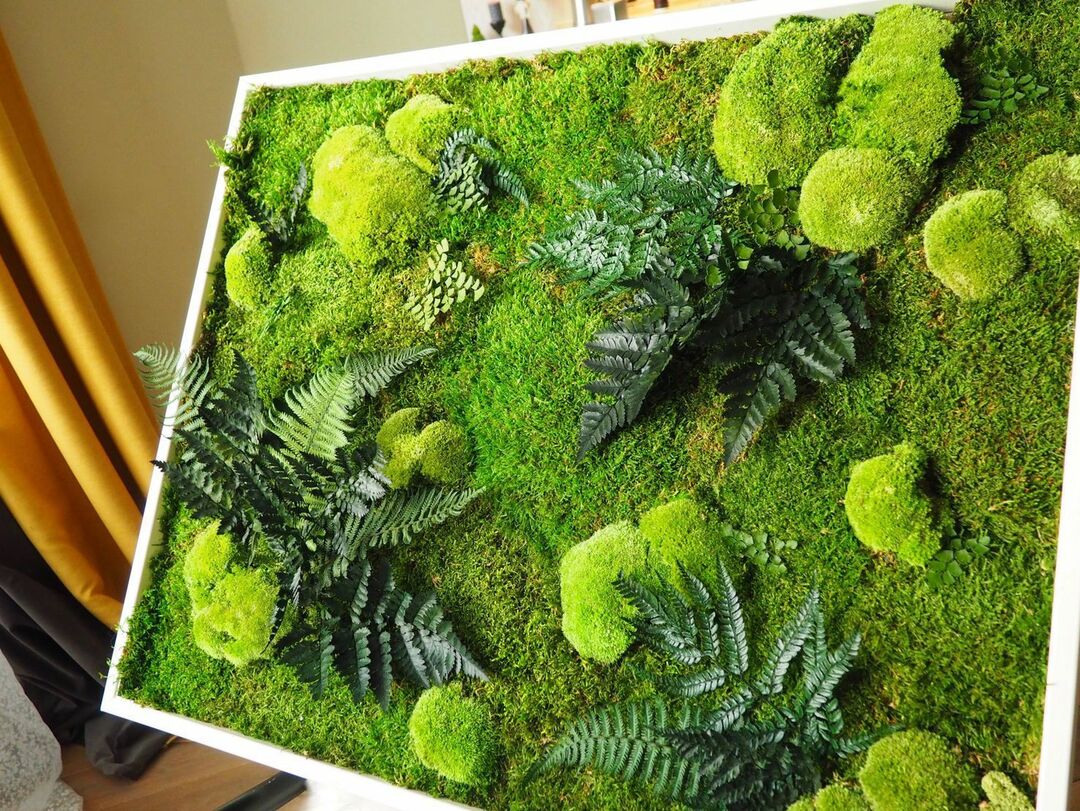
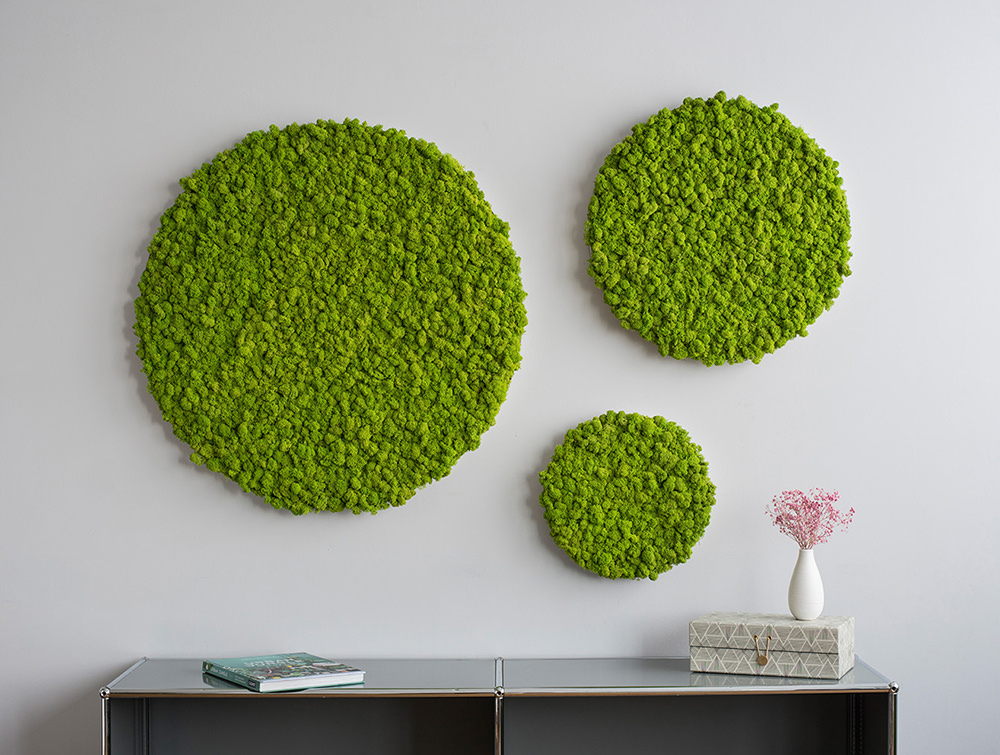
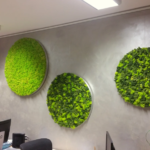
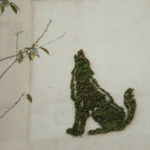
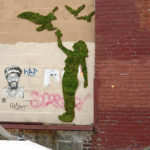
Green plants are able to revive any interior, fill it with freshness and comfort. But you won't surprise anyone with ordinary ficuses and cacti. Another thing is a wall panel or a picture of moss. Compositions made from this material look very unusual, expensive and incredibly attractive. It is appreciated due to the widest possibilities of an extensive palette and pleasant texture. Wall panels and paintings are laid out from moss, it is used to decorate furniture, aquariums, walls, clocks, lamps.
Natural motives are experiencing another peak of their popularity today. Natural moss is one of the most interesting and sought-after representatives of the eco-materials community.
There are different types of plants:
- artificial - imitation looks unpresentable, cheap, therefore it is not recommended for use in expensive residential interiors, in the offices of self-respecting companies;
- alive - very demanding to care, short-lived;
- stabilized.
The latter option is superior to the others in many positions, so we will consider in this article exactly stabilized moss - what it is, what advantages and disadvantages it has, how it can be used for decoration interior paintings.
Content
- About stabilized moss
- Advantages and disadvantages of moss paintings
- Where is the best place to place pictures of moss
- Homemade stabilized moss recipe
- How to color moss
- How to make a picture or a panel of moss with your own hands
- Required materials and tools
- Algorithm for creating a painting
- Painting workshop with moss on the wall
- Moss lettering
- Moss clock
- How to care for paintings
- In what styles is moss decor used
- Conclusion
About stabilized moss
Moss can be found all over the world. In total, there are about 10,000 species of this plant. However, not every variety is suitable for stabilization. In production, only certain breeds are used, which, in terms of their characteristics, correspond as much as possible to the tasks assigned to them.
Stabilization is a kind of conservation of natural moss. In simple terms, a living plant is soaked in a certain solution in order to stop its development and adapt it for decoration.
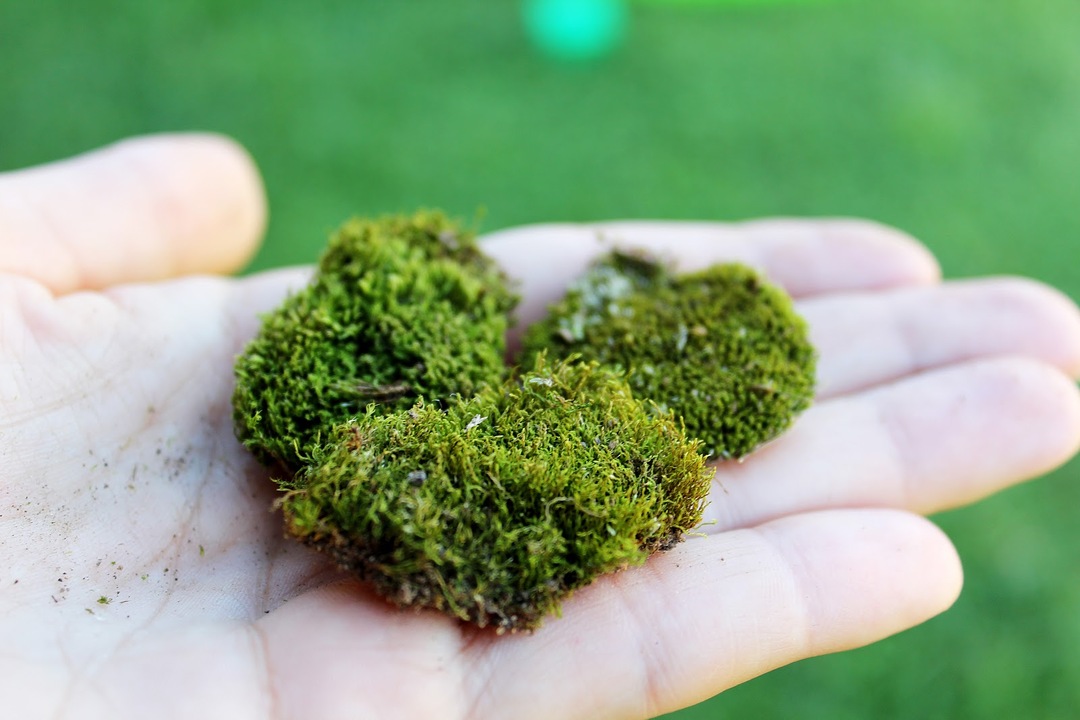
Various types of moss are used to make the stabilized product:
- lichen - the most accessible in our latitudes;
- sphagnum;
- oak - resembles algae;
- with stems and leaves;
- dicranum - in the form of panicles;
- forest;
- fern.
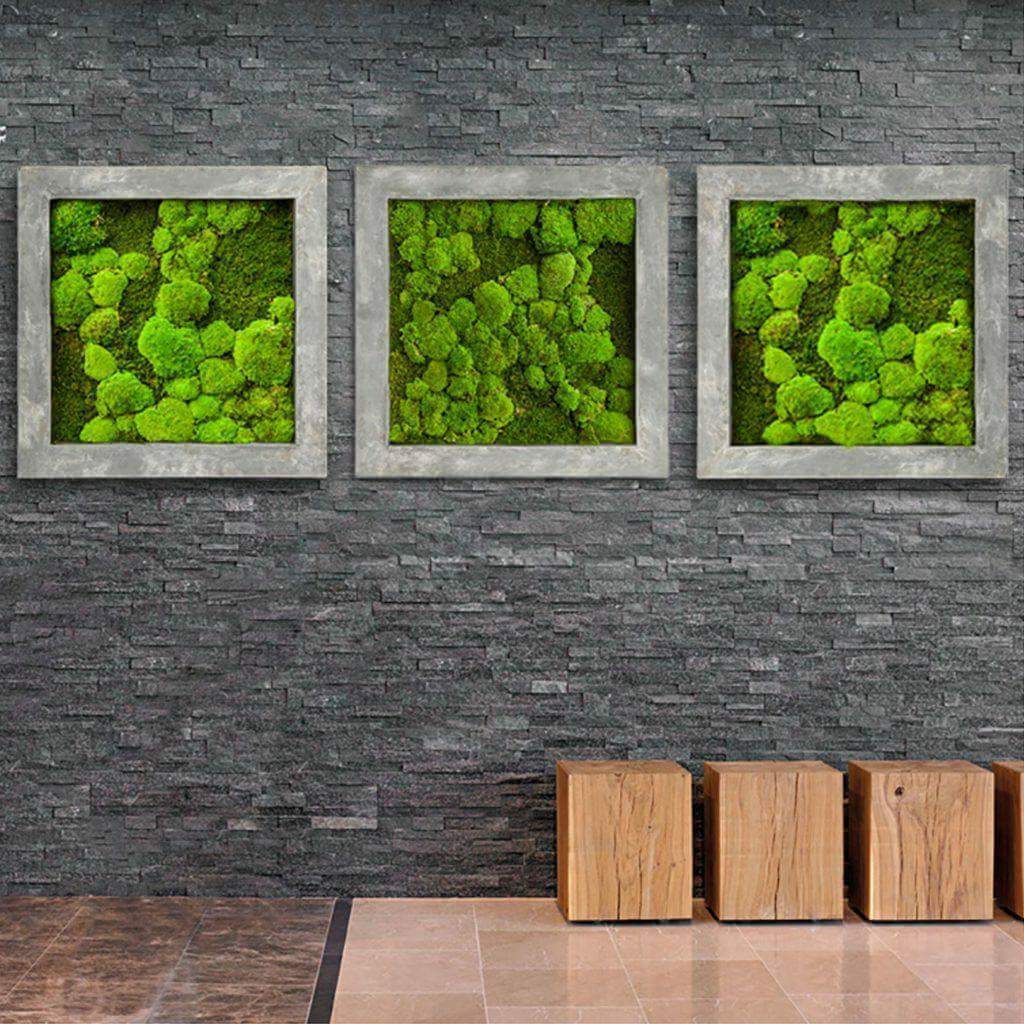
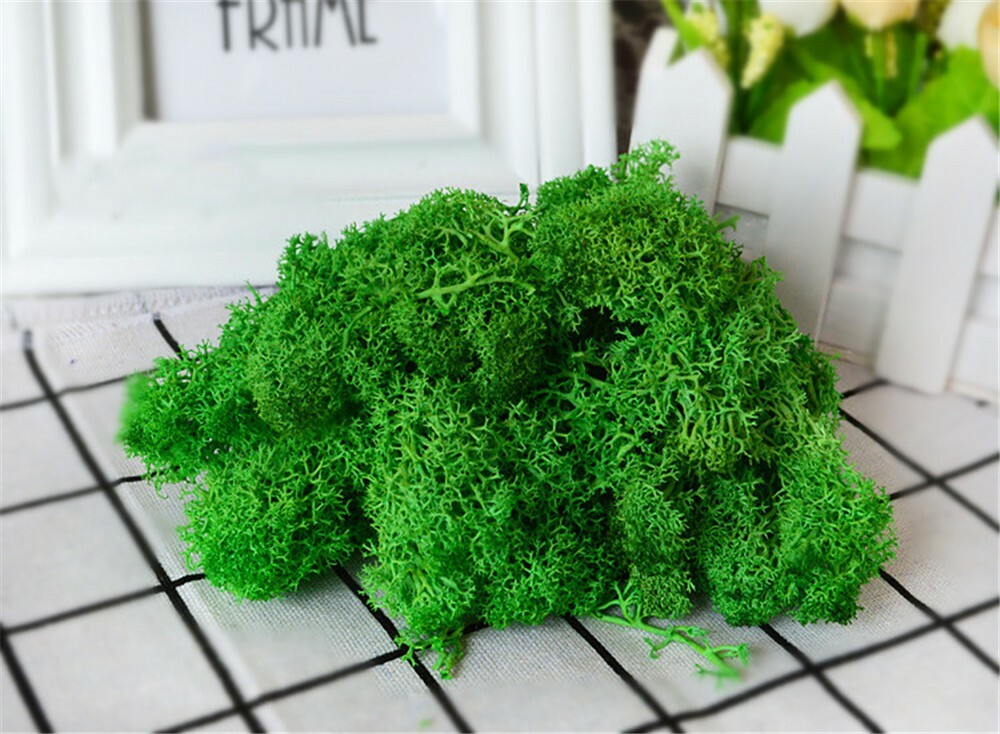
To compose compositions, reindeer lichen, which has an attractive bright green color, is often used. In addition, it is easier to get it in our geographic latitudes. It has proven itself remarkably as a decoration for frame outdoor and interior sculptures and panels.
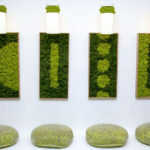
On sale, the material is presented in the form:
- layers;
- bumps;
- balls.
Humans learned to stabilize moss already in the 40s of the twentieth century. One of the first patents for its production was issued in the USA in 1949. Early technologies were based on the use of salt solutions and dyeing with various color pigments. The stabilized material was used to complement the flower buds, which were the main characters in most of the compositions. Nowadays, designers are increasingly giving preference to panels and paintings from moss.
Some moss stabilization technologies are being replaced by others. One of the latest trends is glycerinization. According to her, the plant is placed in a special solution of glycerin and water with the addition of a dye. During the soaking process, glycerin penetrates into its structure. This is the most efficient way to save it. Thanks to it, the durability of moss, its ability to withstand various mechanical influences is significantly increased in comparison with salinization.
Advantages and disadvantages of moss paintings
Paintings made of moss are a real pleasure and relaxation for the eyes. They are incredibly popular and are often used to decorate hotels, restaurants, and business centers. Living canvases indicate that their owners closely follow trends and care about the comfort of their clients.


Shaggy green compositions have other advantages as well. They differ:
- aesthetic appearance - they look very impressive and can fit perfectly into any style direction;
- a wide variety of both stylistic and color solutions;
- environmental friendliness - do not provoke allergic reactions and other diseases;
- soundproofing;
- simple care - it does not have to be watered or fertilized. Additional illumination is also not needed;
- the absence of insects, pathogenic bacteria and microorganisms;
- flexibility - layers of moss can be used to finish surfaces of any shape;
- durability.
The disadvantages of this decor include:
- non-budgetary cost - for those who prefer respectability - this is more of a plus than a minus;
- the need to provide a certain humidity in the room - at least 40%;
- the need to carefully choose the location and create acceptable conditions to maintain the vitality of the green "canvas". Bright sunlight, heating sources, low temperatures negatively affect stabilized plants.
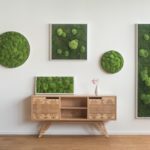
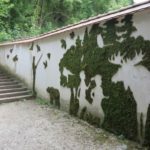
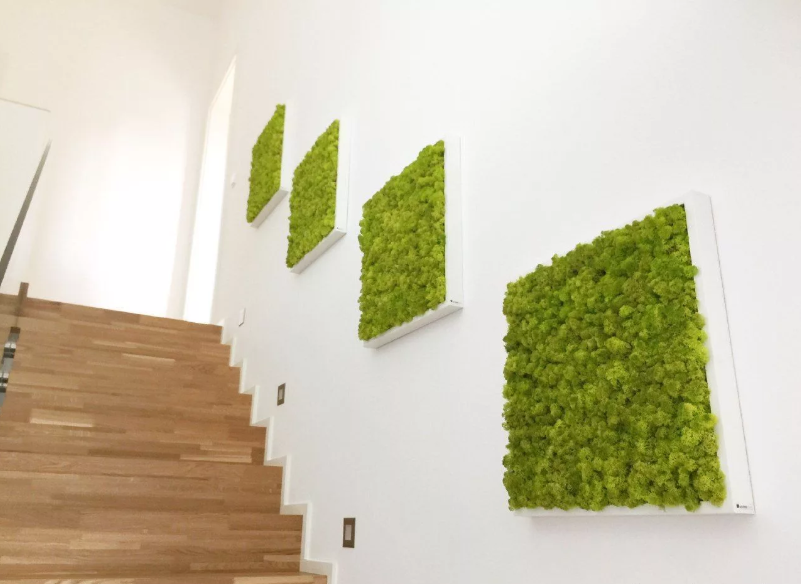
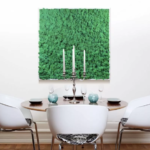
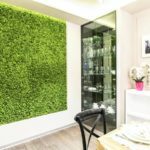
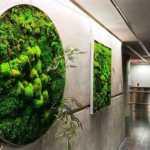
Where is the best place to place pictures of moss
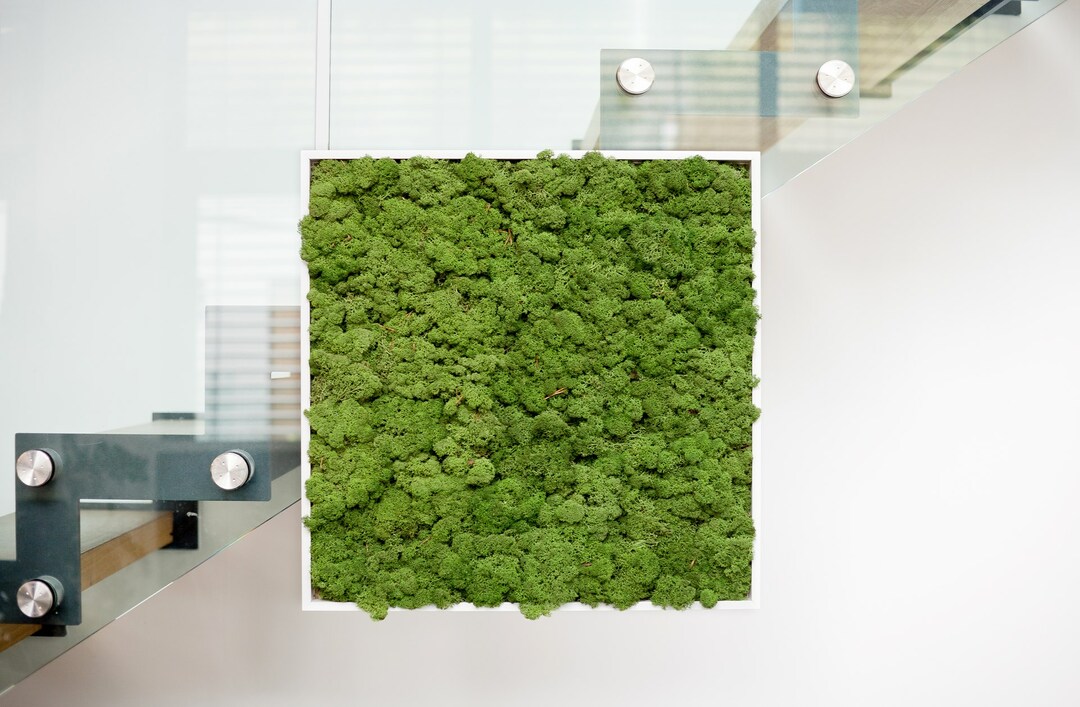
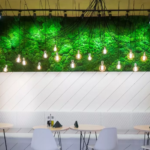
Vertical gardening technique allows you to create unique extraordinary interiors in a home, apartment or office. Juicy green compositions will make any boring room bright, spectacular and very cozy. Paintings, panels, panels made of moss can be used in:
- children's rooms - multi-colored products made of moss, painted in bright shades, look great;
- kitchens;
- bedrooms;
- bathroom;
- hallway;
- living rooms;
- winter garden;
- on a warm balcony;
- office premises.
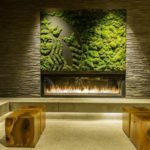

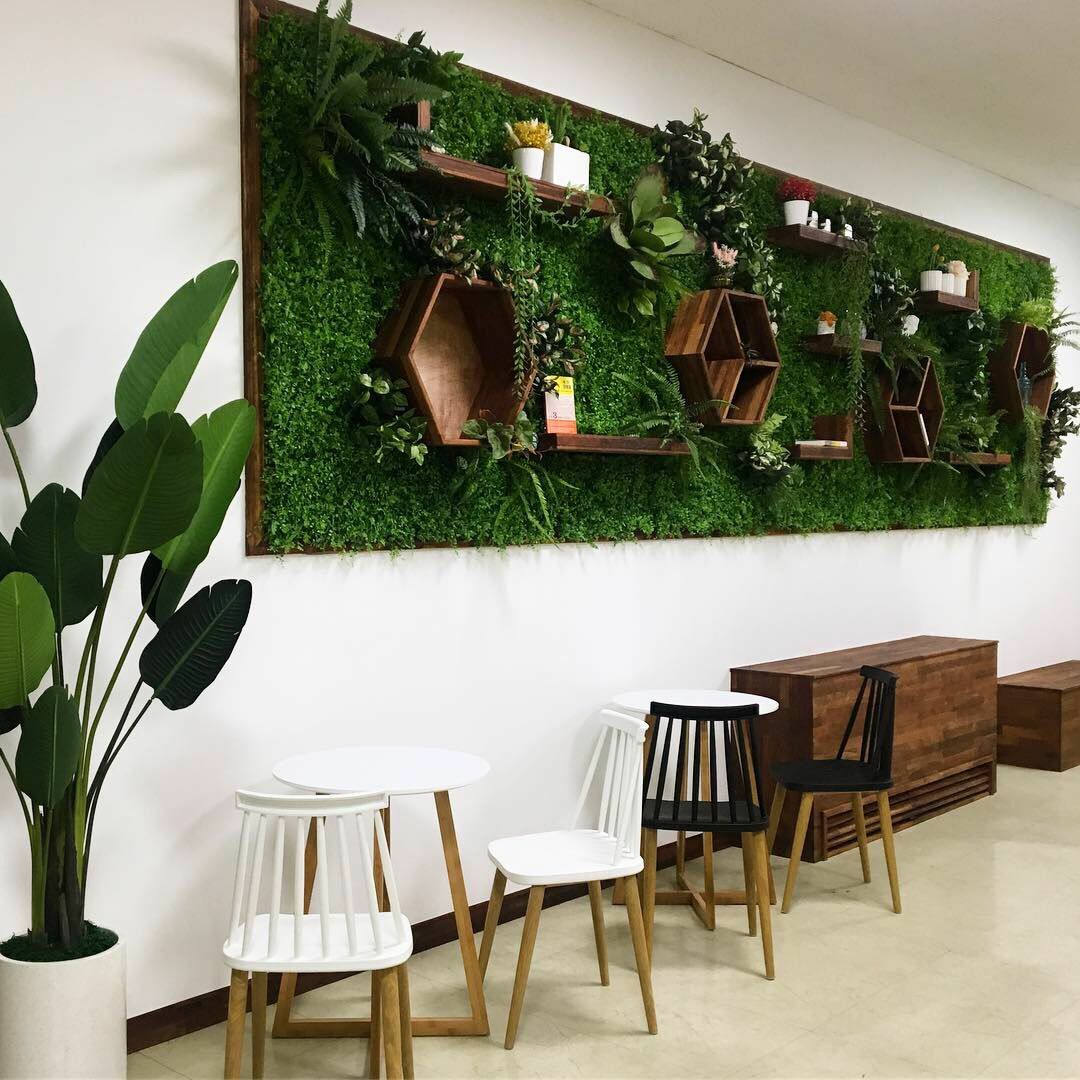
Moss is in perfect harmony with other natural materials - wood, stone, dried straw, perfectly sets off brickwork. Natural compositions will help in creating an eco-style indoors.
Homemade stabilized moss recipe
You can make the stabilized material yourself. Let's consider two ways of making it.
The first is embalming with the addition of glycerin and methyl hydrate.
Step-by-step instruction:
- We clean the plant - remove dust and debris.
- Prepare a mixture of 2 parts glycerin and 1 part methyl hydrate.
- We immerse the plant in a container with the mixture and leave for 10 minutes. The plant must be saturated with liquid.
- We take out and squeeze out excess moisture.
- We spread it on a towel and leave it to dry for a few days.
The finished product must be soft and elastic.
For another recipe, only glycerin and water are used.
Stabilization stages:
- Mix 1 part glycerin with 1 part warm water.
- We add dye, as the composition will discolor the villi.
- We fill in the peeled raw materials and leave in a dark place for a week.
- We drain the liquid and repeat the procedure.
- After a week, we take the plant out of the liquid and dry it at a humidity of 40%, avoiding direct sunlight.
Self-stabilization of the moss does not require large investments. Uncomplicated technology will allow you to get an excellent modern decor for your home or apartment.
How to color moss
The dye added to the glycerin-water solution will allow the moss to return to its natural greenery. You can experiment and dye the fibers in unnatural bright colors. Bright yellow, pink, turquoise shades will look great in a children's room or interior decorated in pop art style.
The dye is added to the solution for stabilization. You can use watercolors, gouache, food paints. In order to be determined, you need to prepare several solutions with different dyes and check their effect experimentally.
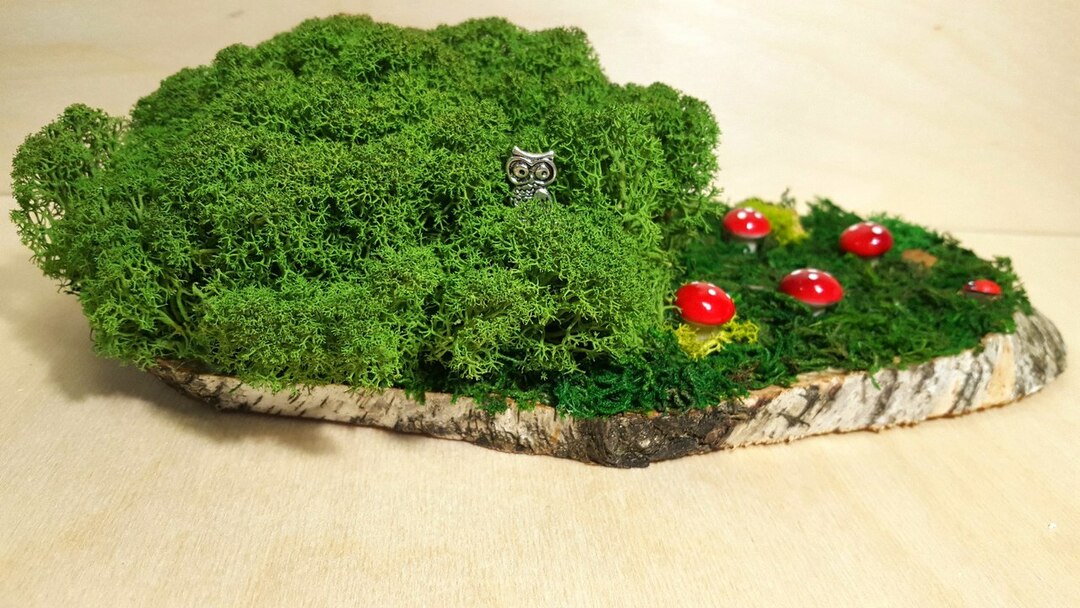
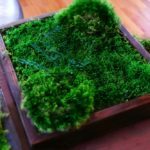
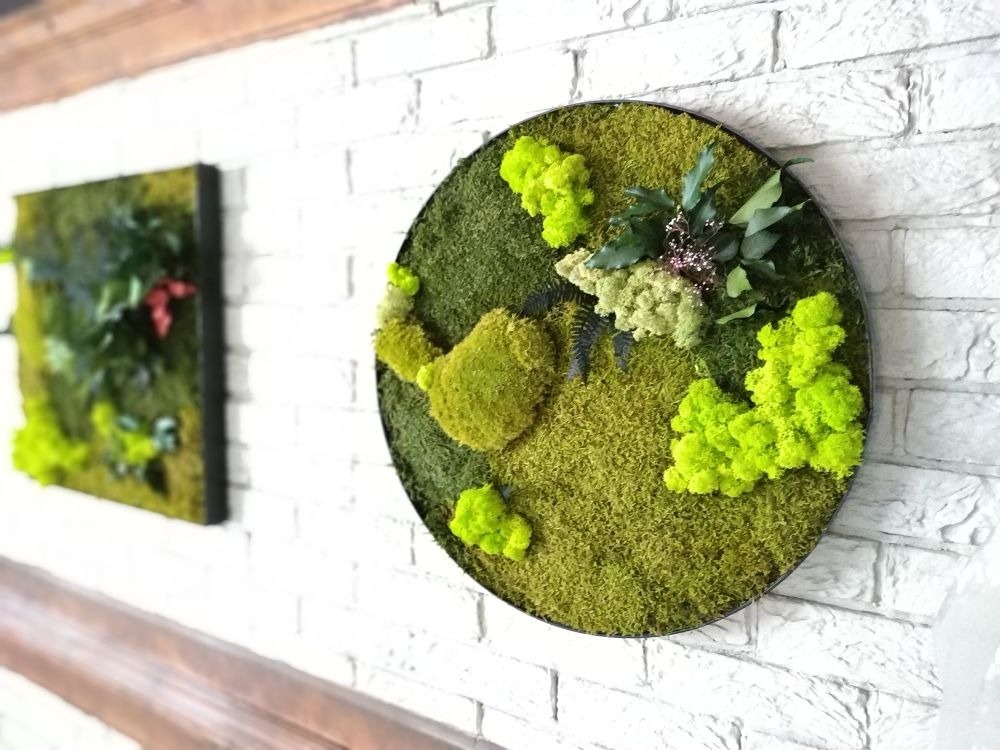
How to make a picture or a panel of moss with your own hands
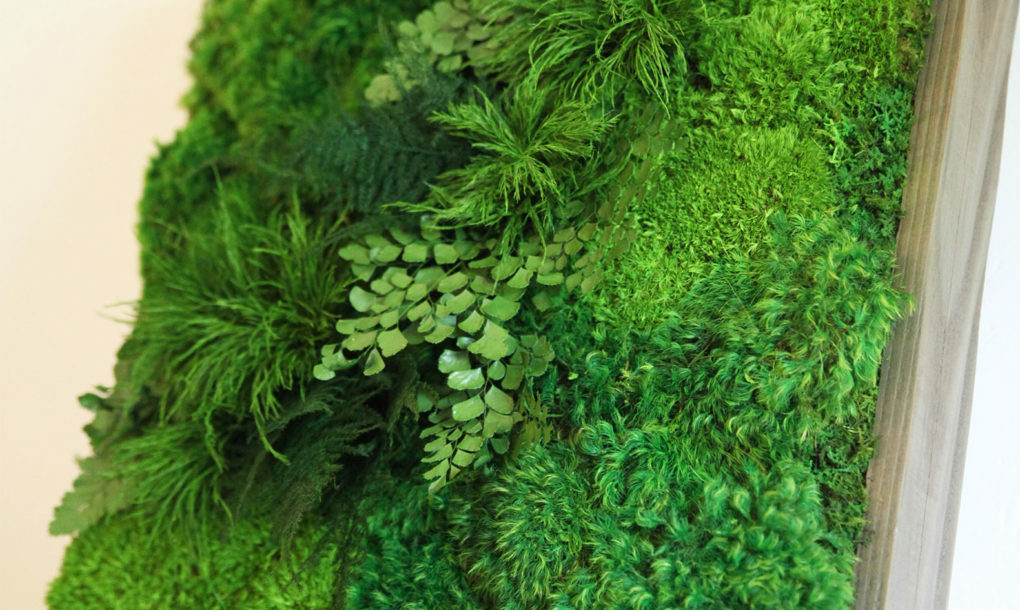
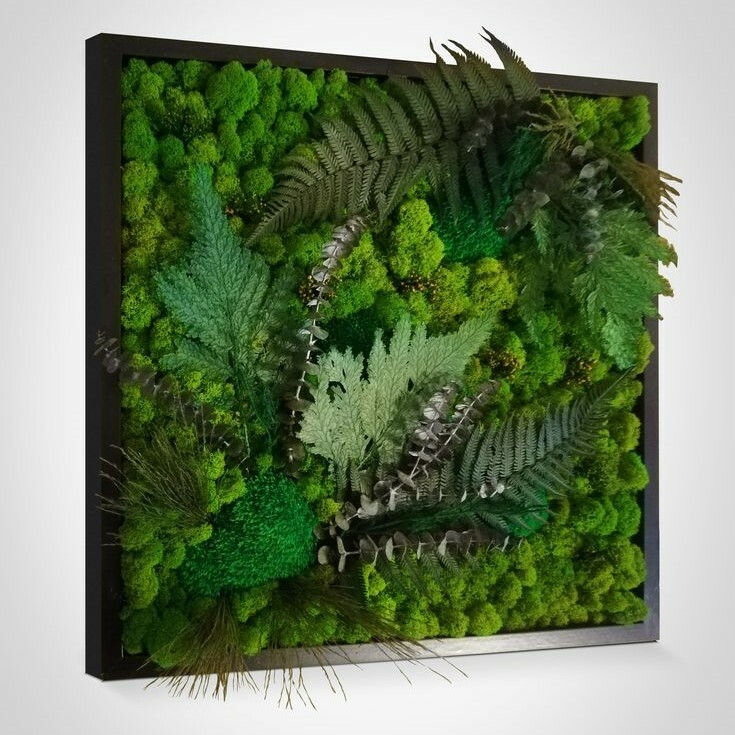
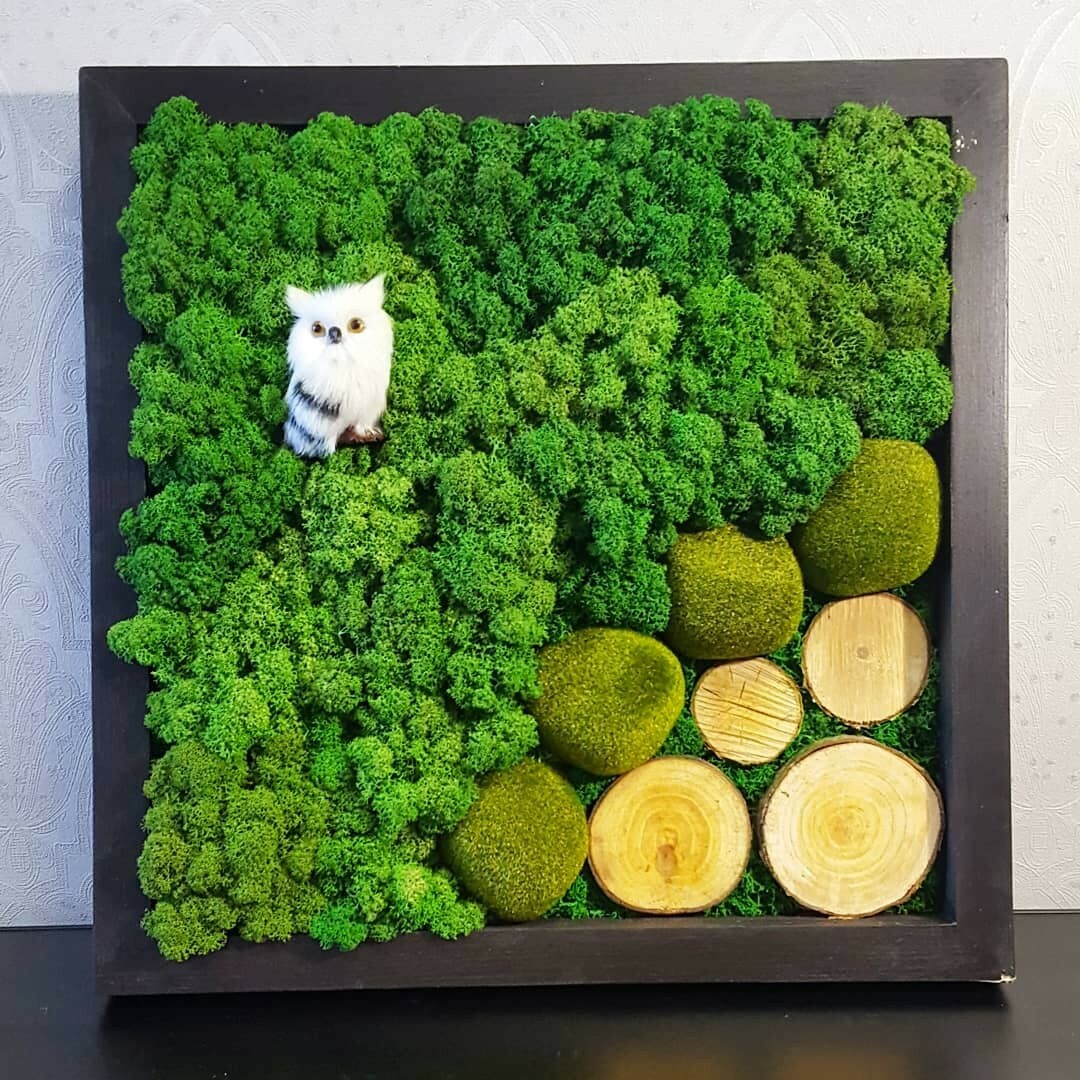
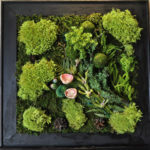
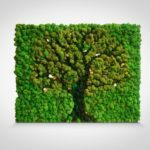
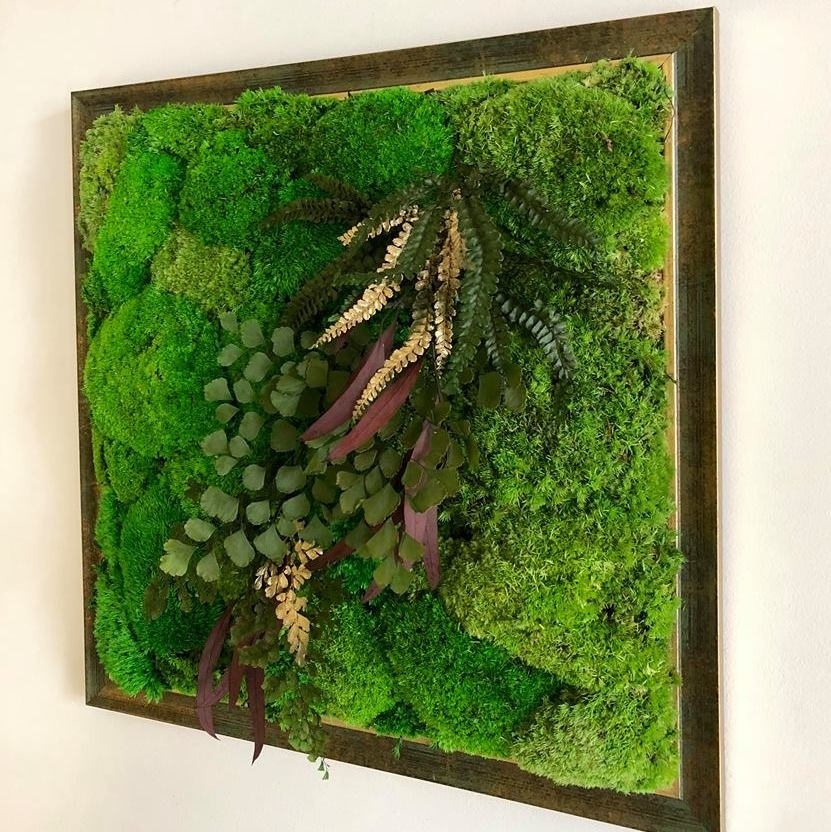
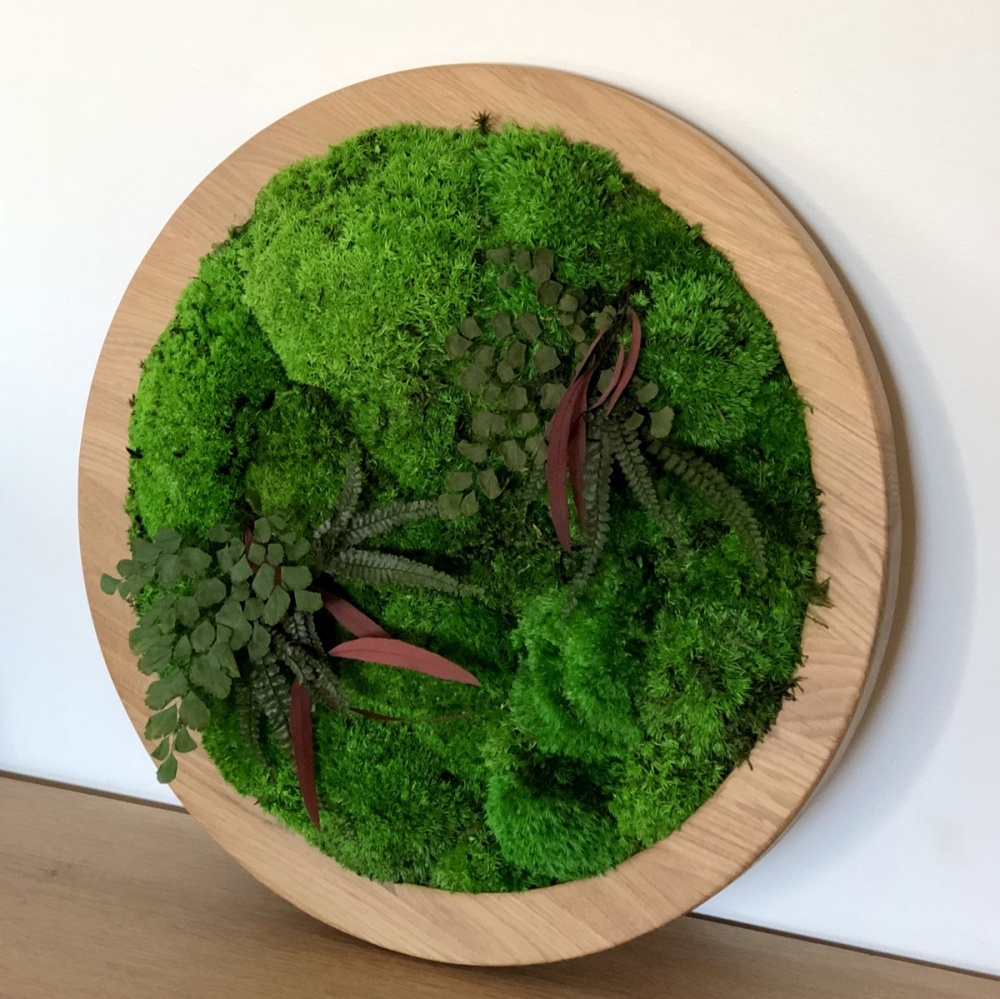
From pieces of moss, you can assemble a picturesque picture. The plant can be used in fragments, making from it the basis for forest or village landscapes, or fill the entire canvas with it. It goes well with other stabilized plants such as flowers, succulents, ferns, as well as cones and coniferous branches.


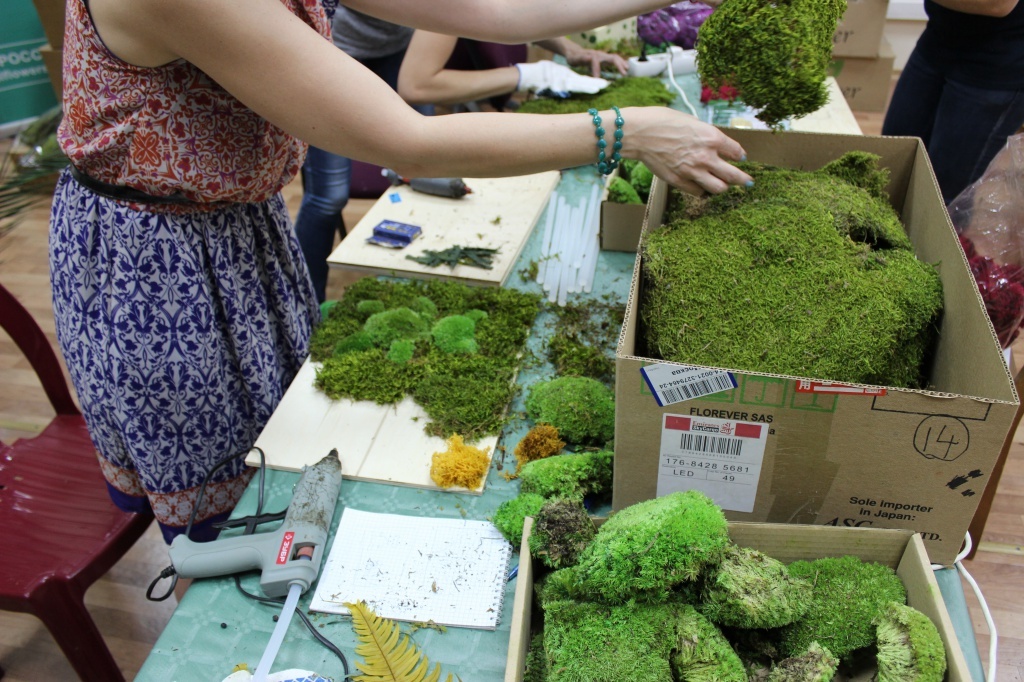
Required materials and tools
To make a painting from moss, you cannot do without:
- frame or stretcher of the desired size. You don't need glass, so you can use the old frame.
- a sheet of thick cardboard, cork, plastic or foam for the base;
- stabilized moss in different shades;
- additional decorative elements - flowers, twigs, cones, succulents, chips, pieces of bark, nuts, acorns;
- waterproof PVA glue;
- double-sided tape;
- glue for wood;
- glue gun.
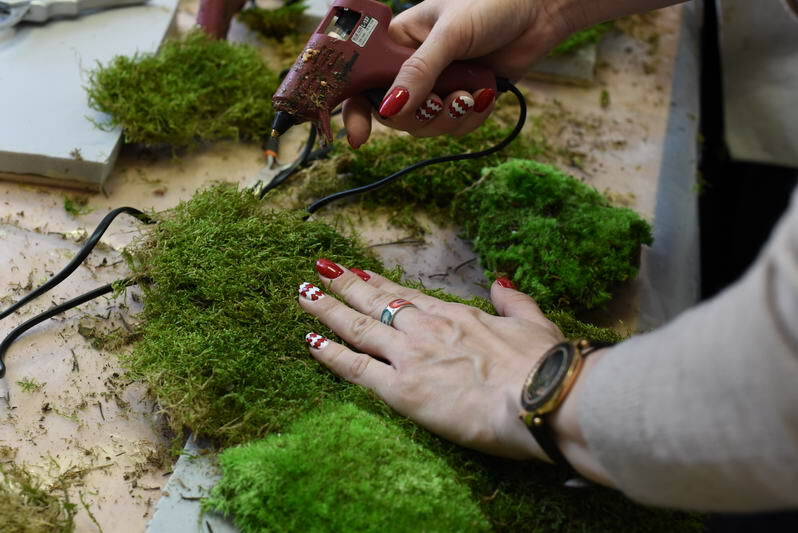
You can only do with a glue gun. This will speed up the process as much as possible. Keep in mind that in this case a lot of glue will take, and it must be applied very carefully so that it does not peep out from under the plants.
Algorithm for creating a painting
Once you have everything you need ready, you can start the process of creating a composition.
Main steps
- It is necessary to think over the main points, determine the orientation of the product - horizontal or vertical, decide whether it will be completely covered with moss or the plant will be used fragmentarily.
- We select the topic. Green lumps are the perfect complement to images of a fairy forest or a valley with an old castle. It can be used to create a picturesque still life with artificial berries or fruits. There are many options and the New Year theme is no exception.
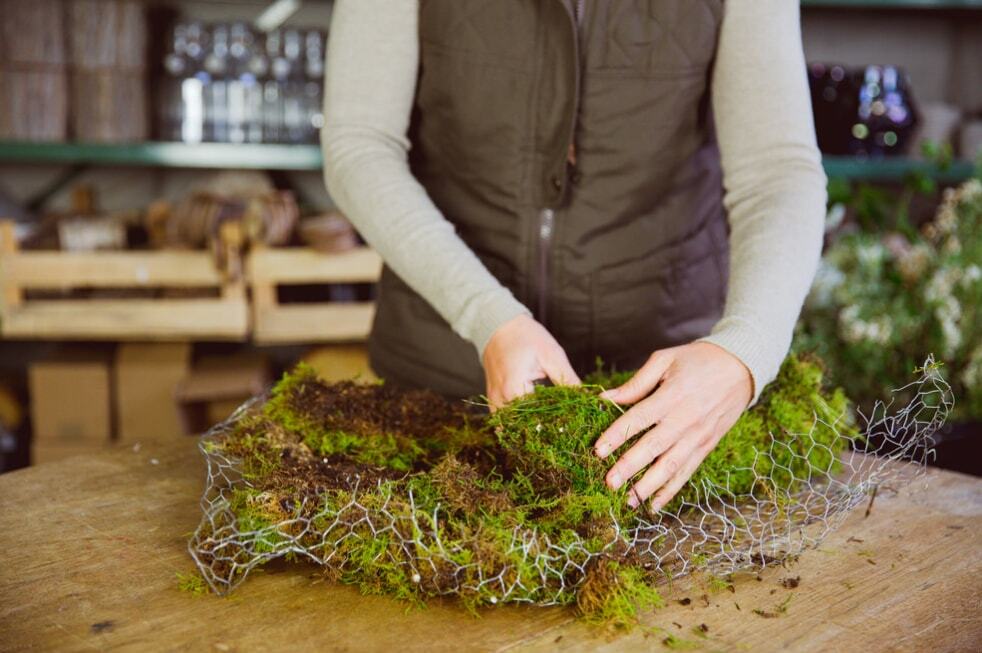
- We proceed to attaching the elements to the base. Lightweight materials can be secured with double-sided tape, for heavy materials it is better to use a glue gun. Glue the pieces according to the plan or just randomly.

In more detail, the process of creating a painting from moss is presented in the following video.
Painting workshop with moss on the wall
A green plant is useful not only for applications. A specially prepared mixture of its fibers can act as a paint. This composition is applied to any rough wall using a regular brush, which allows you to create any images and patterns.
To prepare the mixture you will need:
- moss - 2 handfuls;
- kefir - 2 tbsp;
- water - 2 tbsp;
- sugar - 0.5 tsp l;
- corn syrup.


The stalks must be washed and chopped in a blender and combined with all of the above components. Add corn syrup gradually, achieving the consistency of sour cream or oil paint.
Apply the resulting mixture with a brush to the wall with a rough texture. You can use a stencil or come up with an image yourself. To preserve the painting, it must be sprayed at least once a week.
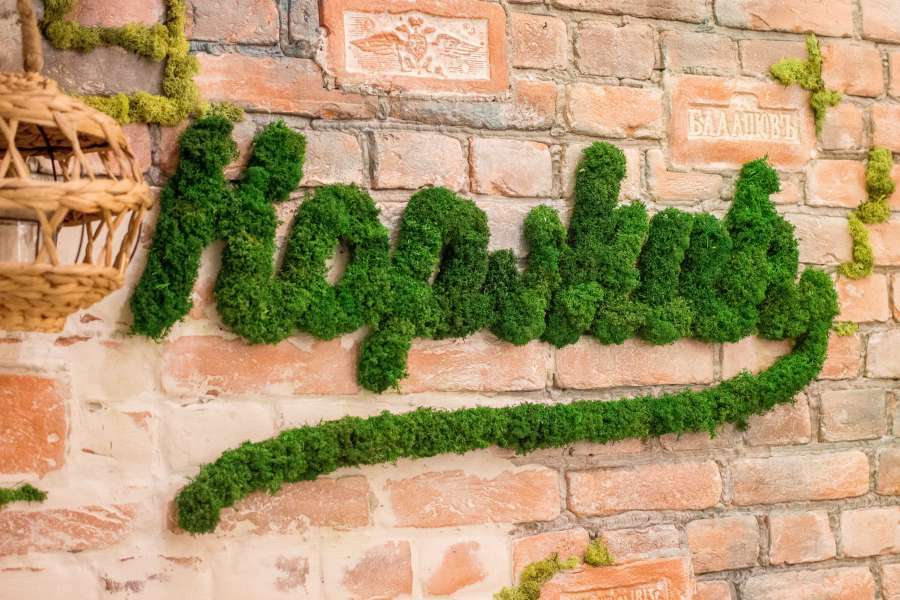
Moss lettering
We offer two ways to make an inscription:
By gluing moss. Letters first need to be drawn on paper or printed out a template from the Internet. Letters are cut out of the moss layer according to their size and fixed on the wall with double-sided tape.
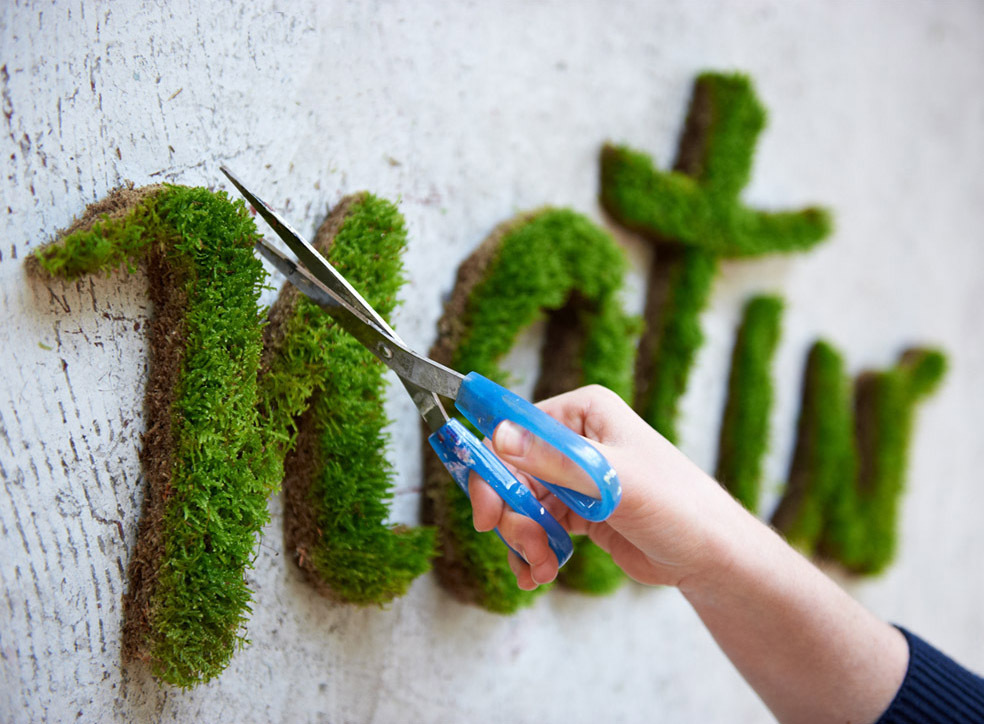
Using the mixture described above. The easiest way to do the inscription is using a stencil.
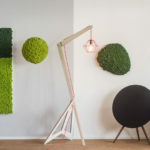
Moss clock
With the help of moss, you can turn any watch into a unique design object. It is enough to glue a canvas, lumps or strips of moss onto their frame, and they instantly turn into a work of eco-art. The watch will attract the eye, regardless of whether only the numbers are highlighted with its help, the edging is made or the entire surface is covered with it.
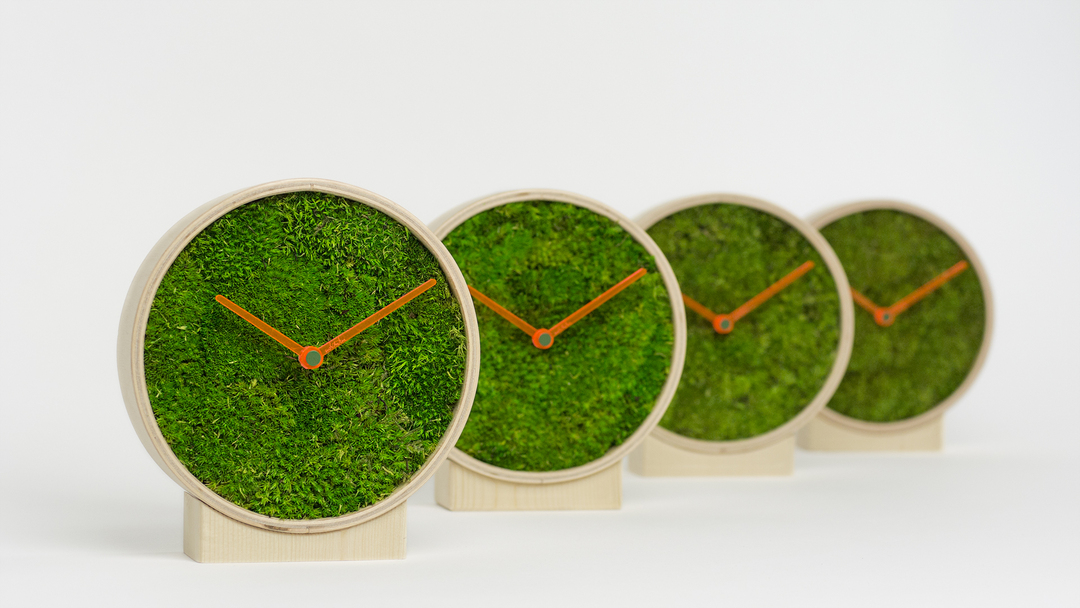
For decorating watches, flat, embossed layers or a combination of various types of material are suitable. Using different breeds, time intervals can be distinguished. Additionally, you can decorate the clock with figures of people, animals, berries or fruits.
It is necessary to fasten the figures in such a way that they do not interfere with the movement of the mechanism. For the same purpose, an elongated base of the arrows is used.
How to care for paintings
Caring for moss paintings is quite simple - the product does not need to be watered, treated from insects, or organized additional lighting. The antistatic properties of plants help them repel dust. To prevent drying of plants in the room, it is necessary to maintain a humidity level of at least 40%. To do this, it will be enough to place several containers with water or a household humidifier in the room. Moss crafts can last a long time, but they are not permanent. Products last from 5 to 7 years, after which the filling will need to be replaced.
Not all plants in the composition are harmless, so you need to carefully consider the placement of green panels if the family has small children or pets.
In what styles is moss decor used
With the help of vertical landscaping, you can create incredibly beautiful living canvases. They are popular also because of their versatility. Such a colorful composition can become a highlight of an interior of any style. This is a great decor for loft, modern, minimalism, eco style, classics, pop art, hi-tech, ethnicity. Such a product will become a spectacular and unique art object in an office or home interior.

Conclusion
Moss paintings are a modern and eye-pleasing solution for decorating a wide variety of rooms. If you are not able to pay for the creation of a designer, you can easily create such a work of art with your own hands and at the same time save a lot of money. With the help of simple improvised means, even a beginner in the field of decoration can cope with this work. And to make it easier for you to decide on the main idea of the picture, we offer you to get acquainted with the photos of already implemented projects.


