
Contents:
- How to properly dig up calla?
- Dry calla
- Bookmark calli for winter storage
- Wintering pot plant
- Budim calla with the arrival of spring
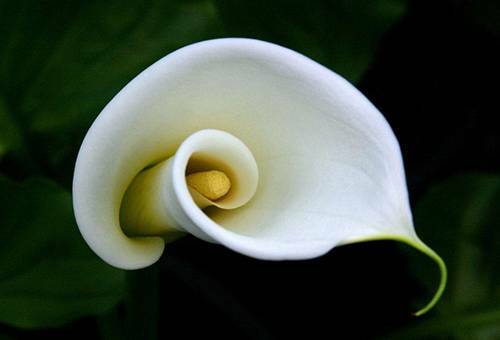
Calla - beautiful flowering perennial plants, they can be grown as a potted plant, and can be planted in the garden. With the arrival of the first frosts, the question arises: how to store calla in the winter? For productive wintering, they need a temperature of at least -2 ° C.Not all climatic zones are characterized by such mild winter weather, so these perennials must be excavated for the winter to create optimal conditions for them.
How to dig out callas?
The time of this technological operation - after the first frosts, approximately:
- beginning of October in the middle band,
- beginning of November - in more southern regions.
No need to worry that the first little freezing will damage the plant. On the contrary, it will be a signal for him to end the vegetative period. The plant will cease to spend nutrients on the formation of leaves, when it begins to prepare for the rest period.
Before you dig out the callas, you need to prepare the plant. To do this, they stop watering, if it is dry weather, about 2-3 weeks before the proposed harvesting for the winter. This advice is relevant for southern regions, where dry climate in autumn is far from uncommon. Before digging it is necessary to cut the leaves of callas above the soil level by about 7-8 cm. After the first frost, the foliage has dried up, and this operation is easy to carry out with ordinary scissors.
Tip
Digging the root klak call is best done with garden forks. So there is less chance of damaging the tender parts of the plant.
Digging out callas, it is advisable to leave a sufficiently large distance around their roots. It is better to be safe and dig a larger hole than to treat a plant injured by a shovel or pitchfork. After excavating, you need to carefully remove the soil from its roots, trying not to damage them. You can wash off the remains of the ground with running water under a tap or garden hose. Try not to let the jet be too strong. A great pressure of water can damage the "kids" calla, not yet separated from the adult plant.
Drying Calla
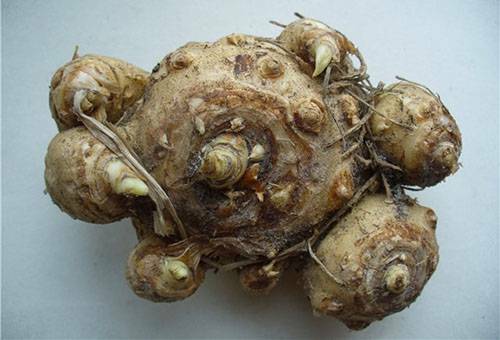
After digging up the tubers of calla grown by yourself, you are most likely to be surprised by their striking difference from the planting material that you purchased before planting in your own garden. Now these are strong, large and beautiful specimens. Before you postpone the roots to dry, you need to carefully inspect them.
Tubers with signs of decay should be discarded. If this is an especially valuable variety, and the lesions are minor, you need to clean the damaged tissue to a healthy base. It is best to make a teaspoon or a sharp garden tool.
Council
Damaged and cleaned tuber tissue should be decontaminated with a solution of ordinary greens or sprinkled with crushed charcoal. You can use activated carbon for this purpose.
The discarded material must be disposed of, but in no case should it be laid in the compost pile. Such actions can promote the spread of the disease to other plants. For drying korneklubney at home is best suitable for low cardboard or wooden boxes. You can use the fruit boxes made of plastic, lined with cardboard or old newspapers.
Conditions for quality drying of callas:
- dark and cool place;
- good air circulation;
- no sunlight;
- temperature is not higher than 15-20 ° C.
The best rooms can be a garage, a ventilated dry cellar or a cellar, a barn. Boxes with rhizomes of callas should be placed in one row. After a few days, you must completely remove the dry leaves, and after a week and roots, which by this time are very easy to remove. When the roots are not removed, the plant may not move in time to grow, without having completed a full period of rest.
It is not necessary to separate the "children" from the mother plant during this period. They have not yet been cut off from it by a special film - there is a great danger of injuring the plant. The department of "children" is rational in winter. Then they ripen and can serve as a full planting material. If this happens, the site of the damage is dried and again disinfected with greenery or charcoal. The drying period can take from two to three weeks - depending on the humidity of the ambient air.
Bookmark the call for winter storage
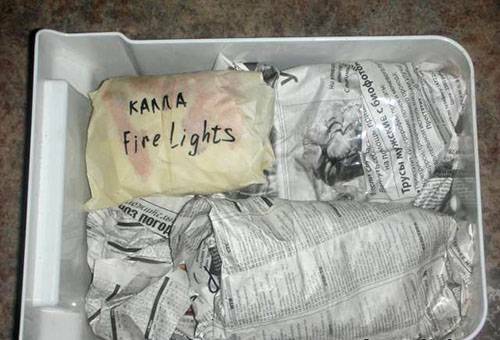
So, what should you prepare for the wintering? First of all, suitable containers. The best option for this would be tight paper bags or cardboard boxes with vent holes. In the case of storing a large collection of various varieties, they must be signed in order not to make mistakes in the selection of the color scale in the spring when composing a composition from callas. The best material for this is dense foil - a material that does not rot and does not deteriorate.
Council
The name of the variety can be written on foil, squeezing letters using a conventional pen or knitting needle. The tag is attached to the package or to the wall of the box.
The main condition of proper storage is the isolation of the roots between each other, the air circulation between them. In order to isolate the tubers from each other, in a bag or in a box between the tubers, a substrate is poured, which can be used as:
- moss;
- sawdust;
- vermiculite;
- shaving.
If such a repository has a sick specimen at home, isolation will reliably protect other tubers from rot.
Advice
Although increased humidity is not welcome, but shriveled and too dried tubers need to be sprinkled with water from the spray gun to prevent them from drying out.
The optimum temperature for storing the root canker is 5-7 ° C.Ideal conditions for their storage - a fairly dry room, which has good ventilation. If this is a basement, then it should not store the harvested crop. During storage, fruits and vegetables emit moisture and ethylene gas. These factors provoke too early awakening of tubers, as well as their rotting. If you can not single out a separate room, then you should try to at least equip a separate compartment in the basement with a hood or supply ventilation.
Desirable lack of lighting, so as not to provoke plants at the very early onset of vegetation. The rest period takes from two months or more. This is the time it takes for the plant to recover completely. All this time you need to closely monitor their health, periodically inspecting the tubers.
Wintering a potted plant
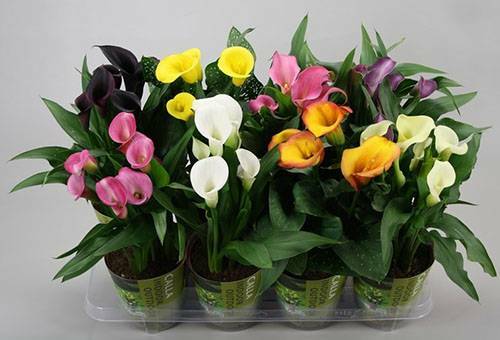
When callas are grown as a house plant, they also need a rest period. For this, the pot with the plant after flowering is moved to a cool and dark place in order to stimulate the end of the vegetation. Watering the plants also needs to be reduced. You can dig up the tubers and process according to the above technology, and you can leave them to winter directly in the pot or in the container.
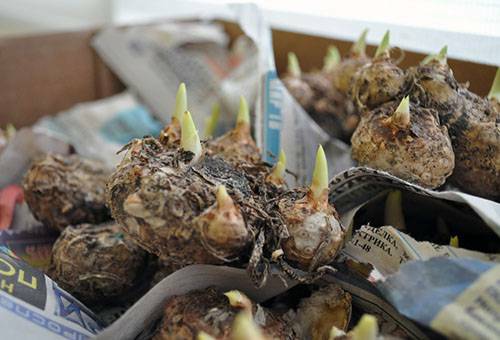
Budim callas with the advent of spring
In order to complete wintering, the best period for the middle strip will be the beginning of April, for southern regions - the beginning of March. Korneklubni callah get, carefully examined, treated with a solution of manganese or any fungicide from fungal diseases. If the "kids" were not separated from the callas in the winter, they can be separated now.
The
"Detok" is not cut off from the mother plant, but is broken off. The place of separation must be disinfected, treated with greenery, sprinkled with ashes.
In order for these beautiful plants to reliably endure the winter dormancy period, they must be properly excavated, dried and stored in a dry and cool place.
We advise you to read the article: Molody care