- Which devices are necessary for decoupage?
- What should a beginner know before decoupling boards?
- What should be the napkins?
- Ways of gluing napkins
- Decoration of a cutting board
- Original decoupage of cutting boards
- Master class of decoupage on wood
Today, a very fashionable trend was the use of decoupage techniques. This is a rather original solution for decorating various things that have already lost their former beauty, or to bring a special flavor to the interior. This technique involves coating varnish with paper napkins, postcards and other things. Such work can be done with furniture, all sorts of household appliances and even a cutting board. Doing decoupage boards with napkins with their own hands is very simple and does not take much time if you first become acquainted with the basics of such creativity. We will tell you about them in this article.
to the contents ↑What devices are needed for decoupage?
Before you start decorating a cutting board with your own hands, you should purchase all the necessary materials and tools:
- Wooden cutting board.
- Acrylic primer or white paint.
- Acrylic lacquer.
- Adhesive PVA.
- Napkin made of paper.
- Brushes.
- Sponge from foam rubber.
- Sandpaper( nough).
All listed materials must be purchased in order to make a beautiful composition.
to the contents ↑What should a beginner know before decoupling boards?
If you have just learned about such creativity and want to try yourself in this direction, it is necessary to take into account several important rules that are typical for decoupage techniques:
- It is necessary first to properly sand the ditch surface.
- Then it must be treated with a primer.
- Next, apply white acrylic paint.
- Any desired pattern is applied.
- The surface of the cutting board is varnished.
- After lacquering, each layer is sanded.
Experienced people in this area recommend newcomers to first get acquainted with the master classes of decoupage cutting board on the Internet, and only then start the creative process.
to the contents ↑What should be the napkins?
In this technique, only the top layer of the napkin on which the picture is drawn is used. The use of one layer ensures a high-quality and reliable fit to the design to be decorated.
 Consider the main types of napkins used for decoupage:
- Special paper napkins, 33 * 33 cm in size. They can be purchased at a special store for needlework.
- Conventional three-layer wipes with a pattern. They can be purchased at any store. By the way, for the price they are quite cheap.
- Paper handkerchiefs are more dense, since they consist of four layers. Are on sale in packing.
Important! In order for the line of the drawing to be more clear, from the paper handkerchief the necessary parts are cut out, and the background is tinted with a suitable paint.
to the table of contents ↑Methods for gluing napkins
You can glue the napkin in various ways and any of them will be correct, as each decoration process is unique:
- With iron. This will require parchment, glue, napkin and a structure for decoupling the board with your own hands. We glue the paper handkerchief with glue to our base. Then cover the top with parchment and warm the surface with a hot iron. In this way, the element is quickly and evenly glued together.
Important! This method is suitable only for flat surfaces.
- Using file. On the file, turn the napkin downward with a pattern. Glue and water drip onto the central part. Then smooth the surface of the paper pattern. Thus, the figure lies without undulations and "wrinkles."
- With a brush. A paper handkerchief is placed neatly on the surface. After that, a little water is poured into the center of the napkin and distributed throughout the area with a brush. Soft pile gently smoothes all the flaws.
Important! This method of decoupling the board with your own hands is ideal for convex designs.
to the table of contents ↑Decoration of the cutting board
Decoupage technology allows the use of any type of paper: newspapers, napkins, wrapping paper. But despite such wide opportunities, it is necessary to follow the rules that will help you achieve a good result in the creative process:
- It is not recommended to use paper for the printer. Otherwise, the picture depicted on it will be very quickly smeared.
- Do not use too thick paper, as a result you will not get a flat surface, and the product will not look neat.
- We use sharp scissors of small size. Excellent fit manicure.
- The brush should be no more than 2 centimeters wide.
- Any kind of varnish is used. The main thing - that he was on acrylic basis.
- It is best for gluing to use PVA glue diluted with water.
These little tricks will help you create a wonderful, colorful work.
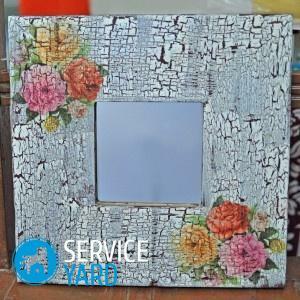
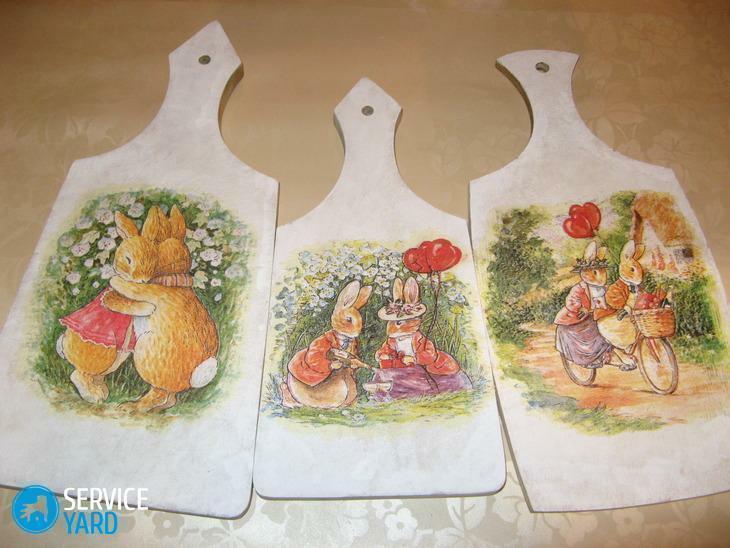
to the table of contents ↑Original decoupage of the cutting boards
You can decorate the cutting board with your own hands using a wide variety of drawings. The most suitable images are fruits and vegetables.
Consider one of the simplest examples of decorating a wooden ditch:
- Polish the board with sandpaper.
- Pour over the edge of the ditch with adhesive tape so that paint does not get on them.
- Prime the surface. Movement should be carried out as if you push the primer into the fibers of the board.
- Paint the surface with white acrylic paint using a foam rubber sponge.
- Cut out a piece of a picture from a paper handkerchief.
- We glue the part to the tip.
- Lubricate the surface of the board with varnish, let it dry.
- Paint the background of the composition with a paint that matches the color of the selected fragment.
After completing a few simple steps, you can decorate a boring and inconspicuous cutting board.
to the contents ↑Master class of decoupage on wood
Consider one of the most popular master classes, how to decorate a cutting board with your own hands.
You will need the following tools:
- Board.
- Acrylic paints - gray and white.
- Two cysts - one large, the other - smaller.
- Varnish.
- Napkin with a picture of greenery.
- Emery.
- Candle.
- Adhesive PVA.
- Sponsored.
- Toothbrush with soft pile and a glass.
Beginning to create:
- Color dostochku white paint with the help of a sponge.
- Next, we cut out the fragments of the picture.
- On the dried surface we impose pieces of our drawing, from above we grease with a mixture of water and glue.
- We cut the edges of the board with a wax candle and apply a gray paint.
- After this, it is necessary to apply a white and gray paint to the brush, carefully spraying on the surface of the cutting board.
- We leave to dry our work of art for several hours.
- We cover the composition with acrylic paint.
Important! On such an amazing beauty dostachke will pitifully shred cabbage, so you can hang it as a designer detail of the interior or give it to someone.
In this article, we told you in detail about the technique of decoupage and offered a master class of the board with napkins with your own hands. We hope that you have used the ideas, and now your kitchen is full of original things that warm your soul and all the guests are delighted with.