- What do I need for making photo prints on the cups?
- The most popular ways to apply a photo to a cup at home
- How to apply a picture on a cup yourself?
When planning a visit to a celebratory event, for example, an anniversary, birthday, wedding or corporate party, many people think about choosing a special, universal and useful gift. Now it's very fashionable to give different presents, made by own hands. The most budgetary and original variant of such a gift can be called cups with photos. In our time, without even having a lot of money and talent, you can create such a unique product at home. In this article, we'll look at how to make a mug with original and beautiful images with your own hands.
to the contents ↑What is needed for making photo prints on the plates?
At the moment it's easy to find a company or a person who privately produces such products on order. But even without special experience and design talent, you can cope with this task yourself. There are certain rules, adhering to which anyone can understand how to make a mug with a photograph. Also, the necessary attributes must be at hand.
To apply the desired image to a cup of any size you will need:
- Quality mug. It is better to choose dishes of light shade and without drawings.
- Thermal press.
- Printer with sublimation ink.
- Decol.
Important! The usual porcelain cup is not suitable - it is better to give preference to ceramic dishes, which are sold in any store. It is ceramics that have high strength and quality indicators, besides, it does not fade with time and does not burn out. That is, we can say with certainty that such a gift will last long enough.
to the contents ↑The most popular ways of applying photo to the cups at home
At the moment, there are two options for how to apply stickers on the mugs with their own hands with bright and original photos. In this section, we will look at each of them separately to avoid mistakes in the process of work and to achieve the desired result.
The first way of applying a photo to a mug:
- Prepare a cup properly, wash it well and dry it dry. The main thing - on it there was no dust and moisture.
- Next, prepare the printer and the thermal press, the first must be filled with sublimation ink.
- Next, you can already turn on the computer, select the photo you like and print it using the printer.
- Printed photo should be carefully laid on the press, and then just wait until the image is completely rolled onto the mug.
Important! In the course of the work, carefully monitor the surface cleanliness, so that it does not appear stains, roughness and other troubles. If everything is done correctly, then as a result you will receive a mug with a sturdy pattern.

The second way to make cups with a photo
Now we will tell you how to make mugs with photos using decal. Buy decal in our time, both wholesale and retail is not a problem.
Operation:
- To work, you need a small plate, which must be filled with water, then lower the decal into it and allow it to infuse for no more than 6 minutes.
- Then the decal comes from the liquid, carefully applied to the ceramic cup in such a way that the photos densely covered its entire surface.
- It only remains to wait for the dishes to dry.
- At the final stage, you must place the product for twelve minutes in a well-heated oven.
- After this, get it and let it cool down completely.
Important! In the case of impeccable execution of all actions, the picture will be transferred to the cup quite clearly.
to the contents ↑How to apply a drawing on the cup yourself?
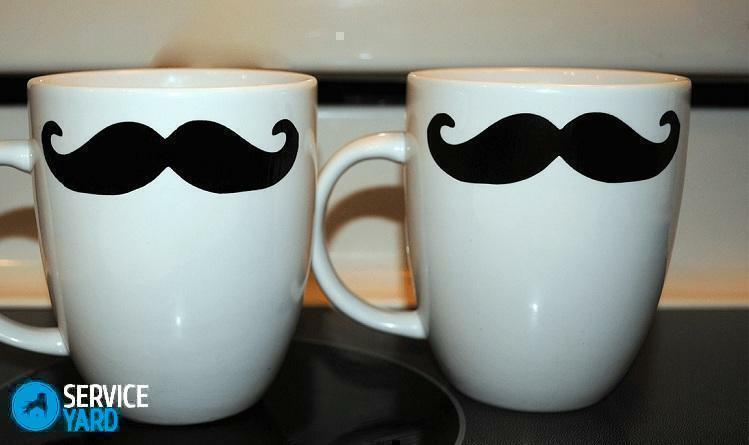
Exclusive is always in fashion, so now on a simple example we will look in detail how to make a mug with our own hands with the original drawing, because not everyone has a printer and a press for printing photos at hand. Colored tableware is guaranteed to give the culprit joy and excitement.
For work prepare:
- White ceramic cup or glass transparent mug.
- Paints for ceramics or stained water-based paints.
- Brushes.
- Contour paint.
- Sheet of paper. Felt-tip pen or black pencil.
- Scotch.

The painting of a transparent glass cup looks like this:
- Thoroughly wash and dry the dishes.
- On paper, draw a felt-tip pen or pencil with the selected drawing.
- Fix the sheet with the applied image with the help of an adhesive tape from the inside of the mug.
- Take the contour paint, draw a circle around the outside of the cup.
- Then we take the stained-glass paints, carefully paint the picture, the main thing is not to go beyond the contour.
- Leave the painted cup for 5-6 hours to dry.
- Put the dishes in the oven.
Our original cup is ready!
Ceramic cup painting scheme:
- The surface of the cup is thoroughly cleaned and dried.
- We invent to draw on it, our patterns, we transfer them to paper.
- Contour paints apply to the cup drawing.
- Paints for ceramics paint with a brush pattern.
- Then we send the product to the oven for 30 minutes.
- Let the cup cool for an hour in the oven.
Important! It is not recommended to wash such dishes in the dishwasher - it is better to use warm water, as well as mild detergents.
In this article we have offered you several ways how to make a mug with an original decor. Use these ideas and create your masterpieces!


