

- Incomprehensible instructions - solution to the problem
- Supporting part
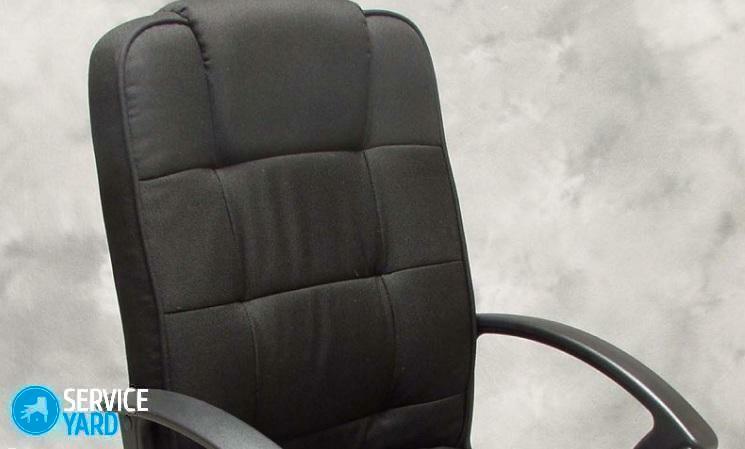
- Top of the
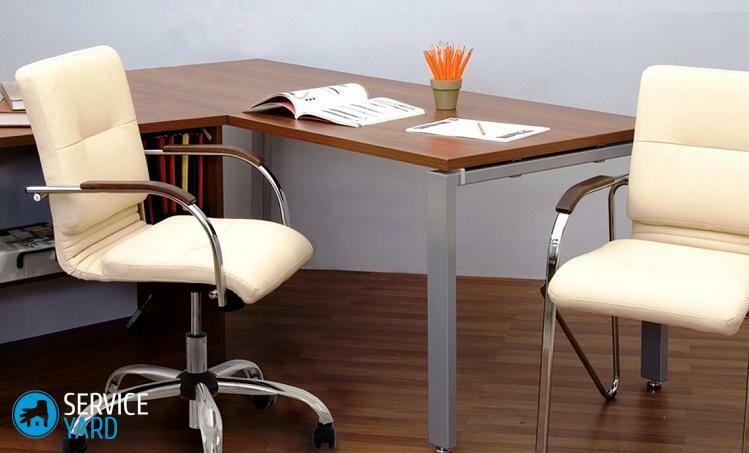
Some people spend at least one third of their life in offices. And there's nothing wrong with that, because some people just live it. Everyone tries to create the most comfortable conditions in the workplace. Long ago, those days when people sat on wooden chairs and worked at the same tables have long passed. In the 21st century there was a tendency to achieve convenience in everything. It's no secret that the offices have long been equipped with modern water coolers and cooling systems in the form of air conditioners. The office chair is also an essential attribute of such a room. How to assemble a computer chair that has such popularity among office workers? Sometimes even the instruction is not capable of helping an ordinary user to cope with this procedure. Today we will consider how to get the skill of assembling such furniture, because hiring a master-assembler is not always profitable. It is better to do it yourself.
to the contents ↑Incomprehensible instructions - the solution to the problem
You have bought an office chair, brought it home and laid out all the spare parts in front of you. What to do next? Even if you resort to instructions, you can not find a detailed explanation of all the actions. And if the instruction in general is in another language? It is necessary to take the initiative in their own hands and rely on those sources to which there is access. Absolutely all the furniture of this type has approximately the same appearance, as it requires constant work at the desk.
Important! You can find translated instructions on the Internet from the manufacturer or use a step-by-step guide similar to the device and configuration of the model.
Assembly process must begin with the moving part of the chair. Do not first take on the assembly of the seat.
Important! If you collect furniture in the wrong order, you will face a number of difficulties in the final stages. It is best to conduct the entire assembly without sitting on the floor, but to choose a surface for all the work. Perfectly fit even the box from the furniture, as the parameters of its material ideally satisfy the future chair.
to the contents ↑Supporting part
In order to learn how to assemble an office chair, it is necessary to follow such instruction.
Step 1:
- Find the crosspiece among all the details. It should be equipped with 4, 6 or 8 blades. Turn it over and lay it on the box.
Important! The box is ideal for assembling, because its surface is soft and allows you to apply physical force so that the roller is fixed in its place.
- Press the roller until a characteristic click occurs. If it "does not go" for some reason, then do not push harder - most likely you missed the right groove in which you want to insert the part.
- Repeat these manipulations until all the rollers are in place. If you have a full hand, then this stage will take no more than 2 minutes.
Step 2
Now take on the shock absorber, which allows us to sit comfortably. It is a pipe that is covered with enveloping synthetic fibers. When you install this component, provide it with a minimum free path or even exclude it.
Step 3
There remains a glass that is assembled from three empty cylinders. All of them are of different sizes and freely put on each other. The best way to build them is to thread them in the order of the shock absorber.
Important! The glass performs a safety function that saves you from falling from an armchair in critical situations. But do not be afraid, because such cases are extremely rare, only if there is no third-party mechanical effects on furniture.
The support part can be considered ready, but how to assemble a wheelchair completely? Already now it should be clear where the support point itself is. Now it becomes clear what the next order of actions will be.
to Contents ↑Top
Half of the case is done. It remains to assemble the part on which you will soon comfortably spend time. For installation, you need to do the following.
Step 1:
- Turn the seat upside down on the surface of the cardboard box.
- At the center of its base you will find a special platform, which is designed for fasteners. This fastening system provides a reliable transition from the furniture legs to the seat itself.
Important! It is best for this part to have a metal base, since it will be the biggest load that will fall on it, but high-quality plastic also copes well with these.
- The connection is established by means of screws, which must be 4-8 pieces per set.
Important! If you put the plate on the seat, then the holes must match perfectly.
Step 2:
- We find in the heap with details armrests, with which the seat and back will connect.
- To attach them to the overall design, you need to slightly move the seat belt to the edge of our work surface and screw.
- The kit is equipped with 2-3 special screws, which will serve to fix each of the armrests.
Step 3:
- Move the entire structure to the edge of the box so that somewhere on its surface there is somewhere ⅔ from the unfinished chair.
- From the inside to the armrests, attach the backrest and fix in the same way as described in the previous paragraph.
- You should also carefully inspect the whole structure and evaluate the quality of all threaded connections of furniture, since this is the last opportunity.
- Now you need to take special stubs and close all junctions to give the chair a proper look. No tools are needed here, you just need to exert force. We press on the stubs to a characteristic click.
Important! If you did everything correctly, then on the output you will have two components. They need to be combined into one. The shock absorber simply goes through the tube, and your "throne" is ready.
Assembling an armchair is not the most difficult task, for which it is easier to take it on your own. Never be afraid to try to do something yourself, because with the proper desire you will always succeed!