Plastic as a finish is a perfectly reasonable choice, no matter how many opponents it has. If we are talking about budget repairs that need to be done as quickly as possible and preferably on our own, then this is just about it. With the help of this material, you can finish not only the walls, but also the ceiling: plastic, with your own hands. It's pretty easy and it takes just a day. Tempting and just what you need for a summer residence? Then we proceed to the study of the most important nuances and the algorithm of work.
Read in the article
- 1 Plastic panels: a palette of colors and textures
- 2 Pros and cons of plastic ceilings
- 3 How to prepare for the installation of a plastic ceiling
- 4 Do-it-yourself installation of a plastic ceiling
- 5 How to put a lamp on a plastic ceiling
Plastic panels: a palette of colors and textures
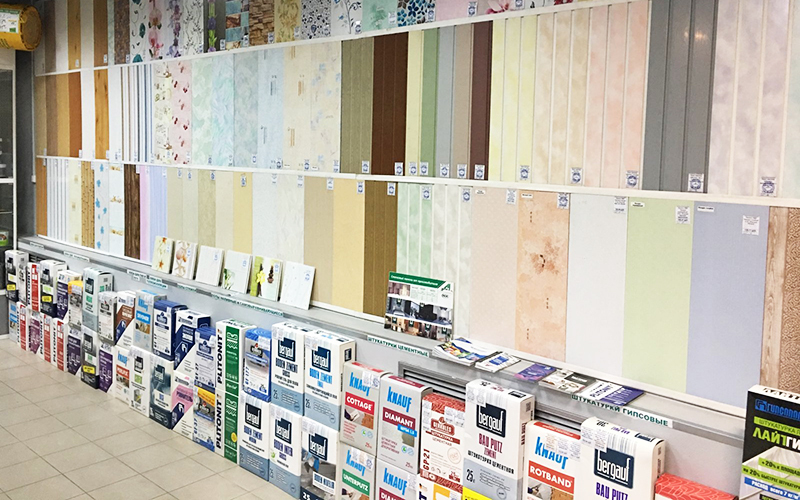
The range of plastic finishes is almost limitless and is replenished with new models every year. You go to the store of finishing materials and you are faced with a problem: your eyes run wide, it is very difficult to choose. But let's focus on the main task: we are talking about the ceiling after all. And here there are certain patterns: the ceiling should be light. If not boiling white, then at least cream or another delicate shade. It is unlikely that you want to have an imitation of brickwork or stone on the ceiling. However, of course, it's a matter of taste.
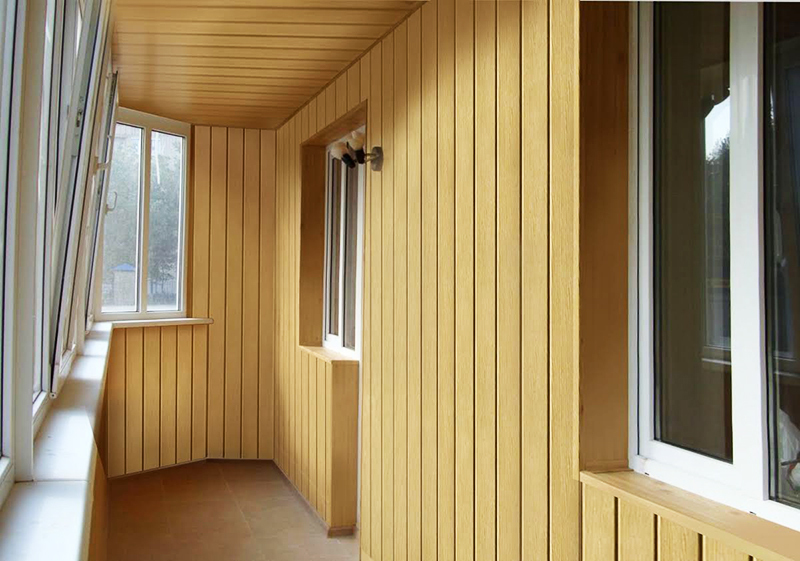
In addition to the pattern, plastic panels have two more distinguishing features: they can be glossy, with a sheen, or matte, with a rough surface. There are panels for ceilings in which there are inserts with a metallic sheen. The type of surface also gives a different visual effect: glossy ceilings raise the height of the room, while matte ceilings, on the contrary, lower it. In addition, a shiny surface in tandem with good lighting makes the room much brighter.
Take a closer look at the range of PVC panels, they are conditionally divided into ceiling and wall. Ceiling are characterized by low strength, lightness, thin-walled structure. This corresponds to the logic: the panels on the ceiling are subject to minimal loads, have practically no mechanical contact and should exert minimal load on the frame. In fact, they are so delicate that they can be damaged even with minimal effort, so be careful when installing.
Continuing the conversation about the range of plastic finishes, it should be noted that the panels can be of different widths: narrow, like a lining, or wide, half a meter each. Both are suitable for ceilings - it all depends on your design idea.
Pros and cons of plastic ceilings
You will surely find people willing to talk you out of plastic trim. They all have the same arguments, and the main one is that plastic is very harmful to the body. Of course, repeat this argument to them when they drink milk that was just in a plastic bag. And they will get this milk from the refrigerator, also, by the way, mostly plastic.
But the lyrics aside - and let's face the facts. Panels for interior decoration are made of safe plastic, the same that is used in the production of medical syringes and food containers. This material has a dense structure in which pathogenic microorganisms and bacteria do not settle. And even if some kind of mold catches on the surface, you can easily get rid of it with one wave of a rag.
The second weighty argument against is the combustibility of plastic. Yes it is. When the temperature rises to 360 ° C, the plastic begins to burn. I wonder under what ordinary circumstances such conditions can be achieved? Well, only if the room is already on fire with might and main. So, by the way, chipboard and OSB in such conditions will begin to burn at a temperature 100 degrees lower.
Continuing the analysis of the arguments of the opponents of plastic, we will discuss the lack of air exchange in plastic trim. There is such an observation: depending on what you have under the plastic. If this is a concrete ceiling in the kitchen of an apartment building, then what kind of air exchange are we talking about? Well, if air exchange is fundamentally important, then you need to do ventilation, and not rely only on finishing.
And finally, the plastic ceiling lowers the height of the room. It's true, there's nowhere to go. The plastic is sewn onto the frame, so you will definitely lose at least 5 cm.
And since we have gone through all the arguments "against", let's mention at least a few "pros":
- plastic ceilings are very light, which does not exert a load on the floors;
- plastic is easily cut for installation and fastened to ordinary self-tapping screws and staples;
- for the installation of a plastic ceiling, special tools are not required, a conventional screwdriver is enough;
- installation of panels is within the power of a home master, there is no need to call specialists, you can even handle it alone;
- a wide range of colors and textures allows you to achieve interesting interior solutions;
- this is one of the most budgetary types of finishes, in which all components have an affordable price;
- plastic panels tolerate high humidity and temperature changes well, they are not afraid of condensate. They can be used in rooms with high humidity;
- with the help of plastic, you can correct any flaws of the builders, hide significant defects on the ceiling.
How to prepare for the installation of a plastic ceiling
We will talk about how to make a plastic ceiling very soon, but for now, about how to prepare for this process.
Calculations should begin by determining the surface area that needs to be sheathed with plastic. Calculation of the area at the level of knowledge of class 2: multiply the length of the room by the width and get the area in square meters.
To figure out how many parts of a plastic ceiling you need, you need to know the area of \u200b\u200bone part. Here we can talk about stripes or individual elements, but in fact it does not matter. Look in the passport for how much area one part occupies. For example, the parts you need are 0.3 x 3 m in size, as a result, each part is 0.9 m². And you need to close a room of 12 m² with such a ceiling. With allowance for trimming, you will need 14 parts, and preferably 15, in order to have a margin in case of some kind of mistake or for subsequent repairs.
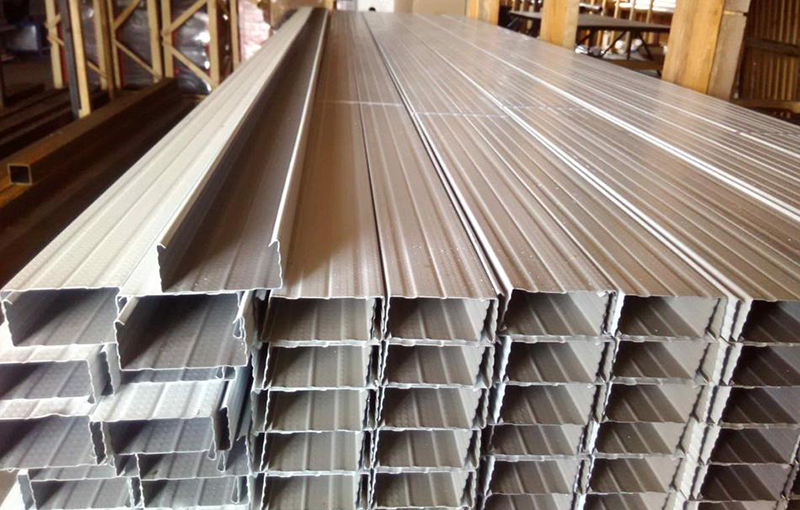
The starting profile, suspensions, dowels, connecting parts - all these are secondary modules, the consumption of which must also be carefully calculated. The starting profile is equal to the length of the perimeter of the room, the dowels are installed in increments of half a meter, about one self-tapping screw is required per meter of fastening.
As for the tool, here you will need a drill, preferably with a hammer drill, to mount the frame on the concrete ceiling.
To work with plastic, you need a carpenter's knife or a hacksaw, a tape measure and a level for marking.
To create a sheathing frame, it is better to use a specialized metal profile 20 x 25 mm or 25 x 60 mm.

Do-it-yourself installation of a plastic ceiling
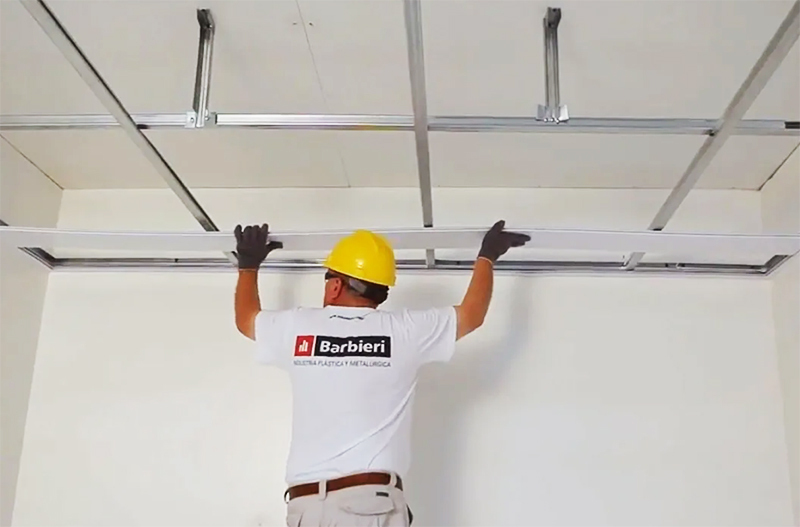
The first stage of plastic finishing is the manufacture of a suspended frame on the ceiling. If we are talking about rooms with high humidity, then it is better to use a galvanized profile, it will not subsequently give rusty streaks on the ceiling. In rooms with a normal level of humidity, you can use a profile without additional coating or wood.
The beam or profile is fixed in half a meter increments, be sure to align with the building level in order to subsequently achieve the perfect ceiling. For alignment use gaskets made of plywood or other sheet materials.
So that the gaps at the joints are not so noticeable, they can be filled with putty, as with tiled masonry.
Ceiling moldings are conveniently glued to liquid nails, and the starting profiles themselves are fixed to self-tapping screws or mounting glue.
Starting profiles are glued and left for 8-12 hours until the adhesive is fully formed.
Mounting on self-tapping screws in this regard is, of course, much faster, but you will need to drill holes in the ceiling, and this is quite hard work.
When you start cutting plastic panels, keep in mind that the geometry of the room is rarely perfect, so it's better not to cut the entire area at once.

The first panel is installed with a spike into the bar of the starting profile and lightly grabbed with self-tapping screws. Then the installation continues, fixing each subsequent plank with fasteners - self-tapping screws or staples of a construction stapler. Staples are best purchased from stainless steel or galvanized.
Making sure that the strip of plastic is light and even is pretty simple: the absence of a gap means that the panel is in place. Of course, it is better to work with an assistant, because it is not very convenient to lift and dock long strips of plastic alone.
Advice! When installing ceiling panels, immediately mount the fixtures. Otherwise, you will have to disassemble the entire ceiling.
The hardest part of installing the ceiling is installing the last panel. In order for it to fit into the profile without problems, it will have to be cut with a joint allowance of 5-7 mm. To insert it, you have to tinker. It is much easier to stick a strip on liquid nails without "bothering" with installation in a profile. The strip will turn out to be non-removable, which will complicate the task of subsequent repairs.
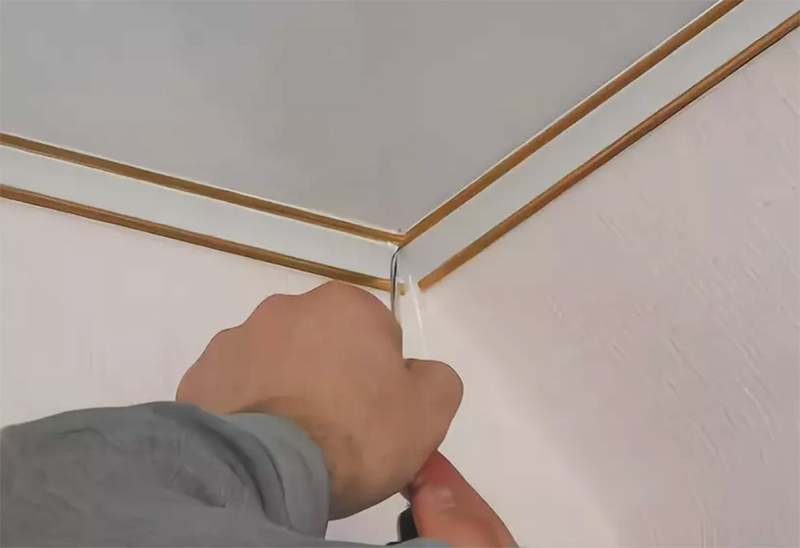
At the end of the installation, all cracks are filled with acrylic putty. There are models of plastic finishes in which there are no seams, but in this case, flaws (if any) should be corrected with acrylic.
So that there are no stains from acrylic putty on the plastic ceiling, the surface is wiped with a damp sponge, and then carefully rubbed with a dry soft cloth. If you do not do this right away, but leave the acrylic to dry completely, it will be very difficult to get rid of stains later.
There is a situation when there is no need for a frame - if the ceilings are perfectly flat. Then you can fasten the panels directly to the surface of the ceiling, to glue or liquid nails. The undoubted plus is in saving time and money on the frame, and the minus is that such ceilings will already be non-separable. In case of need for repair, the adhesive ceiling will have to be removed completely.
How to put a lamp on a plastic ceiling
When choosing fixtures for a plastic ceiling, you need to take into account that, although the ignition temperature of plastic is quite high, it can darken and deform from overheating. So it is better to select LED devices that consume a minimum of electricity and almost do not heat up.
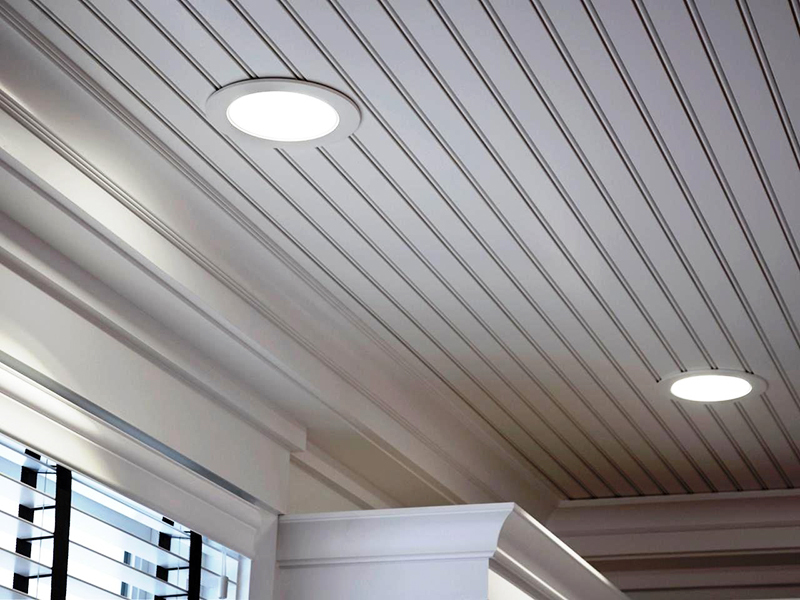
In accordance with safety requirements, shields in rooms with plastic ceilings do not place or place lighting devices close to the bath or shower.
To make holes for the lamp in plastic panels, use a drill attachment, a wood crown, or cut a hole with a sharp blade of a construction knife and a household jigsaw.
How to properly install fixtures in the ceiling of plastic panels - in this video:
What do you think of this finish? Have you ever installed a plastic ceiling? Share your experience in the comments!
From strong winds, fences sometimes fall if they are installed unreliably. We have our own at Terem-p ...
We bought a summer cottage with a dilapidated country house. They restored it through the tower. AND …
The tm film and the zebra have nothing to do with PLEN, do not mislead people ...
We need this Vodonaeva with her cats like fifth leg dogs.
I need to make a Christmas tree out of cardboard for the office. If you do this please give me a call...
Don't chase the blizzard... In your opinion, all the great writers were prostitutes. Go...
Hello! And how can you make a cone planter for flowers, or rather, how to fasten the cone?
Four days ago I ordered a Revolts heating kit for our dacha. I'm going to pick up tomorrow...
If the apartment is ready, then why doesn’t Buzova broadcast to the whole world about moving and living ...
Like 10m. Enough tape for 1.5m of fence?!
This is most likely an Internet modem like yota. And, I remember, they used both polarizers ...
Wicker fence is a waste of time and money. When we were equipping the site, we bought: up to ...
6 acres is a fairly small area, so there were no problems with zoning ...


