Portable organizer for drills from a canister: fast, simple and extremely convenient

click fraud protection

A long quarantine is a good time to put things in order in the workshop. Often hands do not reach this point, but here - such an opportunity and a lot of time for its implementation. You can not only put everything in its place, but also come up with various convenient coasters, organizers and other storage devices. Moreover, for this purpose, you can use all the same rubbish that has accumulated in the workshop: the remains of pipes, used cans and so on. We saw one such interesting and extremely convenient homemade product on the author's YouTube channel Tanned handles. He clearly showed how to make an organizer for drills from scrap materials. Moreover, this organizer is portable, which is very important. You can repeat this experience on your own and without much effort.

Read in the article

  • 1 What you need to prepare to work on the organizer
  • 2 How to prepare an organizer canister
  • 3 How to make honeycombs for drills

What you need to prepare to work on the organizer

So what's the main problem with storing drills? It's simple - the search for the right tool in a common box is delayed, so it would be very convenient if all the details were arranged in size and diameter, and access to them would be quick and easy, without having to open each box or unwind convolution.
Portable organizer for drills from a canister
PHOTO: YouTube.com
The first thing you need is a good bulky plastic canister with a comfortable handle. The wider the canister, the better

In addition to the canister, you will need trims of plastic water pipes, a piano loop, an organizer lock. Prepare a pipe saw or special scissors, a drill and a heat gun from the tools.

How to prepare an organizer canister

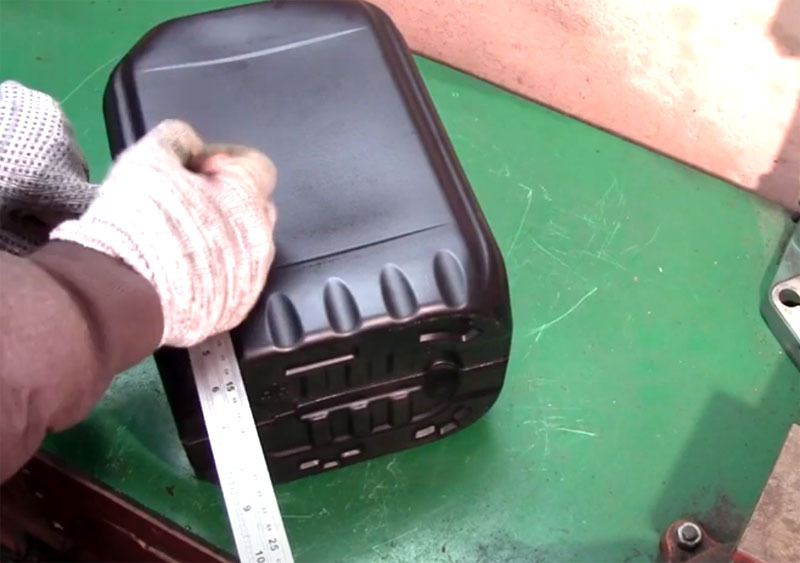
The canister is too high for the organizer. To get the desired height, measure the longest drill or screwdriver you have - this will be the right height. Please note: this height will consist of the lid and base of the organizer. So the central part of the canister will have to be cut out.

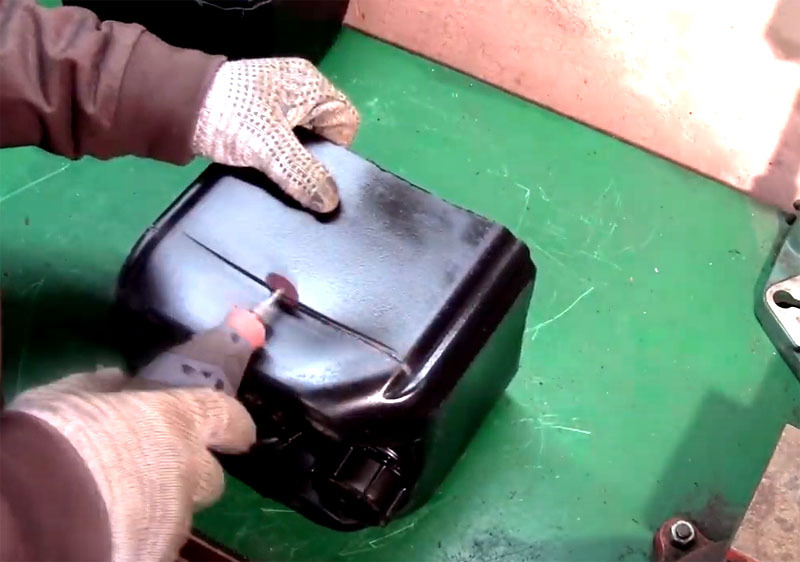
The plastic canister can be cut with scissors or a small cut-off wheel on a dremel, as you like. First, separate the bottom part with a height of about 25 cm
PHOTO: YouTube.com
The plastic canister can be cut with scissors or a small cut-off wheel on a dremel, as you like. First, separate the bottom part with a height of about 25 cm
Then cut off the top of the canister with handle at a height of about 8-10 cm. The total height of the handle with the base should match your instrumentPHOTO: YouTube.com
Then cut off the top of the canister with handle at a height of about 8-10 cm. The total height of the handle with the base should match your instrument
The piano loop should be cut to fit the width of the canister and fit freely inside it.PHOTO: YouTube.com
The piano loop should be cut to fit the width of the canister and fit freely inside it.
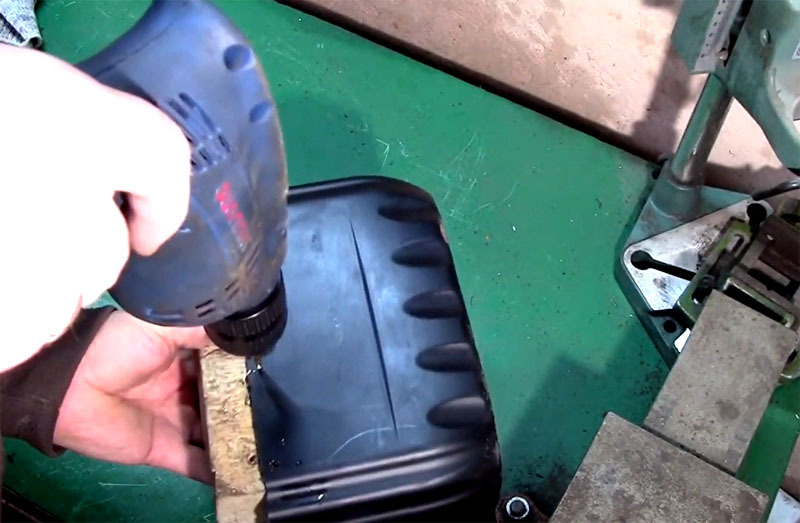
To connect the lid and the main container of the canister together with a loop, you need to mark the attachment points and drill holes for the bolts. To prevent soft plastic from giving in under the pressure of the drill, place something hard under the sidePHOTO: YouTube.com
To connect the lid and the main container of the canister together with a loop, you need to mark the attachment points and drill holes for the bolts. To prevent soft plastic from giving in under the pressure of the drill, place something hard under the side
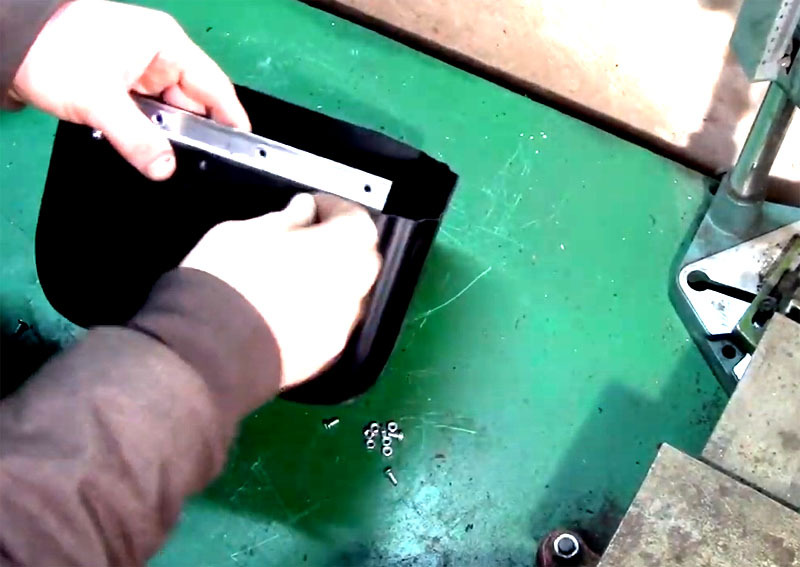
Use small bolts with nuts to secure the hinge to the canister, position the hinge from the insidePHOTO: YouTube.com
Use small bolts with nuts to secure the hinge to the canister, position the hinge from the inside
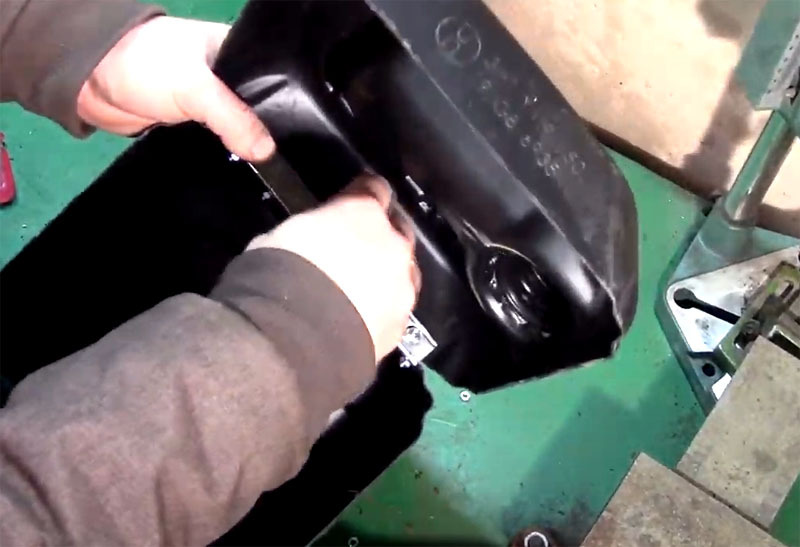
Screw the lid to the hinge and check that the finished " suitcase" closes well and evenlyPHOTO: YouTube.com
Screw the lid to the hinge and check that the finished "suitcase" closes well and evenly
To fix the lid, the author made a homemade lock, but it takes a lot of time and requires a certain craftsmanship, so it's easier to borrow a ready-made lock, for example, even from a handbag or an old suitcase. You can simply make a couple of hinges on the lid and base and bolt them as you like.PHOTO: YouTube.com
To fix the lid, the author made a homemade lock, but it takes a lot of time and requires a certain craftsmanship, so it's easier to borrow a ready-made lock, for example, even from a handbag or an old suitcase. You can simply make a couple of hinges on the lid and base and bolt them as you like.

This completes the part of the canister, you can proceed to the contents of the organizer.

How to make honeycombs for drills

To make small compartments in the organizer for the drills, use the remains of plastic pipes.
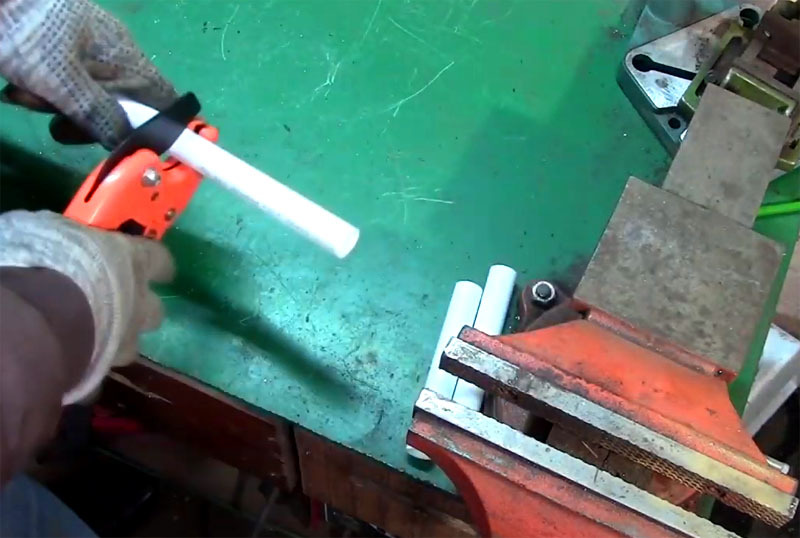
Cut the pipes into three sizes: short, medium and long lengths of about 5, 10 and 15 cmPHOTO: YouTube.com
Cut the pipes into three sizes: short, medium and long lengths of about 5, 10 and 15 cm
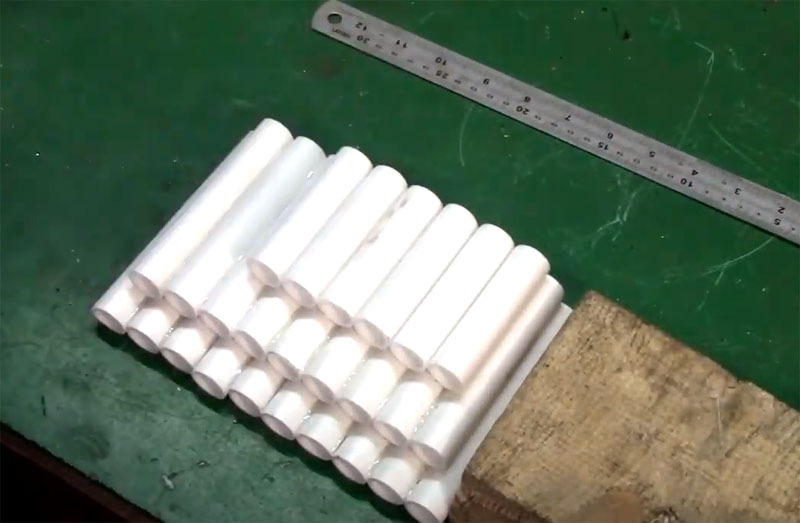
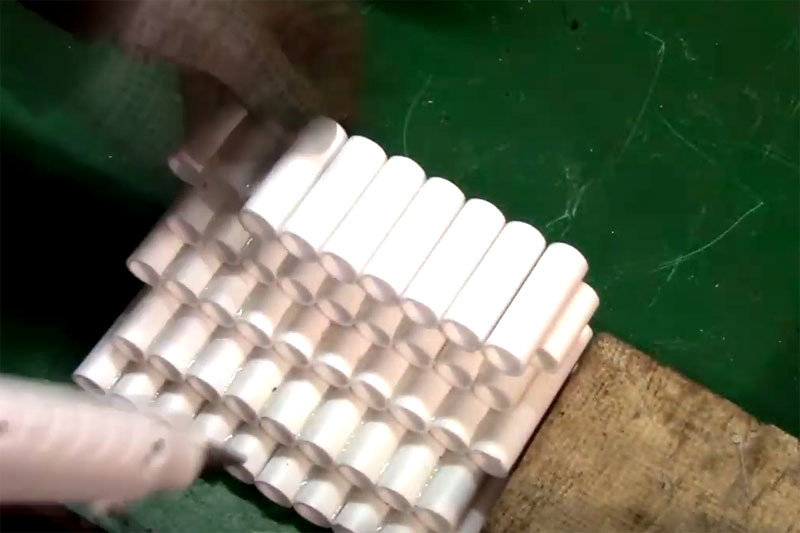
Now you need to collect the " honeycomb" using hot melt glue to hold the tubes together. Start with the longest ones - arrange them in a row so that this row fits in the width of the canister case. Then put the second row of shorter tubes on them on the glue, then the thirdPHOTO: YouTube.com
Now you need to collect the "honeycomb" using hot melt glue to hold the tubes together. Start with the longest ones - arrange them in a row so that this row fits in the width of the canister case. Then put the second row of shorter tubes on them on the glue, then the third
After the shortest row in height, start increasing the size again. You can arrange the tubes in a different way, from small to large or randomly, as you like.PHOTO: YouTube.com
After the shortest row in height, start increasing the size again. You can arrange the tubes in a different way, from small to large or randomly, as you like.
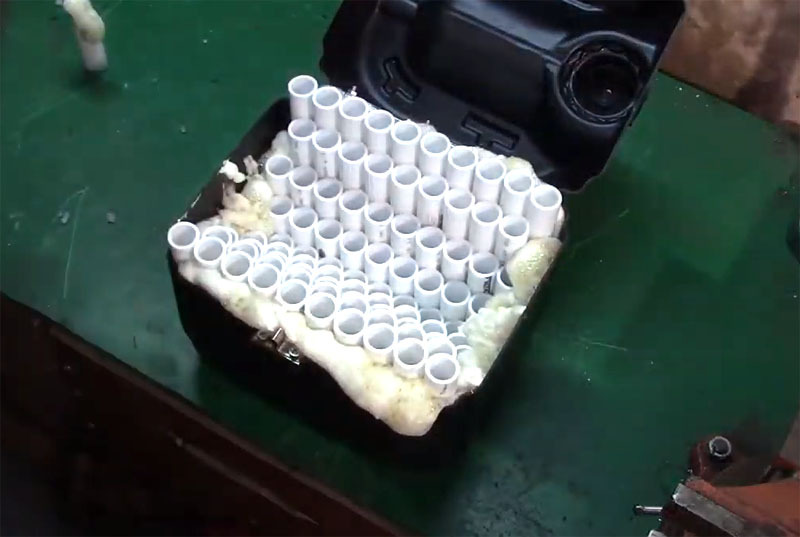
The finished honeycombs need to be placed in a plastic case, you see how well they fit into this boxPHOTO: YouTube.com
The finished honeycombs need to be placed in a plastic case, you see how well they fit into this box
To prevent the honeycomb from falling out of the case in case of accidental overturning and to sit tightly in the canister, fill the voids around the edges with polyurethane foam. When it hardens, remove all unnecessaryPHOTO: YouTube.com
To prevent the honeycomb from falling out of the case in case of accidental overturning and to sit tightly in the canister, fill the voids around the edges with polyurethane foam. When it hardens, remove all unnecessary
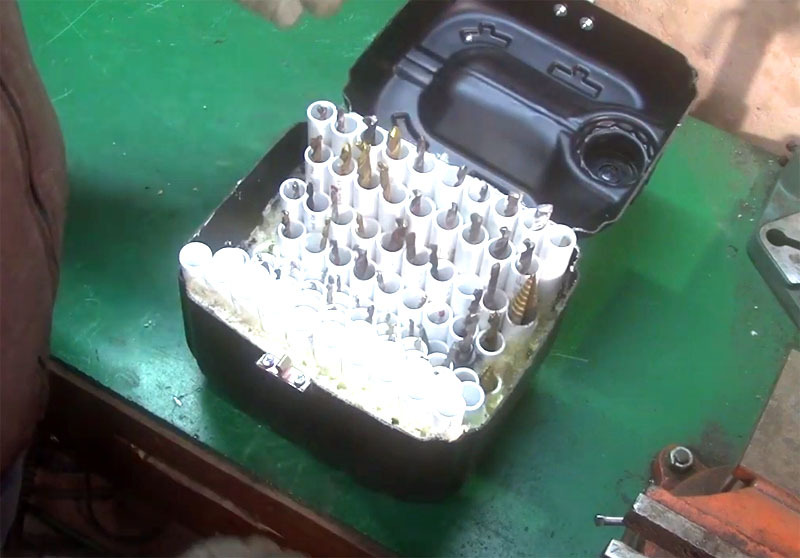
Now you can fill the organizer with the tool. Choose a specific container for each drill. You can also store screwdrivers and socket wrenches here.PHOTO: YouTube.com
Now you can fill the organizer with the tool. Choose a specific container for each drill. You can also store screwdrivers and socket wrenches here.
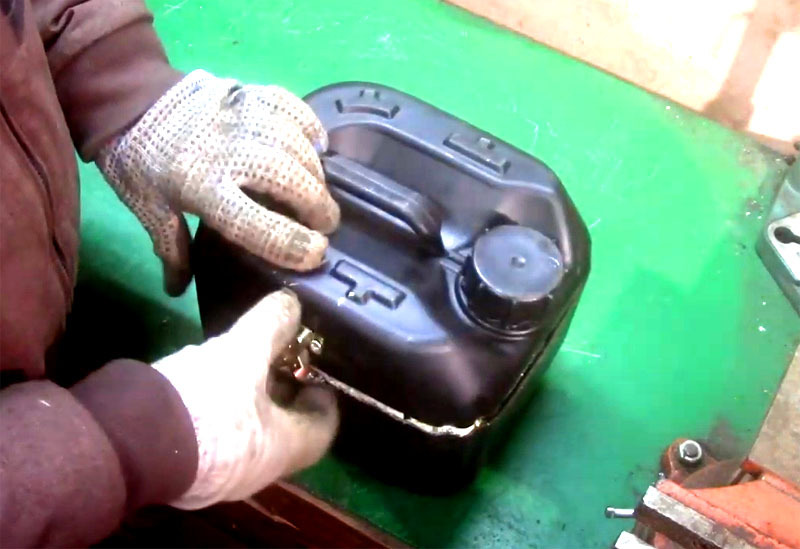
The organizer can be locked and easily taken with you to the construction sitePHOTO: YouTube.com
The organizer can be locked and easily taken with you to the construction site

Great and very simple idea, isn't it? And this is not the only option for the drill organizer. For example, here's another one for a small number of tools in the video performance:

How do you like the idea of ​​the author? Would you like the same convenient case for yourself? Maybe you know how you can improve this model? Write about it in the comments!

Discuss0