CONTENT
- 1 Scope of homemade drilling machines
- 2 How to make a drilling machine using a drill
- 3 How to make a vise for a drilling machine
- 4 Manufacturing nuances when using a steering rack
- 5 Manufacturing features when using a screwdriver
- 6 How to make your own PCB drilling machine
- 7 At what price can you buy a drilling machine - an overview of current offers
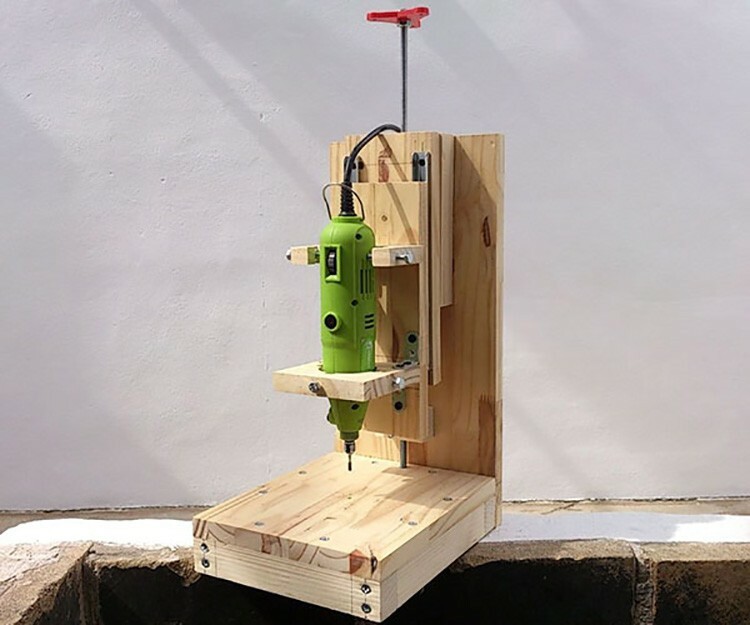
- 8 Video: How to make a drilling machine with your own hands using wooden blanks
Scope of homemade drilling machines
Thoughts about creating a drilling machine with their own hands arise from people who love tinkering, but at the same time are not engaged in the manufacture of any items on a professional basis, both using metal and other materials (wood, plastic, etc.).
This is due to the fact that homemade equipment will not be able to fully replace industrially produced analogs in fully, both in functionality and performance, but will only facilitate the implementation of simple repair and other works.
In addition, radio amateurs and people engaged in self-production of printed circuit boards can also put in front of themselves a similar task, because the presence of a drilling machine greatly simplifies their work, and the purchase of factory-made equipment unprofitable.
How to make a drilling machine using a drill
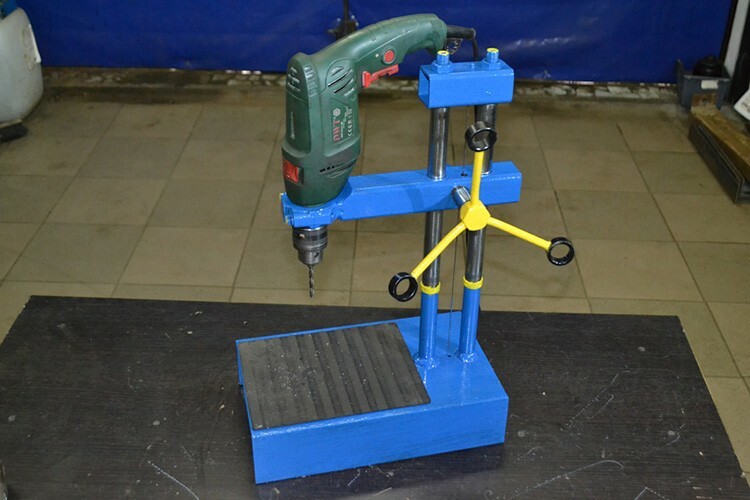
Using an electric drill is probably the easiest way to make a homemade drilling machine, since in this case, the issue of fixing the drill is solved (a drill chuck is used), and an electric drive unit. The main task in this case, which must be solved, is the manufacture of the frame and the mechanism for moving the drill in the vertical plane. All work can be divided into several stages that determine the nature of their implementation: preparatory, work execution and final.
Preparatory stage
During this period of work, it is necessary:
- Decide on the materials and components available and which can be used to make the machine: wood or metal, spare parts from auto, motor vehicles or household devices, electrical wires and switching devices, as well as protective equipment.
- Depending on the selected materials, the necessary tool is also prepared. It can be a grinder and a welding machine (inverter), a circular or circular saw, as well as carpentry tools and fasteners.
- A drawing (sketch) of the structure being created is being developed, with the main dimensions being: the mounting seat of the drill used and the size of the drill movement.
Execution of works
Having decided on the materials and tools, as well as preparing them and developing a drawing, you can start manufacturing. The following is a step-by-step instruction for making such a tooling using a metal sheet and profile.
| Illustration | Description of action |
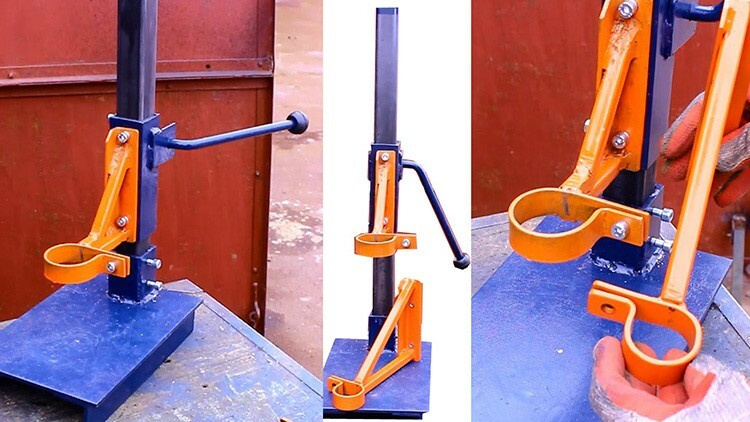
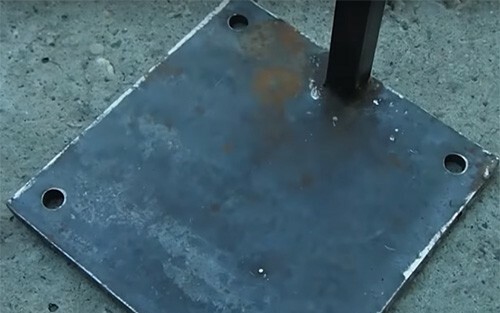 | The base (plate) of the machine is made of a metal sheet with a thickness of 10-12 mm, on which holes are drilled for its subsequent fastening. A metal profile (stand) with a section of 40 × 40 mm is welded to the plate. |
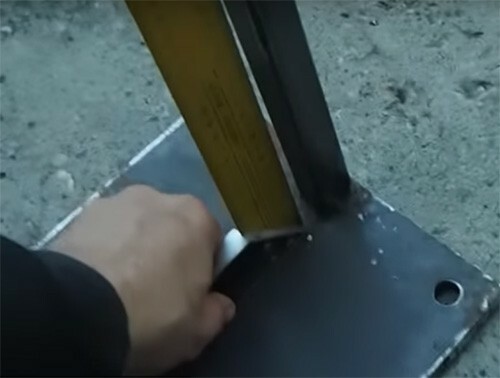 | When installing the profile, it is checked that it is strictly in the vertical plane in order to ensure the correct movement of the drill in the future. |
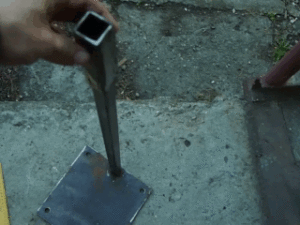 | A workpiece is cut out of a metal profile with a cross section larger than the welded post, after which the possibility of its movement along this post is checked. |
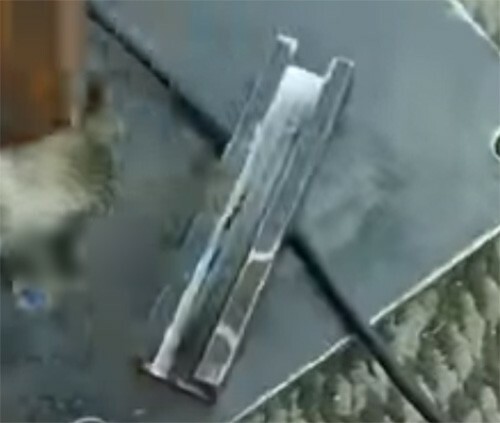 | A cut is made on the workpiece, along its entire surface. |
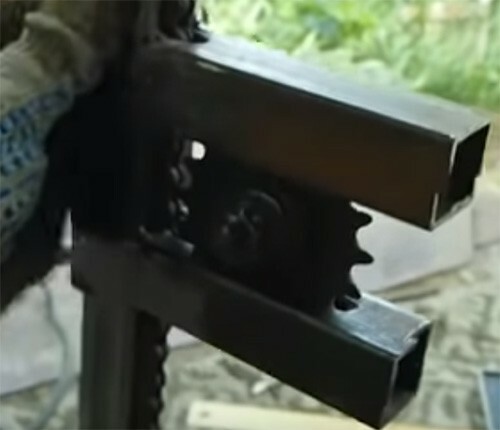 | After that, a metal structure is made from a profile of a similar section, into which a sprocket from a bicycle is placed. |
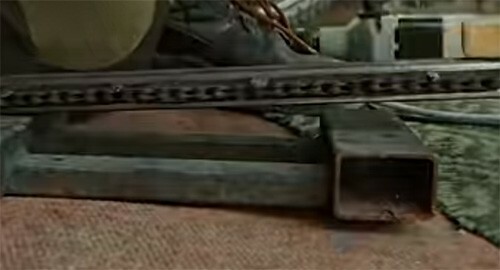 | A bicycle chain is attached to the surface of the vertical rack, for which welding is used. |
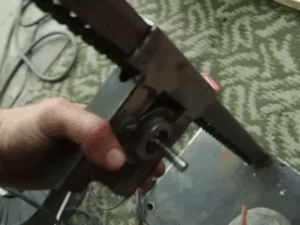 | The ability of the assembled structure to move along the rack is checked. |
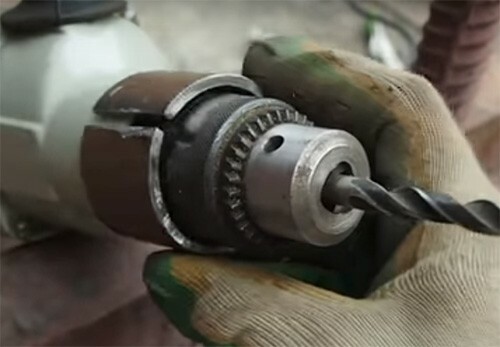 | A fastener is cut out of a metal pipe with a diameter larger than the chuck of the used drill, which is welded to the previously assembled structure. |
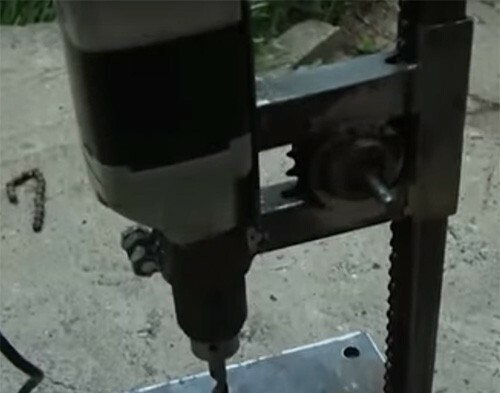 | The reliability of the fixation of the drill is checked. |
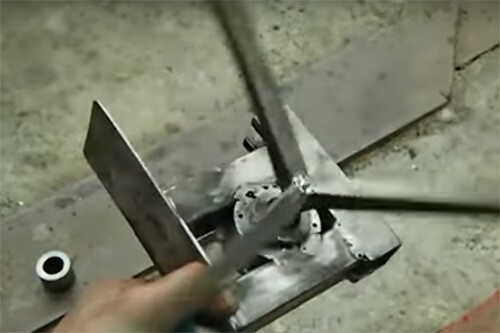 | Levers are made from a profile of a smaller section, which serve to drive the movement mechanism, which are attached to the previously assembled structure. |
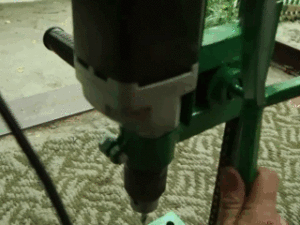 | The operability of the lifting and lowering mechanism is checked. |
The final stage
At this stage of the work, the following activities are performed:
- the assembled metal structure is painted;
- displacement units are lubricated;
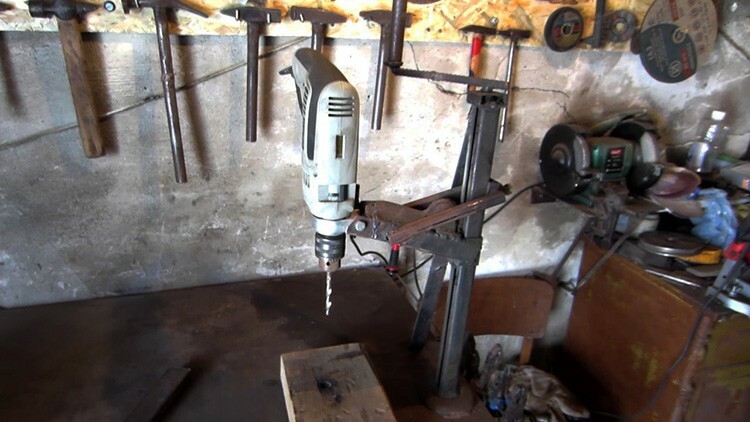
- for ease of use, a plug socket can be installed on the stove to connect an electric drill with a connected electric cable, which serves to connect to the network.
How to make a vise for a drilling machine
Having made a drilling machine, for the convenience of its use, you need to make a vice.
To do this, you will again need a locksmith's tool, welding equipment and a grinder, as well as materials such as:
- sheet steel with a thickness of 8 and 15 mm;
- metal corner 40 × 40 × 2.5 mm;
- screw or stud with a diameter of 10-12 mm with a large thread pitch;
- a circle of steel with a diameter of 10 mm or rods from car struts (shock absorbers).
Manufacturing works are carried out as follows.
| Illustration | Description of action |
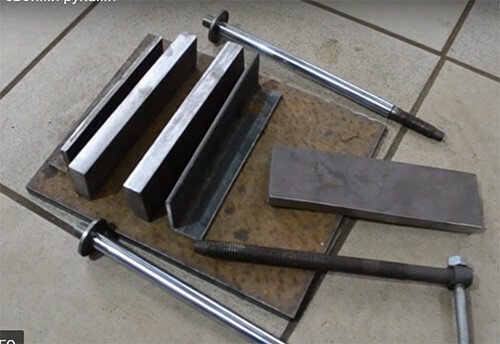 | The necessary material is prepared, for this sheet steel is cut, the car racks are disassembled, and the rods are removed from them. |
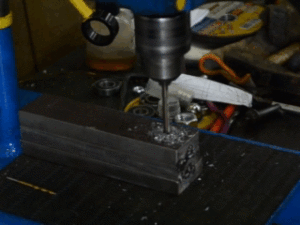 | On blanks made of thick sheet steel (these are the jaws of the assembled vice), holes are drilled for fastening. |
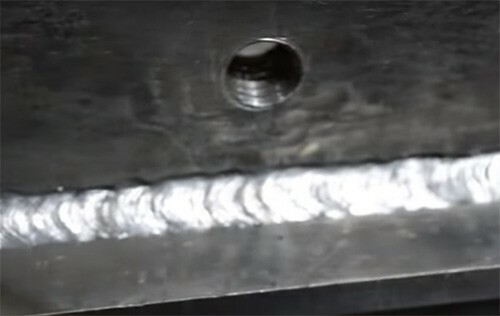 | Similar holes are drilled on other blanks, after which one made of a corner and one of thick steel is welded to the base plate. |
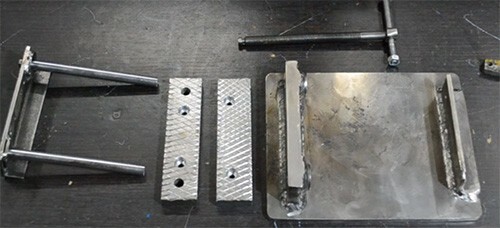 | The movable part of the vice is assembled from the rods and another workpiece from the corner and the readiness of the kit for assembly is checked. |
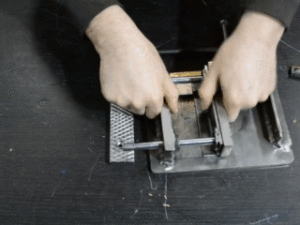 | The assembly of the main structural elements manufactured at the preliminary stages is carried out. |
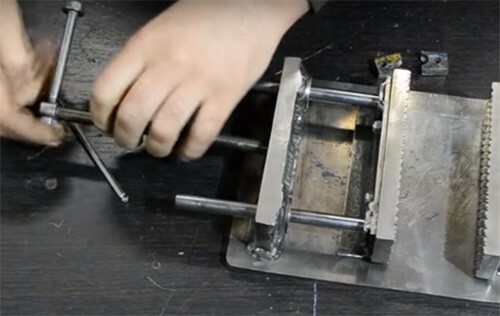 | The adjusting screw is installed. |
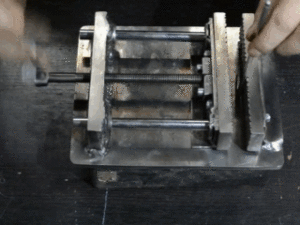 | The operability is checked. |
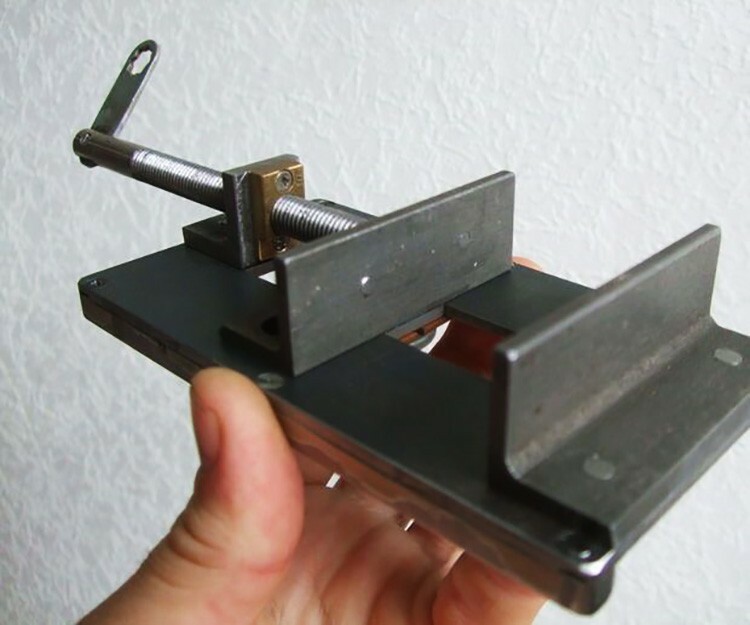
The design of the vise, which you can make yourself, can be completely different and depends on the materials and spare parts available, as well as the size of the workpieces being processed.
Manufacturing nuances when using a steering rack
One of the design options for a homemade drilling machine made by hand is a device based on a steering rack from a car. In this case, the vertical movement of the rod rod (when placed in this plane) is carried out by rotation a handle installed at the point where the rack is attached to the steering gear, and the drill chuck with a drill is fixed on the rod devices.

When making such a design, it is necessary to take into account some of the nuances associated with the device used, namely:
- the size of the guide post of the machine being made must be larger than the length of the rail used;
- the movement of the steering rack is different for different car models, therefore it determines the size of the working movement of the drill;
- for ease of use, the operation control unit (handle) is best made independently in accordance with the location of the machine and the nature of frequently performed operations.
Manufacturing features when using a screwdriver
The manufacturing process of a drilling machine using a screwdriver is exactly the same as when using an electric drill.
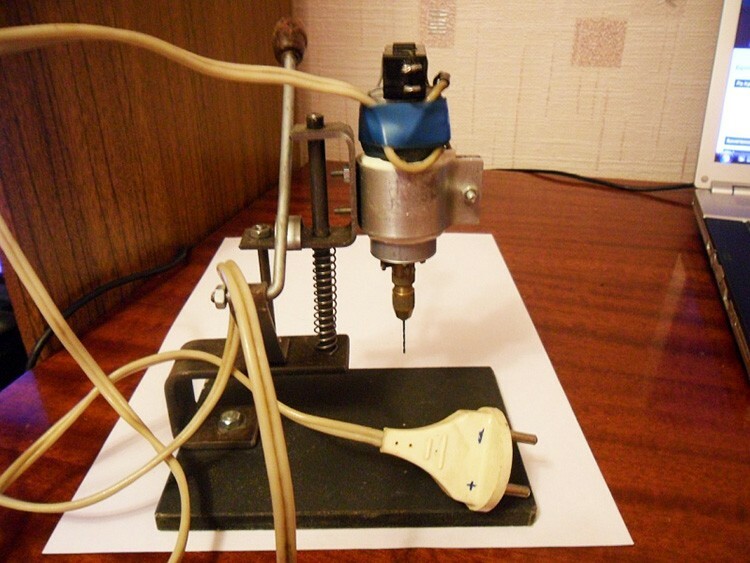
The screwdriver may be unclaimed in the event of battery failure, therefore, the optimal solution for resuming operation will be using it to create a drilling machine, and to connect to the electrical network - an adapter that provides operation at a voltage of 220 Volt. The main nuances when creating such a design are the following points:
- the power of the assembled power supply circuit (adapter) must correspond to the power of the screwdriver;
- due to the fact that screwdrivers are produced with low electrical power, one should not expect that with their use it will be possible to process durable products in an intensive mode.
How to make your own PCB drilling machine
A printed circuit board is a plate made of a dielectric material, on the surface of which a layer of metal that conducts an electric current is deposited. The dimensions of the printed circuit board are regulated by GOST R 53429-2009 “Printed circuit boards. Basic design parameters ”, according to which the thickness of such products is 1.5–4.5 mm.
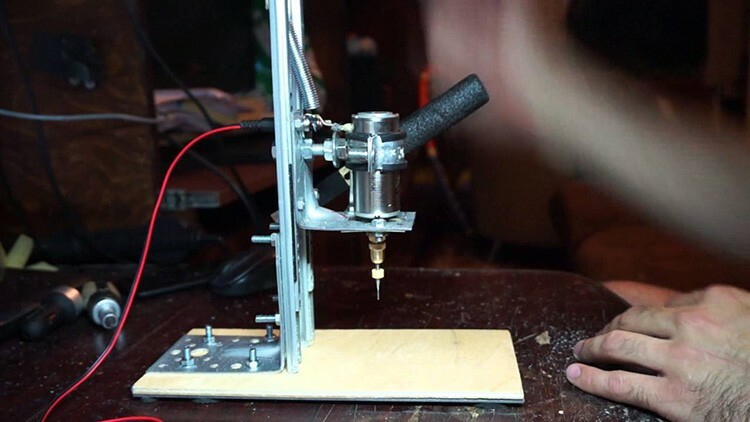
In this regard, a drilling machine designed for drilling printed circuit boards is a mini-machine, then the following features must be taken into account in its manufacture:
- such a machine does not need a large electrical power;
- there is no need for a significant stroke of the machine head with a drill installed in it;
- the machine must be small in size, allowing it to be used on the desktop of a radio amateur or a person engaged in the manufacture of electronic systems;
- the absence of the need for significant power allows you to perform a similar installation at a lower voltage class and without the use of bulky chucks designed for installing large drills diameter;
- on machines for this purpose, special adapters and collets are used to install drills, due to their small diameters.

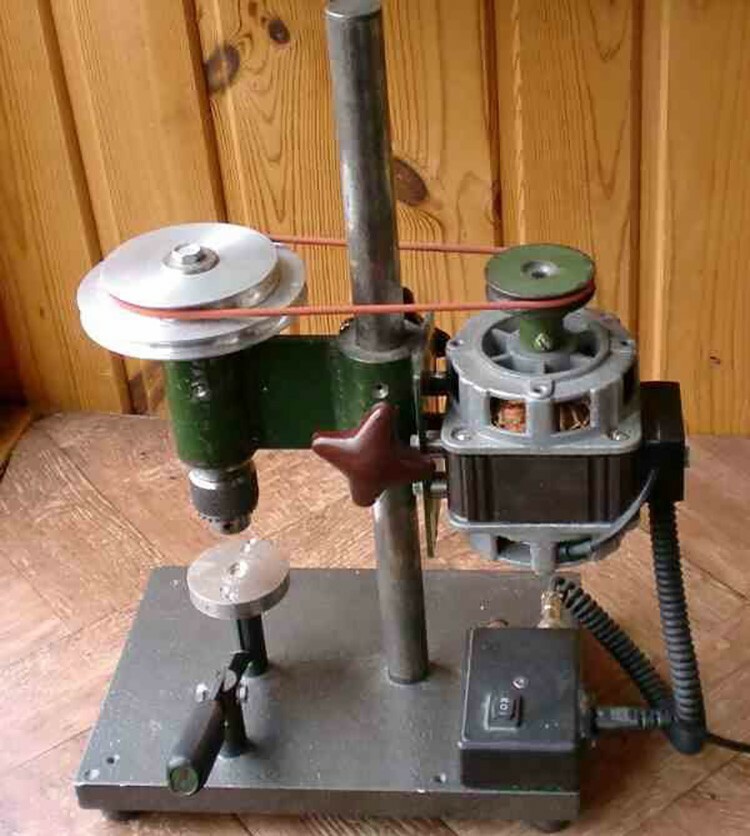
You can make a homemade drilling machine for printed circuit boards using the technology considered in the case of using an electric drill or a screwdriver, with the only difference that lower voltage electric motors can be used as a drive and sizes.
At what price can you buy a drilling machine - an overview of current offers
Drilling machines are sold in stores of electrical tools and various equipment, trade organizations dealing with construction and goods for auto repair, so if necessary, buying a drilling machine will not be difficult for anyone interested to the consumer.

Manufacturers offer various types of drilling machines for sale:
- radial drilling - work is carried out by moving the spindle with a drill installed in it;
- vertical drilling - the drill is fixed rigidly, and the workpiece to be processed is moved;
- horizontal drilling - used in the processing of long products;
- multi-spindle - equipped with several spindles.
According to the method of installation, such equipment is of floor and table design, and according to the degree of automation - manual, semi-automatic and automatic operation. Due to the fact that when self-manufacturing, as a rule, vertical drilling machines are designed tabletop type, then for comparison in the following table the average cost of similar equipment factory production.
| Model | Main characteristics | Cost (as of May 2018), in rubles |
 |
| 6 500 |
 |
| 6 600 |
 |
| 8 200 |
 |
| 8 900 |
 |
| 23 000 |
The cost of equipment depends on the technical characteristics and brand of the manufacturer, which allows you to choose the desired model in a given price range. The table shows the price as of the II quarter of 2018.
Video: How to make a drilling machine with your own hands using wooden blanks
If you have questions to the author of the article, or you want to share your own experience with the equipment of this type, provide useful information for other readers of our Tehno.guru portal below in comments.


