When making repairs, the question of leveling the floor in the bathroom and the bathroom very often arises. On the shelves, you can find a lot of different materials designed for these purposes. But even more - recommendations from experts, which of the methods and materials for pouring to use. And today we will consider one of the simplest methods using a self-leveling self-leveling floor. Is he as good as they say he is? And the author of the YouTube channel will help with this. Pavel, who knows about this material, if not everything, then a lot.
Read in the article
- 1 What mixtures are best used for leveling the floor
- 2 The tool required for working with a self-leveling floor
- 3 Preparing the surface for pouring
- 3.1 Determination of layer thickness and mixture consumption
- 3.2 Processing of old tiles
- 3.3 Priming the coating before applying the self-leveling floor
- 4 Mixing the self-leveling floor: nuances
- 5 Filling the floor: what to look for
- 6 Checking the floor level after drying
- 7 The final part
What mixtures are best used for leveling the floor
The days when floors could be leveled exclusively with a sand-cement mixture are long gone. Today, new mixtures have appeared on the shelves that are designed to make work easier. And one of those is self-leveling self-leveling floor. Of course, its cost is higher compared to cementhowever you can be sure that it will be worth it.
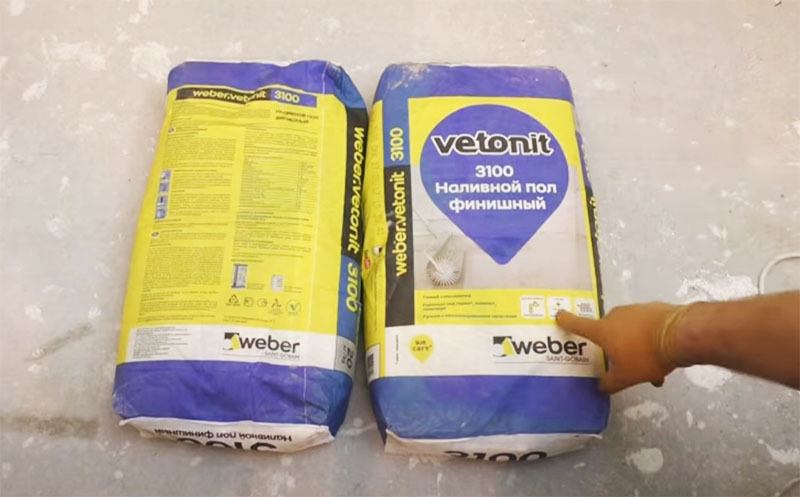
But such a mixture still cannot be called self-leveling in the full sense of the word. Its leveling still requires some participation of the master, but it will be minimal.
The tool required for working with a self-leveling floor
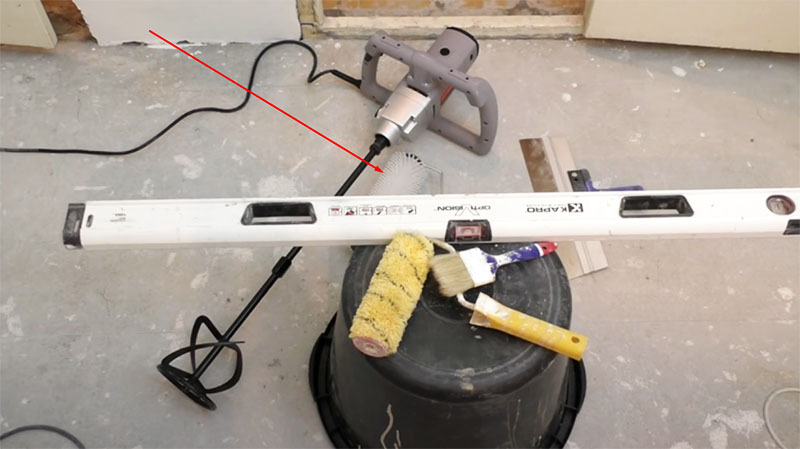
Among the tools that will be needed to work with a self-leveling floor, it should be noted:
- mixer for mixing the mixture (you can use a drill);
- large bucket;
- brush, primer roller, wide spatula;
- mounting level;
- special needle roller.
When filling large areas, you will also need certain shoes, with thin spikes on the sole.
Preparing the surface for pouring
Before you start pouring, the surface must be prepared. If tiles are laid on the floor, they must be knocked down. However, this can be problematic when renovating the washroom and bathroom in Soviet-built apartments. There, the tiles were mounted on the floor of the box even at the manufacturing stage at the factory, and she categorically refuses to go astray. In this case, you can leave it.
First you need to find the zero (topmost) point of the surface. Another plus of the self-leveling floor is immediately clear - it can be brought to zero. When arranging concrete screed it would be necessary to raise the beacons above the floor.

Determination of layer thickness and mixture consumption
Now, using the mounting level, you can determine the bottom point, and then calculate the thickness of the required fill. The consumption of the mixture is determined from the data indicated on the package. Everything is simple here - a school mathematics course.

Processing of old tiles
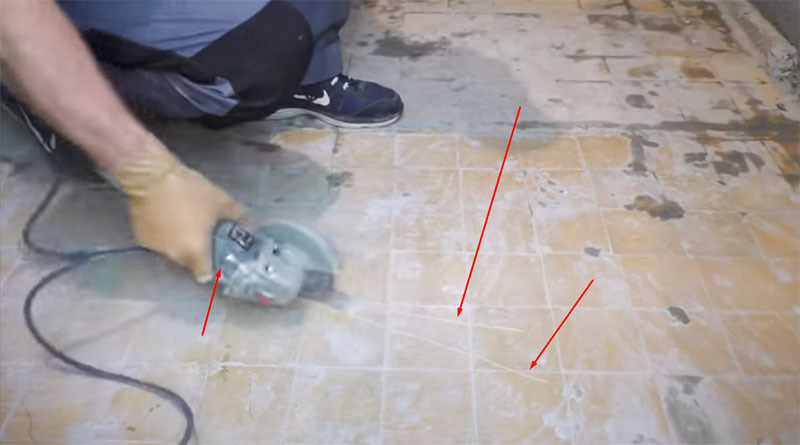
With the right primer adhesion the self-leveling floor is very high. However, those who have doubts can be advised to make notches on the floor with the help of grinders with a diamond disc.
Priming the coating before applying the self-leveling floor
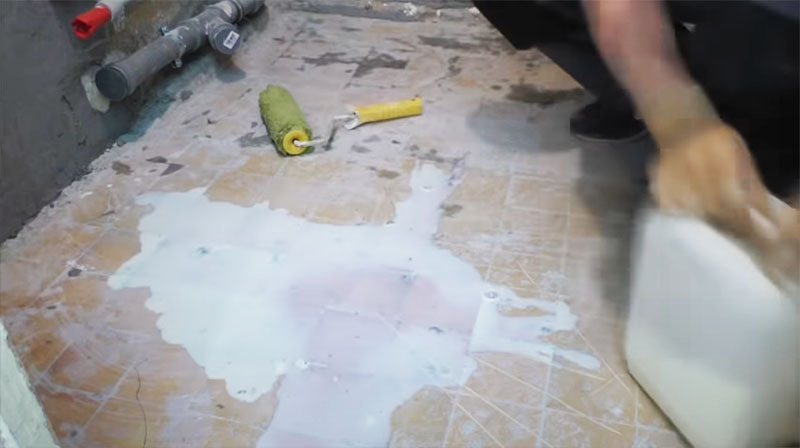
When working with a self-leveling floor, the use of such compounds as "Betonkontakt" is excluded. Therefore, you will have to use a regular water-based deep penetration soil. You shouldn't feel sorry for him. The soil is poured over a thoroughly dust-free floor, after which it is accelerated with a roller. The corners are smeared with a brush.
Mixing the self-leveling floor: nuances
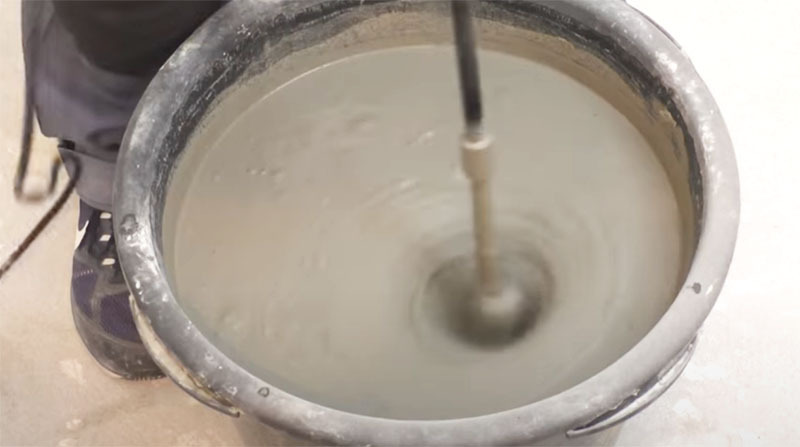
It is good if, when mixing such mixtures, it will be possible to adjust the speed. In this sense, some mixer models are more suitable, since they have the ability to reduce the number of revolutions per minute. If the nozzle is turned quickly, the mixture may foam. This will lead to the formation of cavities on the surface of the finished floor and its fragility.
Filling the floor: what to look for
When the mixture is ready, it needs to be poured on the floor. It begins to spread itself, but still it will not be able to disperse in all corners, it will need to be dispersed. It should be remembered that a mixture that is too thick will be inconvenient to work with, and an excessive amount of water will lead to a decrease in the strength of the coating.
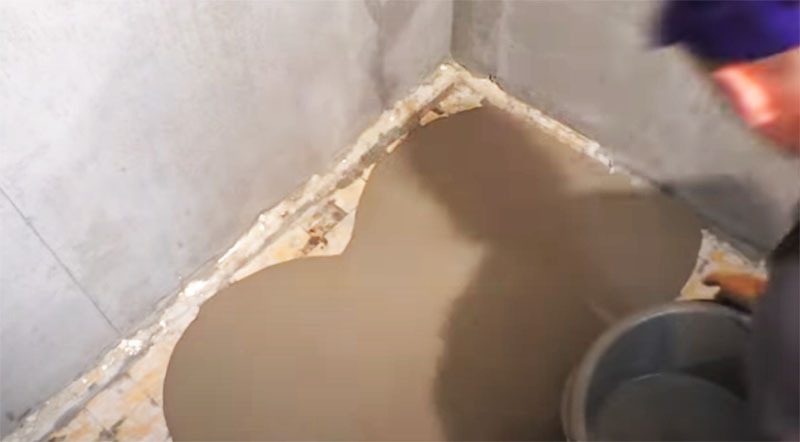
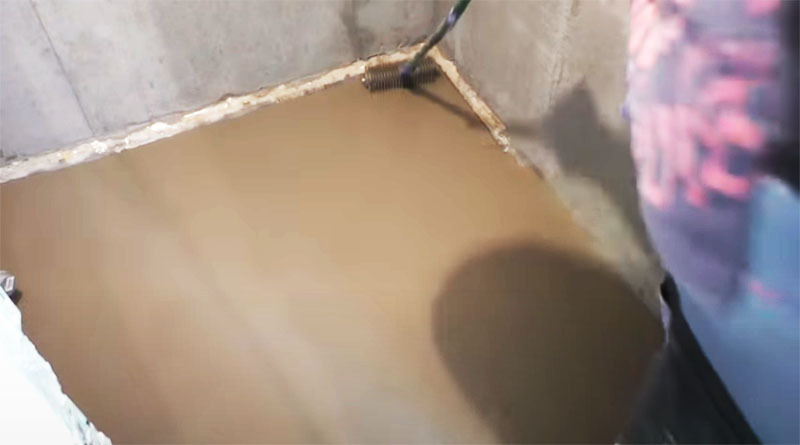
To begin with, the mixture is dispersed in the corners with a wide spatula. After that, the entire surface is rolled with a needle roller in order to expel the remaining air from it. You should hurry up here: you can work with a self-leveling floor for no more than 30 minutes.
Checking the floor level after drying
You should not rush to walk on the frozen self-leveling floor, you need to wait until it is thoroughly dry. Experts advise letting the floor stand for a couple of days.
After this time, you can check the floor level, although this is generally not necessary. This formulation ensures the ideal level, even whether the mixture is leveled or not. This can be easily verified using a special tool.

The final part
All the work on pouring the floor in the bathroom and the bathroom took exactly 22 minutes - the title of the article did not deceive the reader. Of course, the cost of such a mixture may seem overpriced to some, but this is only at first glance. Those who have come across a self-leveling floor at least once will say for sure that the price here is quite justified. The finished surface is suitable for further finishing with tiles - the adhesion of the tile adhesive will be perfect. But it is not worth making a jellied floor for painting - it is not too resistant to abrasion.
We really hope that the time it took you to read today's article was well spent. HouseChief editors will definitely answer any questions on the topic, if any, left after reading. They can be set below in the comments. There you can also discuss with other readers the quality of such mixtures of a particular brand or express your personal opinion about what you have read. In case the article was interesting, do not forget to rate it. Every opinion is extremely important to us. Take care of yourself, your loved ones and be healthy!


