When making repairs, everyone wants to make the interior of their apartment unusual, not like others. The assortment of finishing materials on store shelves allows you to perform work of any complexity. But what if the master does not want to spend extra money on purchasing, for example, clinker tiles? The answer is obvious - to make it yourself. But first you need a mold for casting such elements. And how to make it knows the author of the YouTube channel New idea.
Read in the article
- 1 Is it worth starting the manufacture of clinker tiles
- 2 What is required to make a silicone mold for pouring
- 3 The process of making a silicone mold for casting clinker tiles (step by step)
- 3.1 Pouring silicone matrix
- 3.2 Day two - continuation of work
- 3.3 Dismantling the formwork
- 3.4 A few final touches
- 4 Using the form as intended
- 5 Finally
Is it worth starting the manufacture of clinker tiles
The answer to this question depends on the area of the room to be finished. It is worth taking on the manufacture of finishing materials only if the area is large. For wall decoration 1–2 m2 it makes no sense even to delve into the technology - savings will not work here.
First, you need to calculate how much cheaper it will cost to the master to buy materials for the manufacture of clinker tiles. After all, this is not only a composition for casting the elements themselves. First you need to make a mold out of silicone. However, if the area is large enough, then the benefits can indeed be tangible. In addition, the form can then be used more than once or twice. If you work with it carefully, then it can be exploited indefinitely.
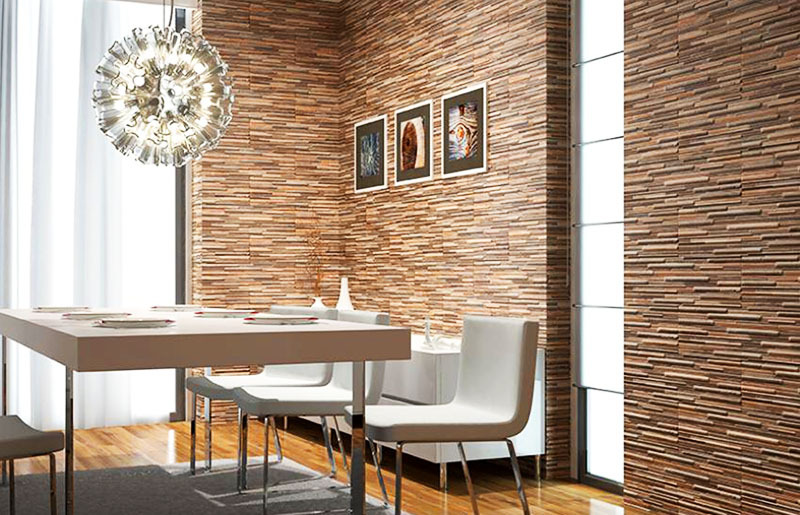
What is required to make a silicone mold for pouring
The material used to make the mold will take a little. Before starting work, you should prepare:
- several factory-made clinker tiles;
- an even piece of laminated chipboard;
- glue (you can use "Moment", "Titan" or any polymer composition);
- several wooden slats, two clinker tiles thick;
- laundry soap;
- silicone composition (ordinary tubes with silicone).
That, in fact, is all. You can start working.
The process of making a silicone mold for casting clinker tiles (step by step)
The first thing to do is to place the finished tiles on a flat surface. An old wall from a chipboard cabinet is suitable as it.
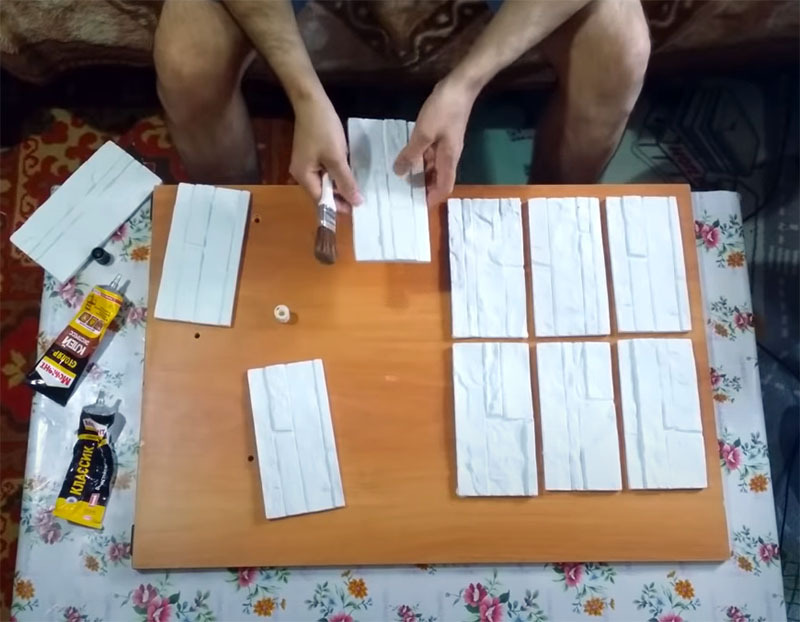
The tiles must be glued to the laminated surface. Otherwise, it will be quite problematic to extract them later. Before covering them with a layer of silicone, you must wait until the glue is completely dry. Therefore, it is better to take a quick-drying composition. Also, the formwork should be planted on the glue, which should be made of wooden slats.
While the glue dries, you need to prepare the soap composition. To do this, you need to grate the laundry soap and dilute it a little with hot water. The consistency should be like sour cream.
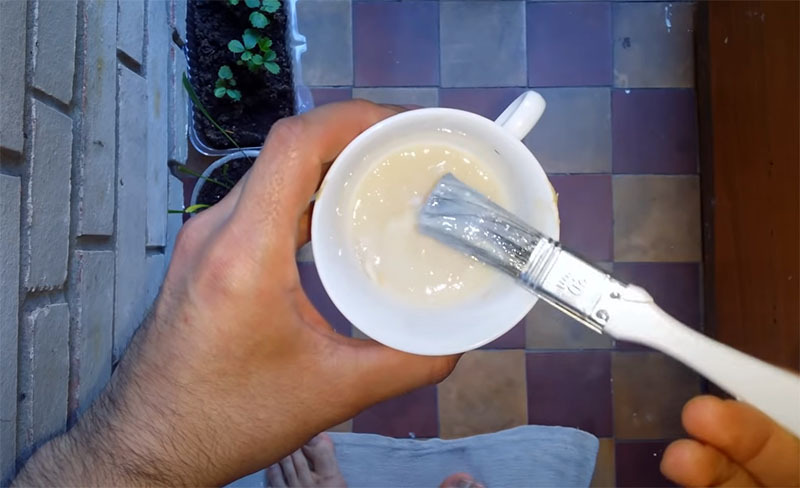
Subsequently, we will smear with soap all surfaces that will come into contact with silicone.
Pouring silicone matrix
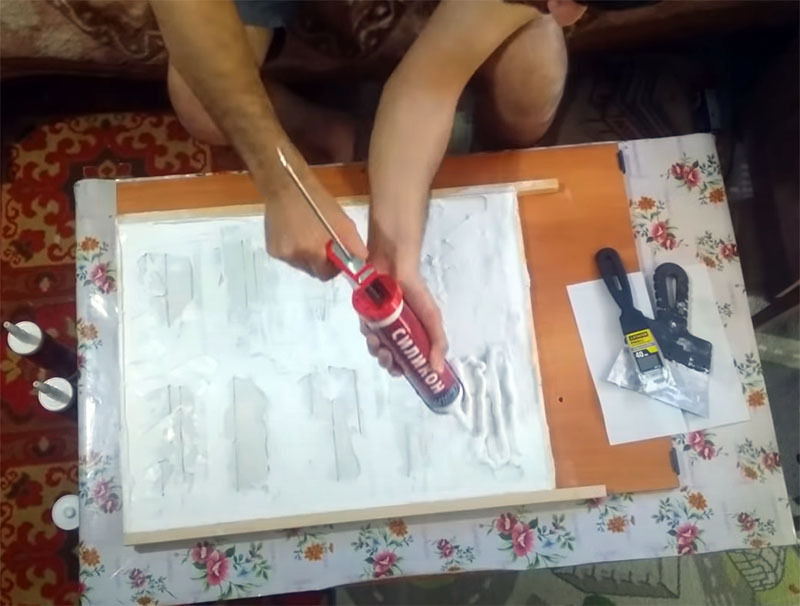
First, we apply silicone between the glued tiles so that there are no voids left in them. To do this, you can use a narrow spatula, with which we press the composition into the cracks.
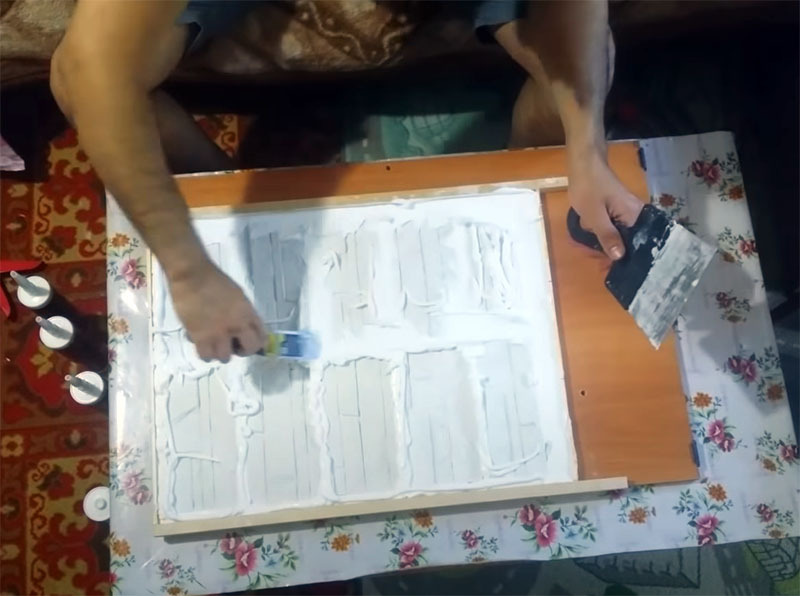
Apply the second layer over the entire surface. It should be solid. It will be possible to level it with a wide spatula. When the surface is ready, the mold must be left at room temperature overnight.
Day two - continuation of work
The next day, when the silicone has dried, we install two longitudinal slats. They are needed to form voids, which will contribute to the elasticity of the shape. We also fill the space between the slats with silicone.
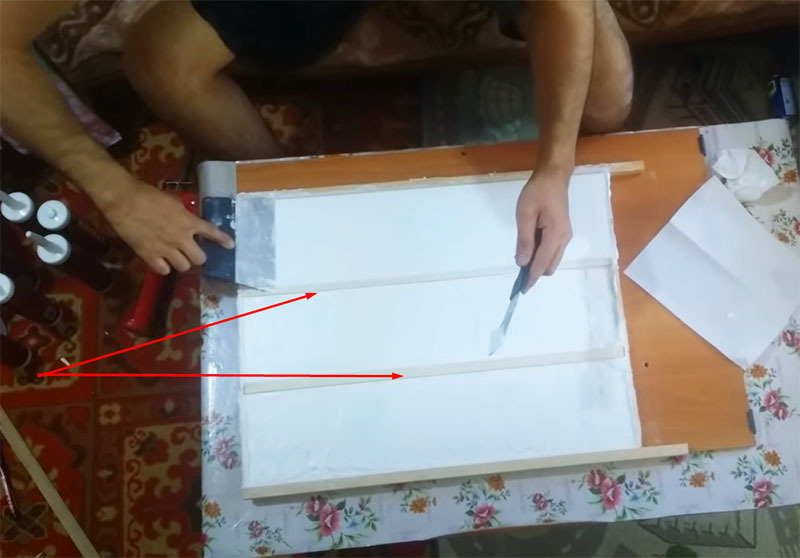
Now the form must be allowed to dry completely. There is no need to rush, it is better if she lies down for another day.
Dismantling the formwork
The first thing to remove after the silicone has dried is the longitudinal battens. To make this easier, you can use the same narrow spatula.
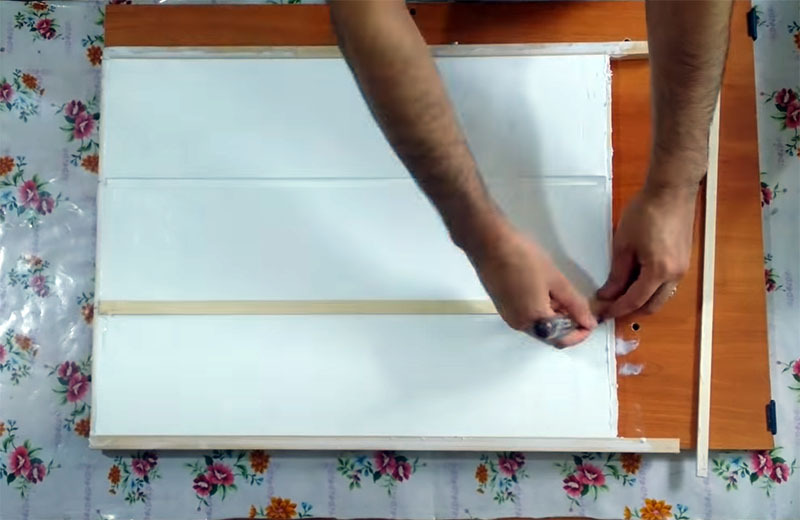
Next, we remove the slats located around the perimeter. There should be no problems with this work. However, some care must be taken.

Last but not least, we do the main work. Carefully, but with some effort, we remove the silicone from the base with the clinker tiles glued to it. If the products break at the same time, it's not scary. However, this only happens if they were not sufficiently glued to the laminated base.

A few final touches
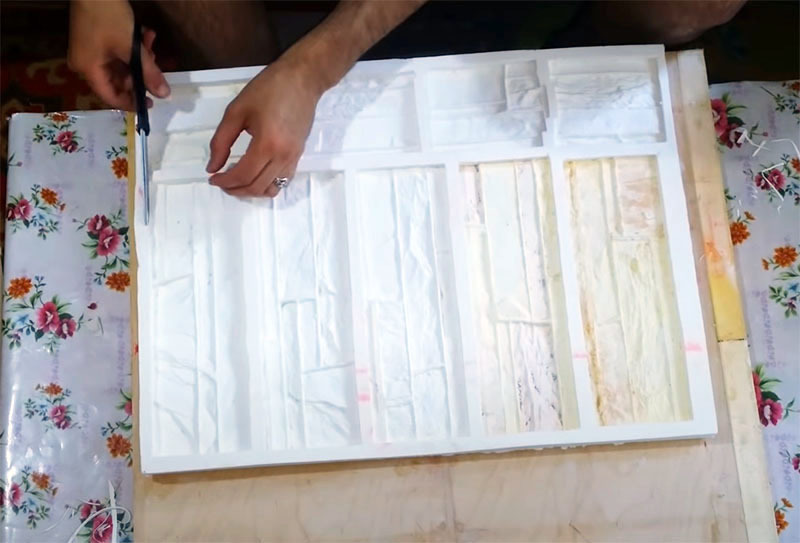
When casting the matrix, no matter how tightly the tiles are glued to the base, a little silicone gets under them. These surpluses must be removed. This can be done with ordinary scissors. After finishing, the silicone mold is ready for making clinker tiles with your own hands.
Using the form as intended
We cast the tile from plaster. To begin with, we place the form on a flat surface, after which we coat its inner side with oil. Next, pour the plaster mixture into the mold. It remains to wait until the gypsum is completely dry and remove the silicone from the finished products.
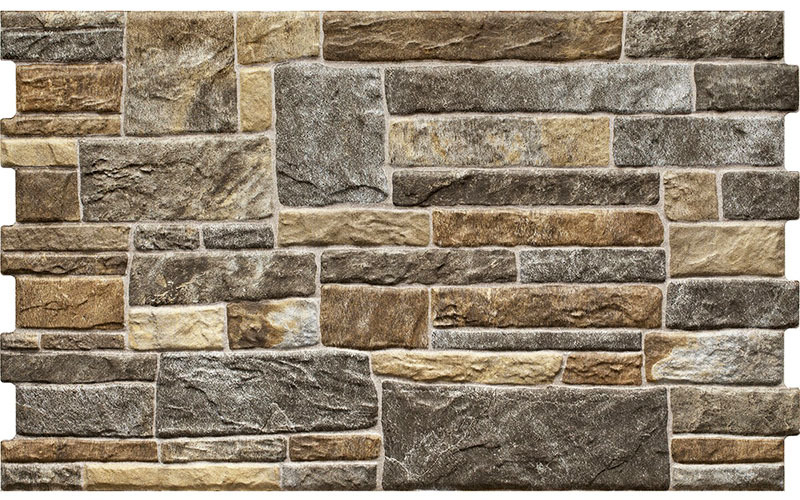
You can paint the tiles in absolutely any color.
Finally
Perhaps many will say that it is much easier to purchase clinker tiles in a store and not have to worry about making a mold and casting. On the one hand, this statement will be true. On the other hand, self-made clinker tiles will be cheaper. In addition, here you can make not individual elements, but panels of any size, which will be much easier to mount. In addition, many home craftsmen cannot imagine life without various homemade products. And if things go well, it is quite possible that the home craftsman will be able to provide his friends and relatives with finishing materials.
We really hope that today's article will help home craftsmen in saving on finishing materials. HouseChief editors will be happy to answer all questions on the topic, if any, during the reading process. You just need to summarize them in the discussions below. There you can comment on what you read or express your personal opinion about the rationality of making clinker tiles with your own hands.
If the article was interesting, please do not forget about the ratings. Every opinion is extremely important to us.
And finally, I would like to say: "Take care of yourself, your loved ones and be healthy!"


