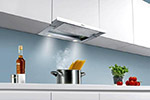
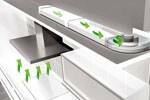
Kitchen - exactly that room in the apartment, where forced ventilation will never be superfluous. However, steam and smoke rising from the hob require additional equipment to be installed. And such a device, capable of removing polluted or humid air, can become cooker hood. But for many, its installation seems too complicated. Therefore, today we will talk about how to install a built-in kitchen hood with your own hands and how difficult this work can be. And the author of the YouTube channel will help with this. Furniture maker 0013.
Read in the article
- 1 How does the installation of a built-in cooker hood begin?
- 2 Layout and modernization of the wall cabinet of the kitchen set
- 2.1 Preparation of shelves, marking the position of the holes for ventilation ducts
- 2.2 The best way to cut holes in chipboard
- 3 Final fit of elements
- 4 Assessment of the appearance based on the results of the work done
- 5 Summing up
How does the installation of a built-in cooker hood begin?
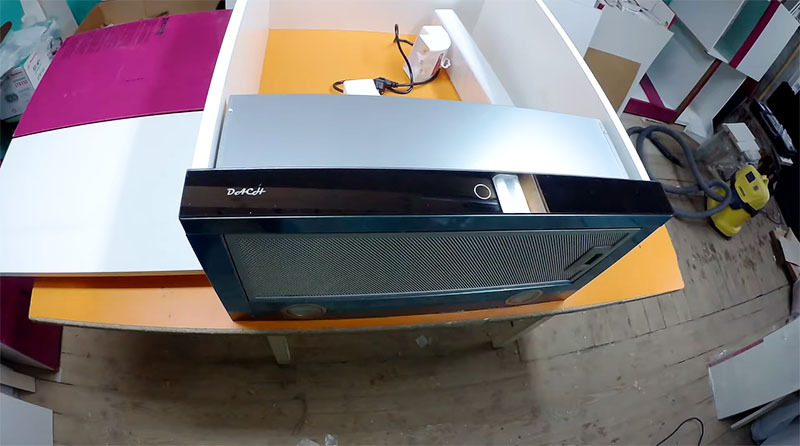
If you plan to purchase exactly built-in appliances, then the first thing you should pay attention to (after choosing a brand) is the size. The equipment should be placed in a wall-mounted kitchen cabinet located above the hob.
Are not included with the hood ventilation ducts, corners and connectors, therefore the details of the ventilation duct must be purchased additionally.
Layout and modernization of the wall cabinet of the kitchen set
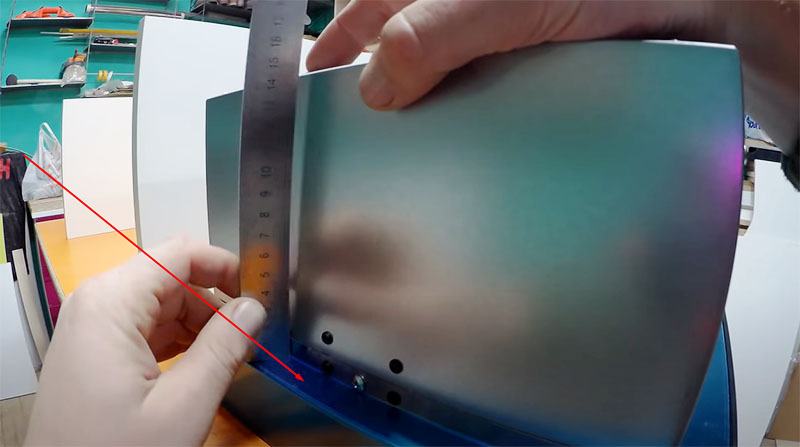
In order for the hood to stand up perfectly and at the same time there is free space in the cabinet, it is necessary to move its lower shelf. To do this, you need to measure the height of the hood itself from the side. At the same time, do not forget about the thickness. laminated chipboardfrom which most headsets. The most common here is 1.6 cm.
Preparation of shelves, marking the position of the holes for ventilation ducts
In order for the hood to fit, it is necessary to correctly mark the places where there will be holes for the ventilation ducts. First you need to find the middle of the shelf, and then draw a circle along the adapter. It is not difficult to do this, so it makes no sense to dwell on such work in detail.
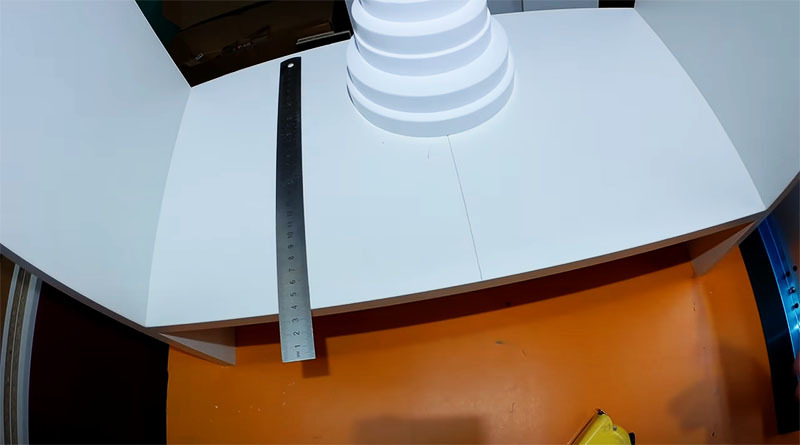
The best way to cut holes in chipboard
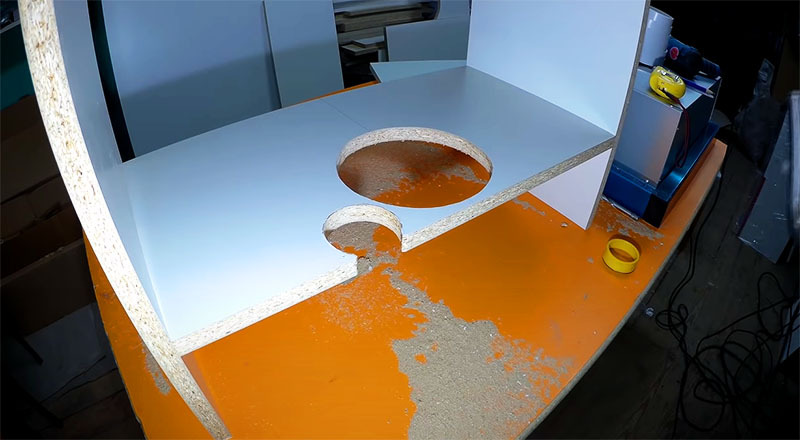
You can use a variety of tools to keep the holes straight. Smaller holes can be easily cut with a crown, while larger holes are better with a jigsaw. However, in the end, all the edges should be processed. hand milling cutterso they will be more flavorful.
To start cutting with jigsaw, it is necessary to drill a hole in the chipboard.
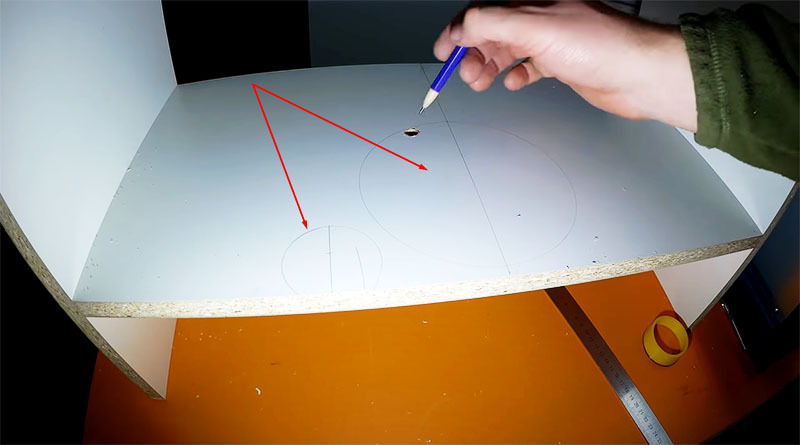
As a result, you should get even holes. We speak in the plural because a smaller hole is cut next to the vent, into which the power cable of the kitchen hood will pass.
However, there remains one more whole shelf on top. Only one ventilation hole will be cut in it. Its shape will depend on which ventilation ducts were purchased. It can be a square, rectangle, or circle.
Related article:
Built-in hood 60 cm: advantages and disadvantages, overview of popular manufacturers and models. Installation of the device in a cabinet: video recommendations for choosing and a master class on installation.
Final fit of elements
At this stage, the coincidence of the holes for the ventilation ducts is checked. Below, in the place intended for it, a built-in kitchen hood is installed. The air duct leaving it must ideally match the hole cut in the shelf. If a mistake was made in the markup, it's time to fix it. The hole is fitted along the duct, after which the resulting slots are covered with white silicone. Subsequently, they will not be visible.
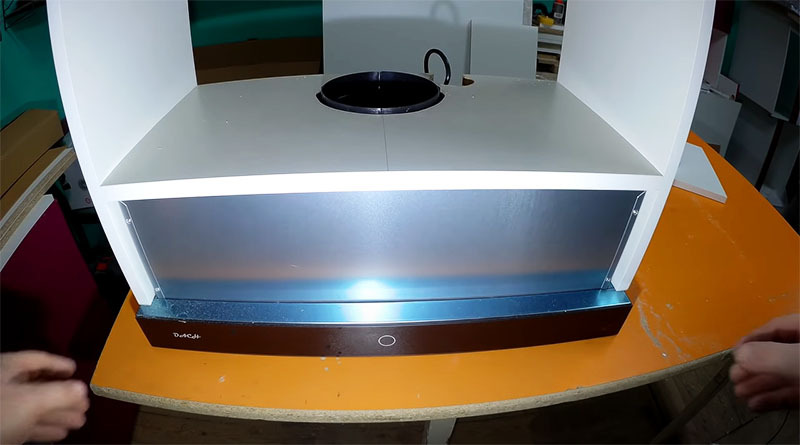
Also, the ventilation duct is immediately installed, passing through the remaining shelves. When doing this, it should be remembered that accuracy must come first. Do not spoil the kitchen set, because the prices for furniture today cannot be called low.
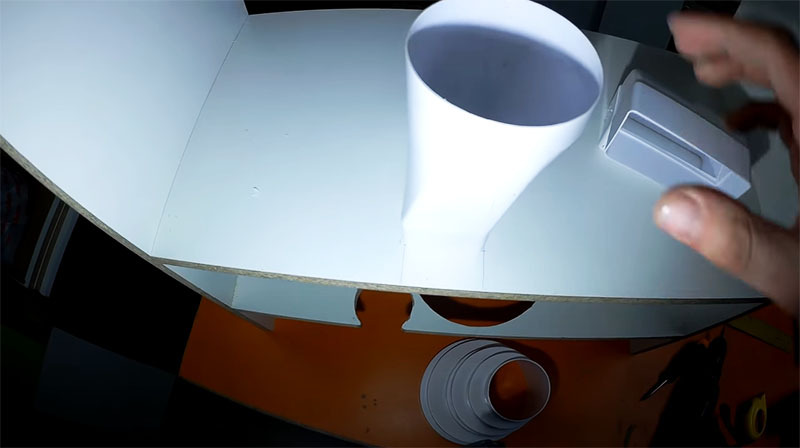
The hood itself can be attached to the cabinet in various ways, depending on the manufacturer and model. The home technician can find this information in the instruction manual of the device.
Related article:
Installation kitchen hoods with ventilation outlet will make your stay in this room more comfortable. In our review, we will study the characteristics of individual models and the features of their installation, which will make it possible to make a worthy choice among the variety of offers on the market.
Assessment of the appearance based on the results of the work done
After all the work on installing the built-in kitchen hood has been completed, you can evaluate the result. Any gaps formed between the ventilation duct and the shelves as a result of miscalculations or inaccurate cutting must be hidden - covered with white silicone sealant. It is better to use sanitary compounds that contain antifungal additives.
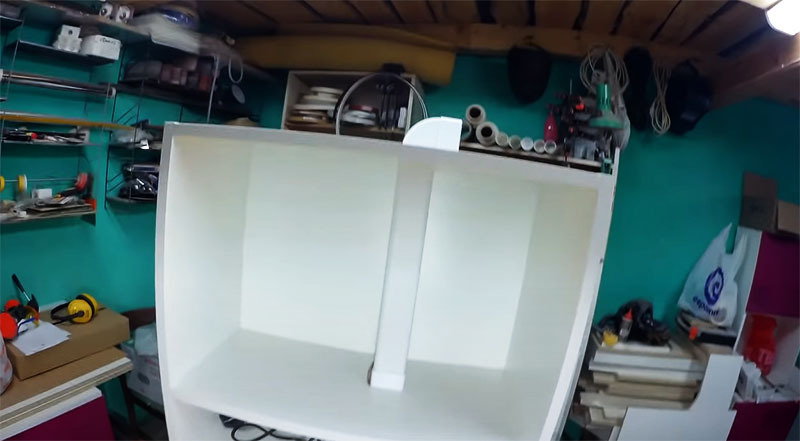

After installing the cabinet, the headset must be put in place, and the ventilation duct must be routed to the exhaust hole in the wall. In this case, instead of the standard grille, a tee is installed on it.
Related article:
To find out, how to choose a hood for the kitchen, professional advicemust be supplemented with deep thematic knowledge. This article contains information that will help you make a comprehensive analysis and make the right decision about purchasing a particular product.
Summing up
A hood in the kitchen is a must. After all, thanks to it, not only the air will become cleaner. The material from which the kitchen set is made will also remain in greater safety. And the owner himself will have to decide which hood will be installed. Advice on make and model is out of place here. The only thing that can be advised is not to pay too much attention to famous brands. Indeed, when purchasing products of their production, the buyer pays to a greater extent for the label and emblem that is glued to the device. And often the budget models of little-known manufacturers have no worse characteristics.
We hope that today's information will help DIYers in installing a built-in cooker hood. Despite the rather detailed presentation of information, perhaps some points remained incomprehensible. In this case, the HouseChief editors will be happy to explain them as soon as possible. All you need to do is state the essence of the issue in the comments below. There you can also discuss the advantages and disadvantages of a particular cooker hood or express your personal opinion about what you have read. We will be glad if you do not forget to rate, because your opinion is very important to us. Take care of yourself, your loved ones and be healthy!

