In the production of welding work, it is very often necessary to align the elements at right angles or at 45 °. At the same time, the hands are often busy, so it is inconvenient to hold the parts. In such cases, professional welders use a special magnetic corner. But does it make sense to purchase such devices for one-time use? Most probably not. Today, the author of the YouTube channel will suggest a way out of this situation. Oleg. Let's figure it out together how to make magnetic corners with our own hands in just 15 minutes.
Read in the article
- 1 What is required to make magnetic corners
- 2 We start making a magnetic corner
- 3 Marking workpieces for tightening bolts
- 4 Assembling workpieces into a full-fledged magnetic corner
- 5 Checking the accuracy of the manufactured magnetic angle
- 6 A few final touches to make the product aesthetically pleasing
- 7 How magnetic corners "work"
- 8 Let's sum up
What is required to make magnetic corners
A minimum of material for the manufacture of magnetic corners is required. Namely:
- a small piece of galvanized sheet steel;
- Neodymium magnets (available from your hardware store)
- three bolts with nuts.
There are also few tools that you need for work. Required:
- Bulgarian;
- drill;
- mounting square and pencil;
- screwdriver with pliers.
We start making a magnetic corner
First you need to mark the galvanized sheet. To do this, using a mounting square, mark an even square on the metal. Precision is needed here, all its corners must be perfectly straight. After marking, the square must be divided into two parts diagonally.
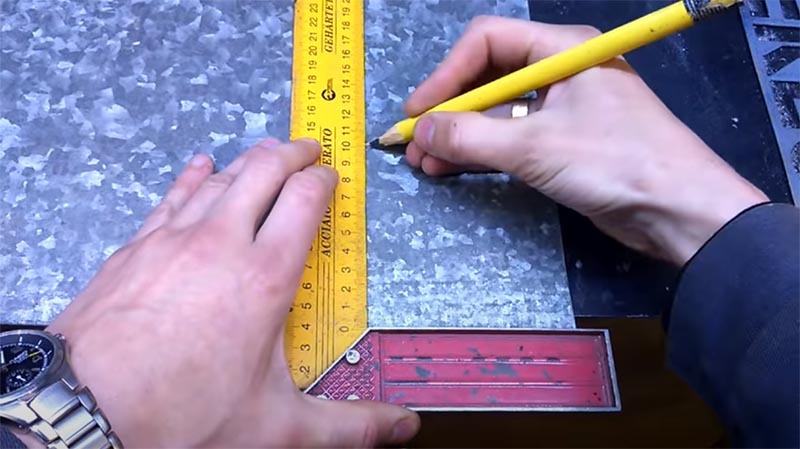
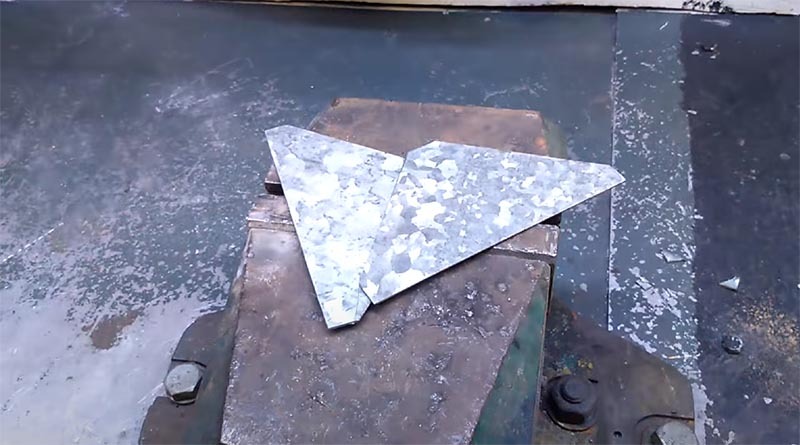
When the markup is done, we turn on the grinder to work. Using the angle grinder, you need to carefully cut the square and divide it along the marked line. In this work, the main thing is accuracy. With shaking hands, it's not even worth taking on such things.

We slightly process the resulting corners: they need to be chamfered to avoid injuries during further work. It is also necessary to cut corners that will interfere later if left.
Marking workpieces for tightening bolts
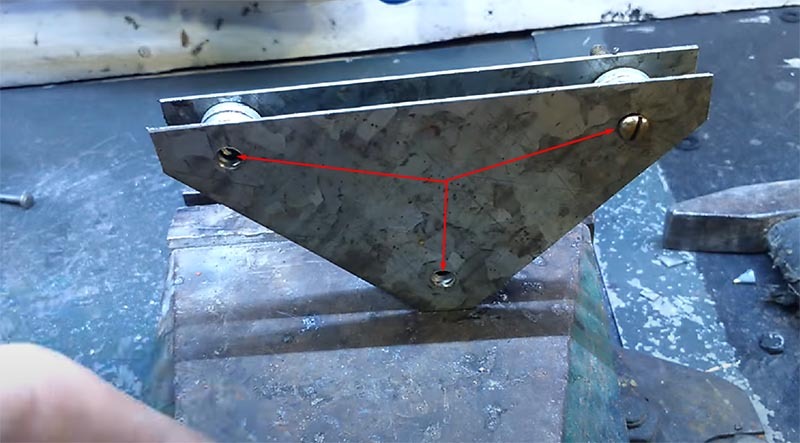
The workpieces will be connected with three screws and nuts. You will need to drill holes for them. You can mark them using the neodymium magnets themselves, if they are made in the form of washers.
Before drilling the holes, they need to be punched. In this case, the drill will not go to the side during work, which means that the elements will be perfectly aligned. This can be done with a center punch or a regular dowel.

Assembling workpieces into a full-fledged magnetic corner
When all six holes are drilled, you can start assembling the fixture. It is worth noting here that the force with which the device will adhere to the metal will depend on the number of neodymium magnets placed between the elements. If the magnets are made in the form of washers, you can install two or even three pieces per hole.

Having set the corner on a flat surface, for example, by attaching it to a vice, you can proceed with the final assembly. We insert screws into the finished holes, and from the back side we screw nuts on them. When the connections are tight, the excess screws protruding from the back can be trimmed with the same angle grinder (grinder).
Checking the accuracy of the manufactured magnetic angle
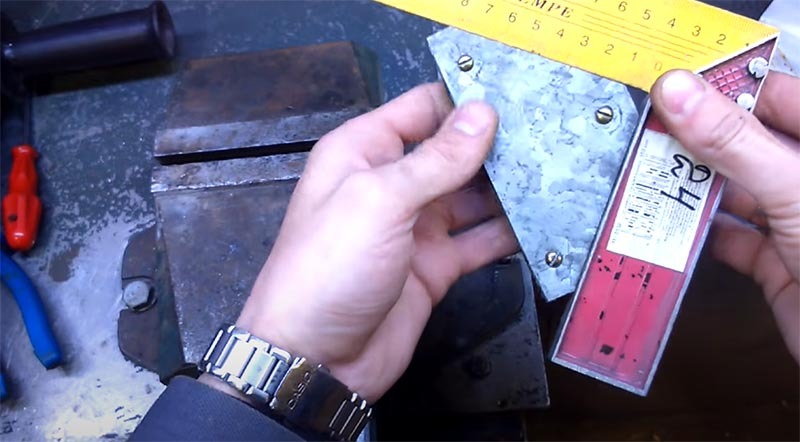
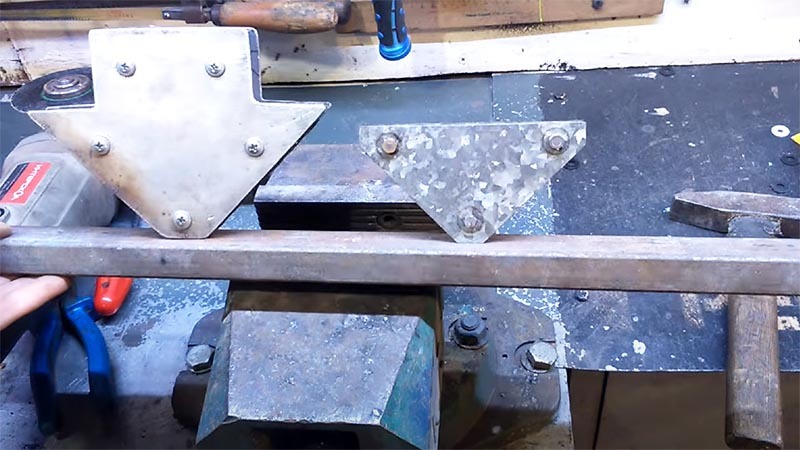
After the magnetic angle is finally assembled, it must be checked for accuracy. For these purposes, we use a mounting square. With its help, we check the correspondence of the corners and surfaces of the fixture. If necessary, we grind the galvanized metal.
A few final touches to make the product aesthetically pleasing
The next step is optional, but it will make the fixture neater. With the help of scissors it is necessary to cut off a strip of sheet aluminum equal in width to the distance between the plates. She needs to wrap neodymium magnets, covering them. And now the work on the manufacture of the magnetic corner can be considered complete.

How magnetic corners "work"
A self-made product will allow you not only to hold metal parts perpendicular to each other on a horizontal surface. With the help of magnetic corners, metal can also be fixed at an angle of 45 °, in addition, the parts to be welded can even be suspended. Although everything here will depend on the power and the number of neodymium magnets placed in the case.
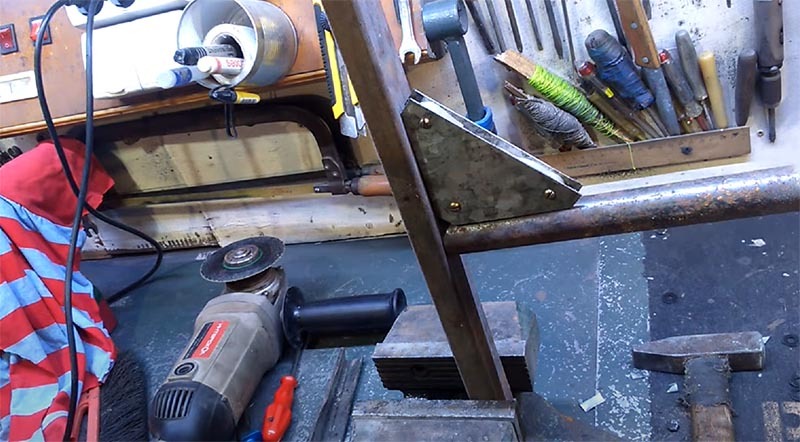
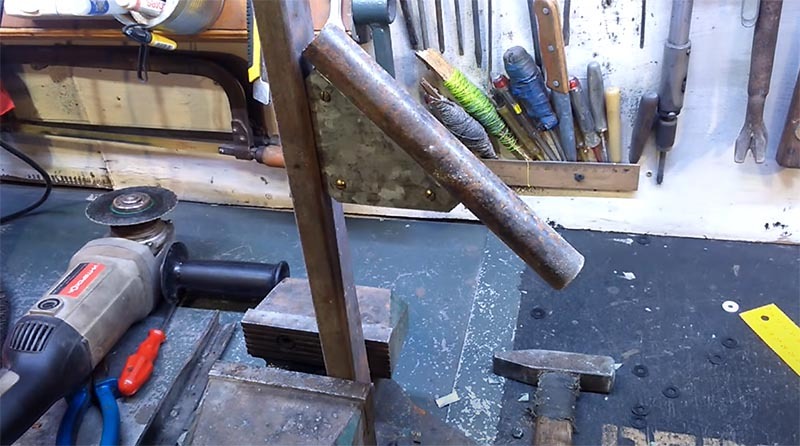
You can make similar devices and other shapes, as well as use thicker metal and heavy-duty magnets. Here everything will depend on the purpose of the magnetic angle and the size of the parts to be welded.
Let's sum up
The convenience of magnetic corners in the production of welding works is unlikely to be overestimated. However, it makes no sense to purchase such devices if the master is not professionally engaged in welding. And why, if you can make such corners literally in 15 minutes, without spending almost a penny on it. By the way, advice. Neodymium magnets can be found in old computer hard drives. True, the manufacture of one corner will require at least three hard drives. There are two magnets inside each of them.
We hope that today's tips for making magnetic corners will be useful to our dear reader. If you still have questions on today's topic, you can ask them in the comments below. HouseChief editors will definitely answer each of them. There you can also discuss the nuances of making and using magnetic corners or express your personal opinion about the rationality of such work.
If the article was interesting to you, do not forget to rate it. Your opinion is extremely important to us.
Take care of yourself, your loved ones and be healthy!


