On sale you can find sinks for the kitchen or bathroom made of various materials. However, if you buy a massive sink, even from an artificial stone (not to mention natural), you can really be left with a hole in your pocket. Prices for such products "bite". What if you want to establish such beauty, but there are not enough funds? The author of the YouTube channel knows the answer to this question. MrGerVisk, who is professionally engaged in the manufacture of concrete products at home.
Read in the article
- 1 How to start making a concrete sink
- 2 Material used for the manufacture of formwork
- 3 Filling the sink with mortar
- 4 Dismantling the formwork, preliminary assessment of the result
- 5 Roughing the resulting concrete sink
- 6 Sink finishing for various materials
- 7 Finally
How to start making a concrete sink
As with any casting, the manufacture of a sink begins with the formwork and the matrix. In order not to waste extra time on making a solid matrix (especially since a disposable form is required here), you can take ordinary foam as a material for it.
Assuming that all of today's work will be done at home or in a garage, all elements should be easily accessible. Let's try to understand what can be used in this case.

Material used for the manufacture of formwork
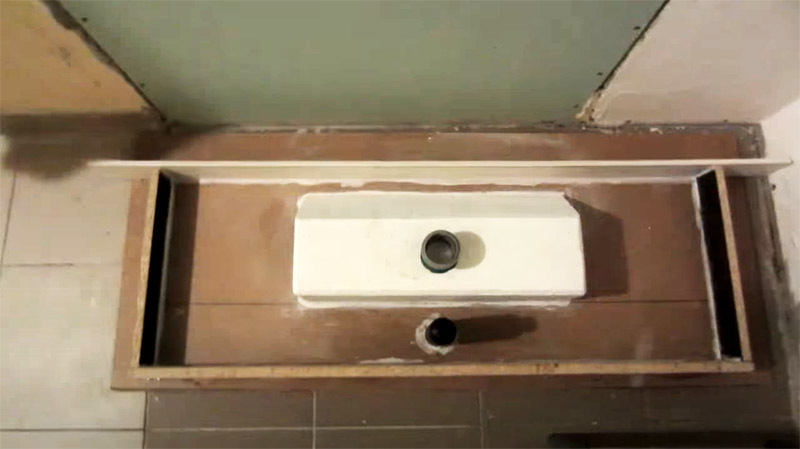
Formwork walls. There are no options here - laminate trimming. Narrow trims are no longer suitable for shelves or cabinet walls, but just right for formwork. Especially considering the smooth surface.
Bottom. Here, a good option would be to use fiberboard, with the obligatory sealing of the seams (joints) with silicone.
Matrix for the bowl. It requires material that can be easily removed from the finished sink. A good option in this case would be regular foam, which can easily be given any desired shape.
Forming holes for the drain and installing the mixer. And again the materials at hand. For the drain, you can use a piece of plastic sewer pipe with a diameter of 50 mm. Well, for the mixer, you can use a plastic bottle for hydrogen peroxide.
You will also need a plastic tank (50 liter canister), the top and bottom of which will have to be cut off. For what? This will be discussed a little later.
Filling the sink with mortar
The resulting formwork is filled with an ordinary mortar. The ratio of parts of cement to sand in it should be 1/3. The filling itself is done in two stages:
- A small layer is poured corresponding to the thickness of the planned countertop around the sink.
- Around the foam matrix, the walls of a plastic canister are installed, after which the solution is poured into it.
Thus, a monolithic structure is obtained.

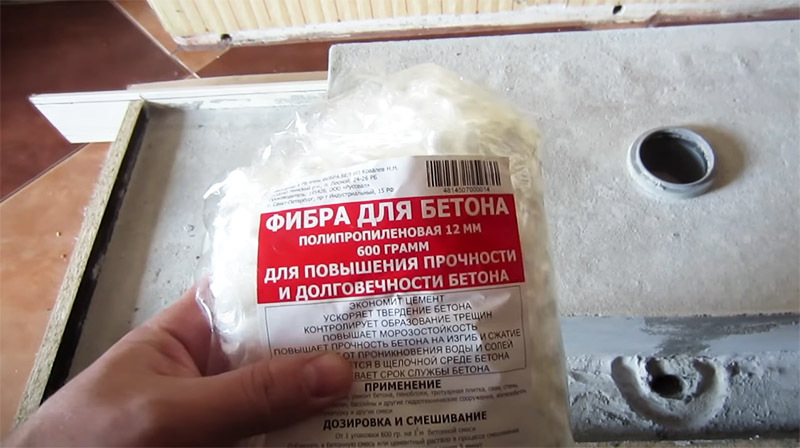
However, such a structure will not be very strong if it is not reinforced. And in view of the fact that it is inconvenient to use reinforcement here, you can use modern materials. Now we are talking about adding fibers to the solution during mixing, which will significantly increase the strength. It can be purchased at any hardware store.
Dismantling the formwork, preliminary assessment of the result
When the concrete is dry, the formwork can be disassembled. Having unscrewed the screws, it is required to remove the side walls. It will be extremely simple to do this, concrete does not stick to the laminated chipboard surface.
The lower part of the fiberboard formwork can stick to the mortar, but this will not be a big problem. Subsequently, the product will still need to be processed.
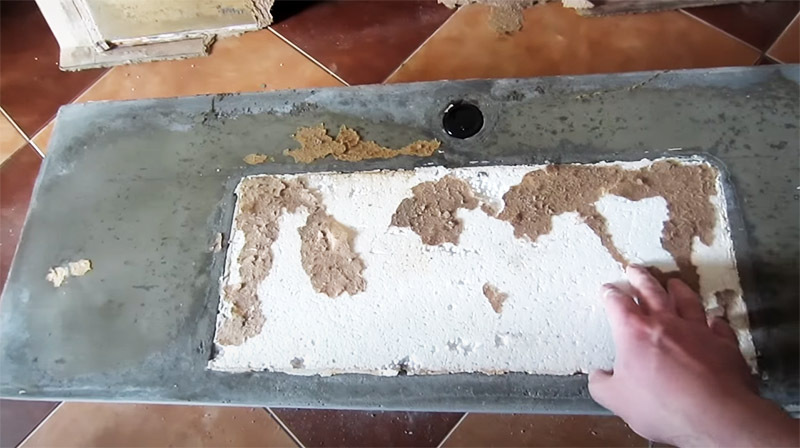
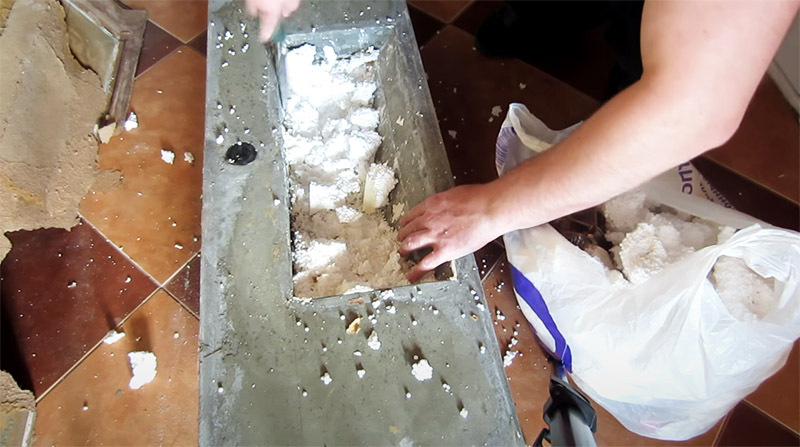
Styrofoam crumbles easily, which means that if you pick up a simple chisel, it can be removed from the inside of the sink within five minutes. Therefore, it is not worth stopping at this stage for a long time.
Roughing the resulting concrete sink
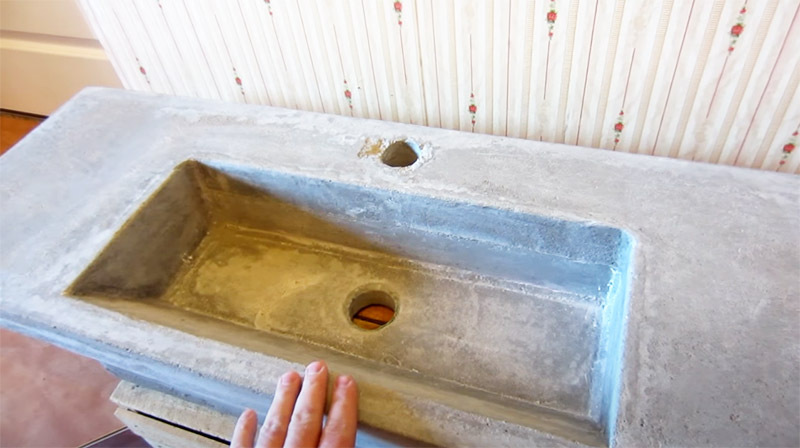
At the last stage, it is necessary to remove the plastic plugs from the concrete, which form the required holes. During this work, slight damage to the concrete is possible, but this is not a big deal. Further processing will hide all the flaws.
After the plastic elements have been removed, the entire surface of the sink should be treated first with coarse and then fine sandpaper.
Sink finishing for various materials
Starting to finish the sink, the first step is to cover all chips and flaws with a waterproof putty, best of all on an epoxy basis. After it has dried and finished with sandpaper, you can apply a connecting compound to the resulting product (Betonkontakt is suitable) and leave it for a while.
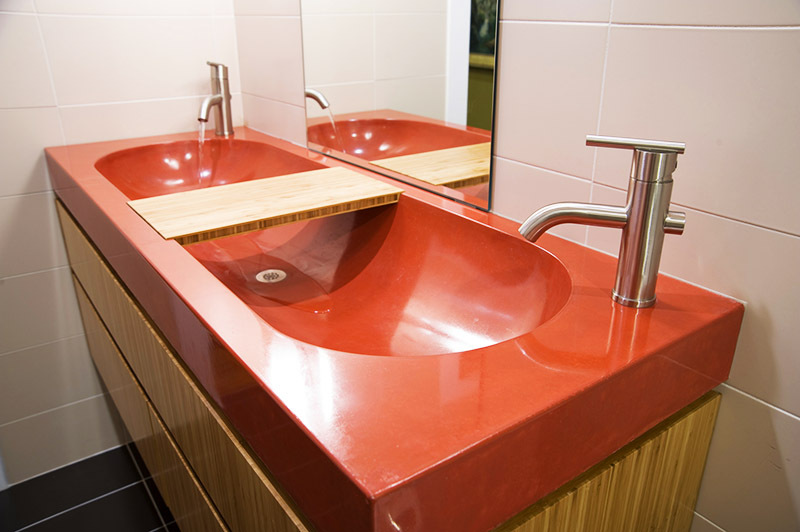
The choice of material for giving the sink the final look depends entirely on the preferences of the master. It can be acrylic, artificial stone, or even epoxy. How to work with each of these materials can be found in the manufacturer's manual.
The final result will depend on the material chosen by the master and the quality of the work performed. We suggest considering several options for ready-made products by home craftsmen.



Finally
A simple job of making a concrete sink cannot be called. In addition, it should be remembered that the weight of such equipment will be very impressive. So you need to think about reinforcing the floor. Moreover, in some cases, the installation of such a heavy element will be completely impossible. However, if it is decided to make and install such a sink, the owner will definitely not regret it. And in terms of cost, a home-made sink will cost dozens of times cheaper.
We really hope that today's article was not only interesting, but also useful to our dear reader. HouseChief editors will be happy to answer any questions on the topic if they arise in the process of reviewing the information provided. You just need to explain their essence in the comments below. There you can also discuss the rationality of making concrete sinks with your own hands or share your personal experience, if any.
If the article was interesting to you, do not forget about the ratings. Your opinion is very important to us.
Take care of yourself, your loved ones and be healthy!


