
The platband is an integral part of the door frame, which gives an aesthetic appearance. However, this element is very often scratched and wiped off, which means that it needs to be replaced. And here the main task is to cut it off at an angle of 45 °. Such work is quite simple if you have a miter box at hand, but what if you don't have one, but you need to do it urgently? In today's article, we will just talk about the simplest ways of sidetracking at 45 °, even without experience, using available tools and materials. But for starters - the simplest option using a tool such as a miter box.
Read in the article
- 1 Using a miter box in cutting platbands
- 2 What to do if a suitable tool is not available
- 3 Another way of applying markings on platbands
- 4 The nuances of cutting and fastening various types of platbands
- 5 The simplest paper template for foam baguettes
- 6 Methods for fixing the trimmed platbands to the door frame
- 7 Final part
Using a miter box in cutting platbands
Such a device as a miter box is very convenient to use, moreover, it is inexpensive. Therefore, if possible, it is better to purchase it in advance, it will not take up a lot of space in the pantry. Most often, the miter box is sold together with a thin hacksaw, which makes it easier to cut the platbands. If it is absent, then you should not use an ordinary hacksaw with a wide set for cutting. A hacksaw for metal is best suited for this purpose, the cut with its help will turn out to be more accurate.

What to do if a suitable tool is not available
In this case, you can use a regular school protractor. It makes it easy to measure angles. However, a protractor may not be at hand if there are no schoolchildren in the house. In this case, ordinary tile will help out, with which a strip is drawn at a right angle, after which it is divided in half. The cut is best done from the front, using a hacksaw across the entire plane.

You can also use a regular ruler for marking - the risks will be much more accurate than using tiles.

Another way of applying markings on platbands
Another way, which also gives almost perfect results, is in-place markup. Here you need long finishing studs for work. With their help, the lateral platbands are first slightly nailed, and then the upper horizontal one. They should be slightly longer than the box.

Further, with a pencil, marks are made at the intersections so that the corners converge. It remains to dismantle the cash, draw lines along the marks and cut. It's pretty simple.
The nuances of cutting and fastening various types of platbands
It is worth considering just wooden platbands as the most commonly used ones. They can be divided into 3 types - undercut, undercut and telescopic.

The former require a 45 ° cut, and have already been discussed today. It is much easier to work with uncut ones, it is enough to have a square on hand. They are cut at right angles due to their shape, although no one forbids cutting them at 45 °.
Telescopic - their design is more complex, but here you can hide a slightly uneven cut using special connectors. Such platbands can be compared to plastic skirting boards.

The simplest paper template for foam baguettes
In today's step-by-step instructions, everything will be explained using the example of foam ceiling moldings, however, similar tactics can be used to file corners on wood or plastic platbands.
| Illustration | Action being performed |
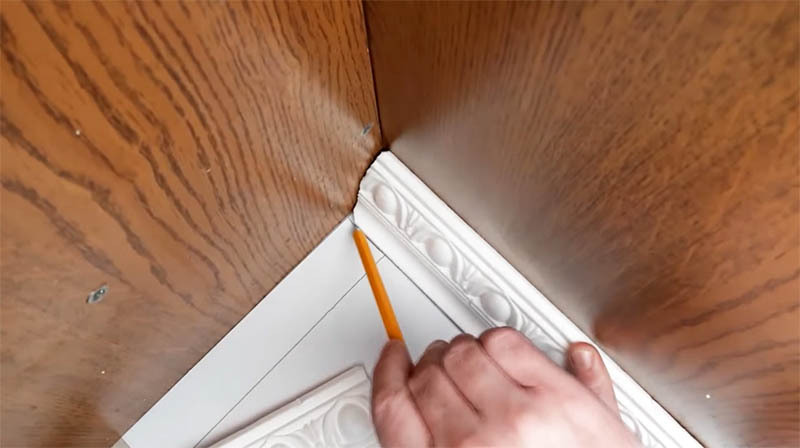 | To begin with, an A4 sheet is laid on the floor, after which the trimmed parts are outlined on both sides of the corner to their full width. Everything is elementary here. |
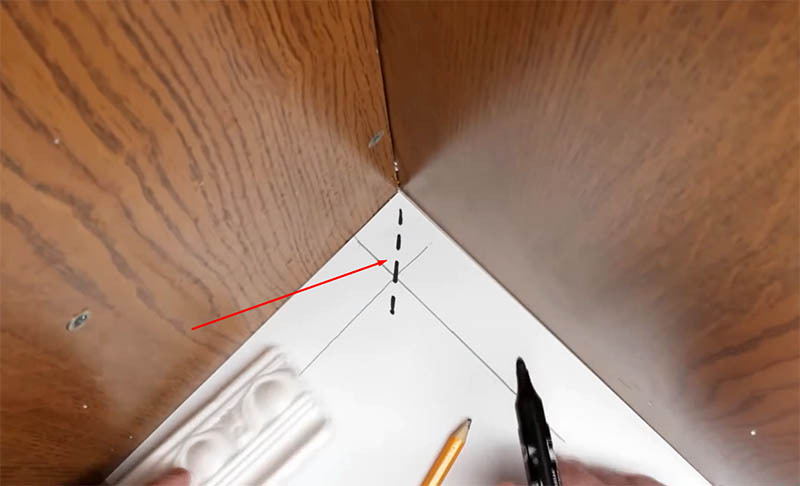 | Next, a straight line is drawn along the diagonal of the resulting square in the corner of the sheet. She will designate the angle we need. |
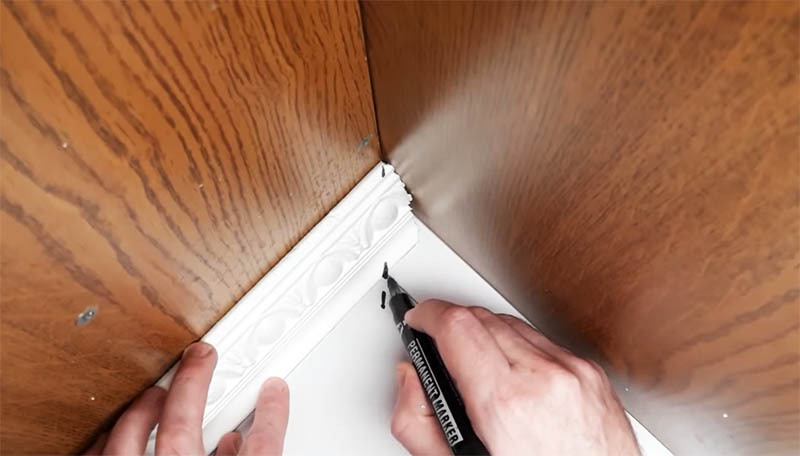 | Now you need to lay the baguette or platband on the sheet, and then mark the upper and lower risks. The final result will depend on the accuracy of the mark. |
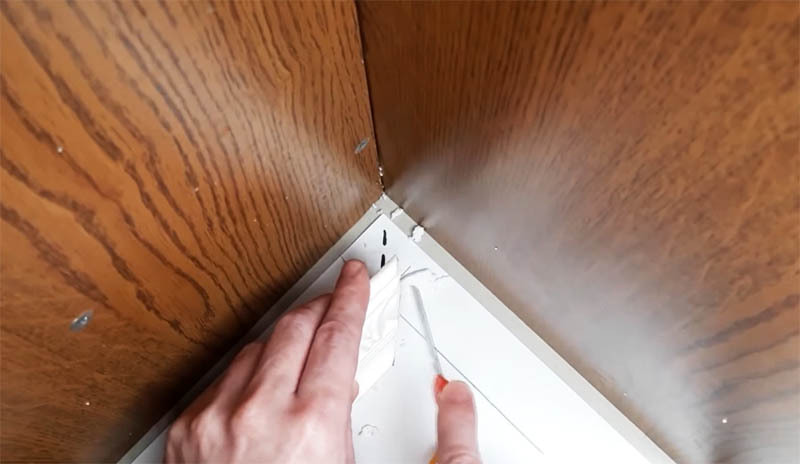 | The element is cut in a straight line from one line to the next. The same procedure is carried out with the second matching element. |
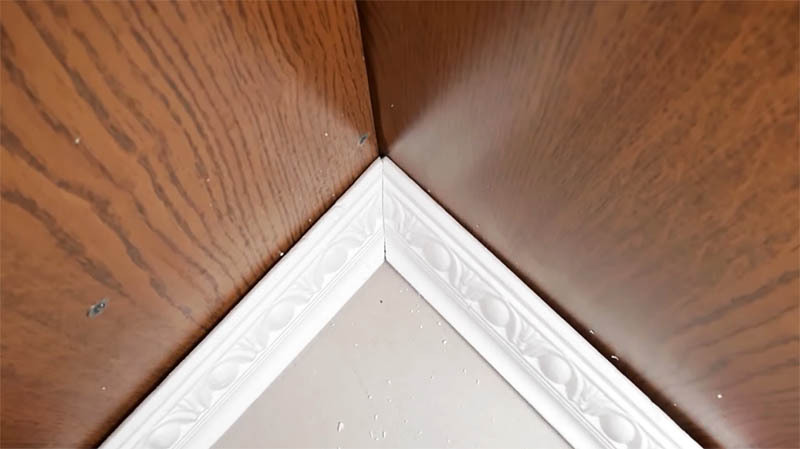 | It remains only to combine the details with each other. Cheap and cheerful, and most importantly - fast. |
Methods for fixing the trimmed platbands to the door frame
The fastening of platbands to the door frame can also be varied. The simplest is to attach telescopic platbands. The main thing here is to properly cut the elements to size, and then simply insert the cashing spike into the groove of the box. Additional fixation is usually not required.
Other types of platbands can be fixed with finishing nails. They have practically no hat, and therefore they will be completely invisible. The next option is self-tapping screws. There is also a nuance here - you need to think about how to hide them. Otherwise, the hats will spoil the appearance.
A separate option is to note the fixation on liquid nails. But, despite the simplicity of such fixation, it has its own drawback - if it is necessary to replace the platbands you can face the problem of dismantling, while the previous options make it easy to remove elements.
Final part
The installation of platbands cannot be called too simple, especially if the home craftsman does not have experience in this area. However, with due diligence and accuracy, anything is possible. If the home craftsman doubts his abilities, it is better to seek help from specialists. After all, having cut off the extra half a centimeter, you can completely ruin the linen of the casing. At the same time, it is not a fact that the store will find the right color. If the master decided to do all the work on his own, then the best option would be to first practice on unnecessary boards.
We hope that the information presented today will be useful for novice home craftsmen. The editors of our online magazine will be happy to answer your questions, if any, during the reading process. You just need to state them in the comments below. There you can also share your way of washing down the platbands at the desired angle. If you liked the article, do not forget to rate it - your opinion is extremely important to us. And finally, as has already happened, we bring to your attention a short video that will help to more fully reveal today's topic. Take care of yourself, loved ones and be healthy!