Dishes are expendable, whatever one may say. The most fragile items are cups, that's a fact. And one more fact: it is the cups that are the favorite dishware, which everyone prefers to select individually. Personalized, with a special pattern, the size convenient for you. It is insanely insulting when your favorite mug breaks down due to negligence. But don't rush to buy a new one. You can easily make yourself an exclusive version using the material at hand - a glass bottle. Moreover, it will be extremely durable, while a beautiful little thing that will serve you for joy for many years. A master class on this topic was prepared by the author of the YouTube channel Edyak K The procedure is quite simple, and you can easily cope with it yourself.
Read in the article
- 1 Preparing a base from a regular wine bottle
- 2 How to make an unusual handle from the neck of a bottle
- 3 Assembling a miracle mug and its additional decor
Preparing a base from a regular wine bottle
However, modern wine bottles cannot always be called ordinary. Wine producers strive to outstrip the competition by packaging their products in high quality glass of various shapes and colors. So if you want to look for something completely non-trivial, it will not be difficult.
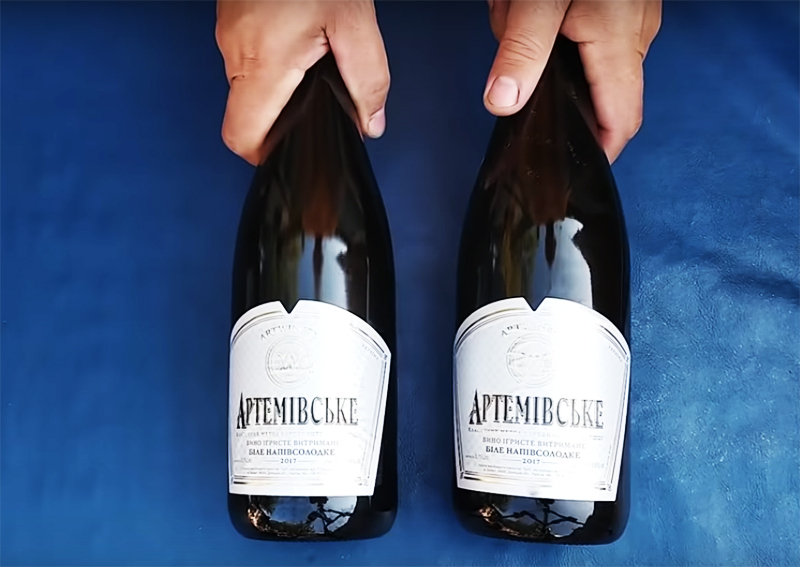
It is best to do this in warm water, brush and detergent. Let the paper soak first and then scrape it off the glass with any suitable tool.
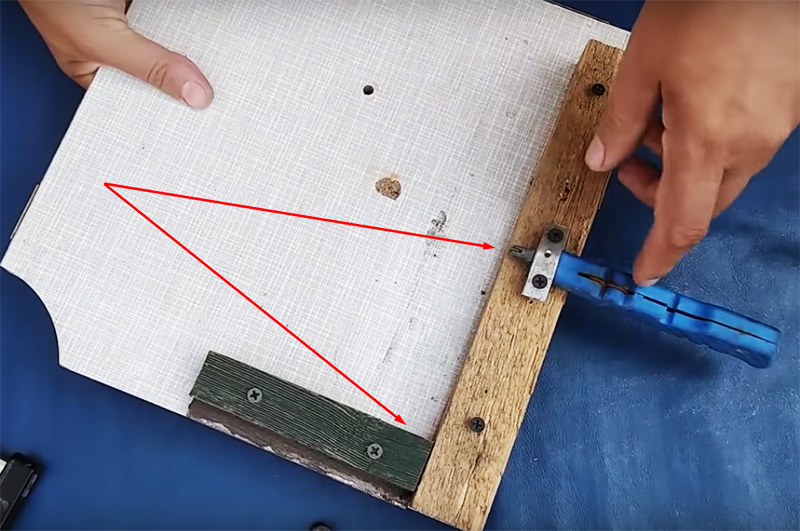
This is a board with a protruding corner of a bar and a glass cutter fixed at the required distance from the corner.
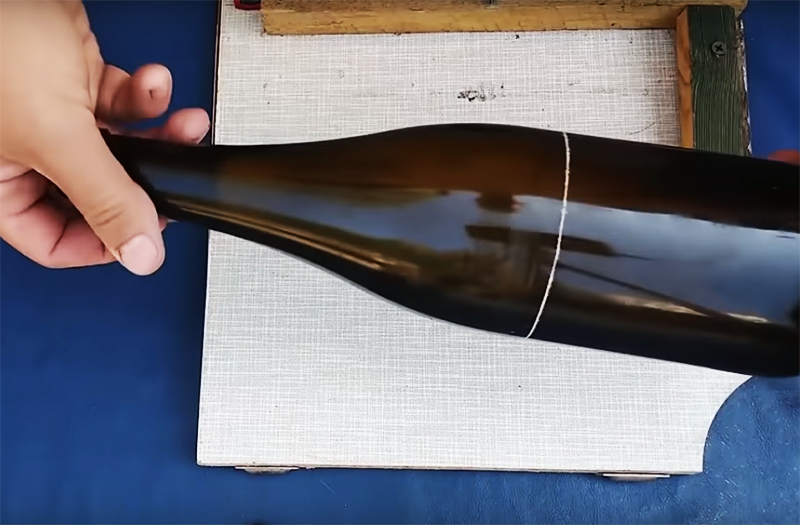
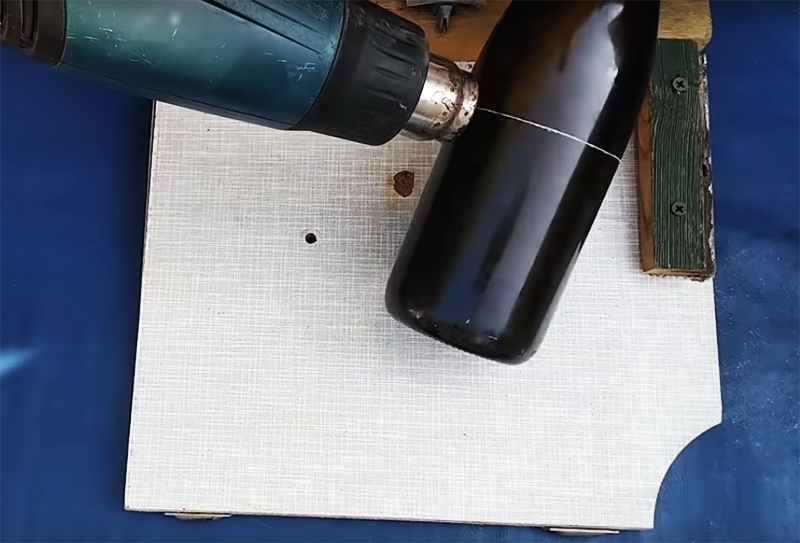
This can be done in boiling water or with a hair dryer. Pay special attention to warming up the line marked for cutting.
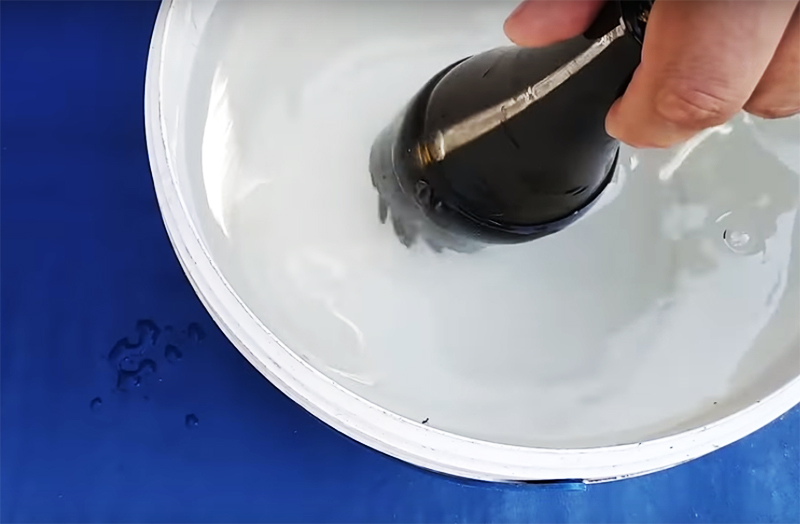
If it doesn't burst right away, tap lightly on the cut line. It is possible that the procedure will not work the first time, you can again heat up and sharply cool the container.
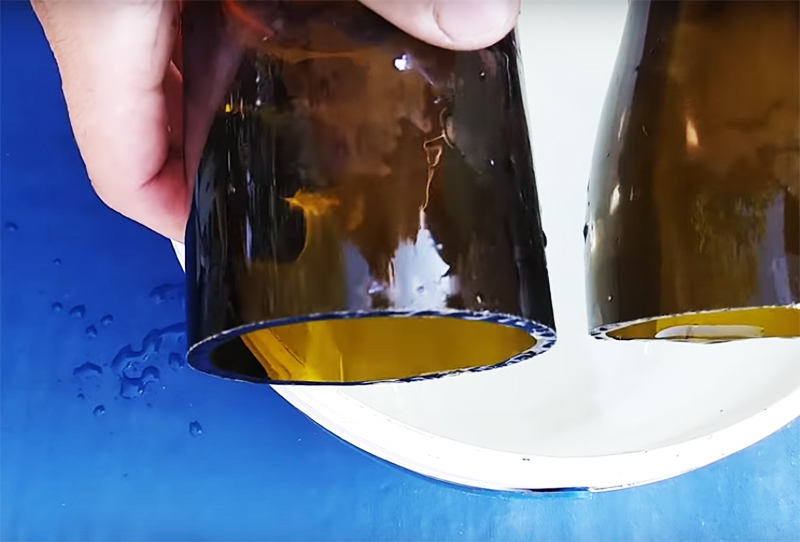
Please note: the bottle glass is quite thick, so in any case there will be some irregularities on the cut, which need to be removed by subsequent grinding.
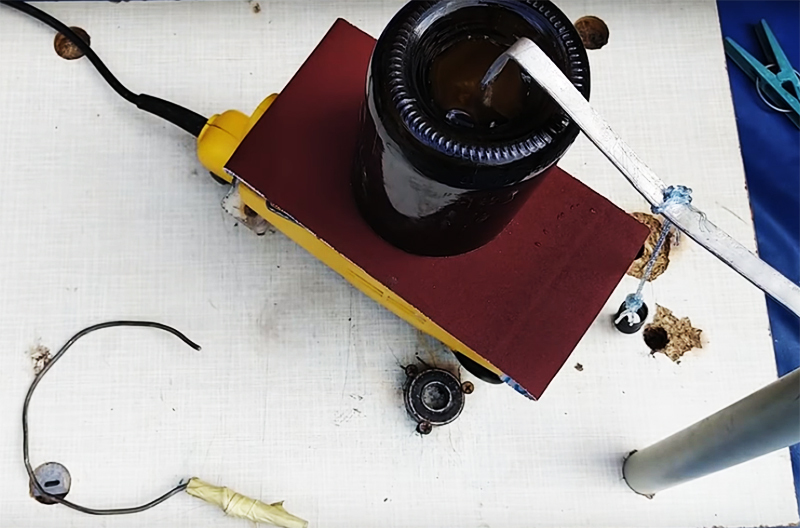
The author mechanized the process by assembling a simple machine from an ordinary grinder. He fixed the machine with the sole upward on the table, arranged a lever for supporting and pressing the workpiece in an upright position. All you need to do in this treatment is to add a few drops of water.
How to make an unusual handle from the neck of a bottle
Since we are talking about recycling glass containers, it makes sense to make a handle for a future mug from the same raw materials. The most suitable option is to use the narrow part of the bottle neck. You can cut this part using the same algorithm as when forming the main container. That is, draw a line with a glass cutter, heat and cool sharply.
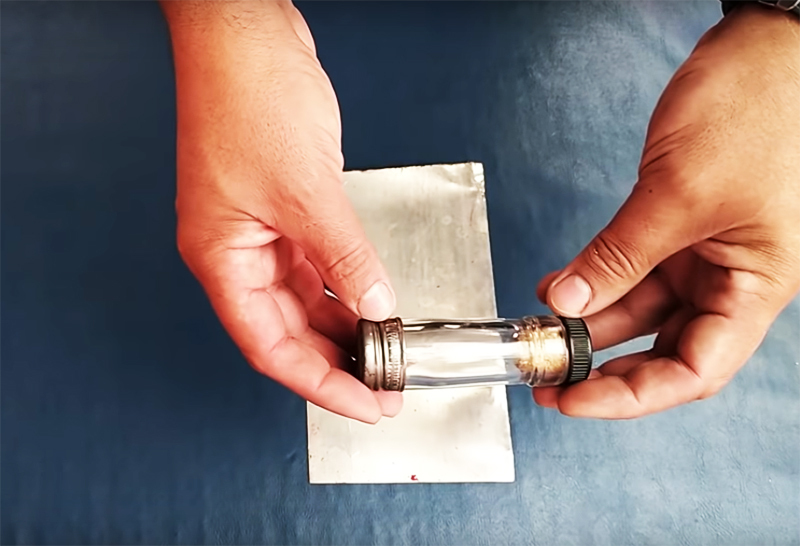
Put on covers on both sides of the workpiece, preferably metal. On the one hand, the cover will easily be fixed on the screw, and on the other, you will need to glue it with a suitable compound.
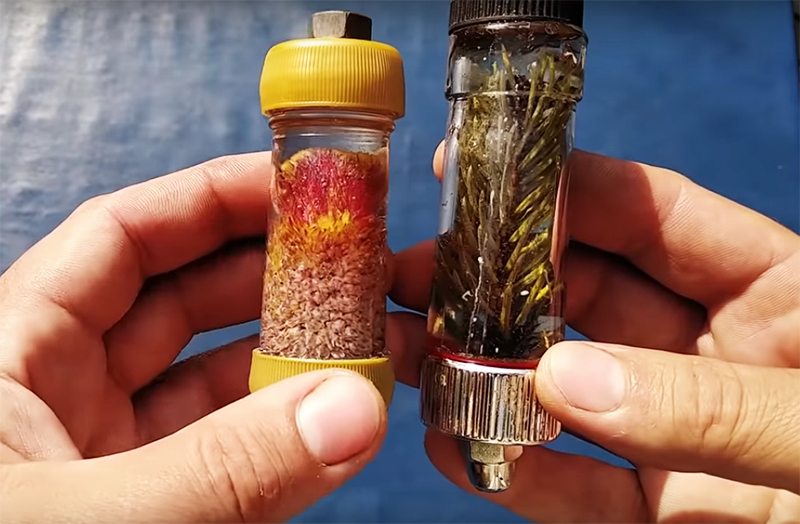
These can be plants preserved in glycerin, colored sand, shells, small stones. In order for the handle to attach to the mug, you need to prepare a metal bracket that connects both ends of the workpiece.
Assembling a miracle mug and its additional decor
The most difficult task is to decide how to attach the handle to the glass mug. Adhesives, as a rule, fail, and over time, even the most expensive and reliable glue loses its qualities under the influence of moisture and temperature drops. The author of the master class came up with a simple and original way out of the situation.

Pick up bottles of such volume so that they fit on the blank.
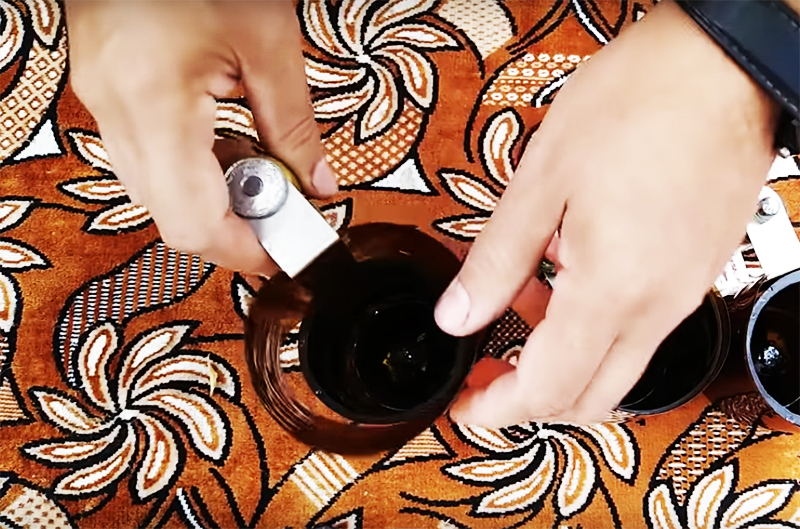
Then put plastic on the main part of the product.
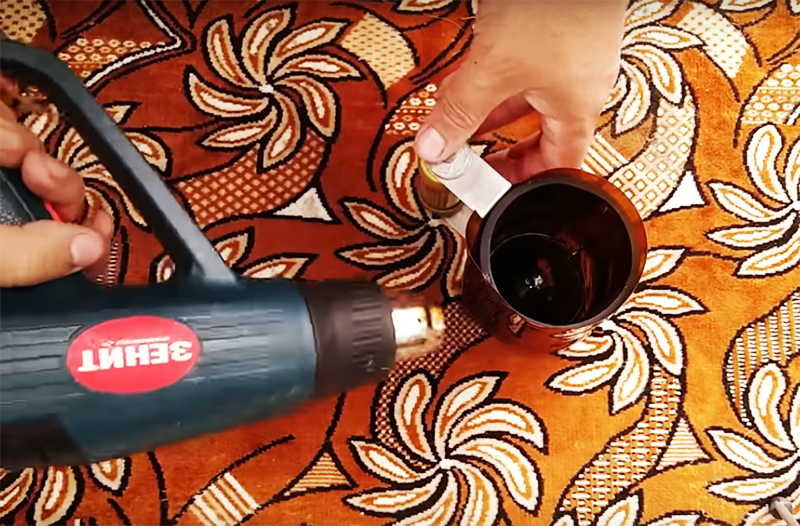
When exposed to high temperature, it will shrink and grip the bowl tightly, while firmly pressing the metal bracket of the handle. If you don't have a hair dryer, you can simply lower the workpiece into boiling water, the effect will be the same.
Please note that the plastic bezel should be slightly larger than the height of the mug, then the plastic will "embrace" not only the side walls, but also partially the bottom and rim of the mug. Then the bezel hidden under the plastic will surely not accidentally cut anyone.
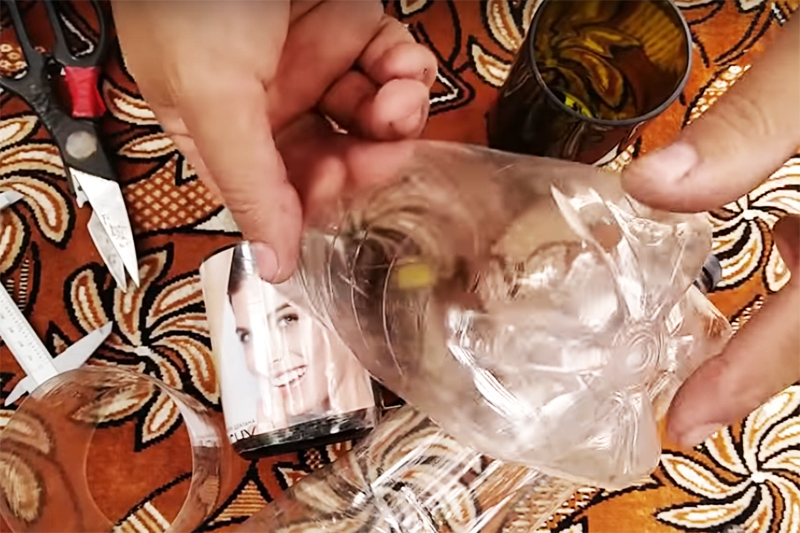
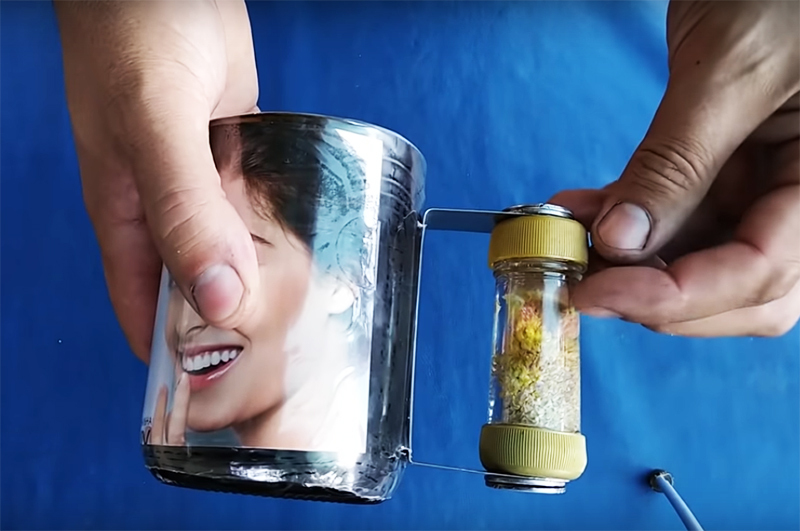
And do not be confused that it is made of glass. Thanks to the plastic sheath, these mugs do not break even when dropped on concrete or stone tiles.
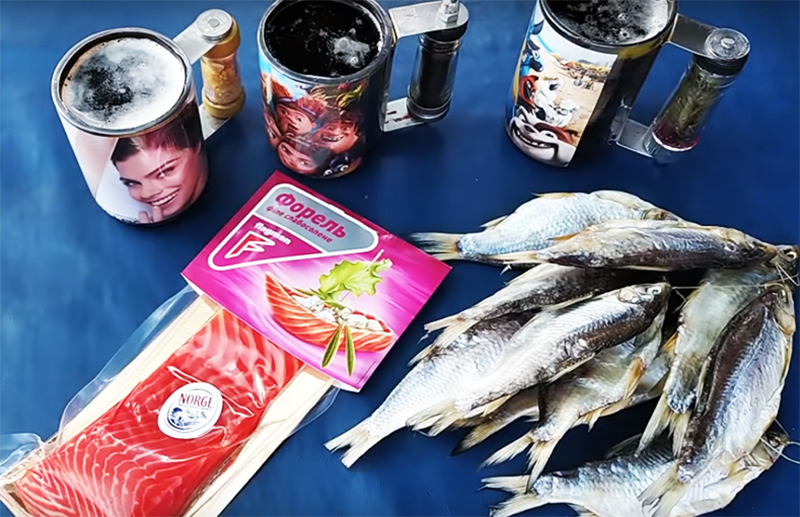
Such original products can also become a personalized gift.
As you can see, there is nothing difficult in making a mug from a glass bottle. Using the same algorithm, you can make a vase, sugar bowl, tureen, and much more. As an addition to this material, we suggest you watch another option for making dishes from bottles in a video master class:
Would you like to try this experience again? Write about it in the comments. Maybe you have your own ideas for decorating bottles or making new dishes from them? Send us your photos with a description. Your master class will certainly reach our readers!

