We are accustomed to the fact that used batteries, if they are not rechargeable batteries, can only be thrown away. But, as it turned out, batteries can be used to make a lot of useful things that will come in handy for a home craftsman. A particularly interesting option can be called the method proposed by the author of the YouTube channel AutoHackwho used an old battery to make a small welding machine. Of course, they cannot weld large parts, but such a device is quite suitable for small elements.
Read in the article
- 1 What is required to make a mini welding machine
- 2 Dismantling the battery, and how to do it right
- 2.1 Removing the graphite rod
- 2.2 What to do if the rod won't pull out
- 3 Making a mini-welder from a used battery
- 3.1 Making an electrode from a graphite rod from a battery
- 3.2 The final stage of assembling a mini-welding machine
- 4 Checking the assembled mini-welder for operability
- 5 Some safety rules for working with a graphite electrode
- 6 What results to expect from a mini machine
- 7 Finally
What is required to make a mini welding machine
Parts, as well as tools, will require a minimum to make such an apparatus.
In addition to the screwdriver, pliers and side cutters, you will need to prepare:
- 2 small pieces of thin welding cable;
- an ordinary battery that has been used up;
- screw terminal;
- working battery from a car for 12 volts.
Surely a similar "set" can be found in any garage. As for the time, the whole work will take no more than half an hour.
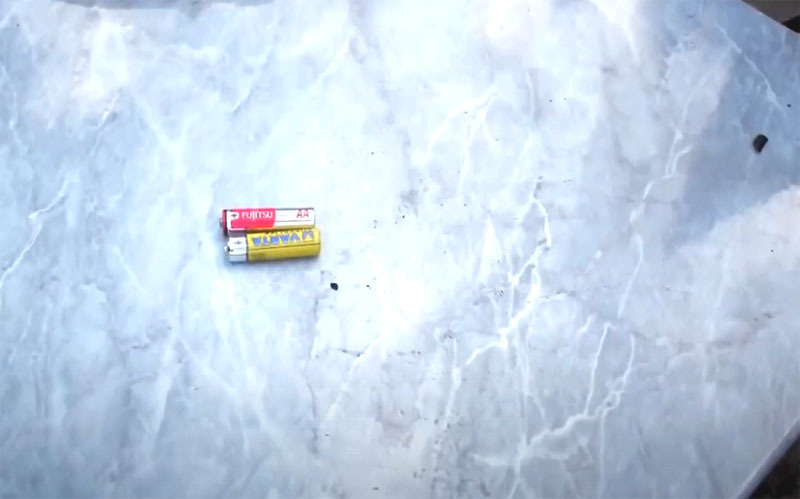
Dismantling the battery, and how to do it right
For today's example, two batteries were taken for a reason. The fact is that in the absence of experience, disassembling the element, you can easily damage the graphite rod, and it is it that is needed for the manufacture of a mini-welding machine.
The battery should be disassembled from the plus side. First, with side cutters, the outer tin shell is removed, under which there will be another one. They are different for different batteries. For example, in the simplest, saline, this shell is made of zinc. However, it doesn't matter now. The main task is to get to the graphite rod.
It is very important to observe basic safety rules during such work. A glove would be useful, at least on the hand that holds the galvanic cell. Even in the absence of the danger of burns, hands after work simply do not have to be washed of graphite.
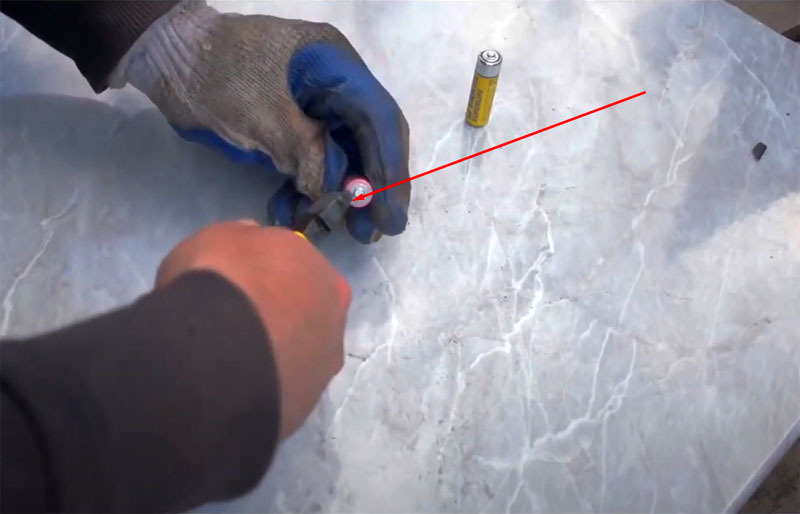
Removing the graphite rod
After the shell of the electrochemical cell has been removed, it is necessary to remove the sheet metal plate and the plastic O-ring from the positive side. This will loosen the graphite rod a little. It will stick out about 2mm, which is enough to hook it up. It should be noted that you will need to be very careful here. It is pulled out using pliers with a slight rotation. But if you overdo it, the core may well crumble.
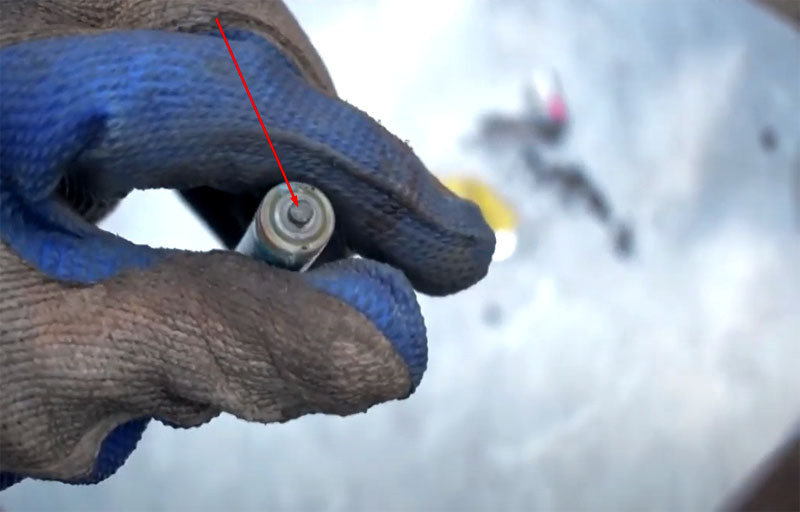
What to do if the rod won't pull out
There are times when it is not possible to pull out the rod. In this case, proceed as follows. Using the same side cutters, it is necessary to carefully tear off the shell remaining on the galvanic cell, and then completely disassemble the battery. With such work, you need to be prepared for the fact that there will be a lot of debris, which is not easy to remove from surfaces. Therefore, it is better to spread a film or newspaper on a table or workbench in advance. At the end of the disassembly, the substrate can be simply rolled up and discarded.
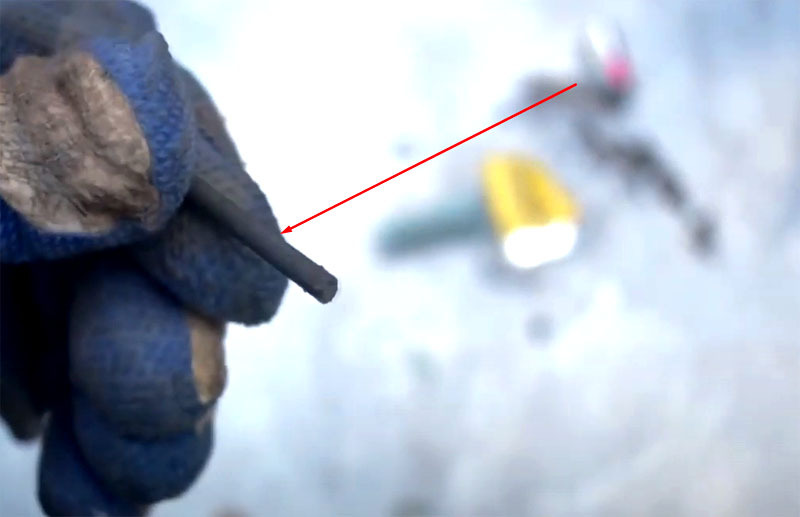
Making a mini-welder from a used battery
For further work, you will need a working charged car battery. It doesn't have to be new. The capacity also does not matter, but it should be understood that if he has worked out his (although the charge is still holding a little), then this parameter will still play a role. In this case, higher capacity is a priority.
One more nuance. The larger the battery, the less heat it will run on. Although the mini-welding machine is not intended for long-term work, it is still worth paying attention to.
A 12V battery is required to power the mini welding machine
Making an electrode from a graphite rod from a battery
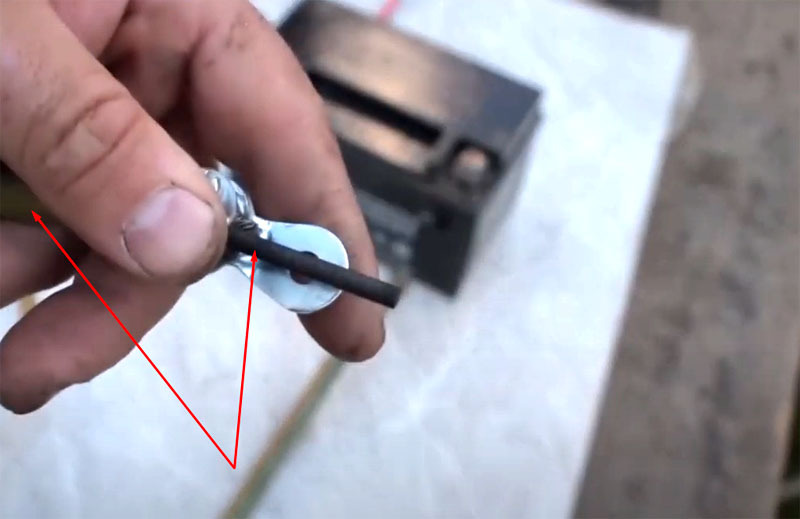
Now you need to make an electrode for a mini-welder. For this, the graphite rod from the galvanic cell is clamped using a screw terminal block, connected to the welding cable. In this case, the clamping screws should be tightened thoroughly so that there is as close contact as possible. However, here, too, there is a "double-edged sword". If you overdo it when tightening the screws, the graphite will simply crumble.
The final stage of assembling a mini-welding machine
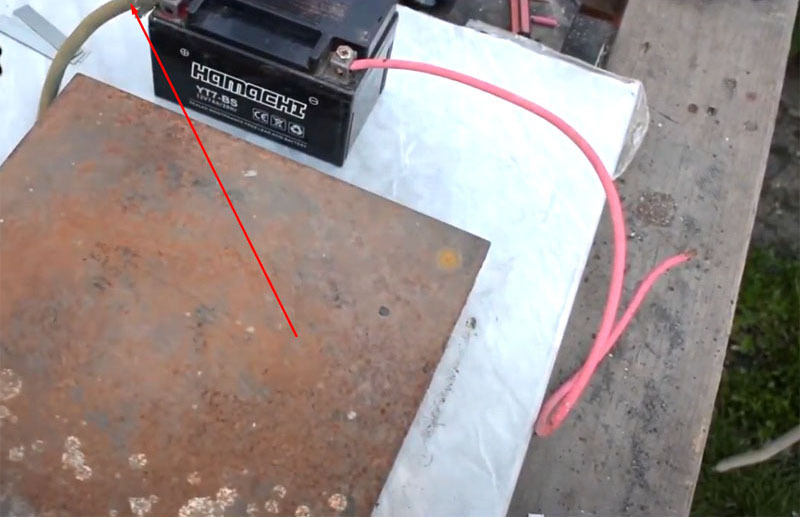
A couple of final touches remain, and the device will be completely ready. A steel sheet is laid on a workbench, on which tests will be carried out, a charged battery is installed next to it. A welding cable with an electrode fixed to it is connected to its positive terminal. The second piece of cable is connected to the negative terminal of the battery - this will be the mass. It is very important here not to mix up the polarity. Otherwise, the electrode will stick to the metal, you can not talk about any normal welding.
Checking the assembled mini-welder for operability
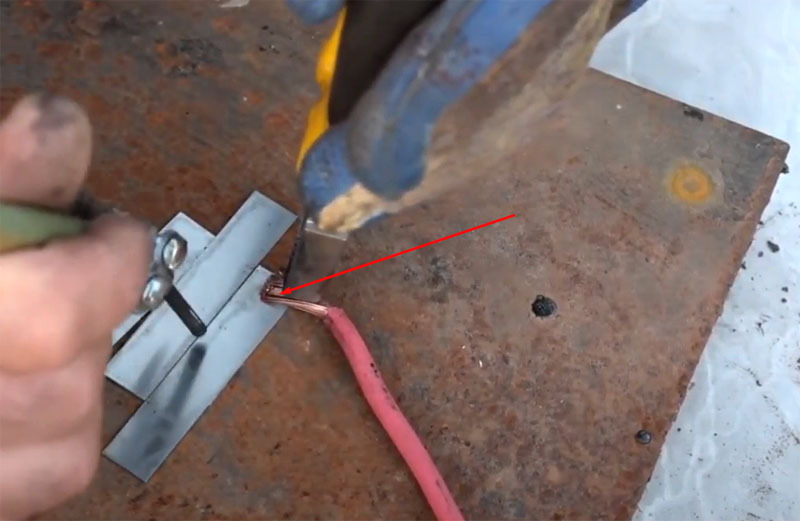
To test the performance of the mini-device, you can use any thin metal with a thickness of no more than 1 mm. The plates are stacked close to one another on a steel sheet. After that, a negative cable (mass) is pressed against one of the plates. In order for the connection to be as tight as possible, it should be pressed with pliers. But care should be taken to ensure that the insulation of the tool handles is not damaged.
The electrode, which is fixed to the positive lead, can be held directly by the insulated part of the cable.
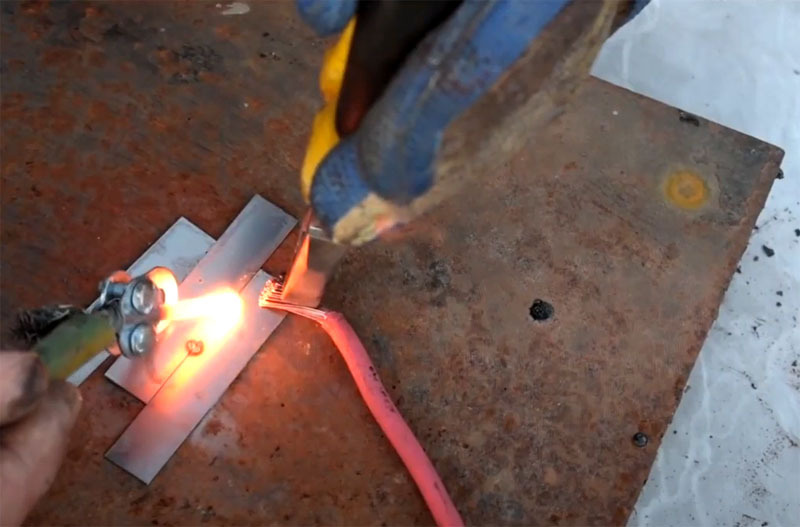
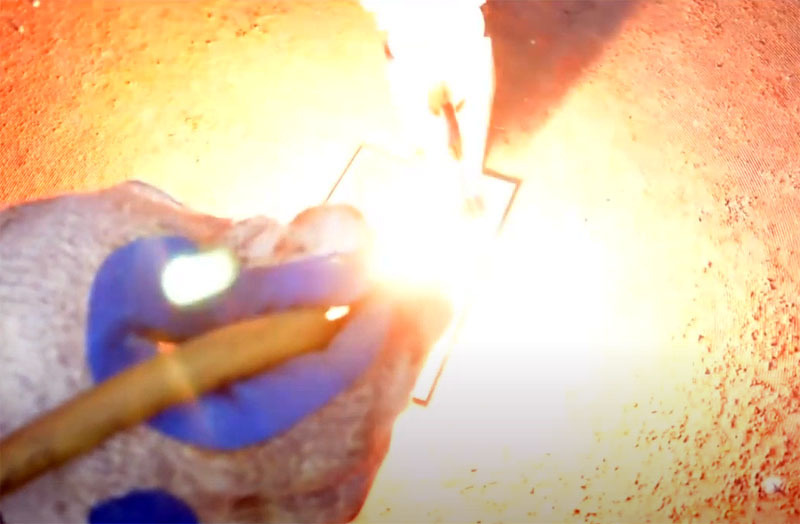
When in contact with metal, the electrode heats up strongly, as a result of which the metal begins to melt and weld. During the first check, the graphite electrode may catch fire. You should not be afraid of this. When the remainder of the electrolyte burns on it, the flame will disappear.
It is very important not to overload the battery during the welding process. The fact is that welding itself is a short circuit, which inevitably leads to heating of the battery. And if the battery overheats, at best it will simply fail. Therefore, such a mini-welding machine is intended only for small jobs. However, it is not designed for long-term work. The battery requires periodic rest and cooling. Cases when the battery exploded during operation are not yet known, however, "God protects those who are saved." It is better not to bring it up to maximum overheating.
Some safety rules for working with a graphite electrode
Depending on the thickness and length of the wires, the heating of the graphite electrode may differ. However, in any case, eye protection should be considered when welding metal elements. Of course, the welding mask is completely out of place here, but the dark goggles used for argon welding will not interfere. Indeed, the brightness of the luminous flux from a heated graphite electrode can be very strong.
What results to expect from a mini machine
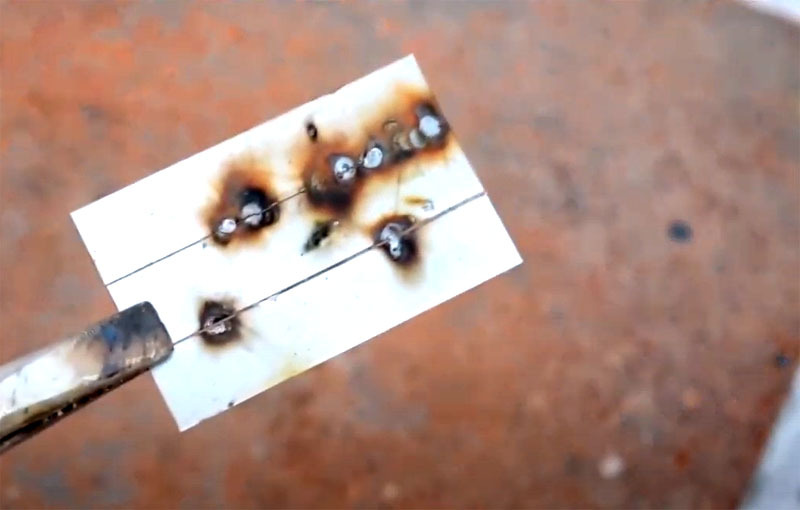
This is not to say that the first time the master will get perfect welding, however, the joints made with the help of such a mini-apparatus are quite strong. At least, it is unlikely that they will be able to break them easily. The photo below shows the weld spots, hastily made for verification. This is not ideal, but if you look closely, you can see that the metal has fused, and the plates are connected into a single whole. But it is for this that today's homemade product was conceived.
Finally
If you think about it, it turns out to be a good device for small jobs. For some craftsmen, such a mini-welder can really become indispensable. Considering that you don't need to spend a penny to make it, this is a really good device.
We hope that the instructions in today's article will be useful to you. Any questions that arise in the process of reviewing the information can be asked in the comments below. HouseChief editors will be happy to answer each of them. If you liked what you read, do not forget to rate it. Your feedback is extremely important to us. Take care of yourself and your loved ones!
