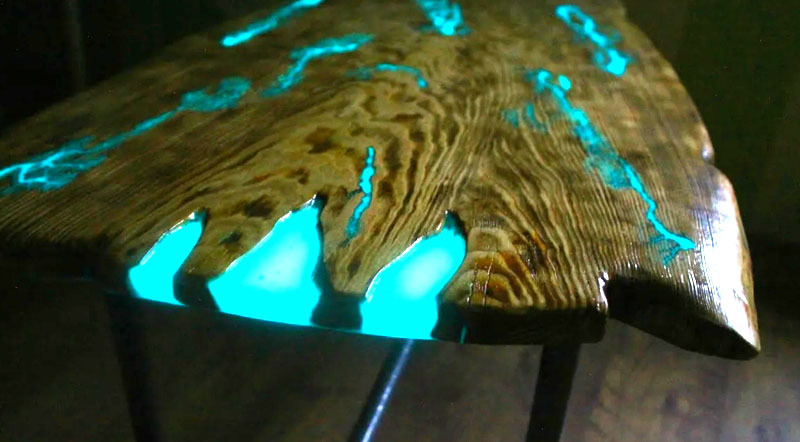
A table in the house is a piece of furniture that always unites everyone, evening gatherings, dinner parties, card games or educational games with the family. What if you add an element of magic to the traditional pastime? This is how you can call the idea of creating a real luminous table using epoxy and an ordinary raw wooden saw cut. And it was implemented by the author of the YouTube channel How to made. We will show the result of his work in our small review.
Read in the article
- 1 Why epoxy resin
- 2 Preparation of raw materials and necessary materials
- 3 Stages of work on the assembly of the countertop
Why epoxy resin
Epoxy resin is considered an excellent material for repairing products from wood. With its help, you can put in order a broken table or a burst stool, as well as a tabletop that has fallen apart from time to time. It is a truly versatile building product that goes well with natural decorative elements and artificial blotches. In addition, different types of wood can be used with epoxy. It can be cuts, trimming boards and logs. The design of the product can be supplemented with spruce branches, pebbles, shells, corks and coins.
Preparation of raw materials and necessary materials
Before proceeding with the pouring of the mixture, it is necessary to prepare the wooden base of the countertop. To do this, it is cleaned grinder. The old base is removed and varnish, paint residues.
It is best to rent a tool, it will come out cheaper, and you will get the desired result. For work, you will need an electric drill (it will help to make high-quality holes for the cotter pins), abrasive wheels, which will make it possible to make the necessary indentations in the wood.
Prepare the following tools:
- a hammer;
- clamps for screed boards;
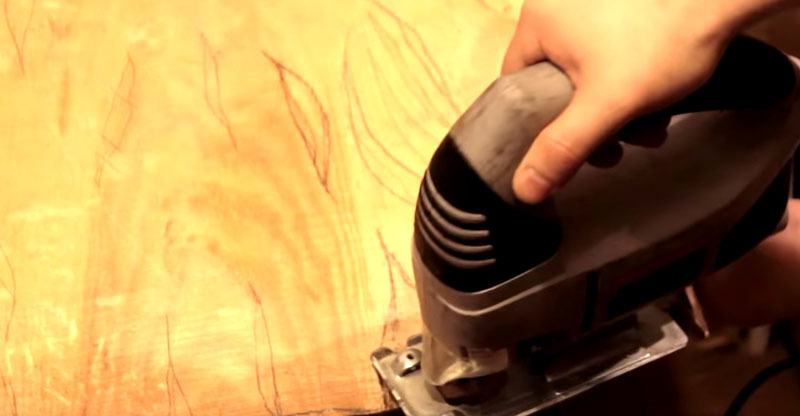
- jigsawrequired for processing ends;
- a gas burner, you may need it to create burns for pouring epoxy;
- consumable tool and fasteners.
Usually, a pine board of the required size is used for the countertop. There can be three or four such boards, it all depends on the width of the table. A simple wooden or metal frame is most often used as a base.
You can take several shades. In addition, we need a spatula or plastic board and some plastic cups.
Related article:
We create jewelry, furniture, floors using transparent epoxy resin for pouring. Epoxy - what it is, what can be made from epoxy: interesting examples of which clear epoxy to buy for potting: popular brands.
Stages of work on the assembly of the countertop
We process the prepared boards with a grinder, after which, using an electric jigsaw, we create special cutouts in the future tabletop, inside which epoxy will be poured.
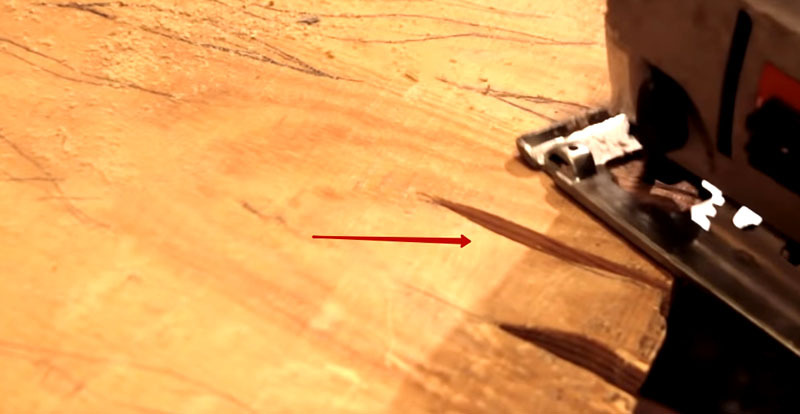 PHOTO: YouTube.com
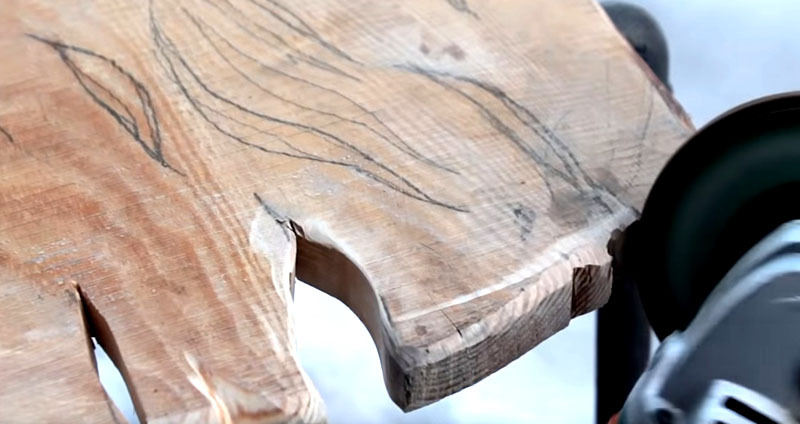 PHOTO: YouTube.com
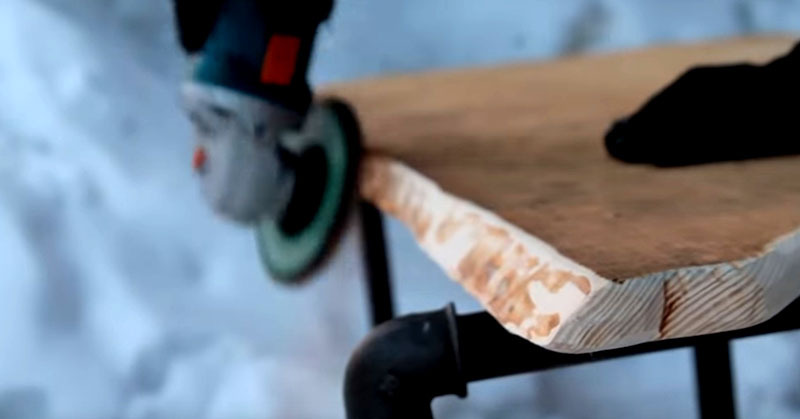 PHOTO: YouTube.com
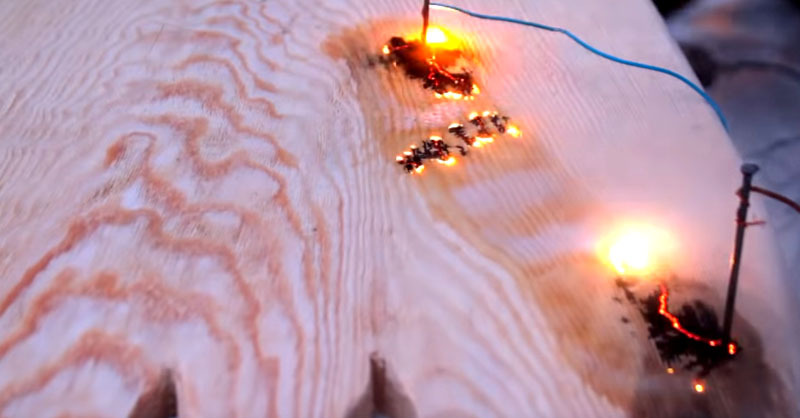 PHOTO: YouTube.com
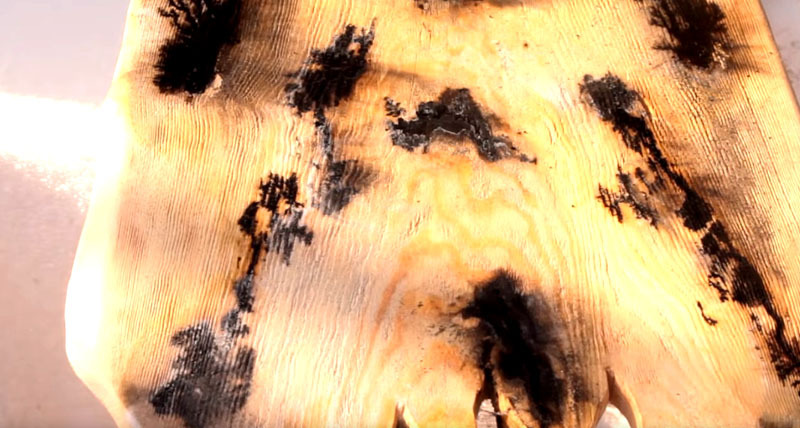 PHOTO: YouTube.com
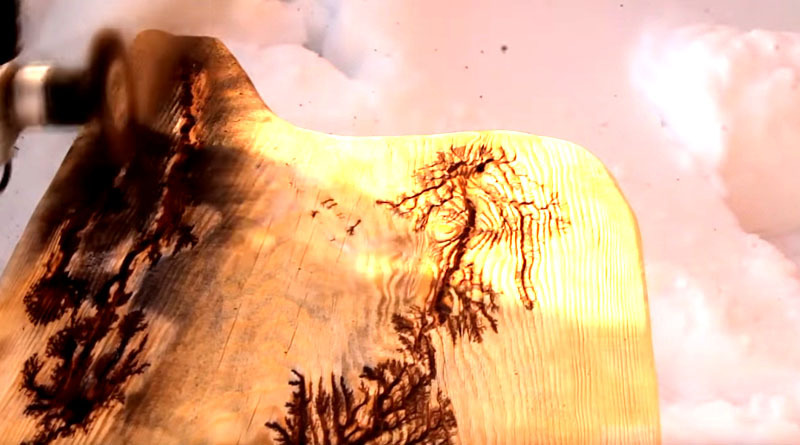 PHOTO: YouTube.com
Next, you need to prepare special "edges" for pouring the epoxy mixture into the cutouts.
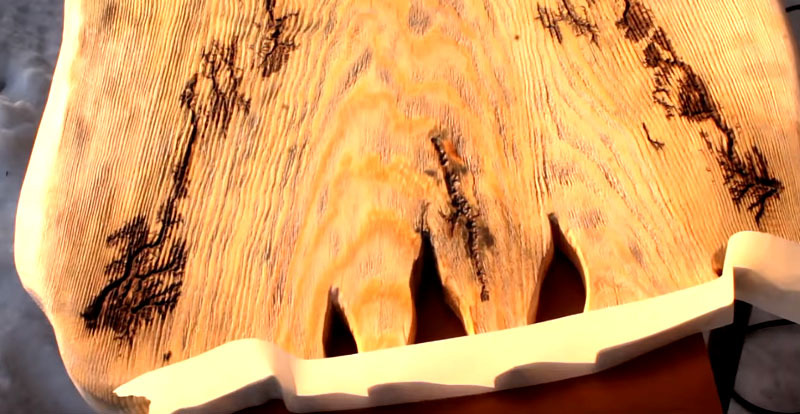 PHOTO: YouTube.com
Advice! If you have several boards, then it is better to fasten the blanks with cotter pins and additionally glue them. We tighten the shield with clamps until the glue hardens completely.
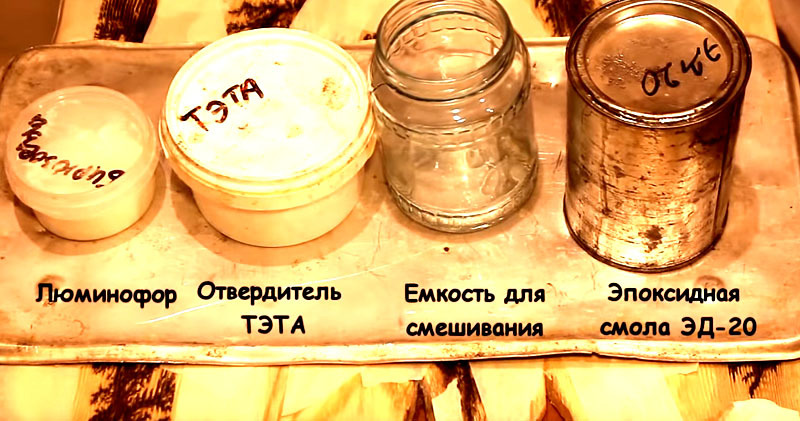 PHOTO: YouTube.com
To create a luminescent mixture, it is necessary to mix the resin with the hardener in disposable plastic cups, while adding the phosphor powder. Consumption of approximately 10 g of powder per 100 g of resin.
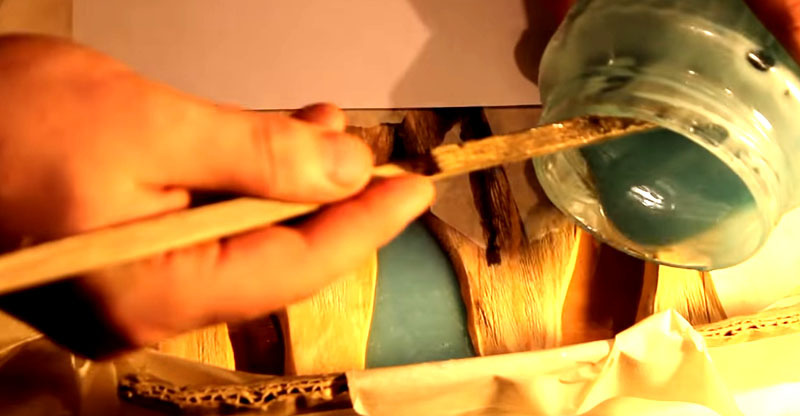 PHOTO: YouTube.com
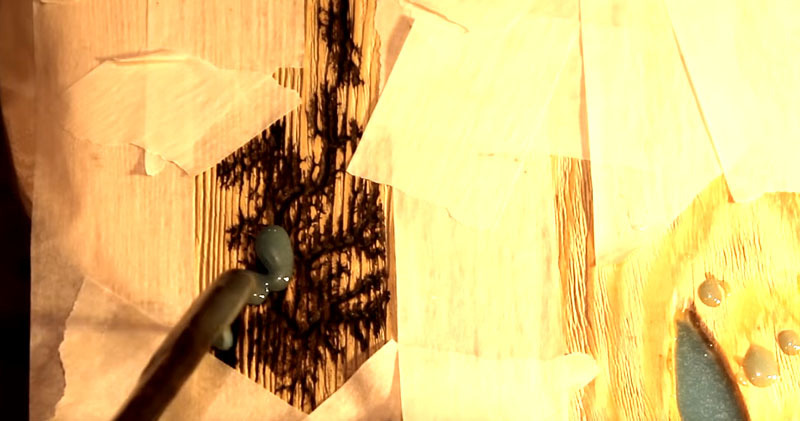 PHOTO: YouTube.com
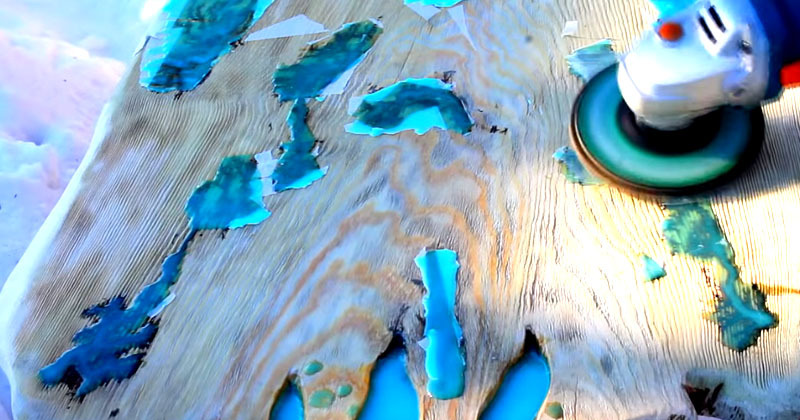 PHOTO: YouTube.com
It is necessary to achieve a perfectly smooth surface. We clean to such an extent that the table gets a perfectly flat and smooth surface. But that is not all.
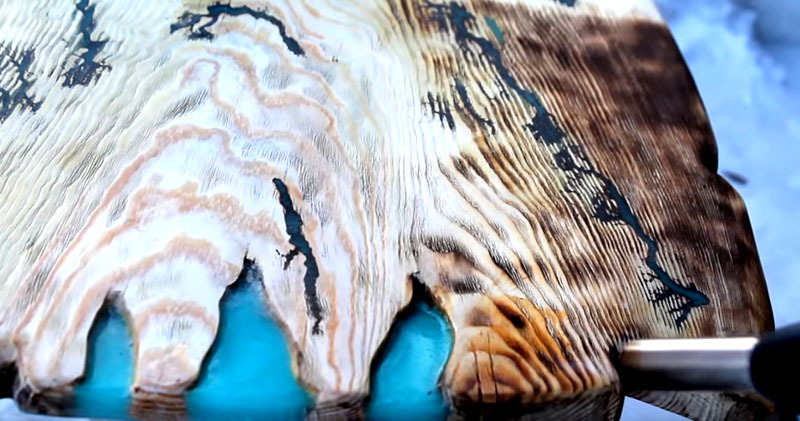 PHOTO: YouTube.com
We burn glades and waves on the boards with a burner in a chaotic manner. Everything is in your hands and depends on your imagination. You can use only a burner, you can try burning more complex shapes in the form of stars and various geometric shapes. The burnt wood surface effectively emphasizes the relief of the wood structure, which gives the worktop additional attractiveness.
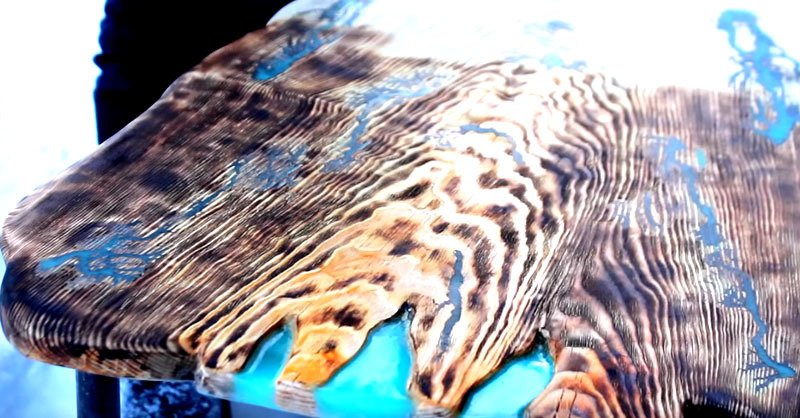 PHOTO: YouTube.com
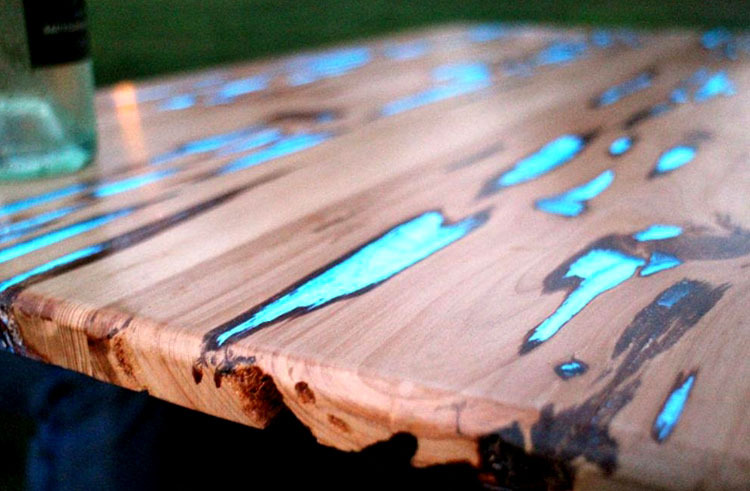
All that remains is the final sanding and protection with varnish. It is best to cover the countertops in three layers to protect the wood from wear and tear. Finally, it is necessary to install the tabletop on a base, which can be either metal or wood. In the end, we have a truly fantastic table! This piece of furniture in complete darkness and in low light will look simply mesmerizing, like an enchanting installation.
If you liked our review, be sure to like it. Tell us, are you ready to create such an unusual table for your home?


