The headboard is not only a structural element of the bed. It is part of the interior and has a noticeable impact on the overall style of decoration. In addition to technical (strength, stiffness indicator, dimensions), aesthetic requirements are also imposed on it, as well as the degree of convenience - tilt angle, built-in lighting, shelves, etc. In fact, radically change the design of the bedroom without replacing the entire bed impossible. But by replacing only this element, you can practically achieve the same effect. In this article, we will tell you how to make a headboard for a bed with your own hands, give a classification to this element, give several diagrams, step-by-step instructions and galleries.
Read in the article
- 1 Classification: by material and design
- 1.1 Solid wood (classic)
- 1.2 Rack
- 1.3 Carved
- 1.4 Metallic (forged)
- 1.5 Dresser
- 1.6 Soft
- 1.7 Headboards with additional functionality
- 2 Methods for attaching the headboard to the bed
- 3 We decorate the old headboard for the bed with our own hands
- 3.1 Vertical gardening
- 3.2 Painting, paintings, patchwork
- 3.3 PHOTO: yellowhome.ru
- 3.4 Vintage and Antique
- 4 We make a headboard from scratch
- 4.1 Hard
- 4.2 Soft
- 4.3 Examples of original designs
- 5 Summing up
Classification: by material and design
Before you start making a headboard, you need to decide on the design, construction and materials of manufacture. Manufacturers offer many options that can be classified as follows.
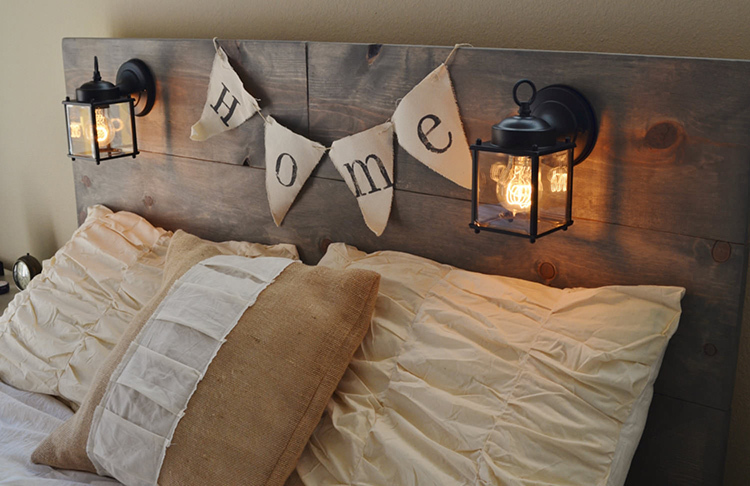
Solid wood (classic)
It is made, as a rule, from solid wood or laminated veneer lumber, budget models from chipboard, more expensive from chipboard or MDF. The shape can be very diverse: from a strict rectangle to symmetrical bends or arbitrary "wild". Most often, such a product is covered with a transparent or tinted varnish that preserves the natural texture of the material. Suitable for classic, rustic, provence, Scandinavian, country styles, etc.
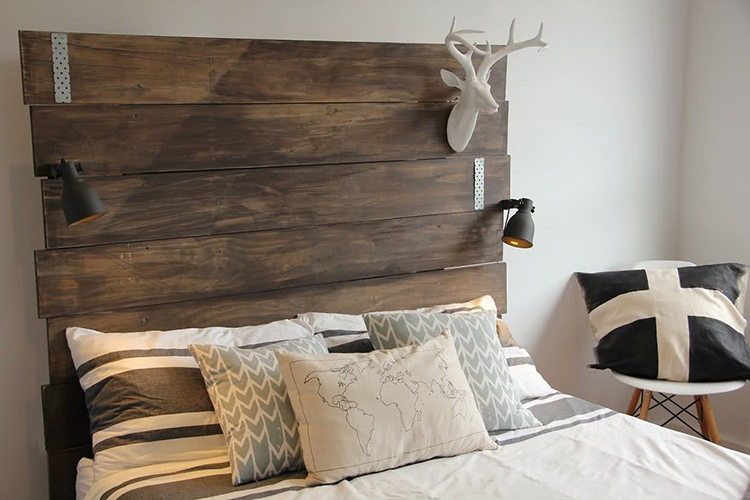
Rack
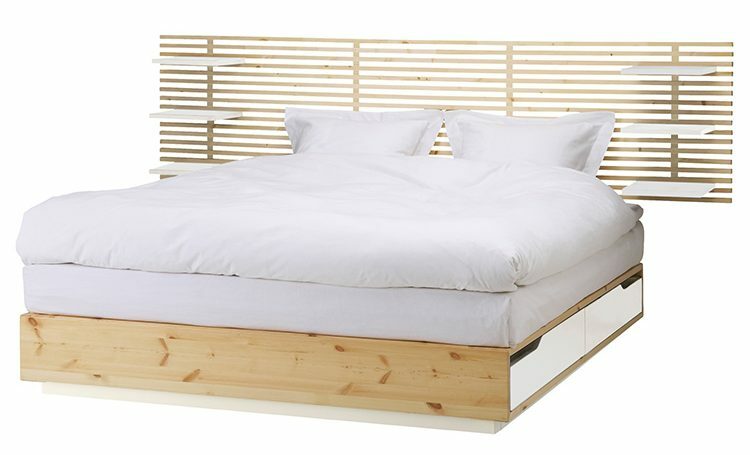
Consists of vertical or horizontal slats fixed to a supporting base. The material of manufacture is wood. Differs in exquisite design and variety of shapes. Of the advantages, material savings can be distinguished. Among the disadvantages: a more complex manufacturing process and less ease of use. Leaning on such a headboard, the back will not be in contact with it with the entire area, but only in some places. Styles - Provence, Country, Colonial, Scandinavian.
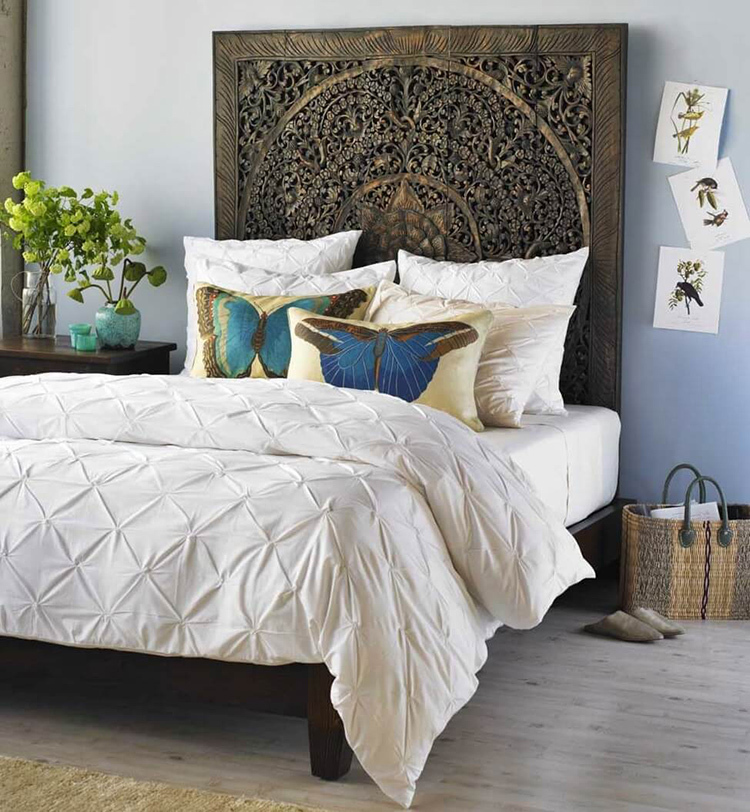
Carved
It is made from solid wood of hard and (or) deciduous species. Budget options: beech, hornbeam, ordinary birch. More expensive: oak, cedar, Karelian birch. Elite: ebony, rosewood, zebrano, wenge. Carved headboards, undoubtedly, give the bedroom a special chic, but they are not very suitable for constant use. They require careful care, constant polishing and cleaning with special agents. They are not very comfortable to lean on, especially for products with a deep ornamental texture. Suitable for interiors in the following styles: Empire, Baroque, Victorian, Mediterranean, etc.
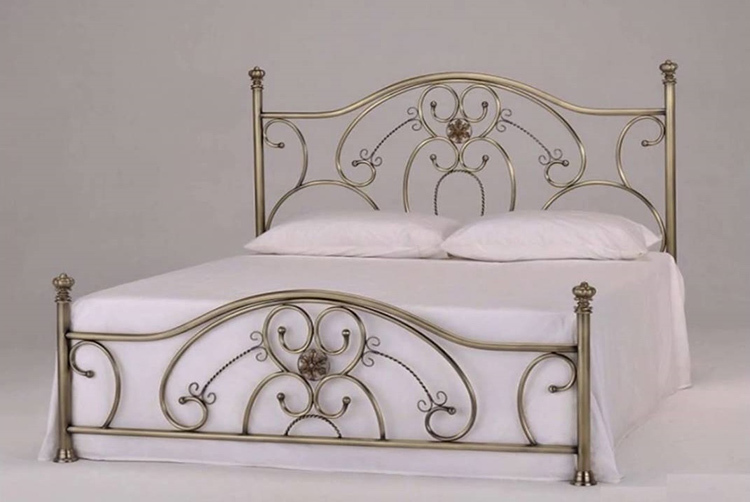
Metallic (forged)
Artistic forging in the bedroom interior looks unusual and immediately attracts attention. Depending on the execution and filling with decorative elements, the forged product can belong to styles from country to modern. But it must be remembered that such headboards are rather uncomfortable in daily use and can cause injury.
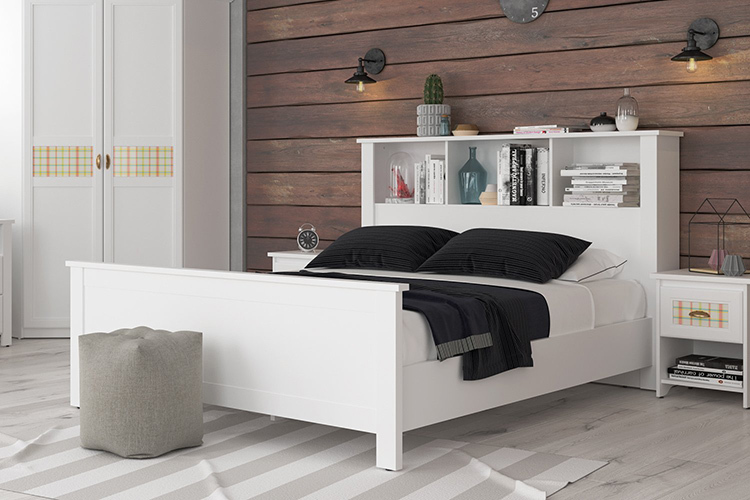
Dresser
Differs in functionality and ergonomics. As a rule, it is made of fiberboard or MDF. Its design can be very diverse. Starting from a simple chest of drawers for storing bedding and ending with built-in bedside tables. Typical for styles: functionalism, hi-tech, constructivism.
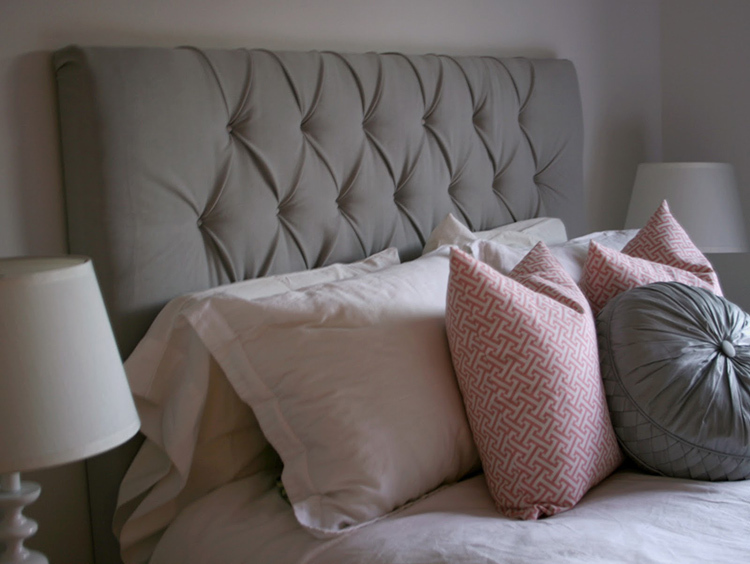
Soft
The frame is upholstered with fabric or leather. The fillers are foam rubber, synthetic winterizer or felt. Such bases are very easy to use and not traumatic. When choosing an upholstery, preference is given to fabrics with a slightly curled texture. Soft headboards are typical for most classical styles: Baroque, Victorian, Art Nouveau, Empire, etc.
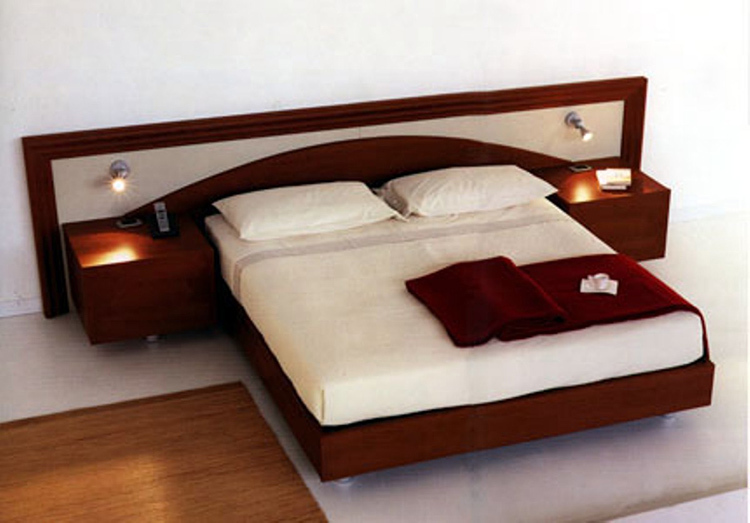
Headboards with additional functionality
As a rule, headboards are stationary and fixed elements. However, modern beds, especially those with orthopedic bases, can change the angle of inclination and the height of the rise. Some models have built-in lights.
Methods for attaching the headboard to the bed
Headboards are not necessarily the structural element of the bed. They can represent a completely independent type of furniture or room decor. According to the installation method, three types of headboards are distinguished:
- Stationary - attached directly to the bed frame.
- Attached Are cabinets or dressers that are located between the wall and the bed.
- Hinged - the supporting base of such a headboard is the wall behind the bed.
We decorate the old headboard for the bed with our own hands
Before proceeding with a complete headboard replacement, you can try to revive or decorate the old one. It will be somewhat cheaper and much faster. In addition, there are a number of design tricks that allow you to transfer the accent from the bed to the wall behind it.
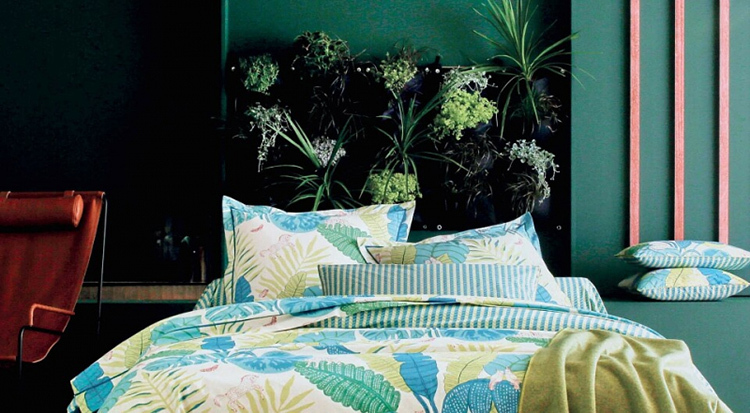
Vertical gardening
For this, both real and artificial plants can be used. They are placed on several shelves, nailed one above the other, or in pots attached directly to the wall. There are several rules for this design:
- do not use strong-smelling plants;
- the surface of the soil in the pot must be sprinkled with stone chips;
- plants with drooping leaves can only be used for the second and third tier.
Painting, paintings, patchwork
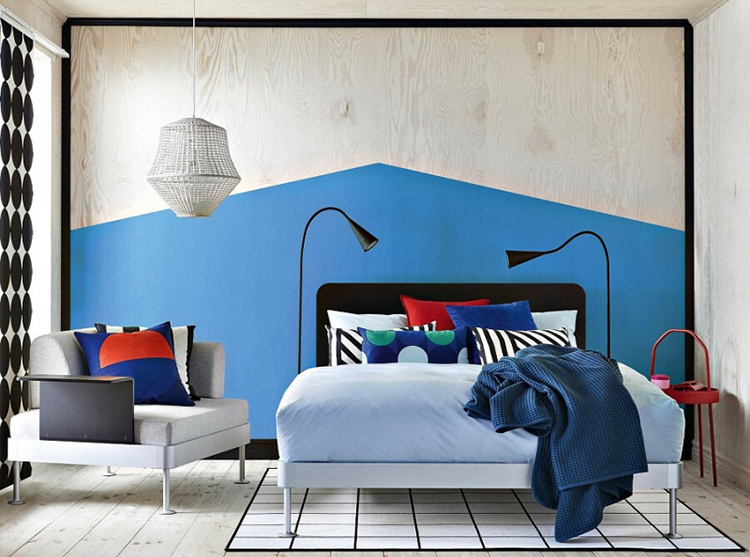
For a bed with a low or inexpressive headboard, the accent shift technique is suitable. On the wall in front of which is bed, a picture or a collage of paintings in a heavy frame is hung out, which will imitate the headboard. Painting a small section of the wall or decorating using patchwork techniques will also look good.
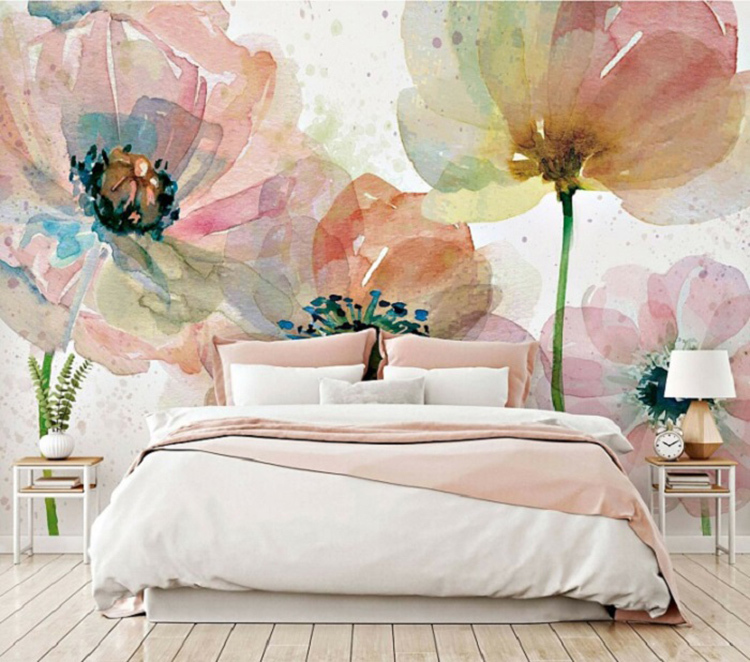
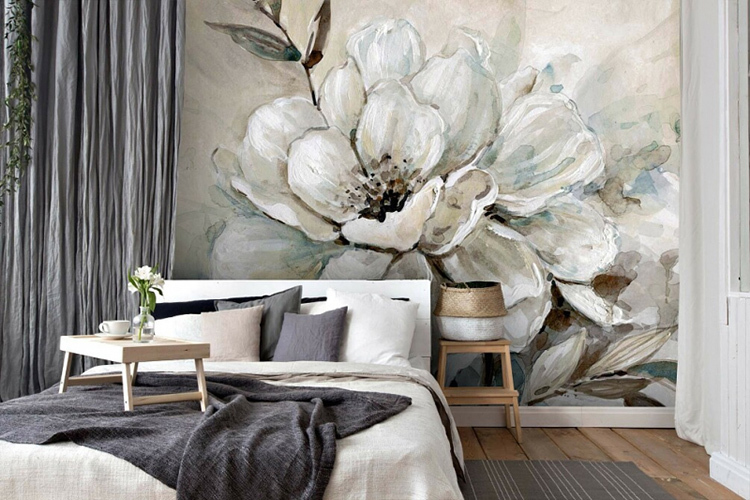
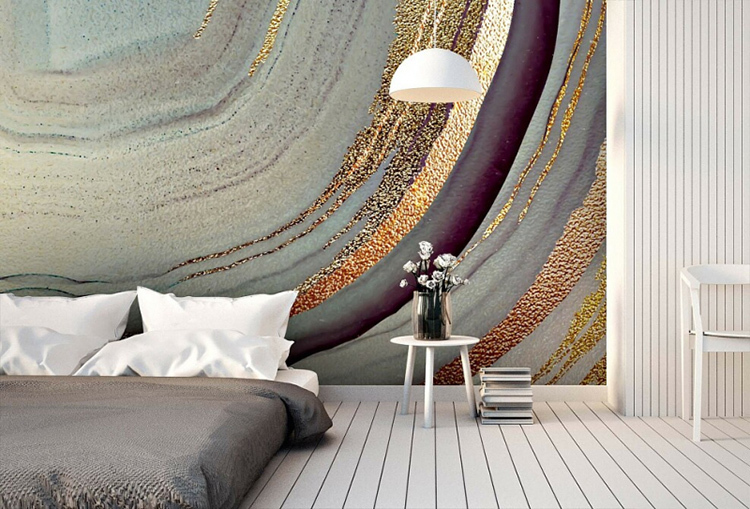
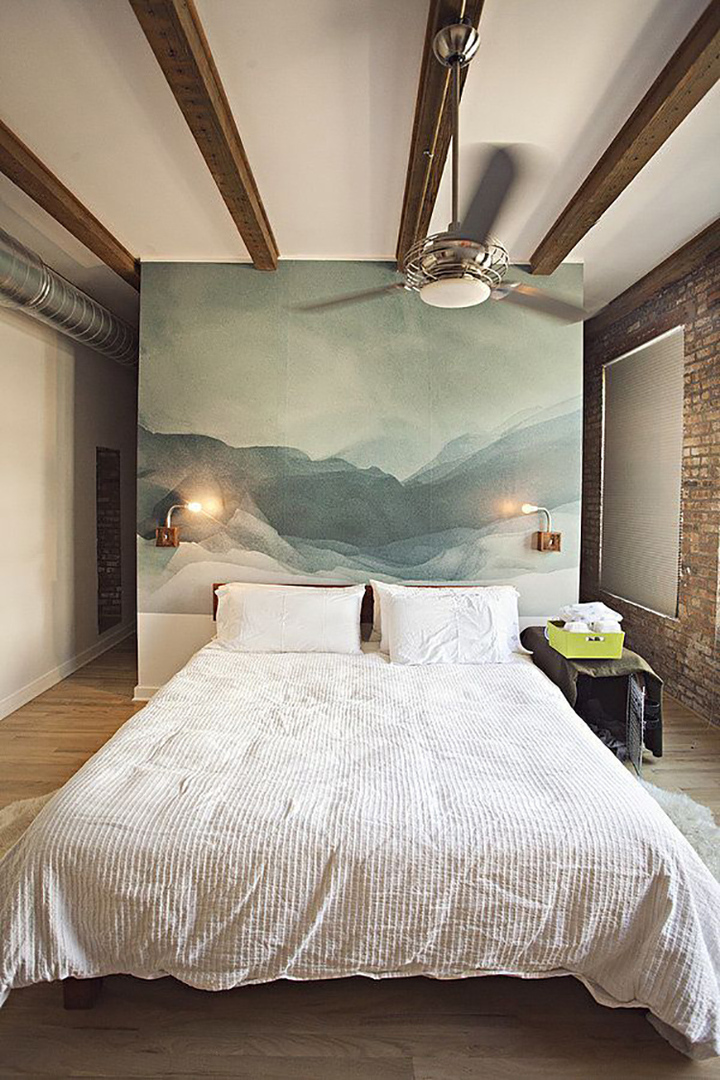
Another technique is to shift the focus. If in the previous case the decor replaced the headboard, imitating it, this time the attention is transferred to the entire wall. It is recommended to additionally place pillows near it, the color and texture of the textiles of which are in harmony with the pattern on the wall.
The photo below shows how wallpaper they shift the focus from the head of the bed to the wall behind it.
1 out of 4
Vintage and Antique
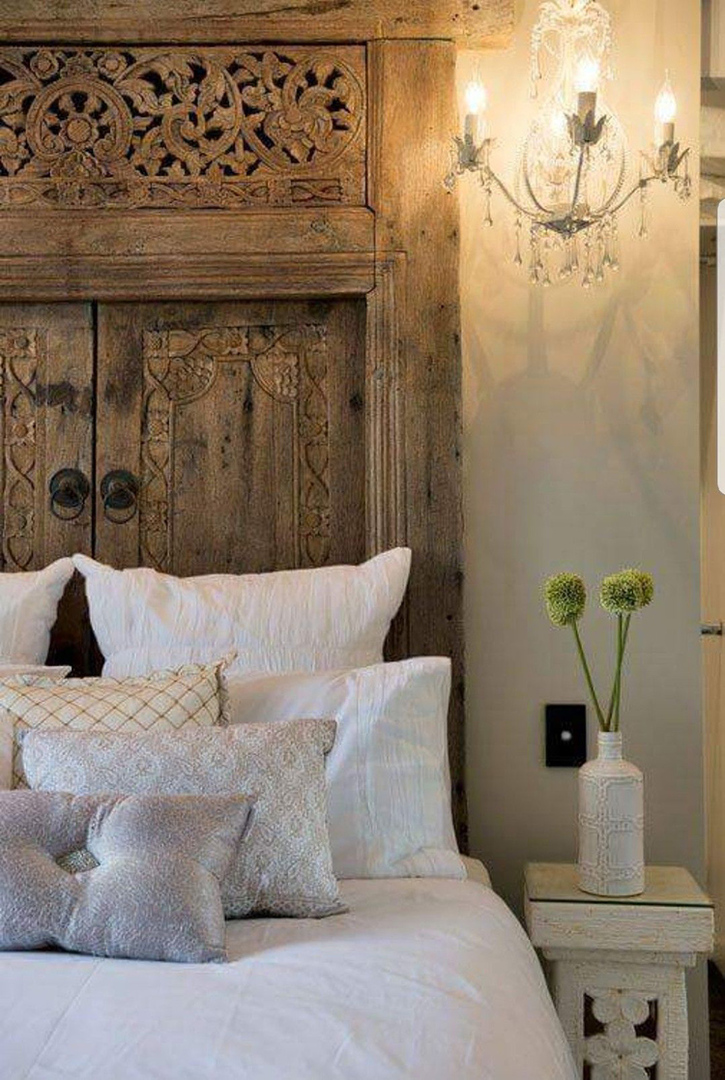
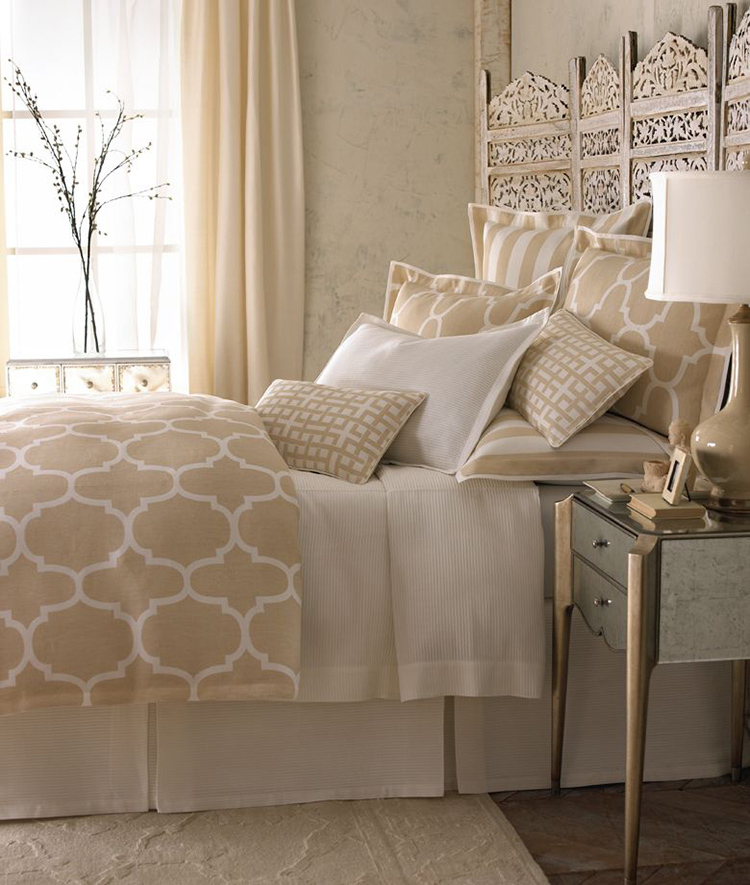
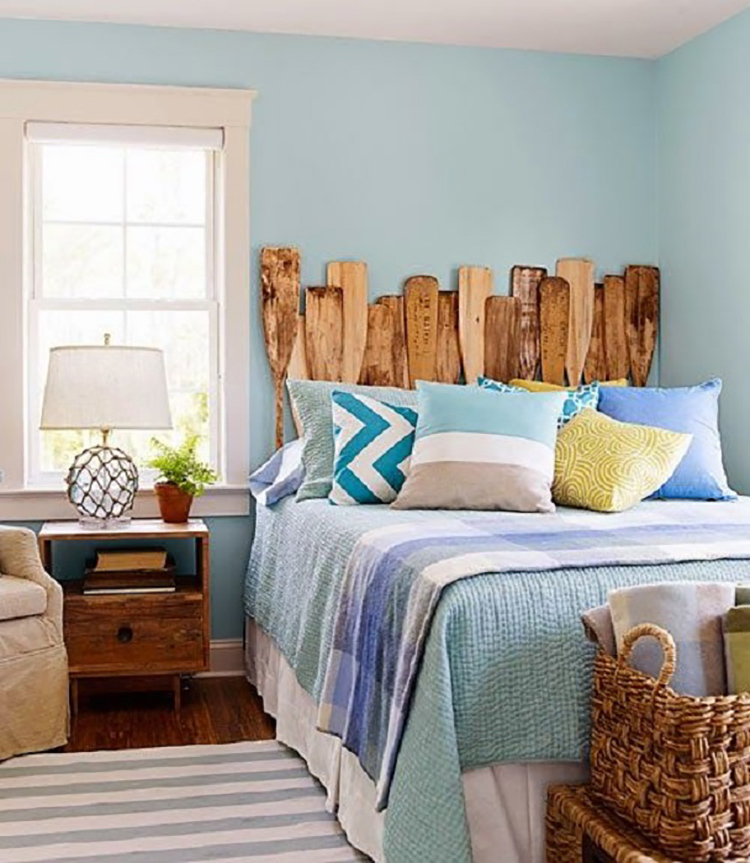
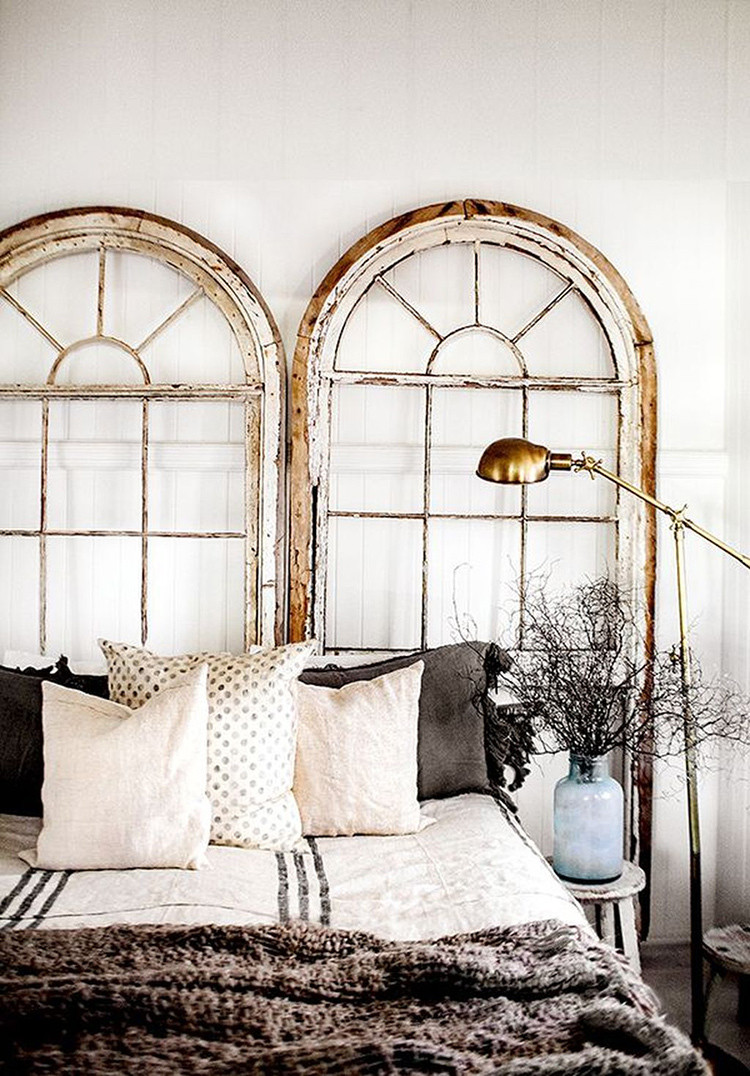
Various vintage products and household items that were not previously intended for this can be used as the head of the bed. At the same time, it is absolutely not necessary to completely restore them, giving them their original appearance. It is quite enough to slightly renew, removing the old layers of paint and cover with a colorless transparent varnish.
Antique doors, windows or screens, vintage items - all this can be used as a headboard or for decorating it:
1 out of 4
We make a headboard from scratch
Many budget-class beds have a simplified design. They consist of a body and an orthopedic base. Moreover, both the footboard and the headboard are absent altogether. It can be made from scratch.
Hard
Making a hard headboard is pretty simple. Labor intensity and cost of work directly depend on the selected material.
Option 1. Panel headboard made of old rustic planks (Credit: Keith Pruitt)
| Illustration | Description of action |
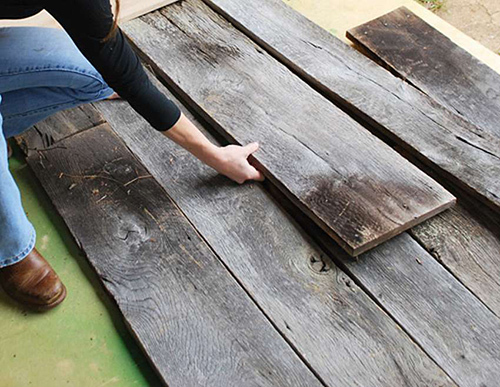 | We carefully select old boards. They should not have traces of biological corrosion: rot, fungus or wood-boring insects |
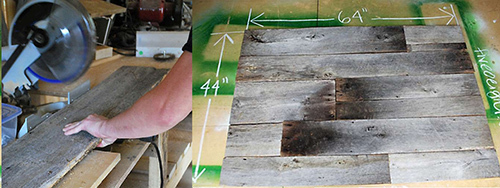 | We cut off the uneven edges and join the boards so that the shield comes out 1200 × 1600 mm |
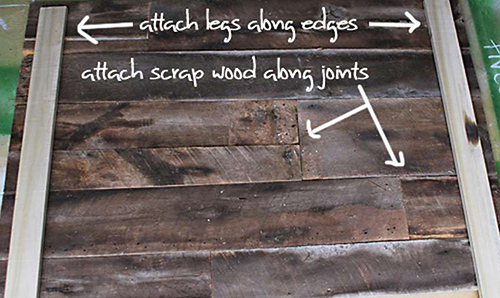 | On the sides we lay beams 25 × 50 × 1500mm. They will serve as load-bearing elements. Through them, the product will be attached to the bed. The docking places of the boards in the middle of the shield also need fasteners |
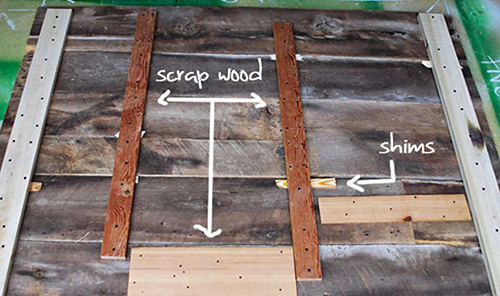 | It is also necessary to additionally strengthen the joints of the boards in the middle of the structure |
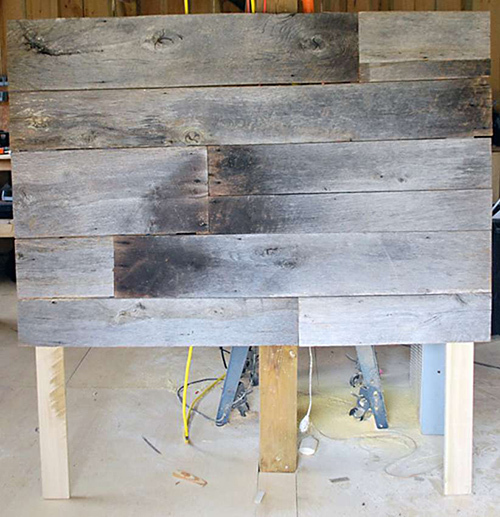 | This is how the front side should look after assembly |
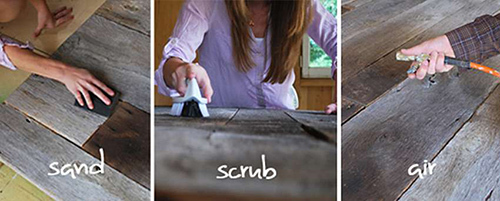 | Using sandpaper, a hard-bristled brush or sandblasting, thoroughly clean the front surface |
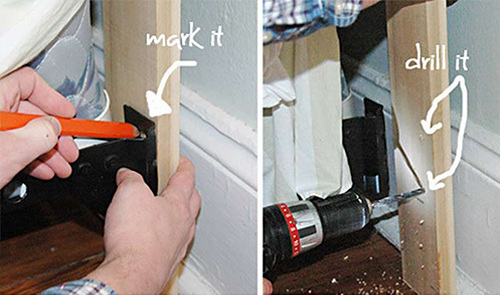 | We apply the bars to the bed frame and mark the joints, drill holes |
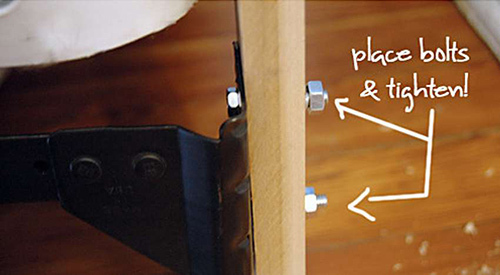 | We fix the headboard with bolts |
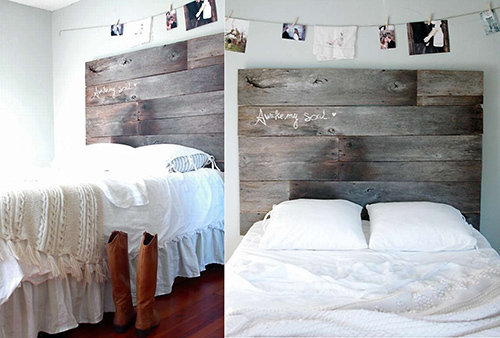 | Here's what happened |
Option 2. More complex headboard made in country style
| Illustration | Description of action |
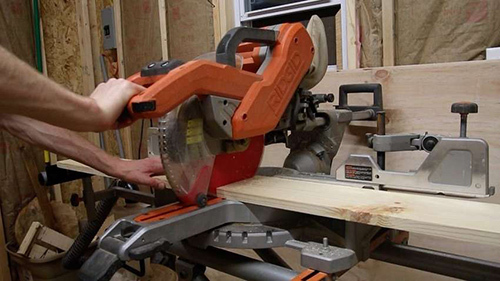 | New boards with a thickness of 150 × 20 mm are cut to size. You need 8 pieces 75-80 cm long. And two boards 120 cm long, which will be the top and bottom edging |
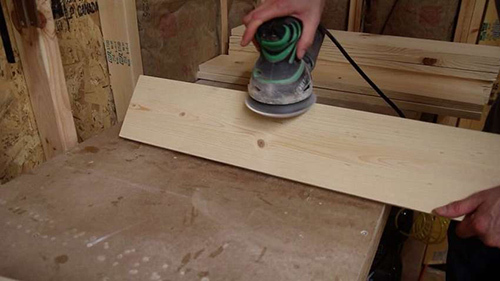 | We carefully grind the front surface with a grinder and lightly grind the corners until small chamfers appear |
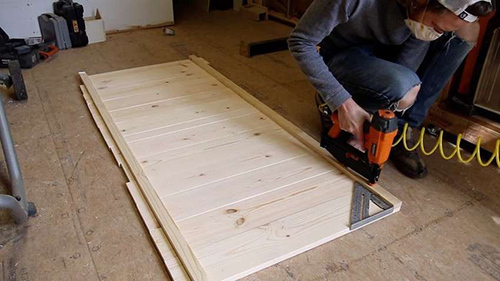 | We assemble the board by screwing the boards to two slats 50 × 30 × 1200 mm |
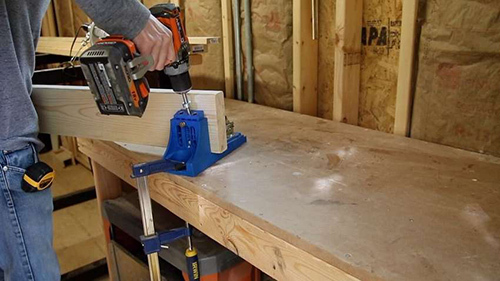 | We drill blind holes in the boards of the upper and lower edging at an angle of 30º with a step of 25-30 cm |
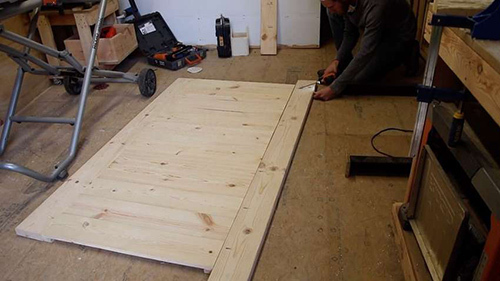 | We attach the edging to the upper and lower ends of the shield through the holes |
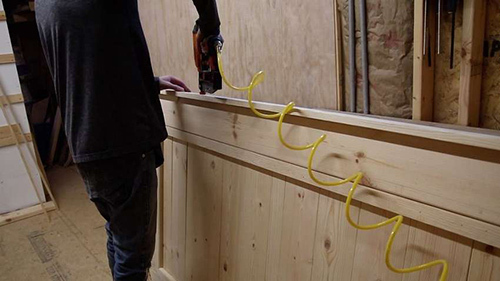 | From above we fasten another bar 60 × 30 × 1200 mm. It should protrude above the front surface by at least 45 mm |
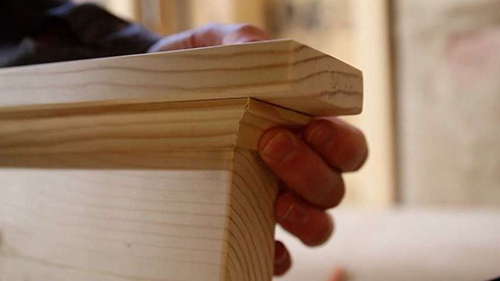 | We attach skirting boards 25 × 25 mm² to the glue |
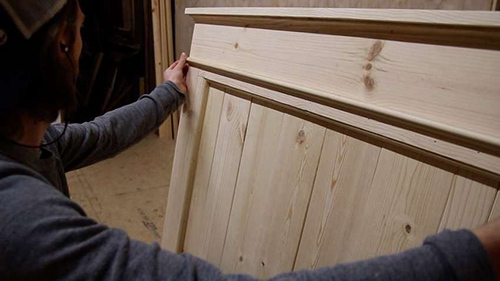 | In the upper part, on the front side of the headboard, we attach a semicircular strip to glue, which will cover the gap between the vertical and horizontal boards |
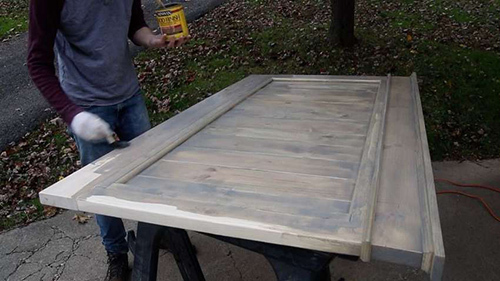 | The surface is primed and then painted |
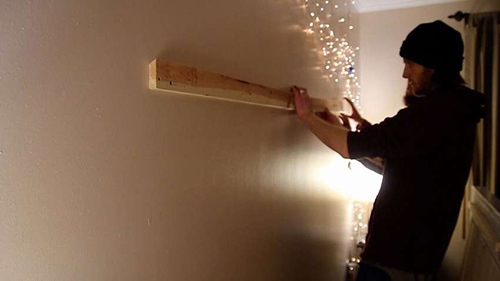 | We nail the supporting bar with hooks to the wall |
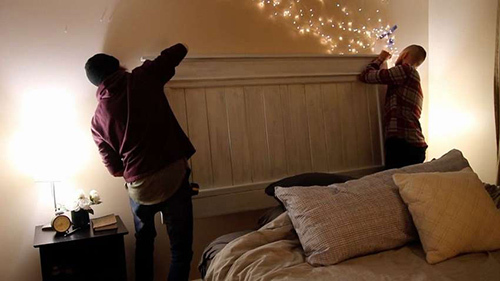 | We hang the headboard on it by the hinges |
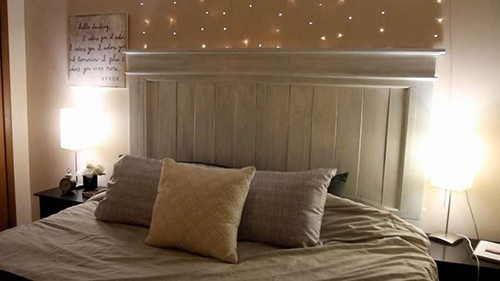 | Admiring the result |
Option 3. Slab headboard
Reference! SLAB - (eng. slab - slab) longitudinal, less often cross-cut of a tree trunk, forming a thick solid slab used in the furniture industry
| Illustration | Description of action |
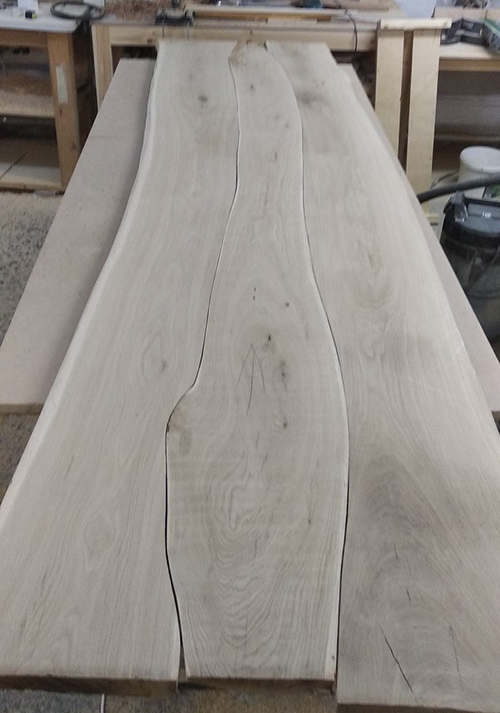 | We select several boards and join them together so that no gaps are formed. For this, the longitudinal ends must be carefully adjusted. |
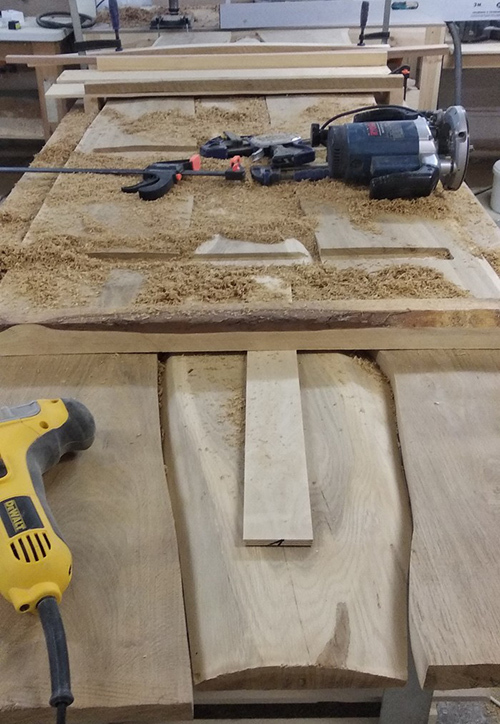 | We shift the boards with the back side to the top and secure with clamps |
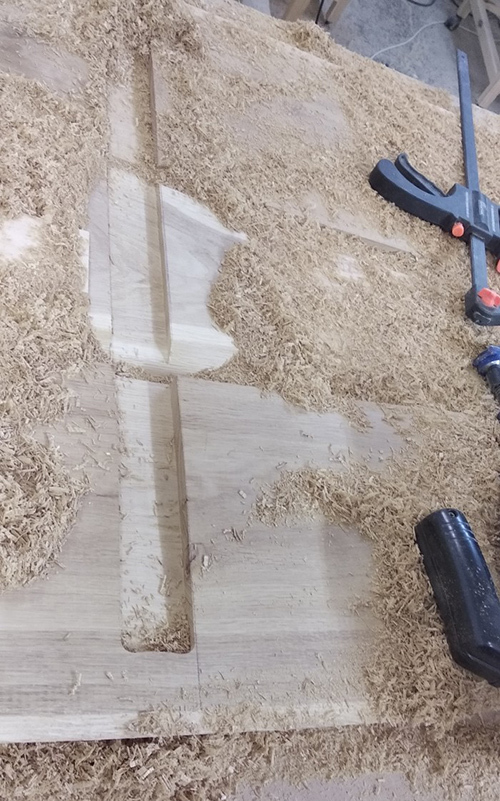 | We choose a groove for the bearing bar so that the headboard fits snugly against the wall without gaps |
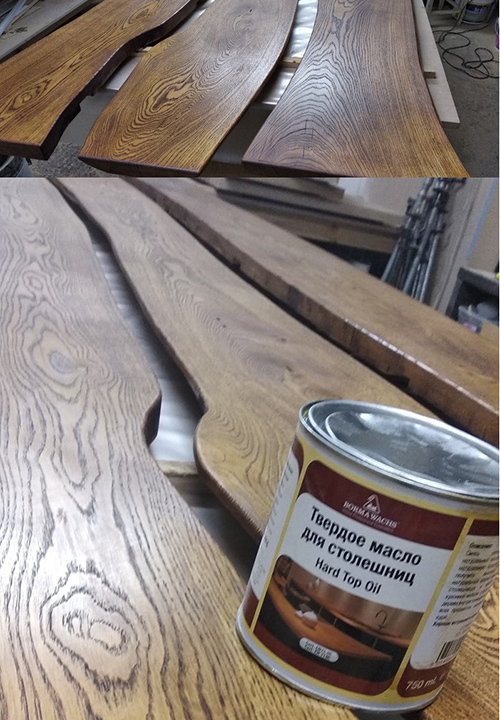 | We cover the boards with varnish and polish |
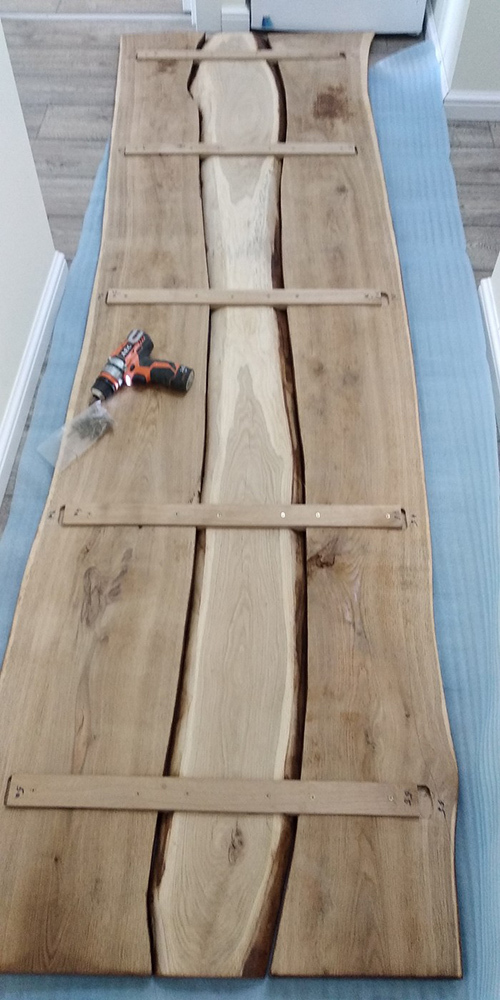 | Twisting all the elements together |
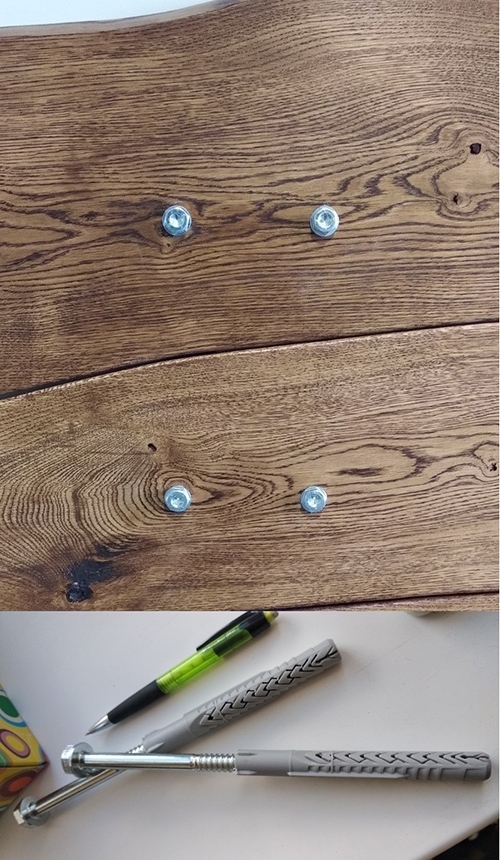 | We attach the headboard to the wall with anchors |
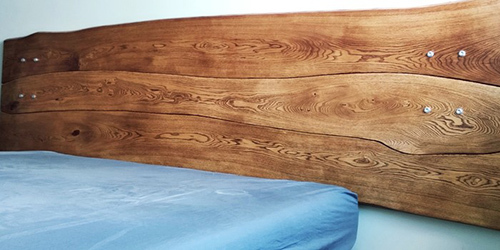 | Bedside lamps will be installed at the mountings |
Soft
More expensive materials are required for a soft headboard. As a rule, upholstery and filling must be purchased from specialized stores. In addition, the complexity of the work increases by an order of magnitude, and an assistant will be required to pull the material, say, with carriage upholstery.
Option 1. Soft headboard with plank base
The material used was:
- boards 150 × 25 mm;
- upholstery 15-20% more than the total area of the headboard boards;
- thin filler (synthetic winterizer or batting) - as much as upholstery;
- staples for a construction stapler;
- screws 15-20 mm.
Tools:
- screwdriver;
- construction stapler;
- knife or scissors.
| Illustration | Description of action |
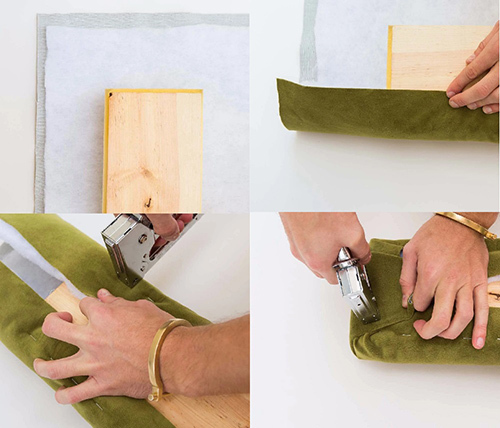 | Cut off the upholstery and filler 10-15 cm more than the width of the board. First, we wrap the longitudinal edges and fix them with a stapler. Then we wrap and fix the ends |
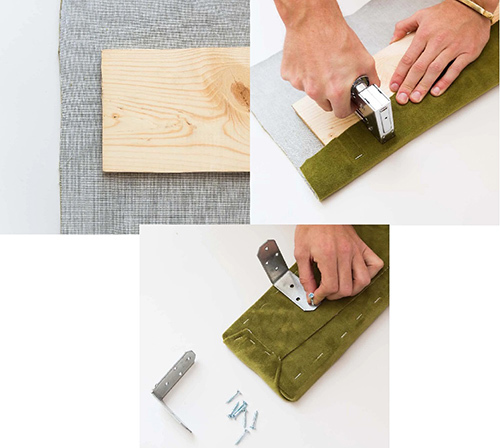 | We do the same operations with one more board, with the exception of the filler. This board will function as a wall shelf at the headboard. We attach a corner to connect to the main headboard |
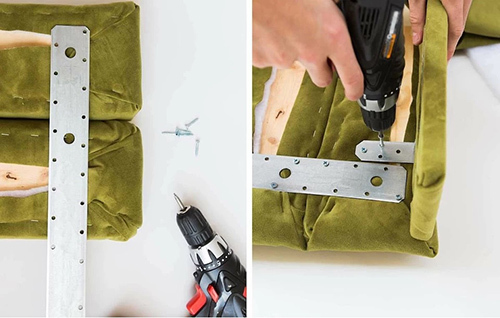 | We assemble soft panels and a shelf using metal tires or wooden beams |
1 out of 4
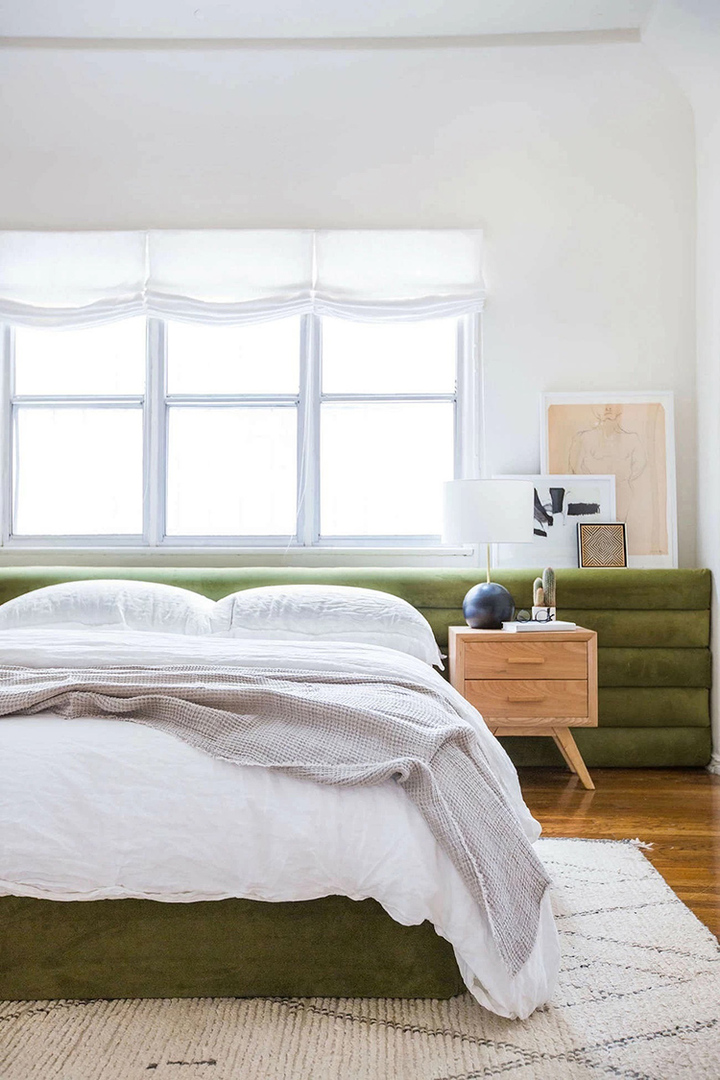
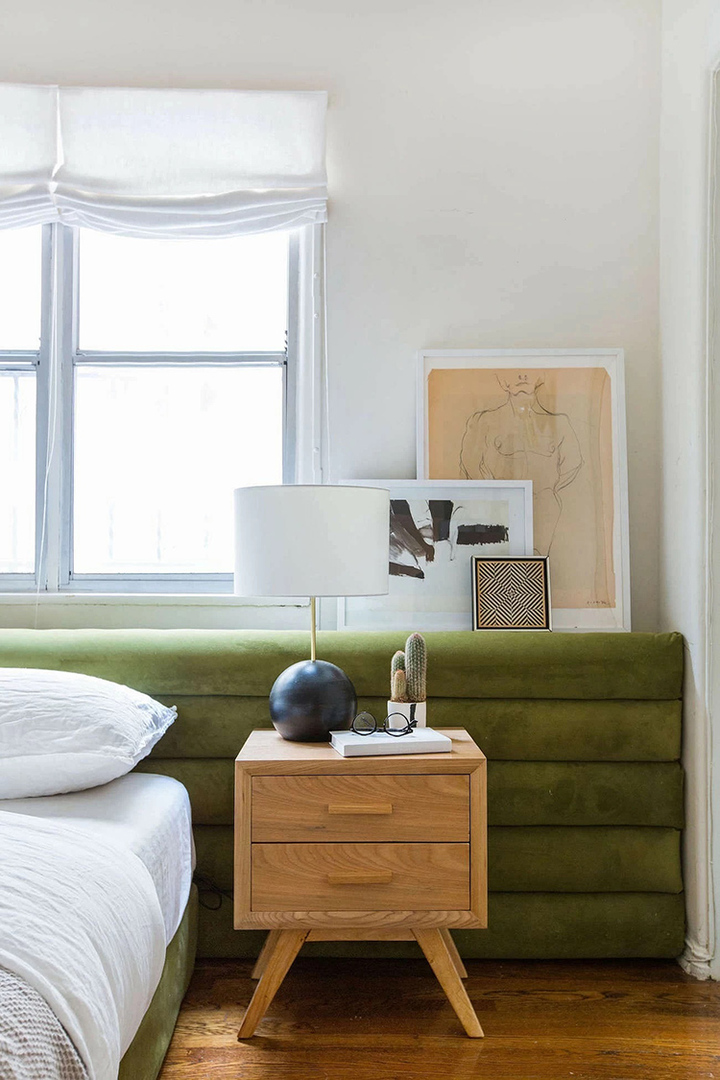
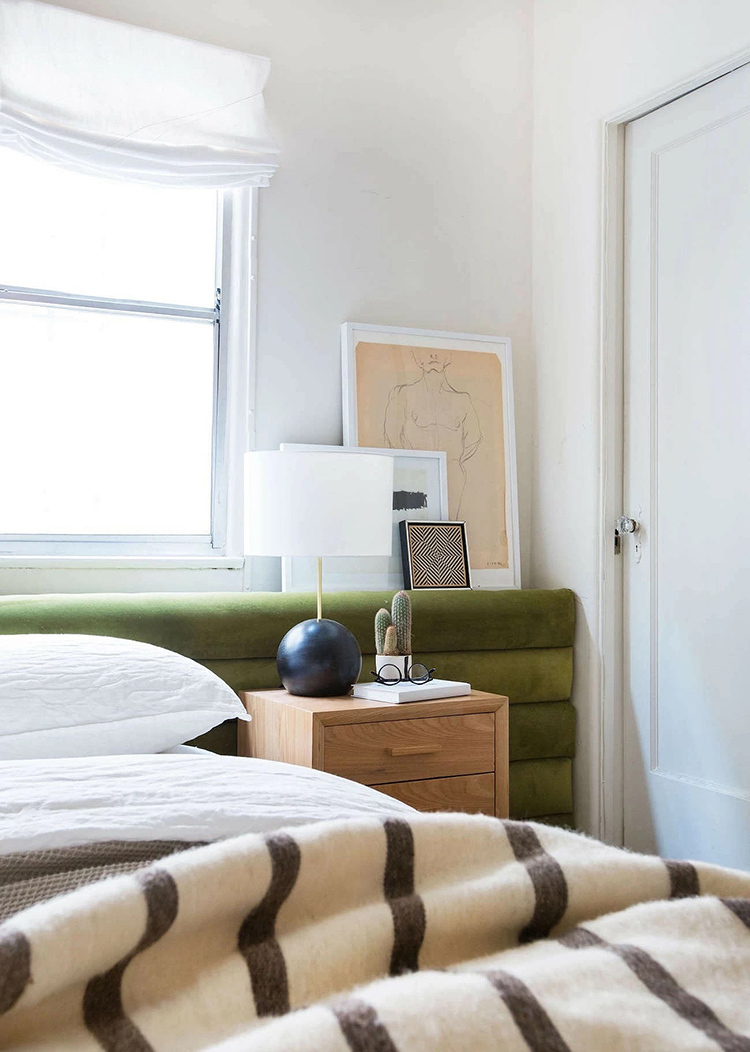
This is what the finished headboard looks like.
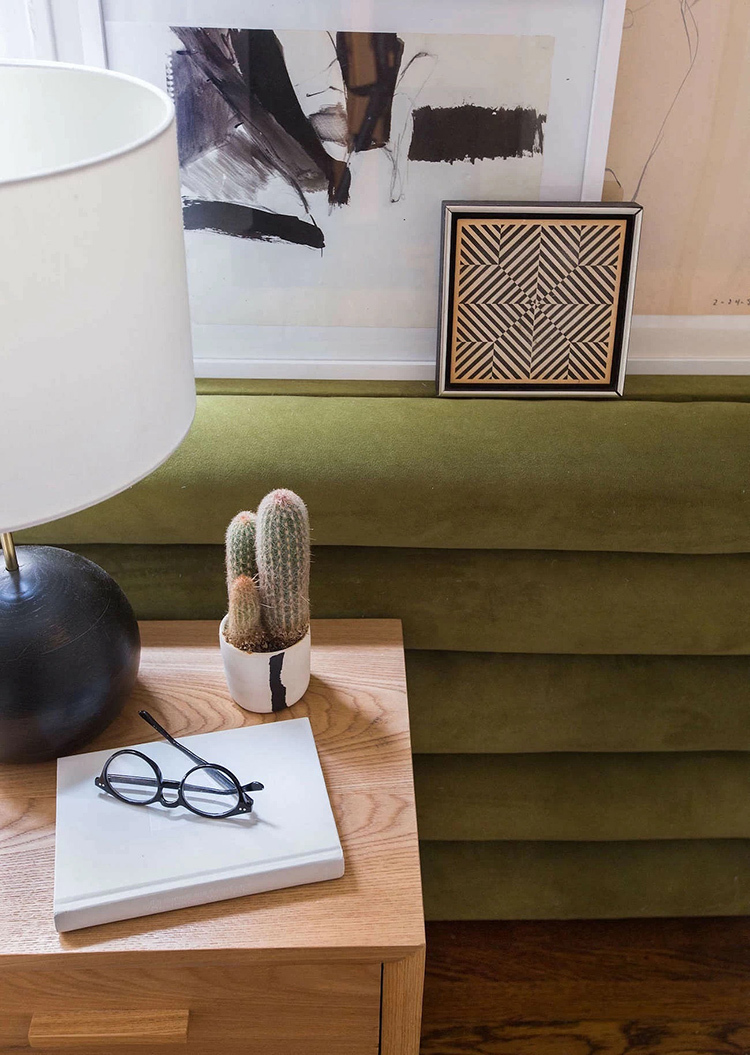
Option 2. Upholstered headboard with carriage upholstery
Carriage upholstery (tie) using buttons looks much more representative, but requires certain skills and financial costs. You will need special tools for it:
- construction stapler;
- a drill with a cifenbor attachment;
- scissors;
- binding needles.
Materials:
- plywood (20-25 mm) as a supporting base;
- foam rubber of medium hardness 50-60 mm thick;
- synthetic winterizer;
- upholstery fabric with a margin of 30-35%;
- foam glue;
- furniture buttons.
| Illustration | Description of action |
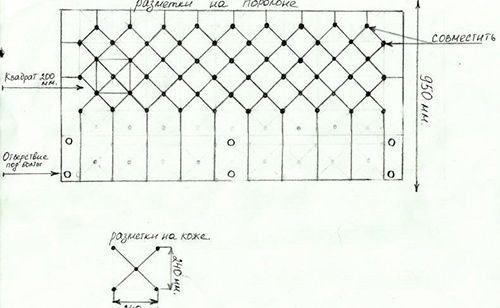 | We decide on the type of pattern and draw up a scheme with reference to the size of the headboard |
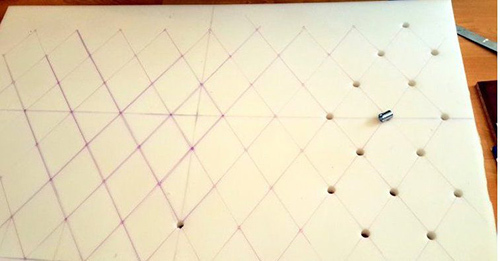 | We open the foam rubber sheet in accordance with the specified dimensions. We mark on it the location of the attachment points |
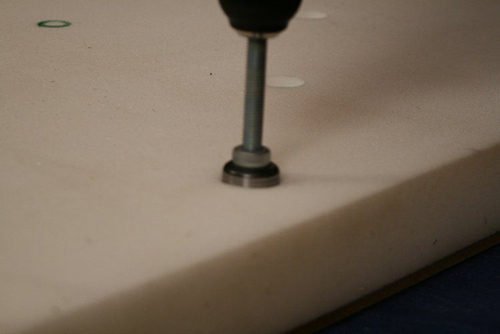 | Drill holes using the cifenbor nozzle |
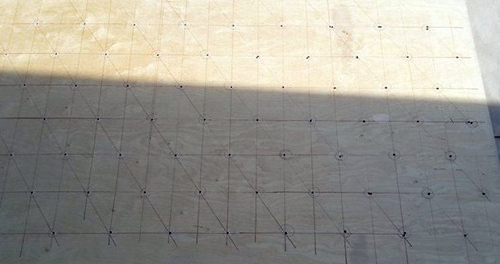 | We transfer the markings to a sheet of plywood and drill 4-6 mm holes in the attachment points |
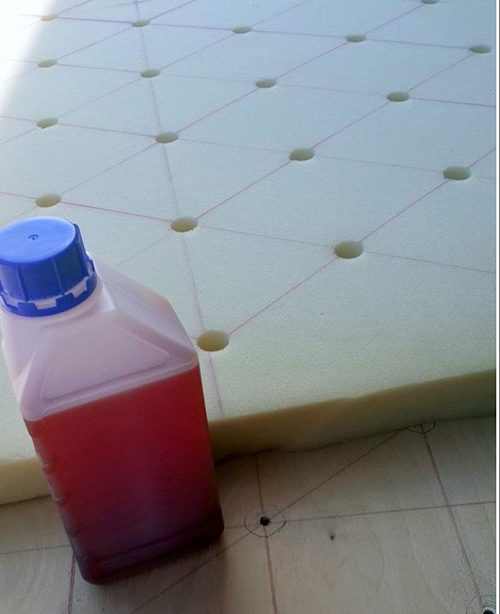 | We glue the foam rubber to the base |
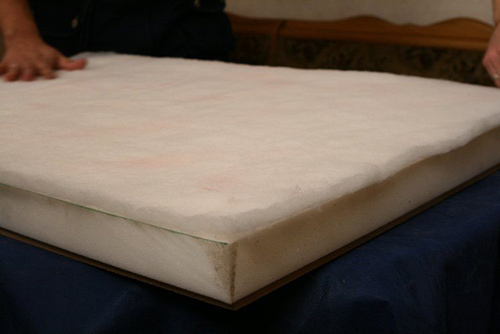 | We put a synthetic winterizer over the foam rubber and cut it |
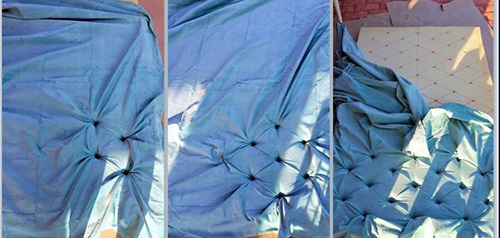 | We apply upholstery fabric and begin to fix it from the center to the edges. |
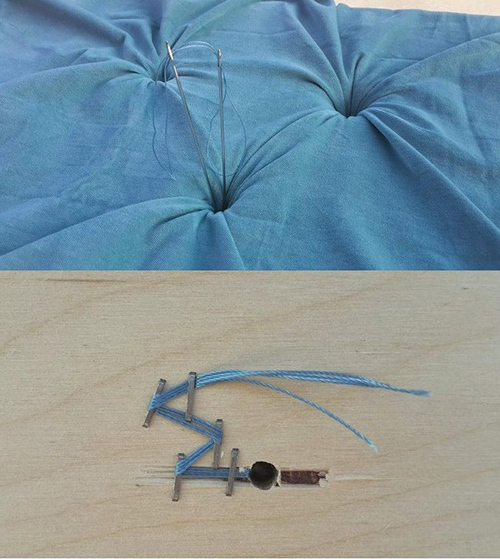 | Two needles must be used to secure the upholstery fabric. The thread on the wrong side is carefully fixed with a zigzag stapler |
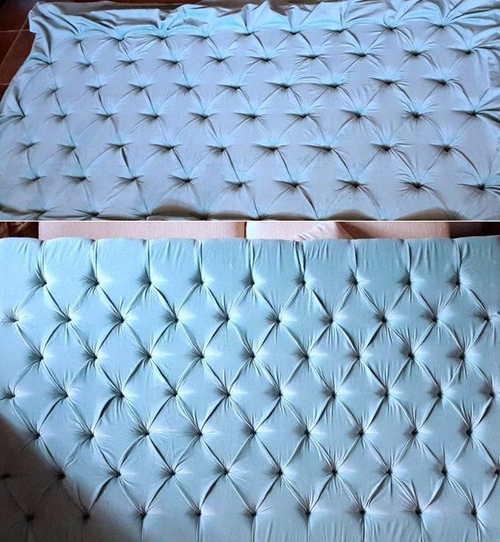 | We tighten the edges to the seamy side and fasten with a stapler around the entire perimeter |
Examples of original designs
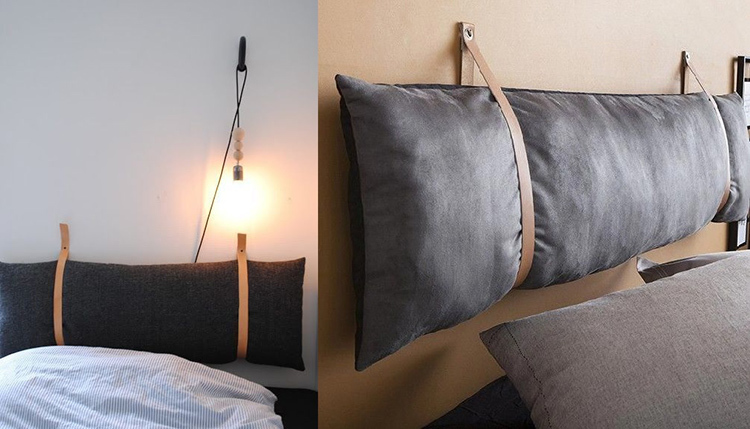
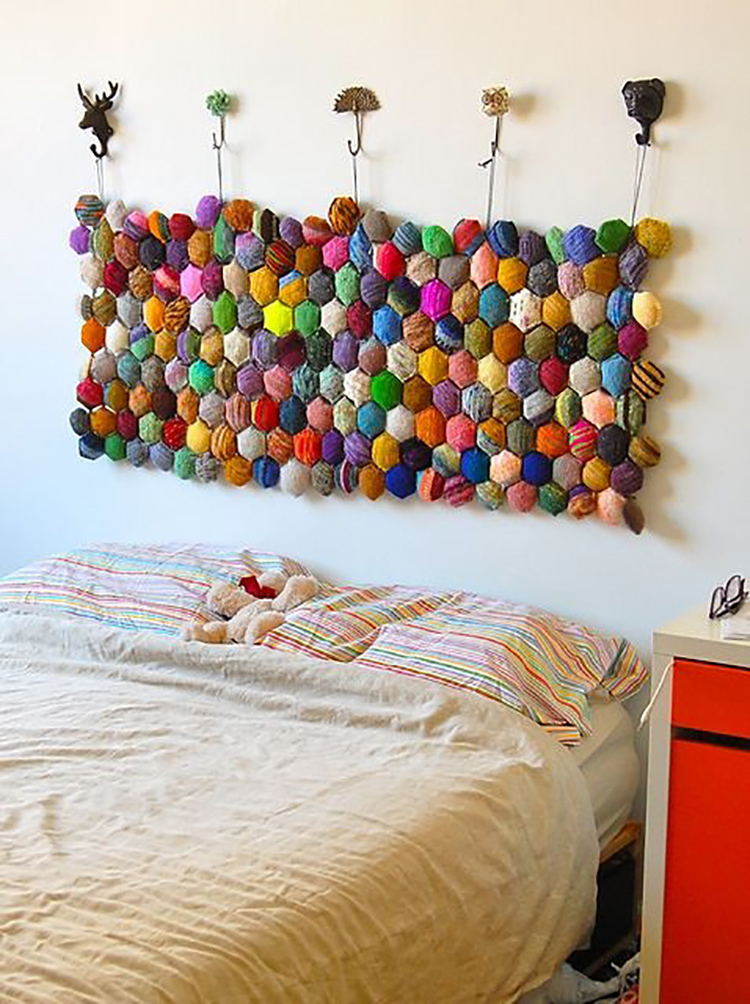
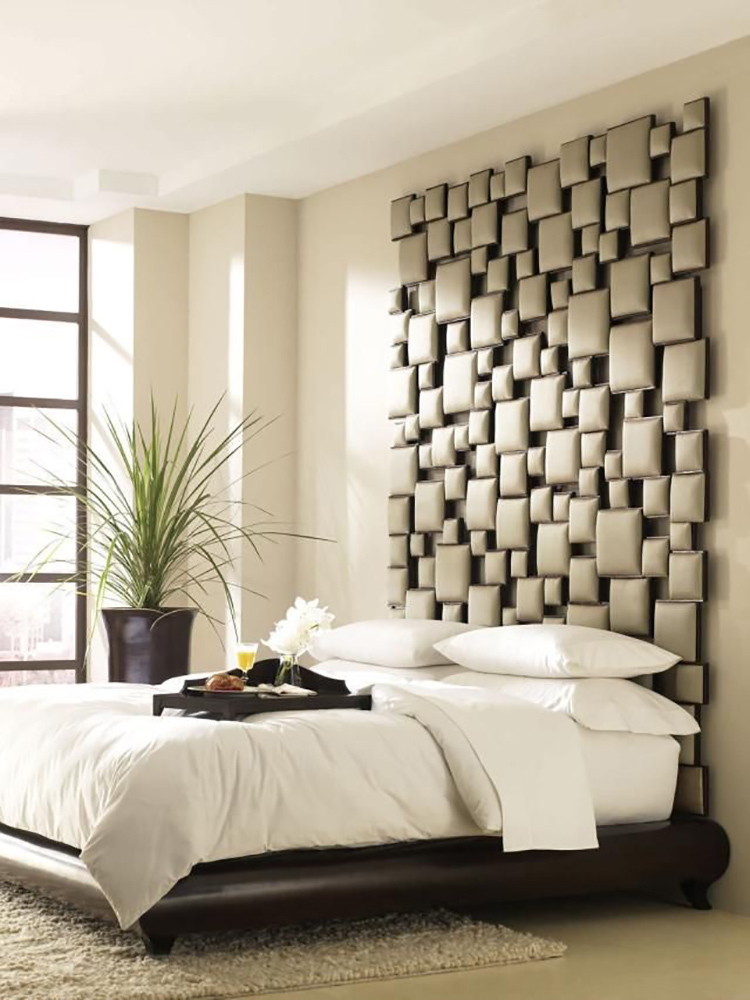
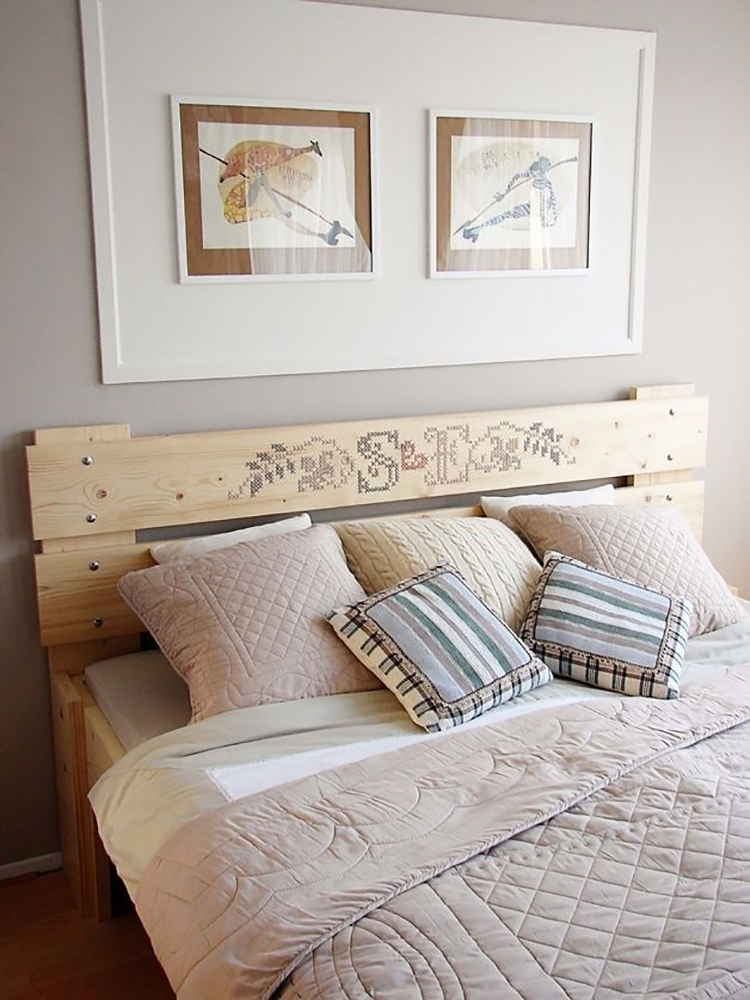
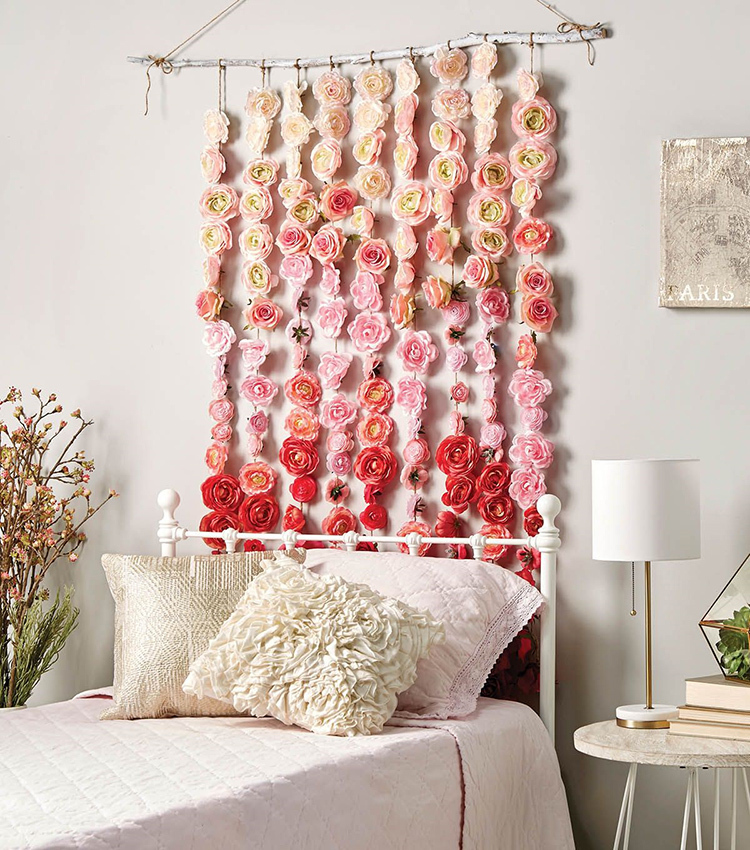
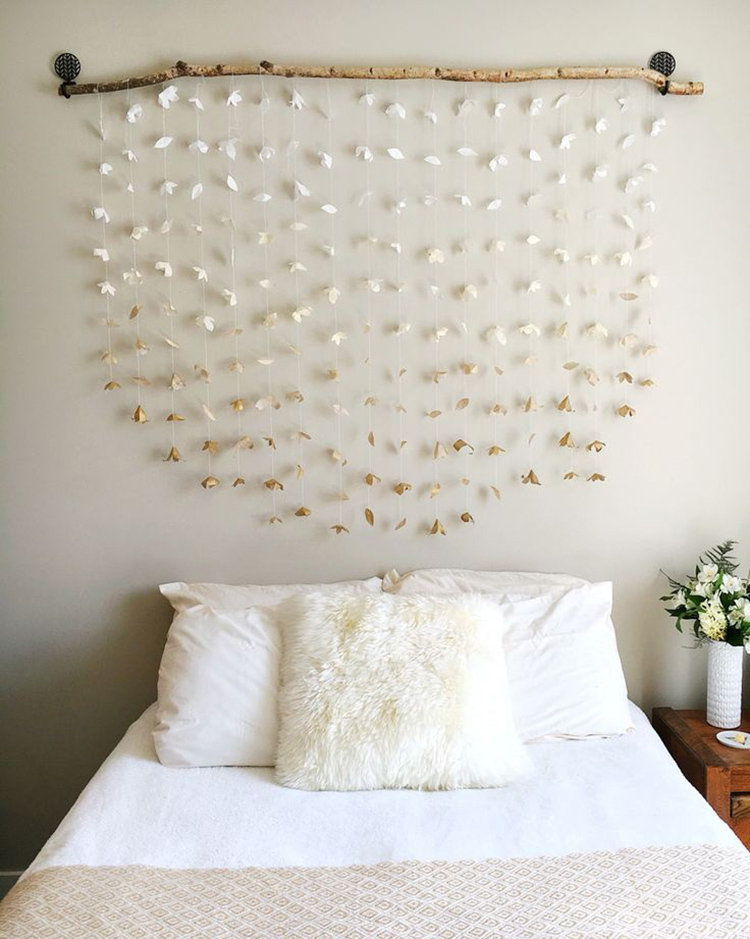
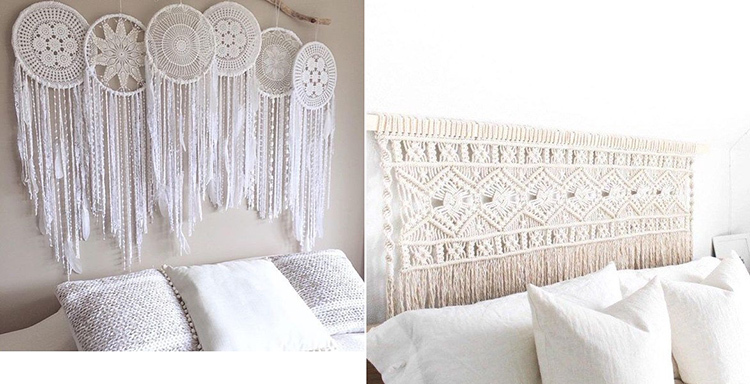
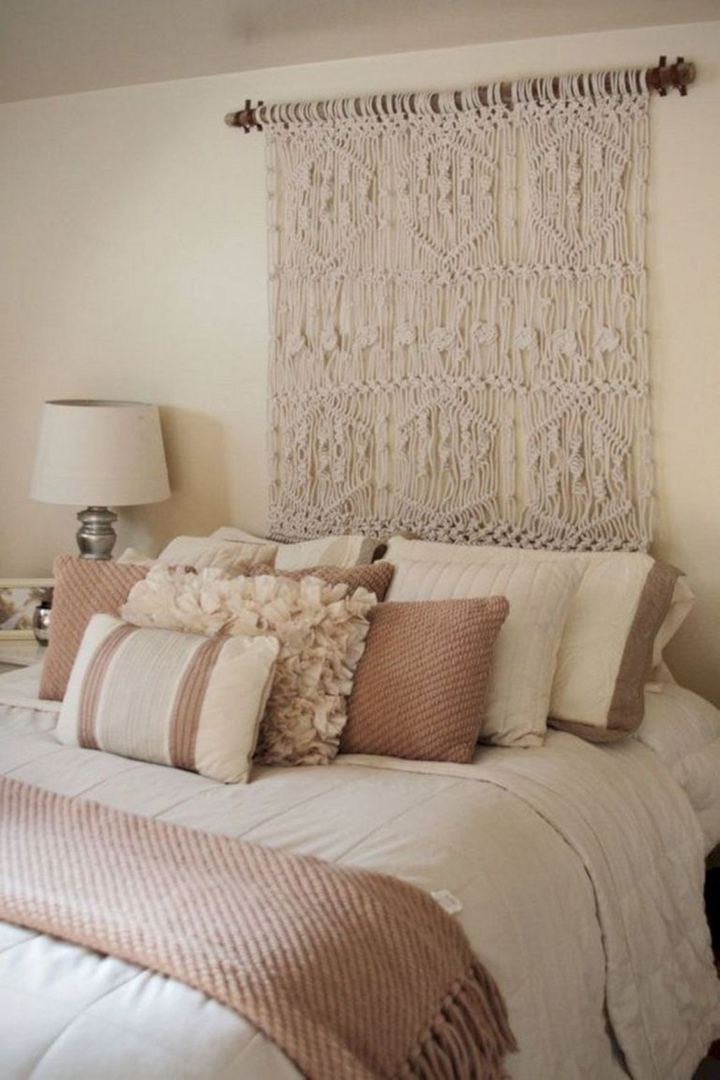
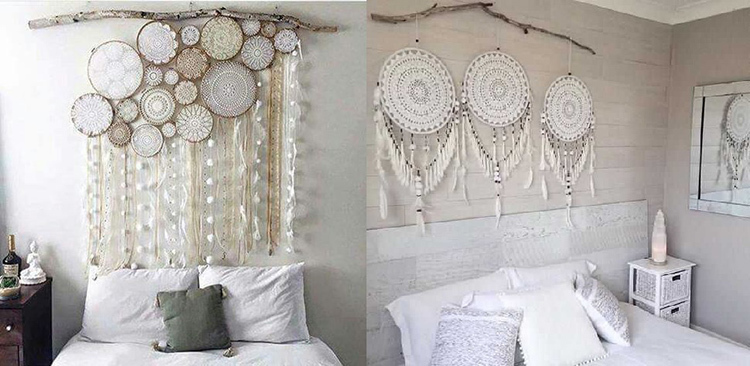
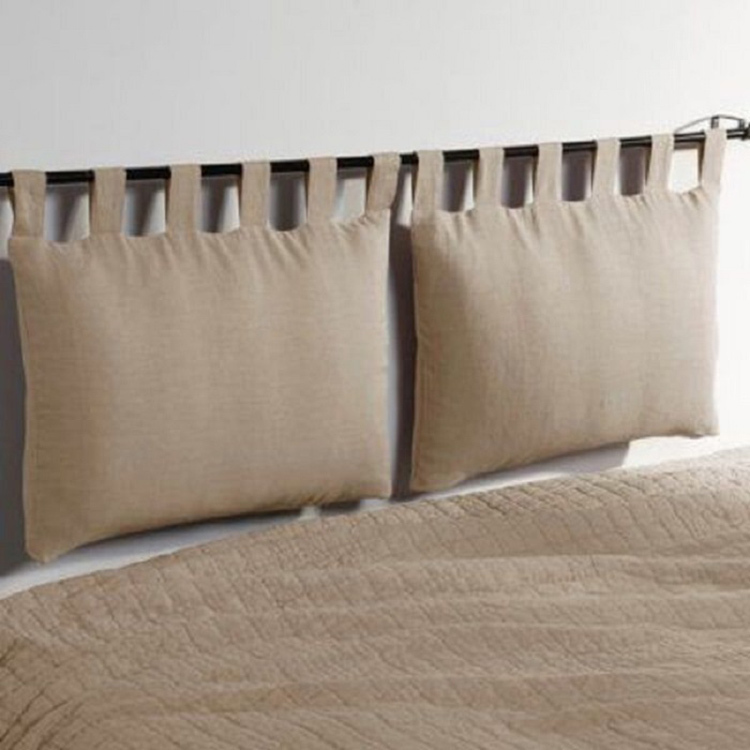
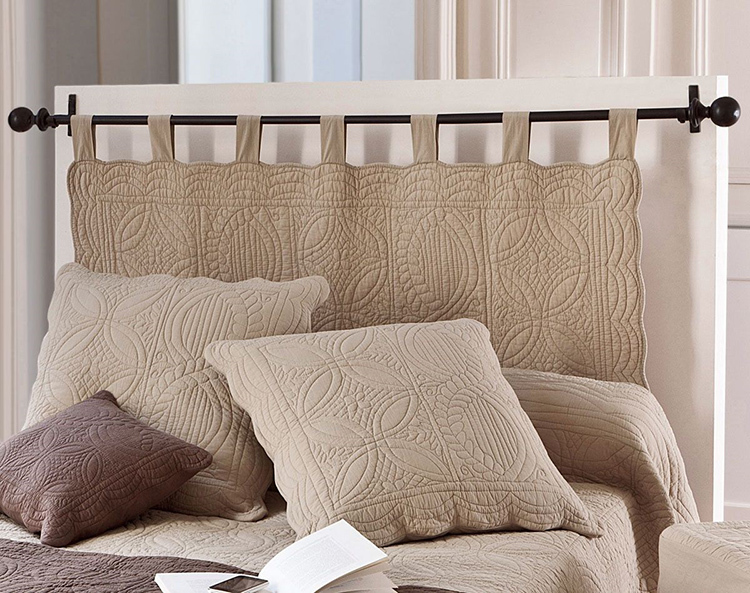
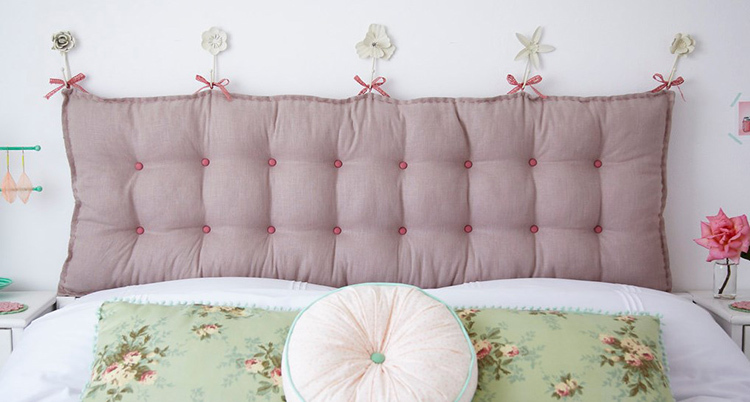
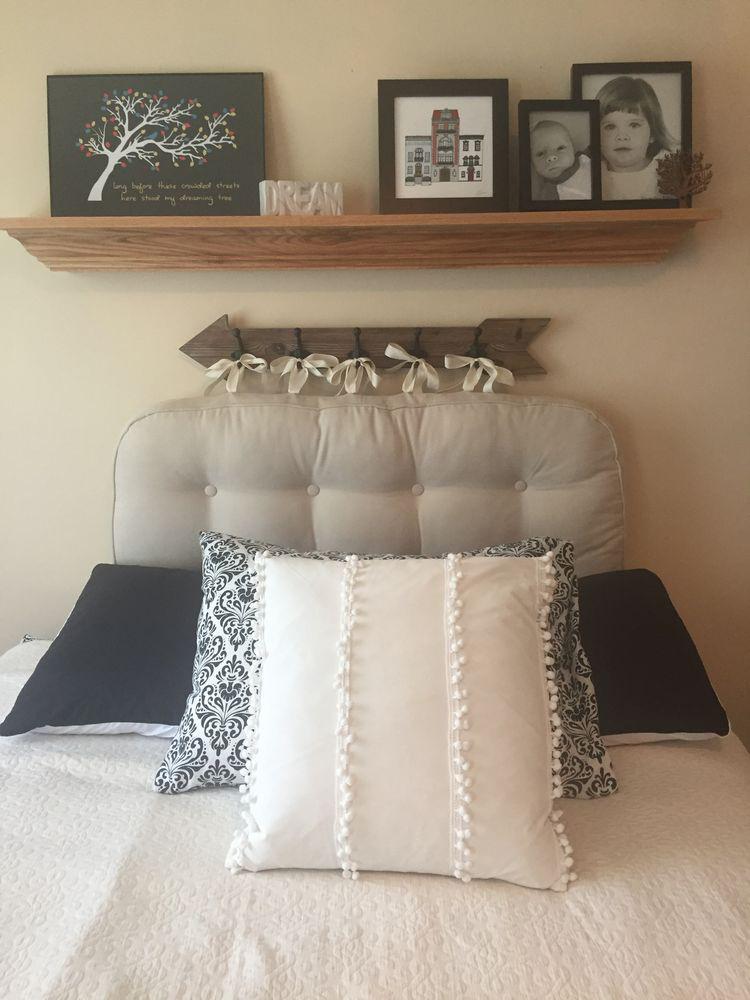
There are many options for headboards, which are quite simple to make with your own hands. Their design is so simple that no special instructions are required.
1 out of 14

Summing up
In this article, we tried to show master classes and examples of making headboards from both wood and textiles. We hope that the information provided was useful and interesting.
In the discussion of the article, you can share your best practices and examples, as well as recommend the article to your friends.
