🕰 How to make an original wall clock from fiberboard, glue and old keys

There are wall clocks in almost every home and in every room. We are used to keeping track of the time and planning our day in accordance with the running of the hour and minute hands. The clock in the room is an integral part interior, and any owner wants them to look stylish and exclusive. Such models are not cheap on sale. And if this is a piece goods, then its cost can reach several tens of thousands, or even more. What if your family budget is not able to cope with such an amount? The main thing is not to get upset! Even if you do not have extra money, then you definitely have your hands and head, so your option is handmade in your own performance. With a lack of imagination, various master classes are of great help. One of such interesting, and most importantly - cost-effective and easy-to-implement is offered by the YouTube channel “Tatiana Abramenkova».

Read in the article

  • 1 What needs to be prepared for work and how much will the materials cost
  • 2 Preparing the Foundation: Three Steps to Perfection
  • 3 How to decorate a blank to simulate forging

What needs to be prepared for work and how much will the materials cost

To make a wall clock with an imitation of forging, you will need, first of all, the clockwork itself. It can be an old watch, the case of which no longer suits you for various reasons, or a cheap Chinese watch that can be bought, for example, in Fixprice literally rubles for 70-90 rubles.
How to make an original wall clockPHOTO: youtube.com
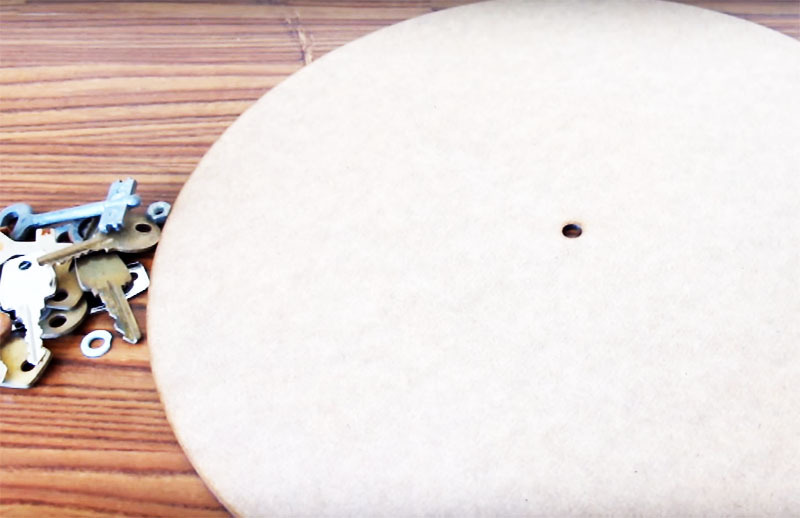
The basis of the structure will be a circle with a hole in the center made of dense containerboard, fiberboard or plywood. Search, you will surely find something like this at home. As a last resort, you can buy a large cutting board at the same Traffic Light. So this part will either cost you nothing, or a maximum of 150 rubles. Besides the board, you need to find old keys. Such goodness is also enough in almost every home, especially in a private

In addition to keys, metal washers, bolts, nuts, staples, paper clips and other small curly objects can be useful for finishing. And to imitate rivets, stock up on a bag of half-beads.
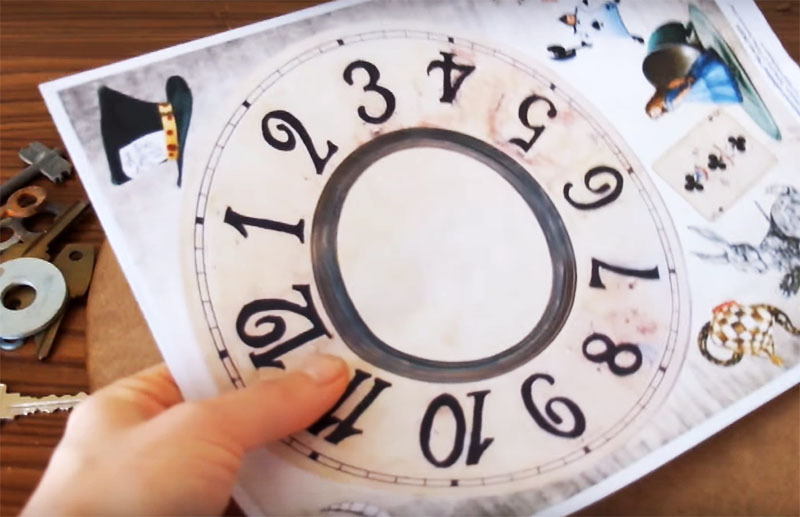
You can draw the dial yourself, but if you are not sure of your artistic abilities, decoupage cards will help you. Paper with a printed dial will cost from 25 to 120 rublesPHOTO: youtube.com
You can draw the dial yourself, but if you are not sure of your artistic abilities, decoupage cards will help you. Paper with a printed dial will cost from 25 to 120 rubles

In addition, you will need 2 types of acrylic paint: simple brown and with a metallic, bronze or silver tint, as well as acrylic varnish or spray varnish. The cost of these materials varies between 150-200 rubles.

From the tools, a glue gun, a brush, and a foam sponge will come in handy. Thus, the entire structure will take you a maximum of 500-600 rubles. Agree, for this amount you are unlikely to buy a decent wall clock, and even more so - with a unique design.

Preparing the Foundation: Three Steps to Perfection

The assembly of the base for the future masterpiece should be started with the dial sticker.
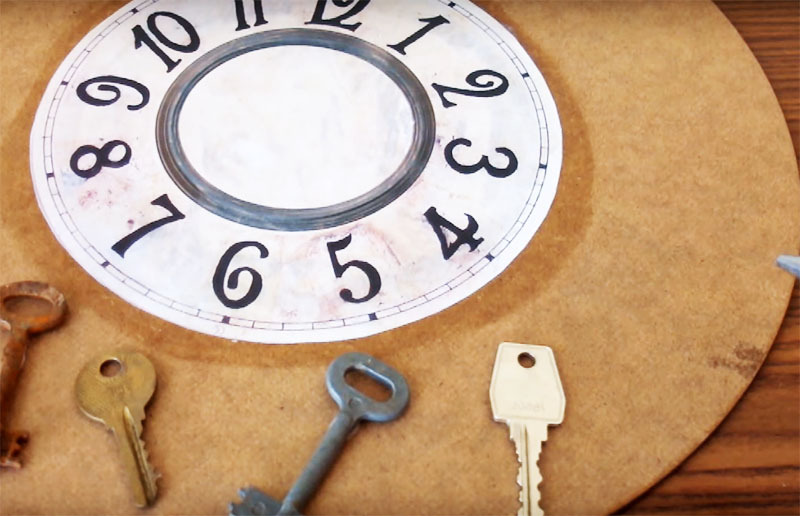
Cut out a picture from a decoupage card and glue it with PVA on the base, placing it exactly in the center. In order not to miss, mark the center of the dial and pierce it with a needle, and then align the needle with the hole in the center of the workpiece.PHOTO: youtube.com
Cut out a picture from a decoupage card and glue it with PVA on the base, placing it exactly in the center. In order not to miss, mark the center of the dial and pierce it with a needle, and then align the needle with the hole in the center of the workpiece.
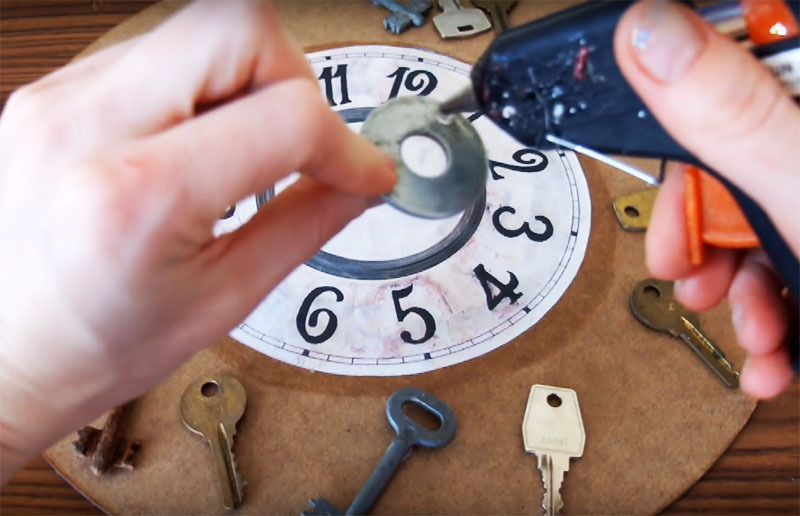
Glue all metal parts to the base with a glue gun. Do not try to arrange them in any strict order, just try so that there is no unreasonable free space.PHOTO: youtube.com
Glue all metal parts to the base with a glue gun. Do not try to arrange them in any strict order, just try so that there is no unreasonable free space.
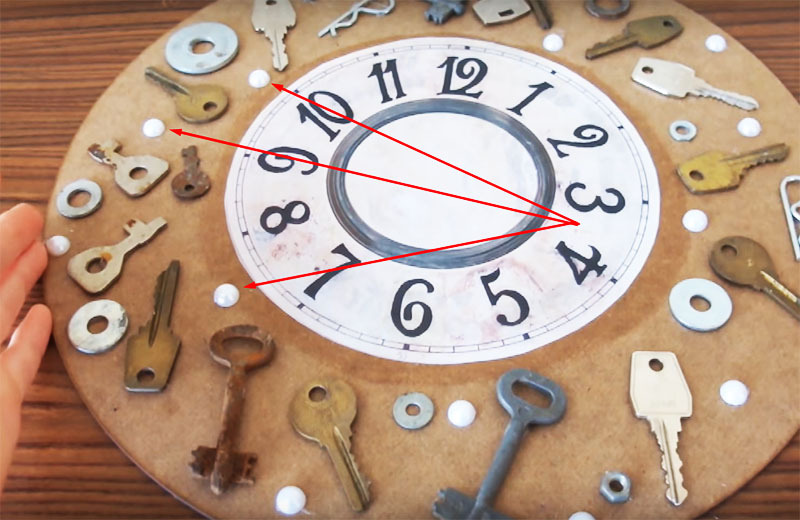
When all the metal parts are in place, complete the composition with half beads, placing them on empty areasPHOTO: youtube.com
When all the metal parts are in place, complete the composition with half beads, placing them on empty areas

How to decorate a blank to simulate forging

When assembled, the workpiece is a variegated composition. Paint will help to combine it into one whole.
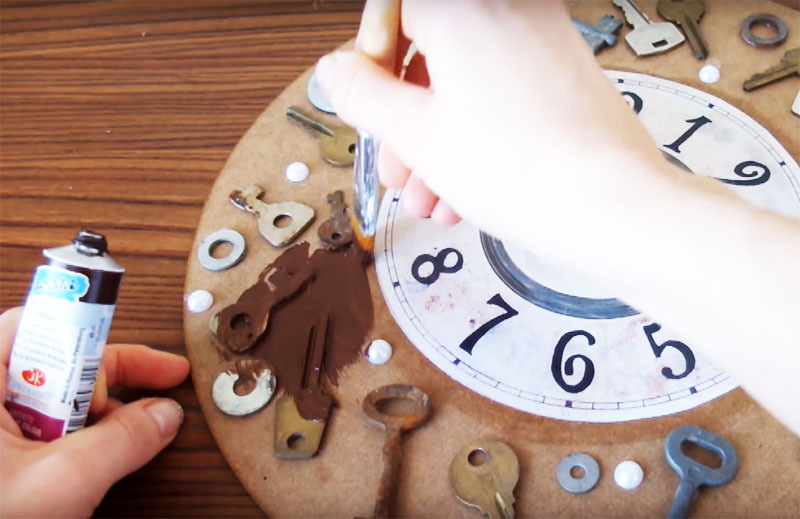
The first layer is dark brown paint. All irregularities should be carefully painted over so that the surface is monochromatic.PHOTO: youtube.com
The first layer is dark brown paint. All irregularities should be carefully painted over so that the surface is monochromatic.
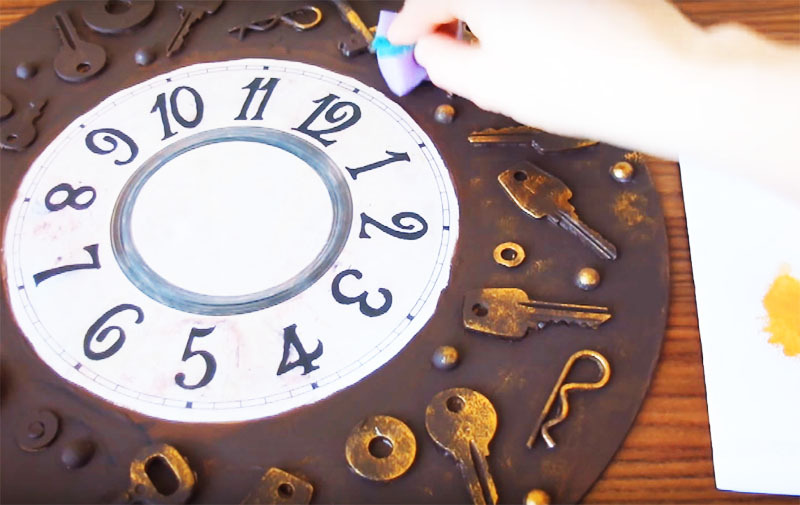
When the base coat is completely dry, you need to apply bronze highlights. To do this, lightly blot the paint with a foam sponge and with soft touches transfer the shade to the protruding parts of the composition.PHOTO: youtube.com
When the base coat is completely dry, you need to apply bronze highlights. To do this, lightly blot the paint with a foam sponge and with soft touches transfer the shade to the protruding parts of the composition.
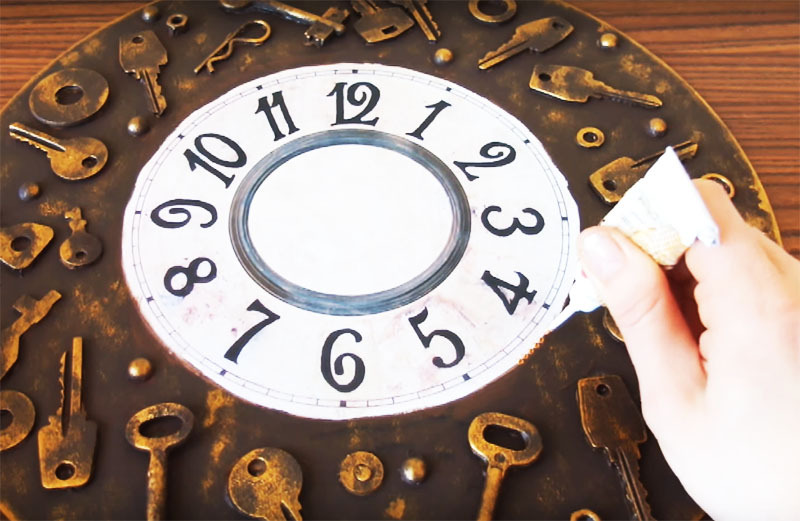
The junction of the decoupage with the base can be leveled using small drops of a bronze contour. After that, the entire composition should be coated with acrylic or automotive varnish.PHOTO: youtube.com
The junction of the decoupage with the base can be leveled using small drops of a bronze contour. After that, the entire composition should be coated with acrylic or automotive varnish.
The final touch is the installation of the clock mechanism and hands. The mechanism will be placed on the back side. You can fix it with a few drops of hot glue.PHOTO: youtube.com
The final touch is the installation of the clock mechanism and hands. The mechanism will be placed on the back side. You can fix it with a few drops of hot glue.
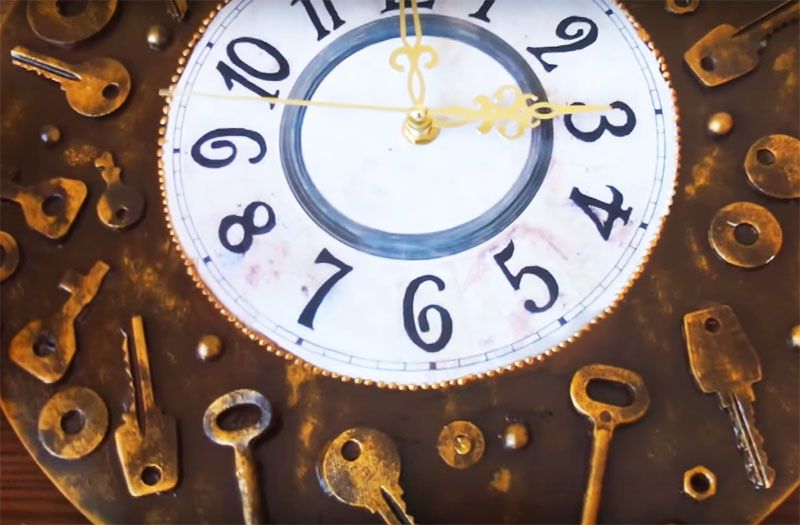
The result, as you can see for yourself, is excellent. Such watches will perfectly fit into most classic interior styles and will become a highlight of the situation.PHOTO: youtube.com
The result, as you can see for yourself, is excellent. Such watches will perfectly fit into most classic interior styles and will become a highlight of the situation.

The work itself will not take much of your time. The longest stage is waiting for the paint to dry. Agree that the process is very simple and does not require any special handicraft skills or artistic talent.

This is far from the only example of decorating a wall clock with your own hands. In addition to this material, we offer you another master class in the video:

You can decorate a wall clock in a variety of ways. For decoration, you can use traditional materials for scrapbooking, decoupage, embroidery, modeling from special clay or salt dough, wood carving. Therefore, if there is time and desire, there are a lot of options.

How did you like the author's idea? Share your opinion in the comments. If you want to repeat this master class or are ready to share your own - send us your photos with a description!

PHOTO: YouTube-channel "Tatiana Abramenkova»

Discuss0