
Probably, this question was asked by almost every tenant. The thing is that the space between the bedroom (living room or kitchen) and the balcony is always uneven and inconvenient for finishing. Knowing some of the tricks and features of materials, it is quite possible to make such a threshold convenient, safe and stylish.
The threshold under the balcony door significantly improves the aesthetic appearance and serves as an additional barrier to the cold air
Advantages and disadvantages
Content
- Advantages and disadvantages
- Materials (edit)
- Ceramic tile
- Plastic
- Cement
- Brick
- Wood
- Laminate
- Video: Do-it-yourself threshold to the balcony made of ceramic tiles
Before proceeding directly to work, it is important to understand the features of this site - the threshold between the room and the balcony. Correctly decorated, the threshold will become an appropriate addition and a practical component of your interior. In addition, despite its modest size, this "frontier" will become additional protection from the cold. Finally, he will be able to ensure safe movement from room to balcony and vice versa.
There is only one drawback - the possible deflection of the structure. And then, it appears only if the threshold is made of plastic, and the technology has not been followed.
A variety of materials are suitable for finishing the balcony threshold, which differ in cost and service life.
Materials (edit)
The balcony sill is available in different materials.
The main criterion is that the material matches the overall design solution in color and texture.
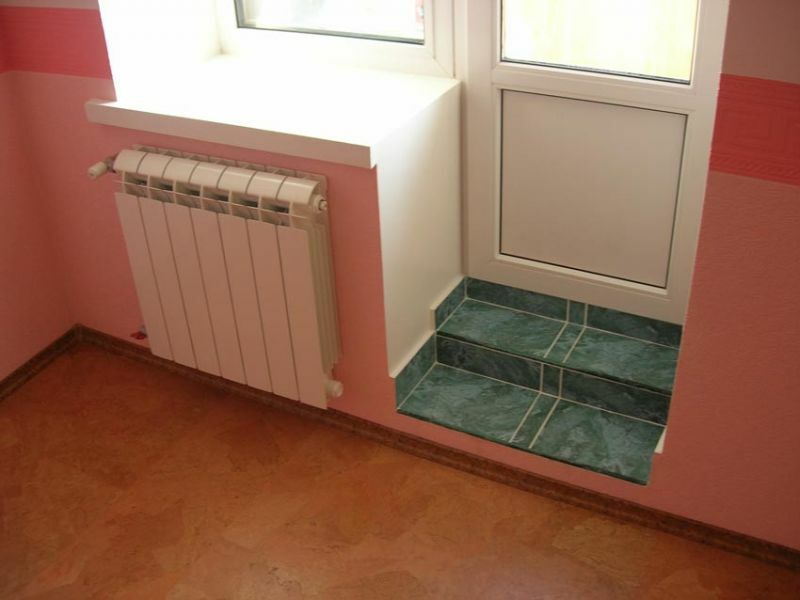
Ceramic tile
Perhaps the undisputed leader in demand. By finishing the threshold between the room and the balcony with ceramic tiles, you will save yourself from having to change something for a long time. The material is durable, attractive in appearance, does not require special care. Allows the use of chemical and abrasive surface cleaning agents. In general, not a threshold to the balcony, but the dream of any hostess!

The threshold made of ceramic tiles is not afraid of moisture and serves for a very long time, subject to the laying technology
By the way, if you are looking for a budget option, then instead of ceramic tiles, you can use ordinary tiles. It is slightly thinner than ceramic and costs less.
The only drawback of tile or tile floors is their slippery surface. This will have to be taken into account, especially if small children or elderly relatives live in the apartment.
Stages of work:
As a rule, ceramic tiles are placed on a ready-made threshold. This is, so to speak, a cosmetic finish.
- To begin with, measure the threshold and calculate the number of tiles required. The surface must have a symmetrical pattern, which means that you may have to cut the finished tile with a grinder or a special tile cutter.
- A layer of glue is applied to the surface of the nut and the tiles are laid, checking the level so that the surface is not skewed.
If everything is done carefully, then the nut will look great.
As a rule, in addition to the threshold, the walls above it are also finished with tiles. Then the doorway looks complete and beautiful.
Plastic
This material is especially appreciated for its ease of installation and lightness of construction. In addition, he is unpretentious in care. The main thing is to draw up the threshold in strict accordance with the rules, otherwise the plastic subsequently deforms, bends, and cracks appear on it.
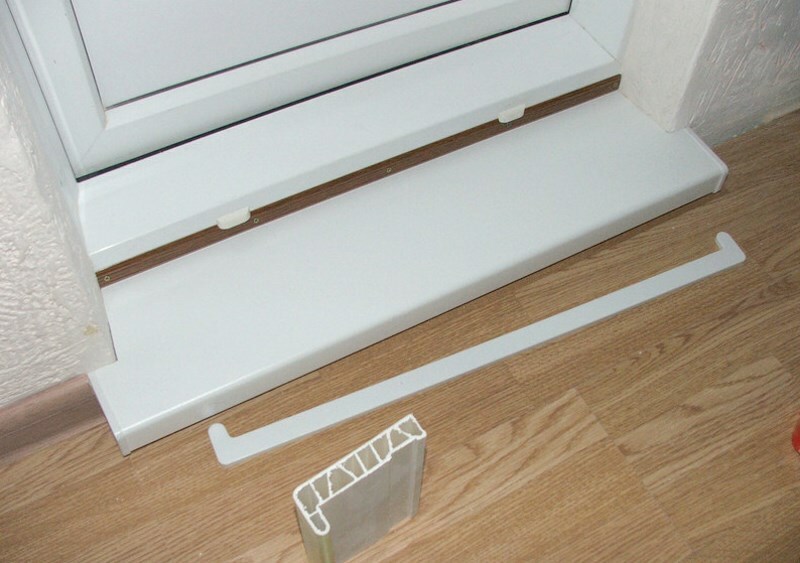
Installing a plastic threshold is similar to installing a window sill, only it is placed under the door, turning into a real step
Also, the disadvantages of plastic sills include the fragility of the structure. But it perfectly protects from the cold and helps to hide the existing flaws in the finish.
Stages of work:
- First, accurate measurements are made, and a piece of plastic is cut out to the desired size. Then a layer of special glue is applied to the old step and plastic is attached. The existing cavities are filled with construction foam.
- After the foam has set, check how firmly the threshold is fixed. Excess foam is removed with a special knife.
To decorate the corners beautifully, use corners specially designed for this, which are sold in hardware stores.
Cement
Another way to finish the threshold between the room and the balcony is cement mortar.
Important! Choose only high quality cement, otherwise all efforts will be useless.
After the cement surface has hardened, you can either lay ceramic tiles or paint in the color you want.
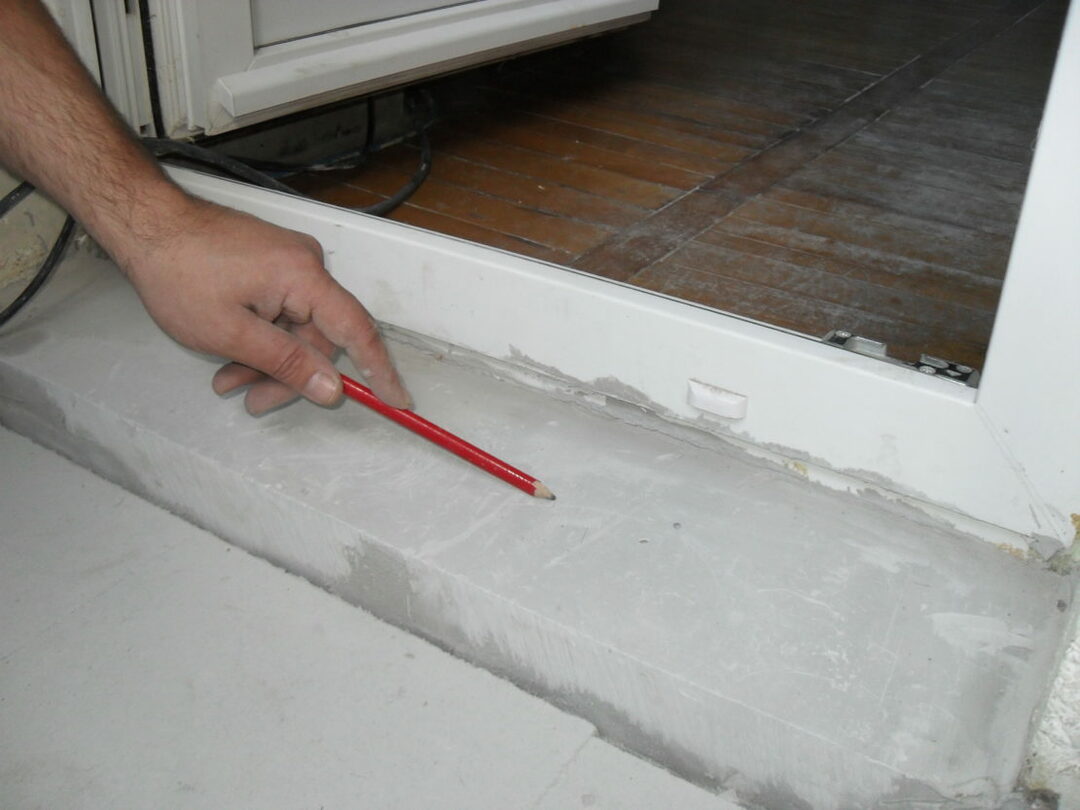
A cement threshold is usually arranged when the height of the transition between the balcony and the adjoining room is very small.
This design will serve you for many years. There is only a small nuance: the paint fades out rather quickly and loses its original shade.
Stages of work:
- The threshold should be well cleaned, all irregularities should be removed.
- Then the formwork is made, in size exactly repeating the size of the threshold.
- After that, the cement slurry is mixed and poured into the resulting "mold". Neatly leveled.
- When the mortar sets (and this is after about 30 minutes), the formwork is removed. And all uneven seams are treated with sanding plaster.
Brick
Immediately, we note that a brick can not be used in every case. Only when the distance from the floor to the door is large enough. This gap will easily "hide" the brickwork.
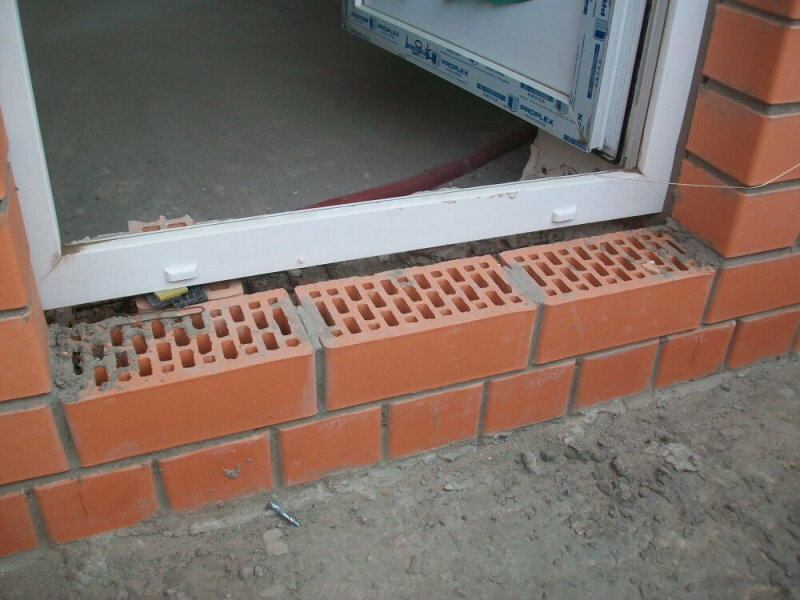
Brickwork will fit perfectly into the loft interior of the balcony space
If you do not like the look of the bricks, then do the subsequent finishing in any way that suits you or decorate the brickwork.
Stages of work:
- To begin with, the old threshold is removed and the surface is well cleaned.
- Then a layer of starter putty is applied.
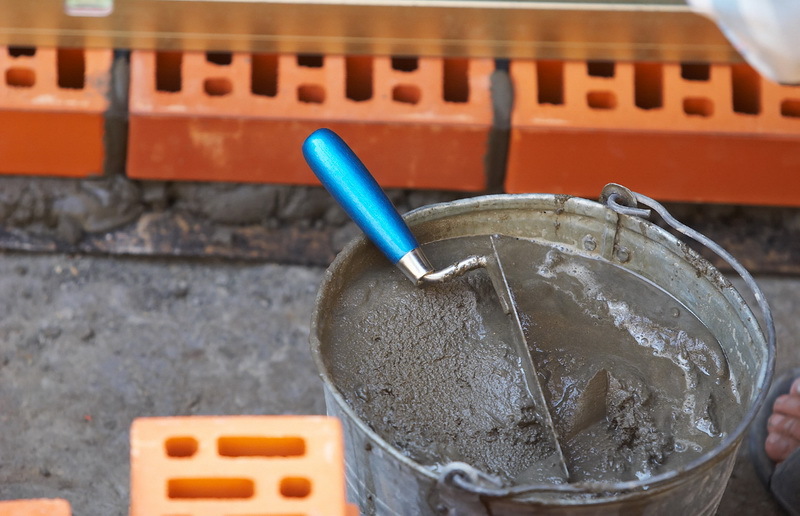
- Now you can start laying. The mortar is usually made from 1 part quality cement and 3 parts fine sand.
It is best to use clay brick, which tolerates high humidity and temperature changes well.
A little trick: a little gypsum mixture is added to the cement mortar to facilitate the application of the mass.
Each row of brickwork is leveled using a special level. If you do not do this, the surface will turn out to be curved and subsequently it will cause cracks in the tiles if you plan additional finishing on top of the brickwork.
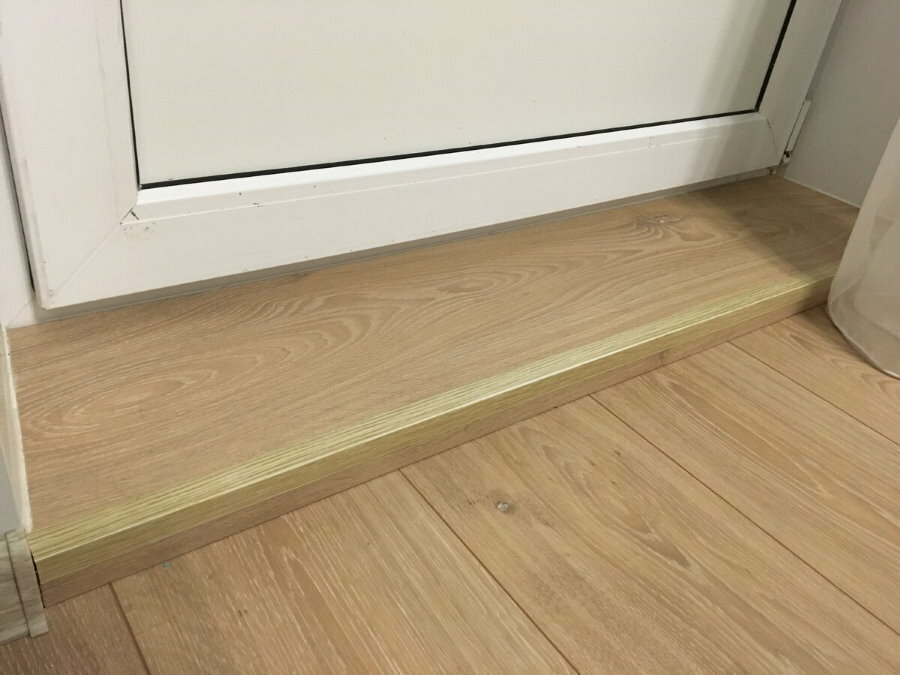
Wood
Truly, the material is timeless and out of fashion. It is always relevant. It is appreciated for its attractive appearance. Wood-trimmed thresholds always look expensive and practical.
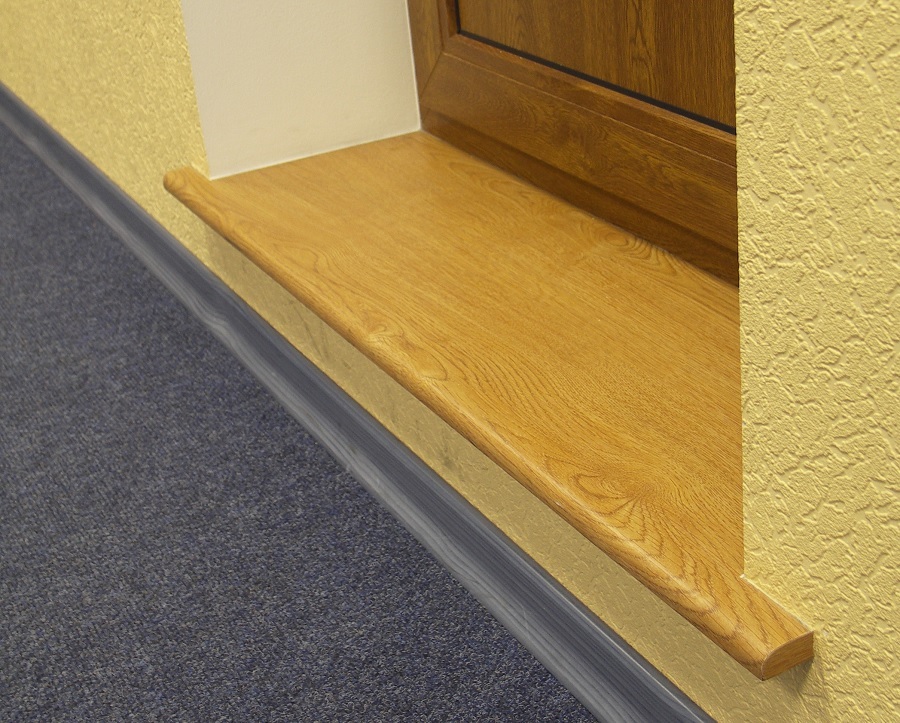
Wood can be sheathed with a threshold of different heights, both small and high
It is quite easy to work with this material, it does not let the cold through (especially if you use mineral wool for additional insulation of the threshold). It is used both for the design of a low threshold and for a high one, it perfectly "gets along" with any interior.
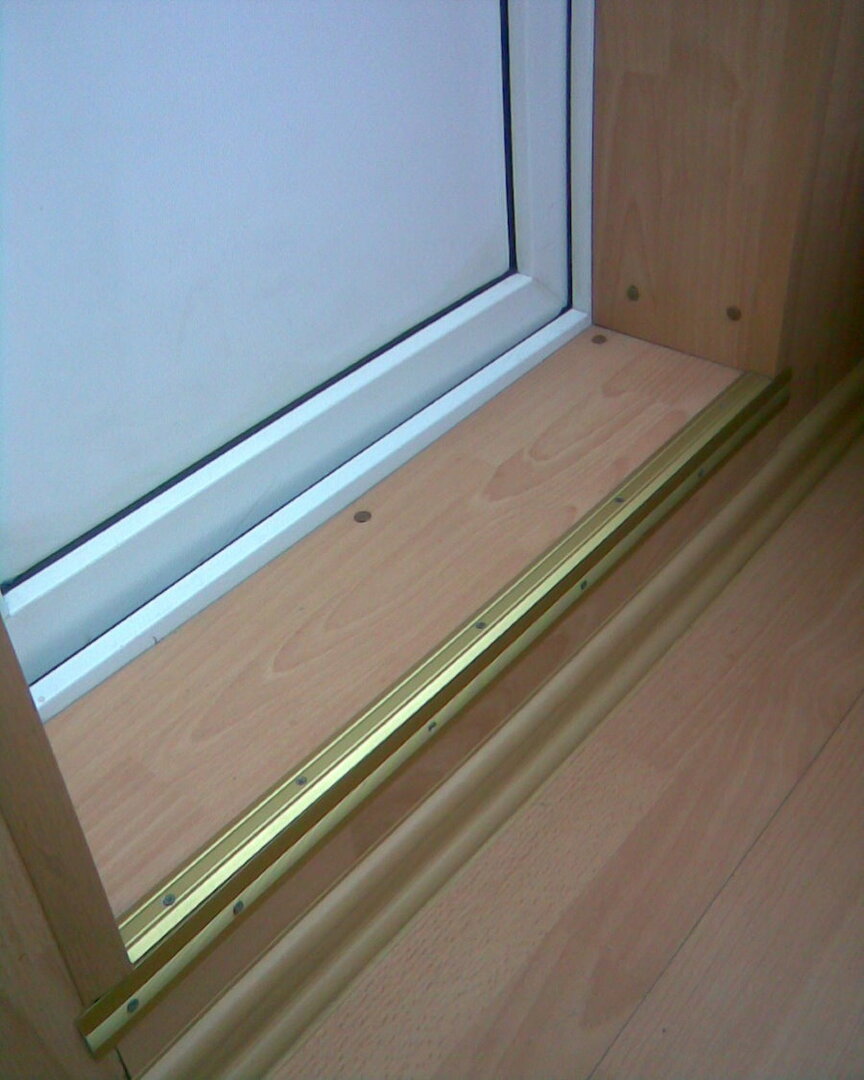
Stages of work:
- First, a frame is made in the form of a frame made of bars, exactly corresponding to the dimensions of the threshold.
- The bars are fastened with self-tapping screws, and the corners of the structure are additionally reinforced with metal corners.
- An additional hole is made in each corner for attaching the threshold to the floor.
- The finished frame is put in place and holes are made in the floor for fastening.
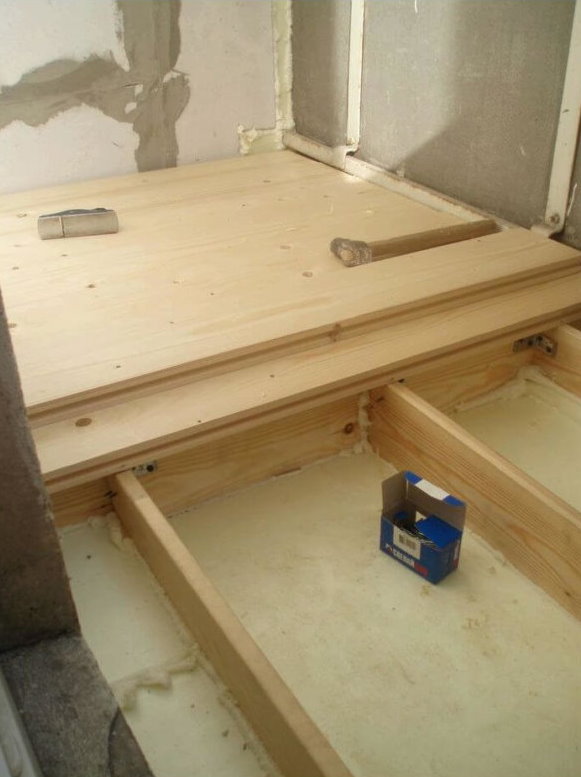
For the frame, use well-dried boards or bars impregnated with a protective compound
- A chipboard sheet is fixed on top of the wooden frame with self-tapping screws.
If you have the skills to work with wood, then you can make a threshold with your own hands. It will take no more than one day, but the transition from the room to the balcony will have a finished look.
Laminate
This is no longer the most modern option is considered a worthy alternative to natural wood. It is environmentally friendly, easy to operate, and retains a decent appearance for a long time.
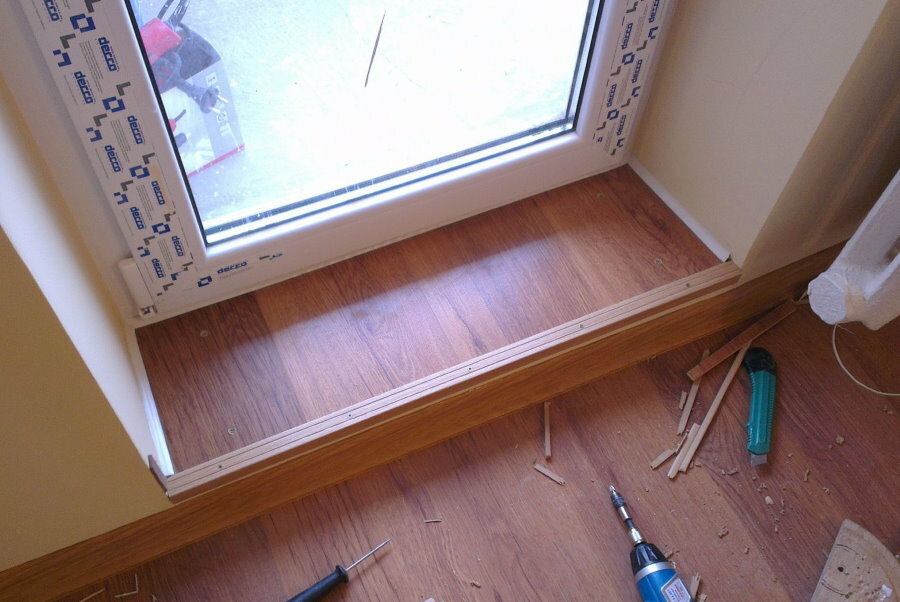
Finishing the balcony threshold is inexpensive, but it looks pretty nice
The only condition is: don't let it get wet. And the joints between the fragments of the laminate are recommended to be carefully treated with a sealant. Most often, the threshold from the laminate to the balcony is made when the balcony is well insulated.
As you can see, there are enough options for finishing the threshold to choose the one that suits your particular case. If you are not confident in your own abilities, entrust it to professionals. Although, even having initial skills in working with one of the above materials, you will definitely cope with the design of the sill on the balcony.


