The desire to use fashionable foreign words is sometimes misleading, for example - what are decoupage napkins? The answer is very simple - these are the most common patterned napkins for applique. Yes, the technique involves more operations than just gluing, but the principle is still in the application. But since the term "decoupage" has taken root so firmly in the needlework environment, we will use it. In this review from HouseChief, we'll take a look at the napkin varieties and basic principles for applying them for those learning the basics of the art.
Read in the article
- 1 How do decoupage napkins differ from ordinary napkins?
- 2 Types of decoupage napkins: from simple to complex
- 3 Does the country of origin matter?
- 4 Color, pattern, ornament: what else is important?
- 5 How to properly glue a decoupage napkin: three common methods
- 5.1 How to glue a napkin using the file method
- 5.2 Fan brush method
- 5.3 Applying a napkin with an iron
- 6 How surface type affects decoupage technique
How do decoupage napkins differ from ordinary napkins?
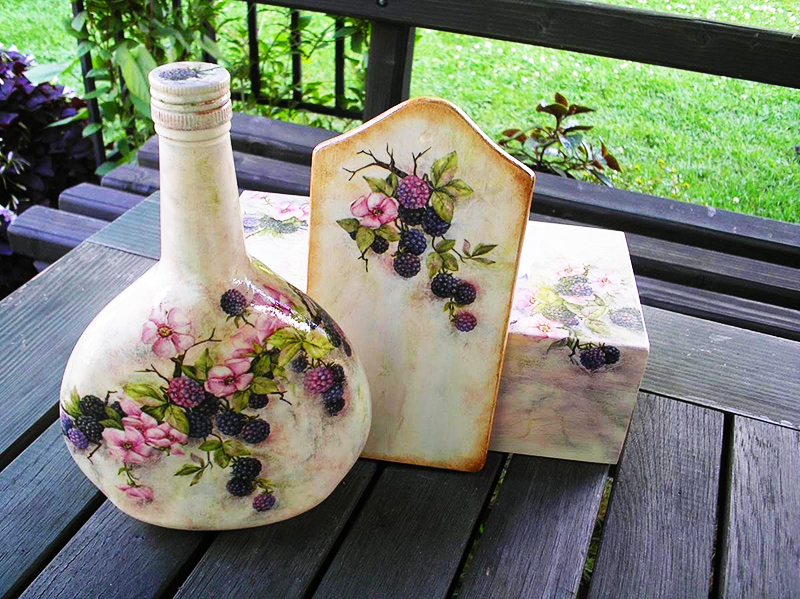
So, the meaning of the decoupage technique is to apply an applique to the surface of any objects. Due to the fact that a thin napkin with a pattern is applied, the applique looks like a pattern, imitates painting.
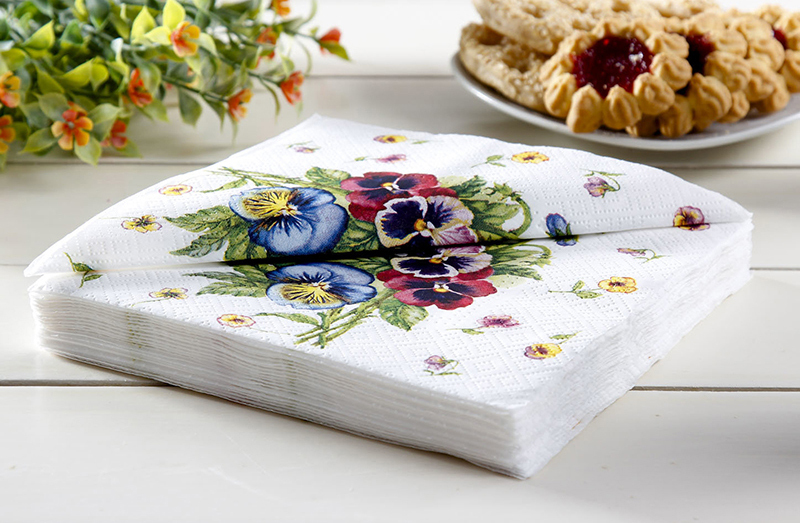
Can you use ordinary serving napkins, because many of them are just decorated with interesting and bright motives? Do not rush to give an answer. Before you figure out whether such a napkin is suitable, you need to consider its texture.
Cellulose napkins made of non-woven material or imitation of fabric are not suitable for application. Usually these are large products measuring 40 × 40 cm², which do not have a layered structure and may have a fleecy surface. They are too thick for such delicate work, and may even change color from contact with varnish. So the conclusion: nonwoven napkins are not suitable for decoupage.
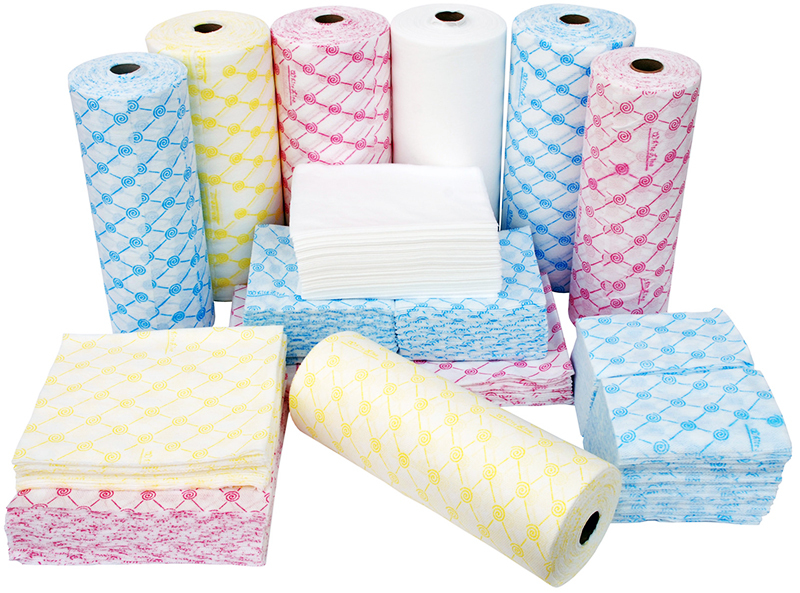 PHOTO: i4.photo.2gis.com
Types of decoupage napkins: from simple to complex
So, napkins made of high-quality paper with a multi-layer structure and a high-quality drawing applied with stable paints are suitable for artistic application.
How many layers should there be in a decoupage napkin? Two, three or more? This is not important, the main thing is that the layer on which the drawing is applied is thin. So for work you only need the topmost layer, it is on it that the paint is applied.
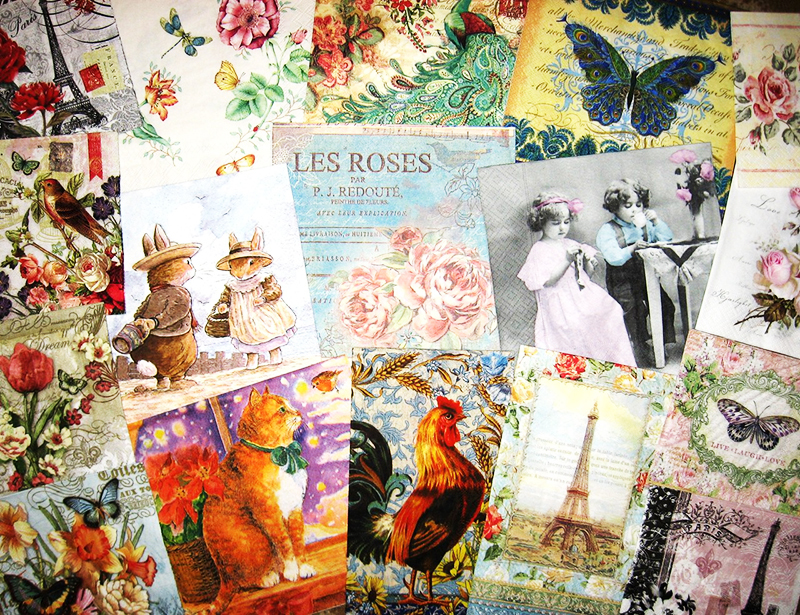 PHOTO: mnogosalfetok.ru
A separate element in this row is rice paper napkins. They have a thin and very dense structure, they stick easily and without wrinkles. It is this material that is recommended for novice craftsmen.
Does the country of origin matter?
Decoupage napkins are produced in almost all countries of the world. But what is interesting: in most cases, Chinese products are hidden under European brands. The reason is simple. It lies in the cheapness of Chinese production, which is now being used to the maximum by European concerns. Is it bad? It all depends on how legally branded products are produced in each specific case. If the production is official, then the quality will be strictly controlled. But if this is a fake, then, you know, there are no guarantees.
How to identify a fake in a branded product? Visually, you can note the pixelization of the map, the violation of its color gamut, the shift of the image relative to the center or other cropping, unstable dyes. It's good if you have the opportunity to compare the fake with the original.
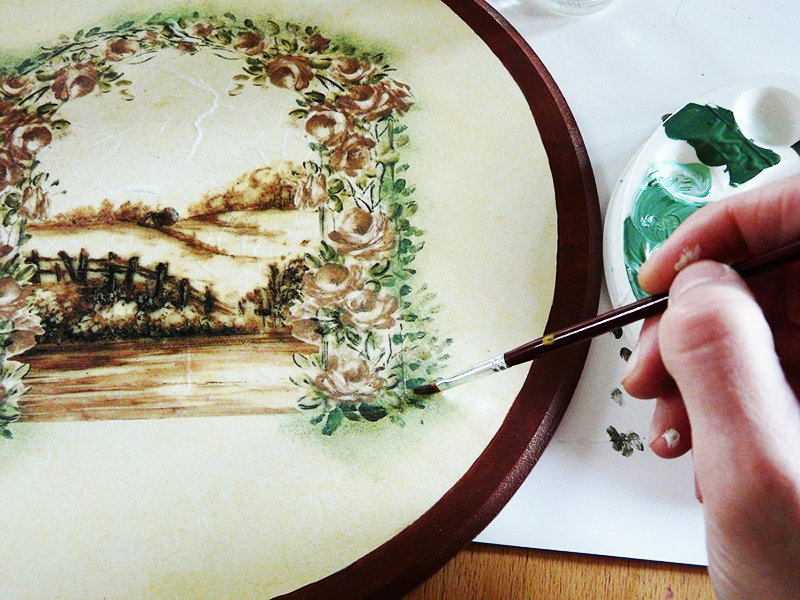 PHOTO: i0.wp.com
Advice! If there are doubts about the quality of the material, check it: wet a napkin and squeeze it into a glass: if the water is colored, feel free to throw it away.
Color, pattern, ornament: what else is important?
The location and multiplicity of the pattern on napkins for decoupage can be different:
- there are 4 identical patterns on the napkin, and you will see the full picture even in a sealed package;
- two paired motives located in the same way as in the first case;
- one motif applied to the entire surface of the napkin, located in the center or along the edge.
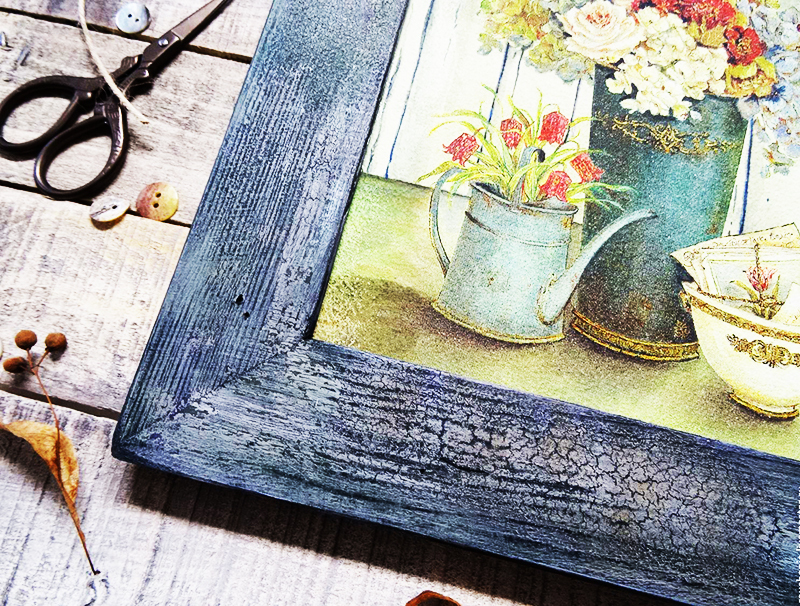 PHOTO: cs5.livemaster.ru
In this simple algorithm, there are exceptions from manufacturers making products specifically for creativity. In their materials, printed in small editions, there may be reproductions of paintings or pictures on a specific topic.
On sale from antique dealers you can find antique napkins. You can use them for decoupage, but inappropriate. Rather, they are rarities for creating collections.
How to properly glue a decoupage napkin: three common methods
The main secret of the decoupage technique's success is the even, without folds and tears, the application of the napkin. This can be done in three ways. Choose which of them seems to you the simplest:
How to glue a napkin using the file method
This is a simple method that is easy for a beginner to master. For it, you will need a regular stationery file, water in a spray bottle, PVA glue and acrylic varnish.
| Illustration | Description of action |
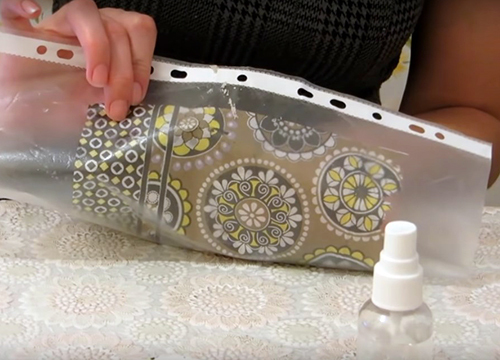 | Peel off the top layer of the napkin and place it facedown on the file |
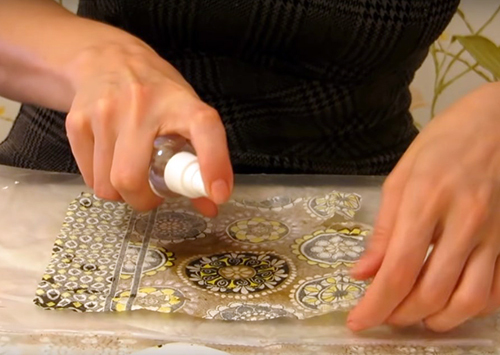 | Wet a cloth liberally with a spray bottle |
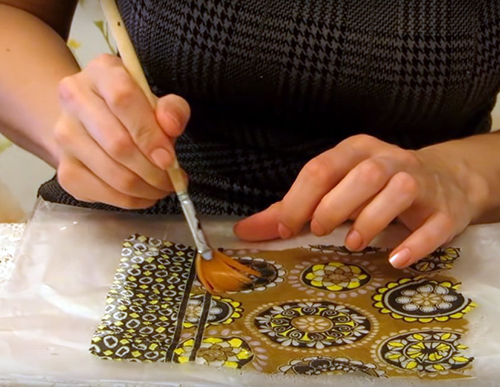 | Spread a thin layer of paper over the file with your hands and a soft wide brush so that there are no wrinkles |
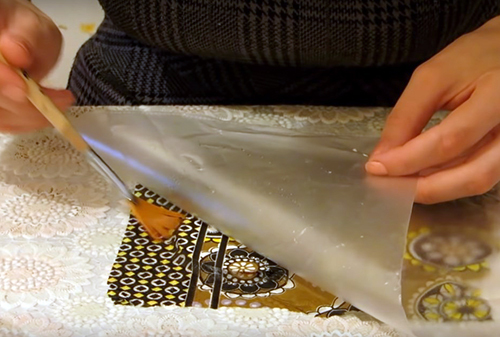 | Place the file face down on the workpiece |
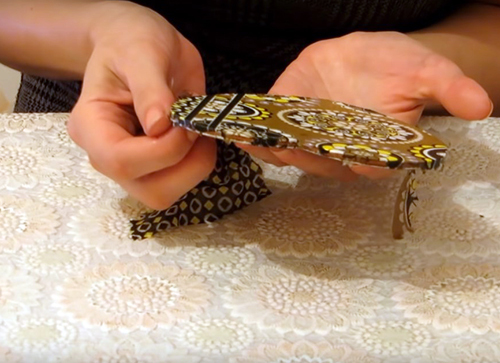 | Carefully remove the file so that the picture remains on the surface of your workpiece |
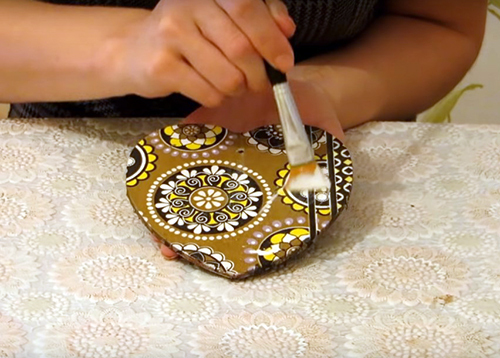 | First cover the napkin with PVA glue using a wide brush, and then, when the surface is dry, with acrylic varnish |
Related article:
Decoupage for beginners step by step with a photo of the bottle.It will be easier to show talents if you carefully study decoupage for beginners step by step. This article provides detailed instructions to help you reproduce the technology at home without errors.
Fan brush method
The second option, using a fan brush, is a little more complicated and requires carefulness and patience:
| Illustration | Description of action |
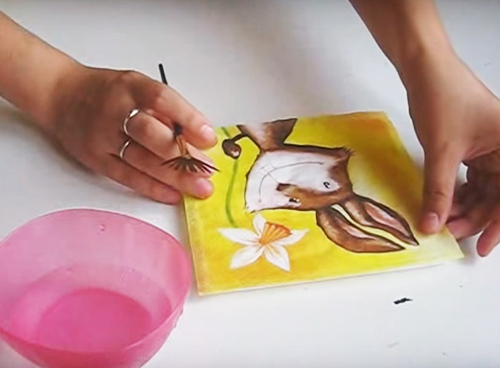 | Place a thin layer of paper over the workpiece, picture up |
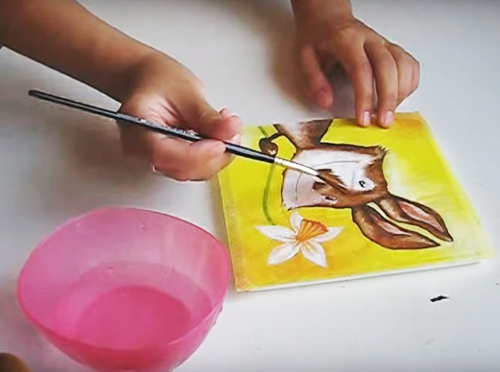 | Using a fan brush, apply a few drops of water to the center of the napkin |
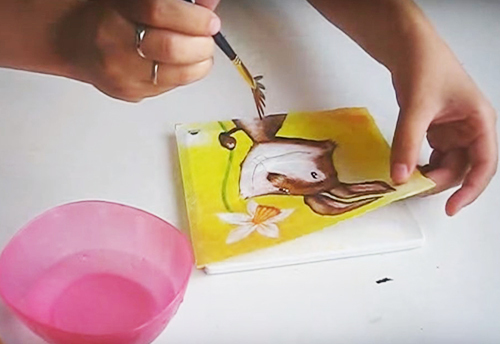 | Gently pull up the edges of the napkin to smooth out any wrinkles |
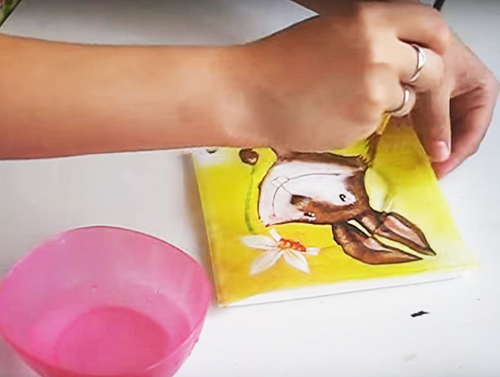 | Repeat the procedure, moving slowly from center to edge |
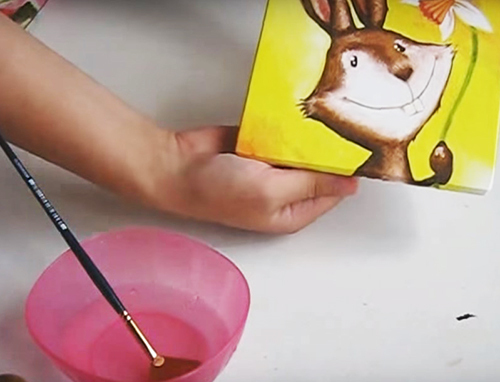 | Cover the finished motif without folds in succession with glue and varnish. |
Applying a napkin with an iron
The third application option is with an iron. It works well for perfectly flat surfaces:
| Illustration | Description of action |
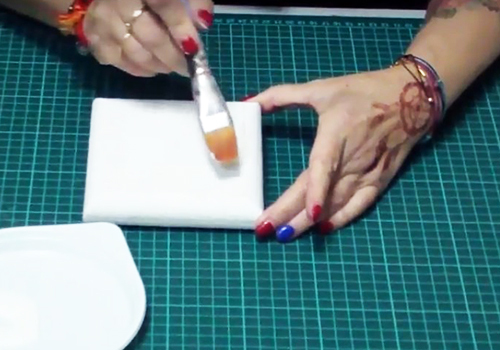 | Apply PVA glue to the workpiece and let the primer dry |
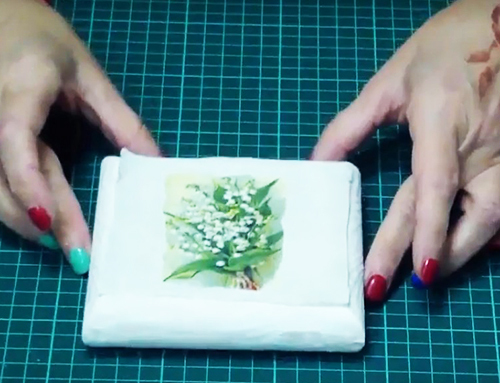 | Place a napkin face up on a dry surface |
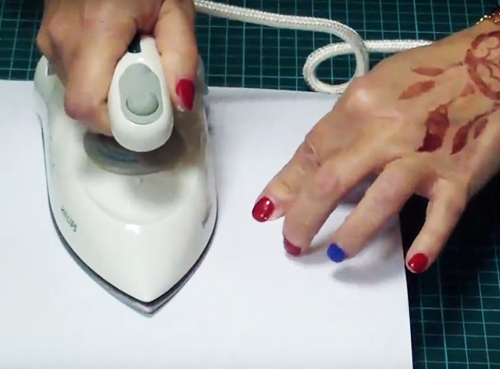 | Cover the workpiece with paper and iron on top with an iron |
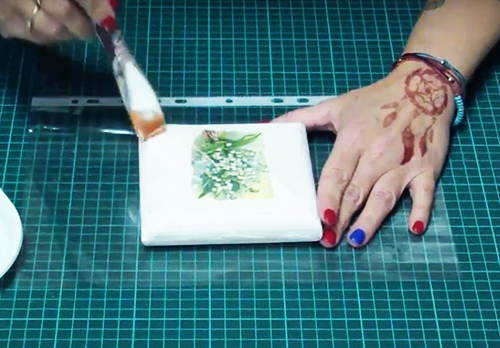 | Peel off the paper and apply PVA over the drawing |
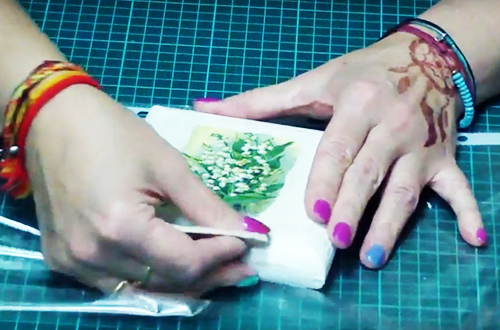 | When everything is dry, peel off excess paper with fine sandpaper |
How surface type affects decoupage technique
There are nuances in working with various surfaces. For example, if you want to decorate a tree, then it requires preliminary sanding and puttying.
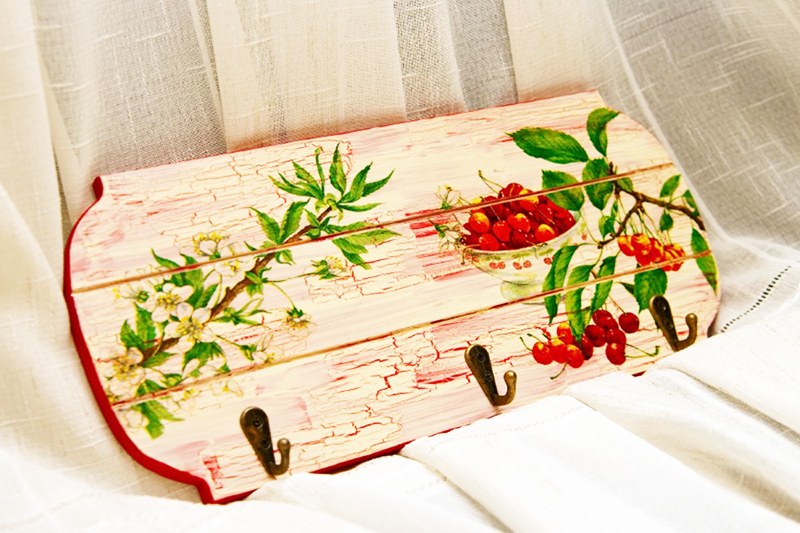 PHOTO: avatars.mds.yandex.net
If you have conceived a decor for a plastic thing, then its surface should be degreased with alcohol, sanded with fine emery and covered with a gypsum primer.
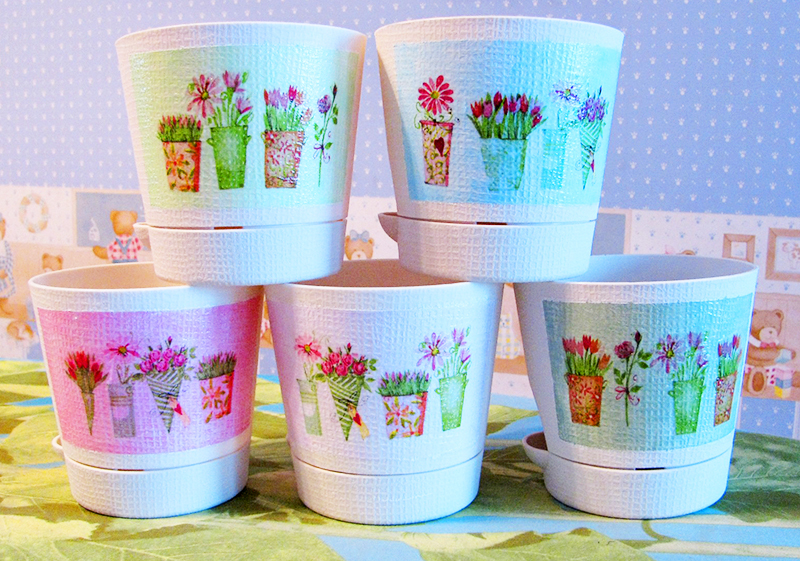 PHOTO: photo.7ya.ru
Glass is the most difficult of the options. It is also degreased with alcohol and the surface around the place where the napkin will be applied is tinted.
Read more about decoupage on glass - in this small video:
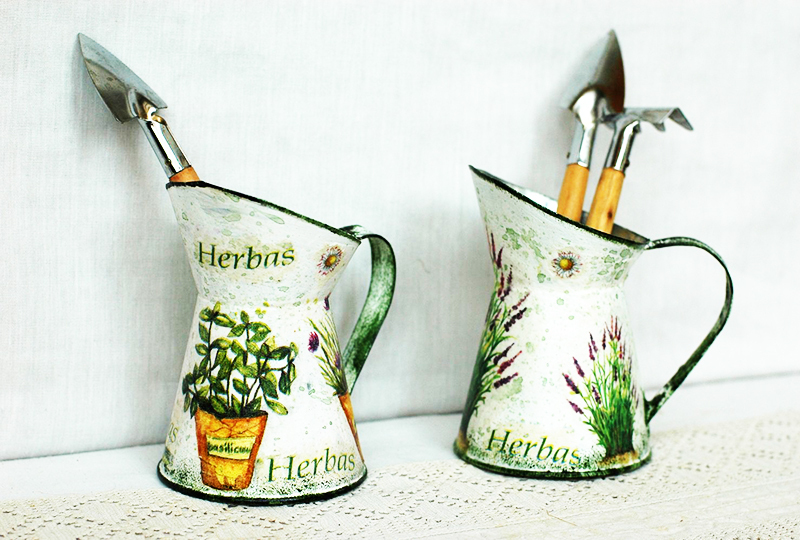 PHOTO: cs5.livemaster.ru
Decoupage is a very popular type of needlework that you can easily master from the very first job. Which of the methods did you find most convenient? Write about it in the comments!
