The convenience of its use largely depends on the correct organization of the internal space of the steam room. When developing your project, it is worth looking at those shelves and shelves in the bathhouse that you can make with your own hands. This will allow you to choose the best option, taking into account the free space and your own capabilities. We offer you to get acquainted with the photo of such examples and the procedure for implementing the plan.
Read in the article
- 1 Types of shelves in the bath, which you can do with your own hands with photo options
- 1.1 By material of manufacture
- 1.2 By type of construction
- 1.3 By mounting the shelves
- 1.4 By size and number of tiers
- 2 How to make a shelf with your own hands, depending on the type of bath
- 2.1 How to make shelves in a sauna in a steam room: distinctive features
- 2.2 Sauna bench: important points
- 3 Do-it-yourself shelves and shelves in the bath: drawings, photos and a description of the process
- 3.1 Drawing with the dimensions of the shelves in the bath in the steam room: possible options
- 3.2 Drawings and photos of shelves in the bath, made by hand
- 3.3 How to make a shelf frame in a bath correctly: sequence of actions
- 3.4 DIY step-by-step guide for installing a shelf in a bath
- 3.5 Finishing the shelf and shelves with your own hands on the wall
- 3.6 Care Tips
- 4 How much is the shelf for a bath - price overview
Types of shelves in the bath, which you can do with your own hands with photo options
When figuring out how to make a shelf on the wall with your own hands, you should get acquainted with possible solutions. For the manufacture of the structure, various materials can be used. The shelf may differ in design and mounting method. Check out the photo of possible options for the shelves in the bath, made by yourself, before giving preference to a particular design.
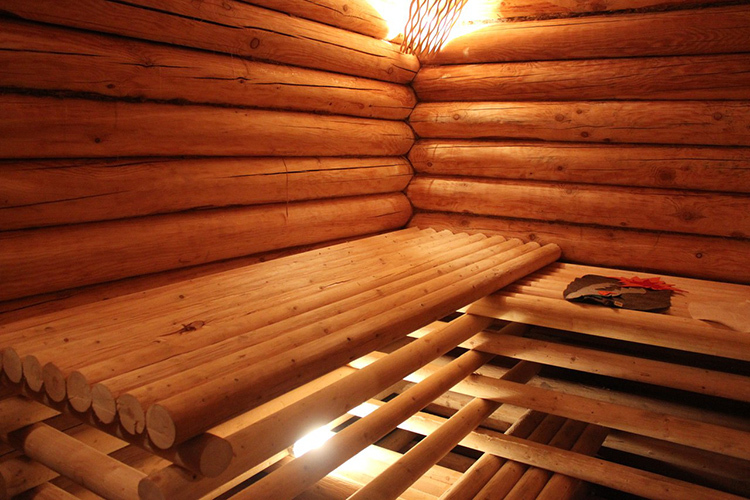
By material of manufacture
So that during operation baths there were no difficulties, for the manufacture of shelves and a shelf it is necessary to use materials that meet certain requirements. Traditionally, the choice is made in favor of wood. However, it is worth considering that the boards used must:
- have low thermal conductivity. In this case, the shelves will not be able to heat up to a sufficiently high temperature;
- be resistant to moisture;
- contain as little resin as possible.
Most often, the choice is made in favor of:
- linden trees. When heated, this wood begins to exude a pleasant aroma. It has a healing effect on the body. Linden surfaces dry quickly, do not crack, and are easily machined. However, with prolonged exposure to high humidity, they begin to gradually darken;
- maple. The material retains its properties under the influence of high humidity and significant temperature fluctuations;
- abashi. Expensive wood from Africa with a beautiful yellow or cream shade. Possesses low thermal conductivity, high strength, long service life. However, its high cost compels attention to other options. For example, the price of a linden shelf will be much lower;
- aspen. This material has become quite widespread due to its availability and optimal strength characteristics. The boards retain their geometry even with significant temperature fluctuations. Aspen is believed to have a beneficial effect on the state of mind. Externally, the shelves remain unchanged for a long time. Rotting starts from the inside.
Attention! It is better to refuse the use of conifers, since a resin appears on their surface when heated, which can cause a burn.
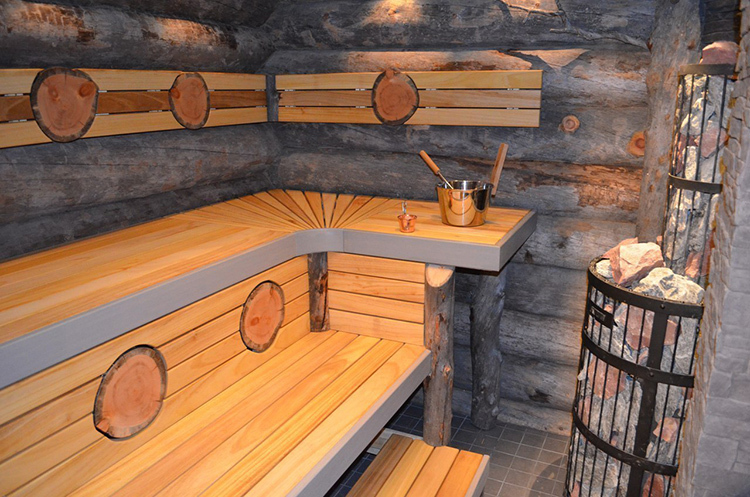
By type of construction
The design of the shelf in the steam room, made by hand, can be significantly different. It is mounted along a wall without windows. At the same time, the lounger can:
- be located along one wall. The number of tiers is numerically equal to the number of steps;
- consist of two perpendicular elements;
- Installed along two opposite walls. The upper part is often reclining.
Advice! When developing a design drawing for the manufacture of wooden shelves with your own hands, study the photos of already implemented projects. This will allow you to find the optimal solution.
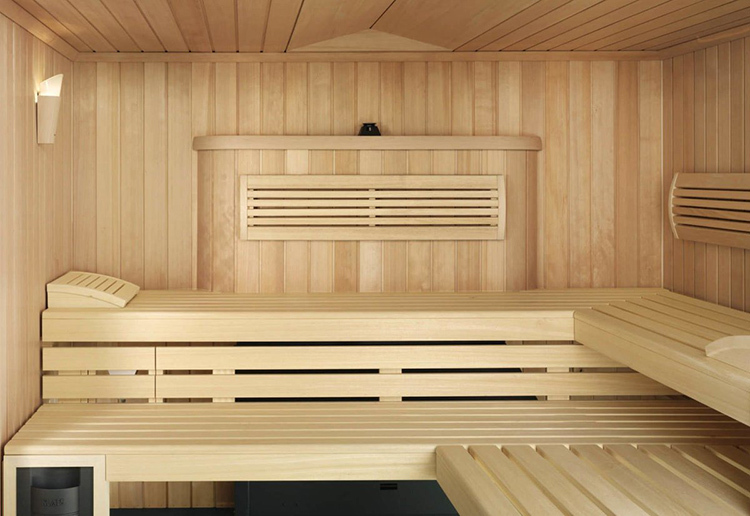
Also, the shelves differ in the degree of mobility. You can install the system:
- stationary, in which all sunbeds will be securely fixed;
- collapsible, allowing the removal of the upper and lower shelves. Such bath structures are considered very convenient for operation, as they can dry out quickly;
- folding. The optimal solution for a small space. If additional shelves are required, the lounger is lowered. As soon as they are no longer needed, they are lifted and fixed along the wall.
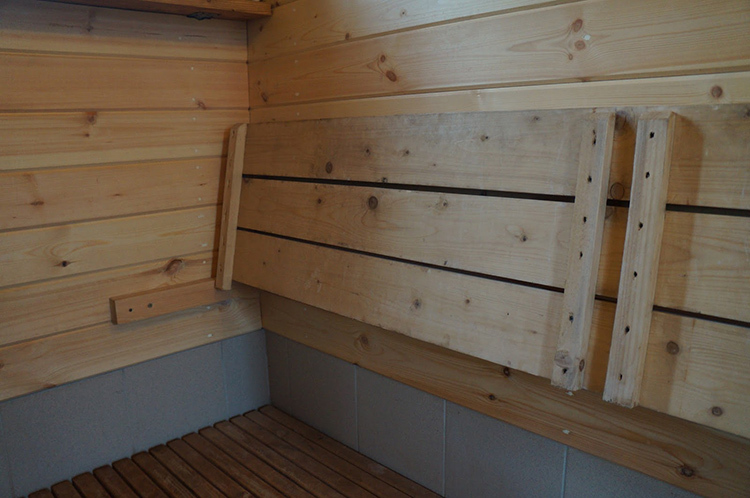
By mounting the shelves
Nails, self-tapping screws and wooden wedges can be used as fasteners for the shelves. Most often, the choice is made in favor of the latter option. Oak wedges are widespread, allowing you to reliably fix one element relative to another. If the choice is made in favor of a metal fastener, it should be fastened properly from the back side, sinking into the wood by about 5-6 mm.
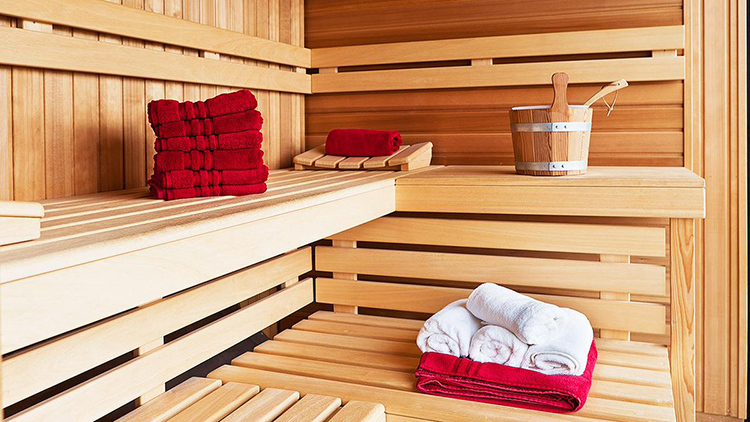
By size and number of tiers
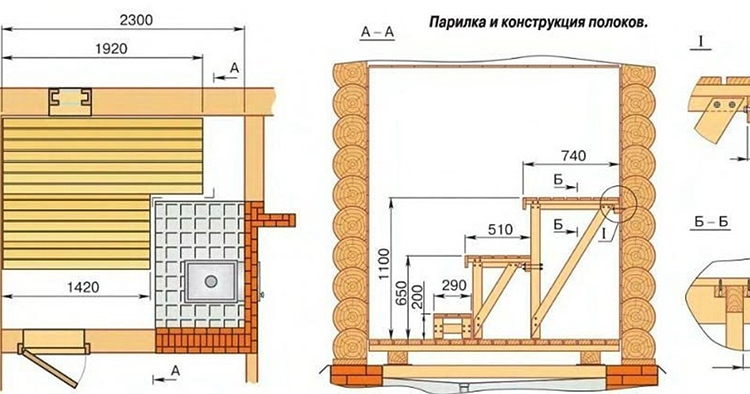
The dimensions of the shelves in the bath directly depend on the tier. The higher it is located, the larger its transverse dimensions. The upper shelf in the bath is 90 cm wide. The middle and bottom are usually 80 cm. The length of the shelf is selected taking into account the free space. Usually it is 1.5-1.8 m.
The height of the shelf in the bath from the floor is selected taking into account the convenience of the position of the seated person. The upper one is mounted at a distance of 1.2 m from the floor, the middle one - 0.7-0.8 m, the lower one - 0.4 m.
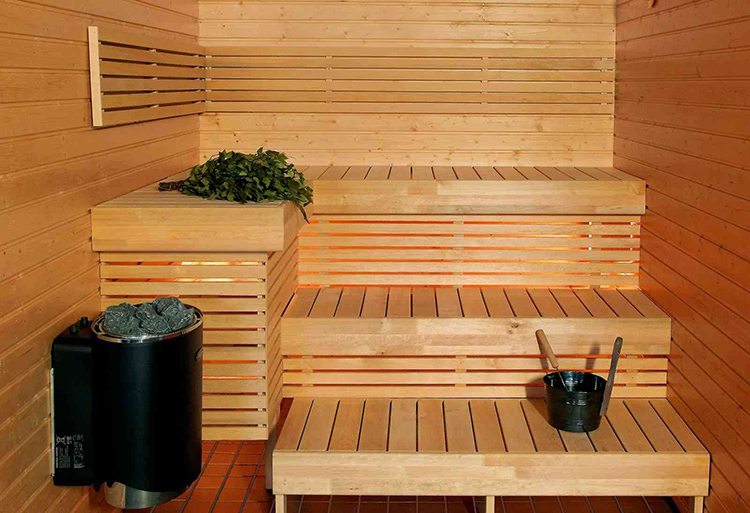
The number of tiers may vary. If few people usually wash in the bath, 1-2 tiers are enough. If the height of the ceilings in the steam room allows, three can be provided.
Attention! When determining the optimal number of tiers, it should be remembered that there should be at least a meter between the upper surface and the ceiling.
How to make a shelf with your own hands, depending on the type of bath
The specifics of the steam room often determine how exactly you need to make the shelves in the bath with your own hands. What is suitable for a Russian bath may not always look appropriate in a sauna. Before buying the necessary materials, it is worth understanding how the structure is made in each specific case.
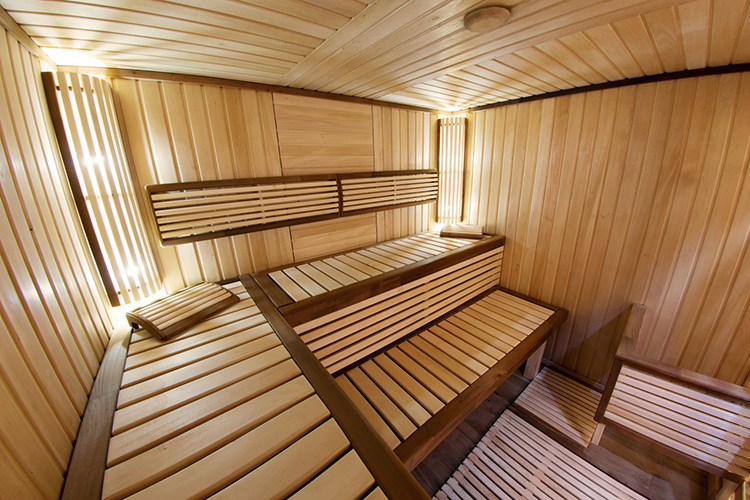
How to make shelves in a sauna in a steam room: distinctive features
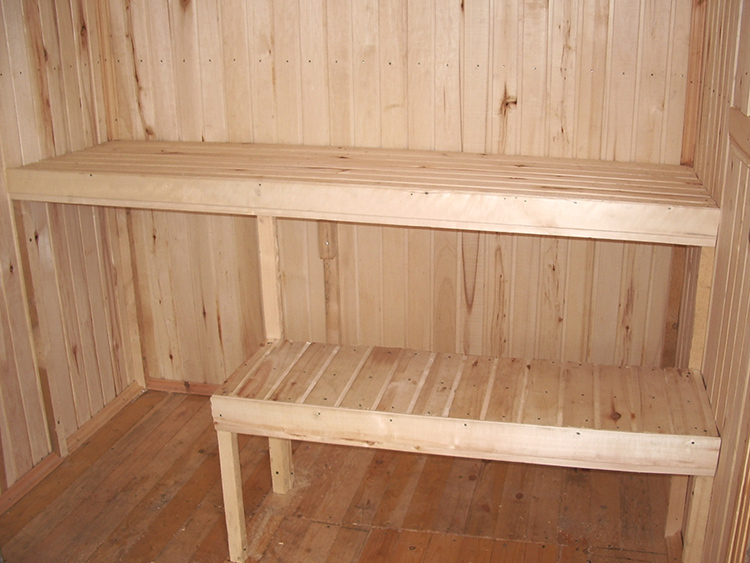
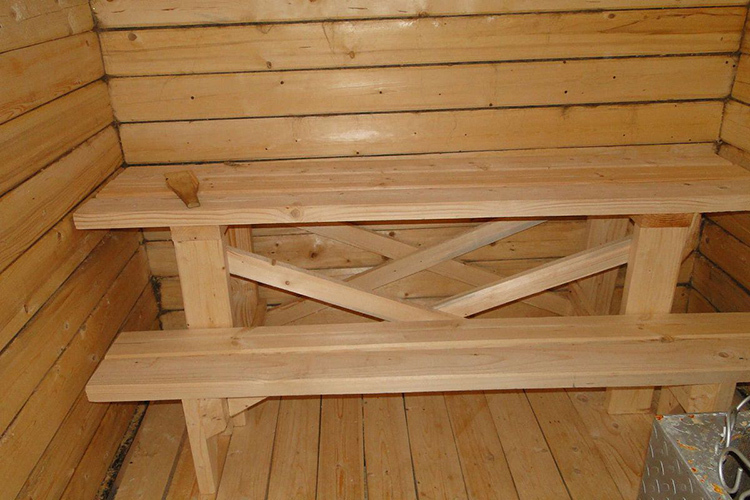
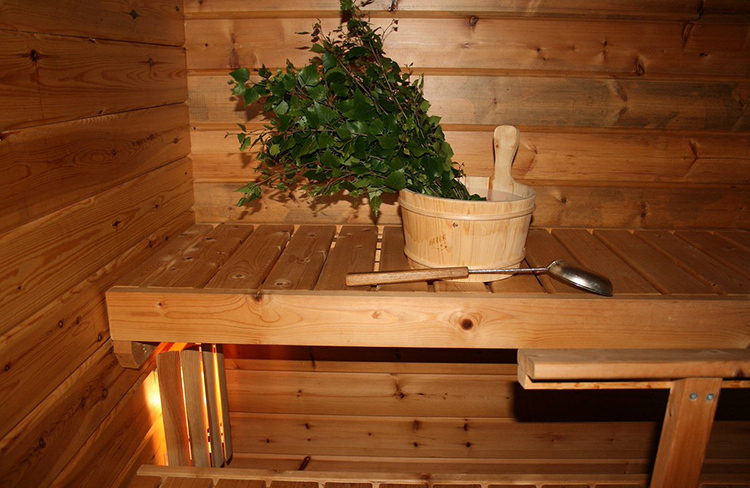
Thinking over how to make shelves in the steam room, one should proceed from the fact that it is customary to lie in the bath. Initially, such structures were made single-tier, providing for a step along which one could climb up.
Today, structures are most often made multi-tiered, thereby providing different temperatures. The height of the shelves in the steam room is selected taking into account the dimensions of the internal space. At the same time, the vertical parts of the tiers are not tightly sewn up. The lounger is made of such a width that it is possible to comfortably lie down on the shelf in the steam room.
Sauna bench: important points
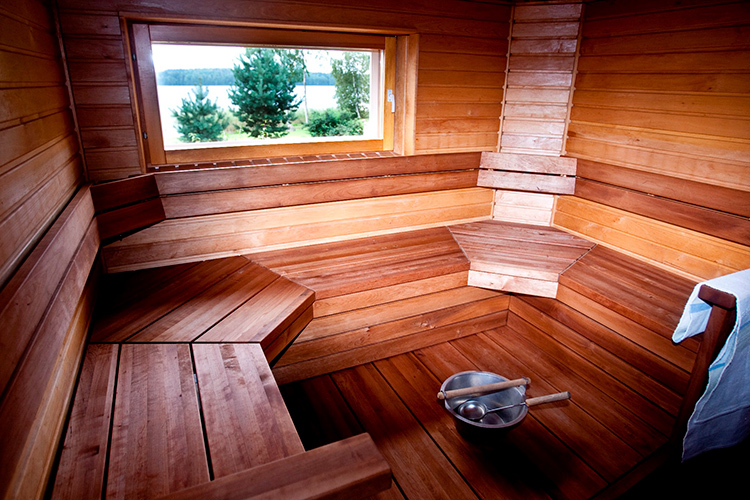
While in the sauna, you can lie down. However, as a rule, they still sit here. And high enough. Such decks are made without vertical posts. As a rule, the vertical parts are tightly sewn on the sauna bench. The flooring is made of such a width that it is comfortable to sit on it, leaning against the wall.
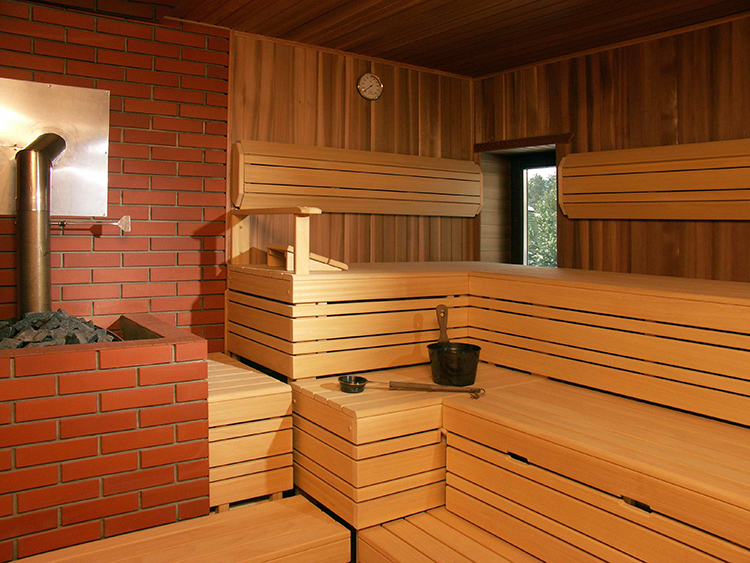

Do-it-yourself shelves and shelves in the bath: drawings, photos and a description of the process
Having prepared drawings, materials and tools, you can mount the shelves in the bath with your own hands. You don't need to have special knowledge to do this. It is enough to carefully read the instructions and follow the recommended sequence of actions.
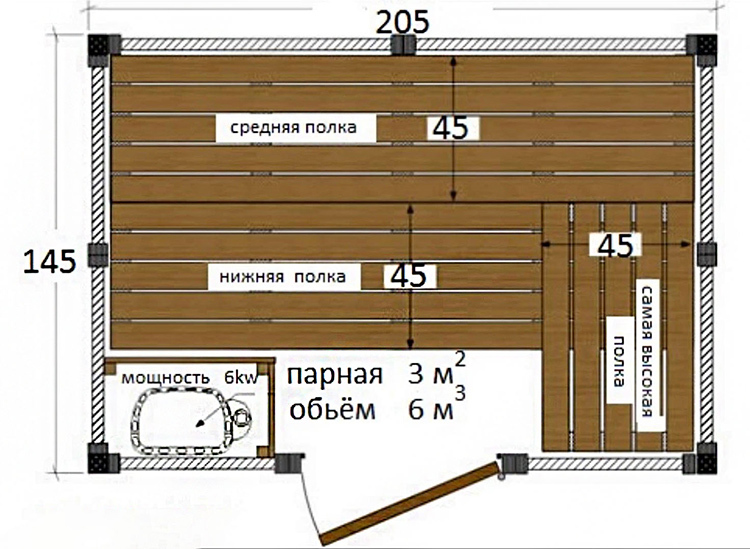
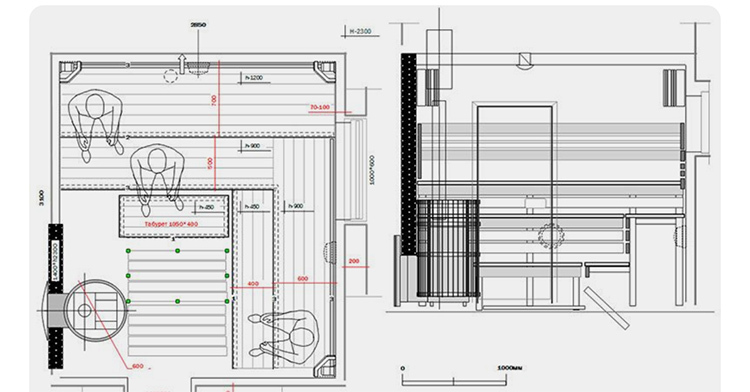
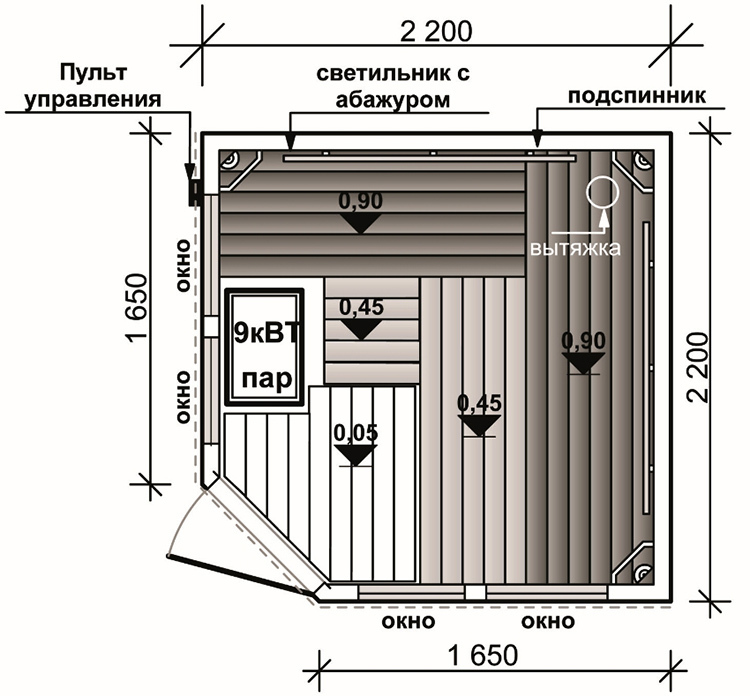
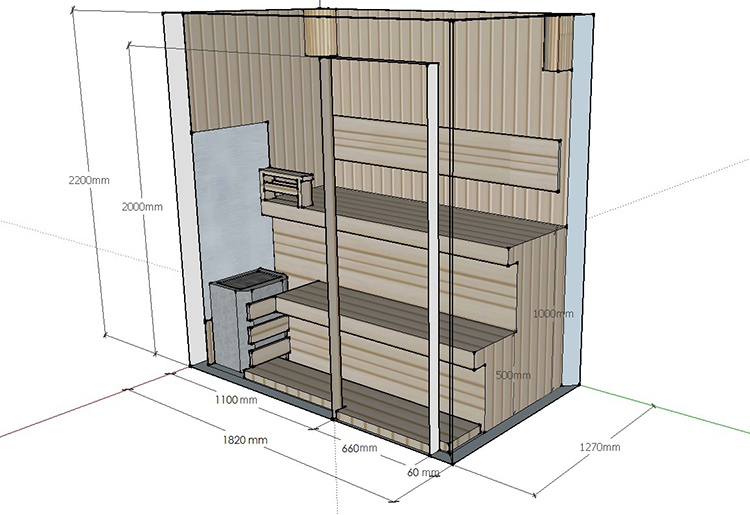
Drawing with the dimensions of the shelves in the bath in the steam room: possible options
The dimensions of the bath shelves can vary significantly. If it is only planned to sit on the flooring, their length may be 1.5 m.If it is planned to take lying procedures, at least 1.8 m.The width of the shelves is 40-60 cm. Sometimes they are made at 90 cm. We offer you to get acquainted with the drawings of the shelves in the bathhouse in the steam room, which have already been dimensioned:
Drawings and photos of shelves in the bath, made by hand
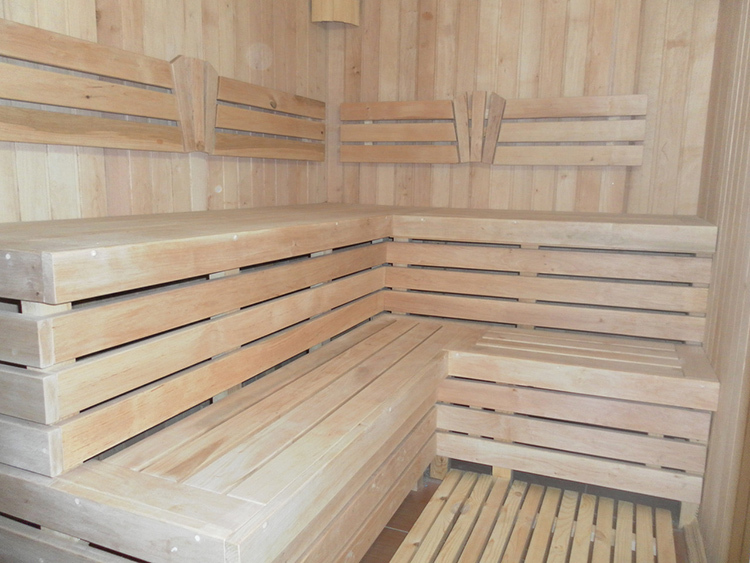
Before you mount the shelves in the bath, you need to develop a design drawing with dimensions. The parameters are selected taking into account the free space and the height of the ceiling.
Attention! Considering that all the work will be done by hand, you should not complicate the design.
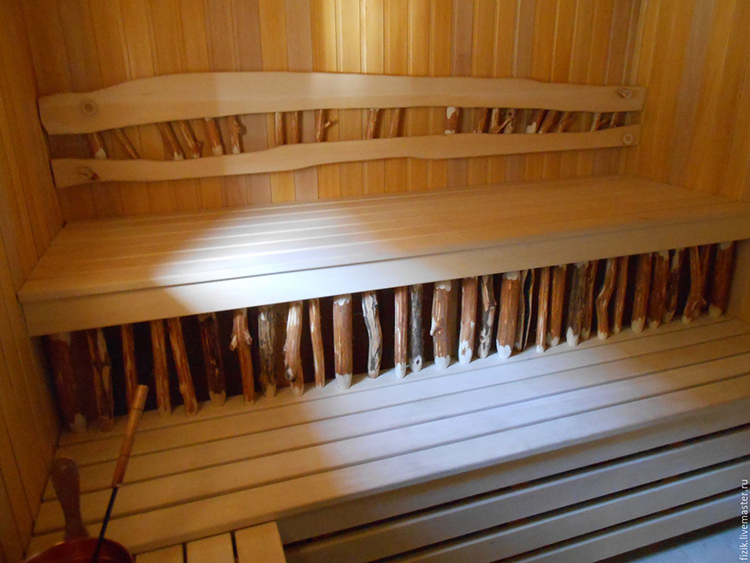
We offer you to get acquainted with the photos and drawings of the shelves in the bath, which you can make with your own hands:
1 out of 4
How to make a shelf frame in a bath correctly: sequence of actions
In order for the mounted structure to last long enough, it is worth figuring out how to properly make the shelves in the bath. Installation begins with the assembly of the frame. The works are performed in the following sequence:
| Illustration | Procedure |
 | The dimensions of the internal space of the steam room are removed. A sketch of the shelf is being developed with a detailed drawing of each shelf. A detailed drawing is being worked out with an indication of the dimensions of all elements. All blanks of the future frame are cut to size and carefully polished |
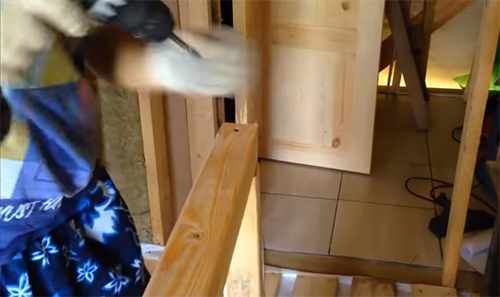 | Mounting holes are drilled in the prepared vertical beams and cross members. Their diameter should be less than the transverse dimensions of the main fastener. All elements of the shelf frame are interconnected |
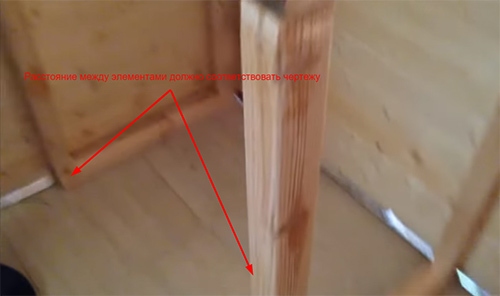 | The assembled units are placed inside the steam room. The distance between the elements should be coordinated with the drawing. Each element is fastened with one screw |
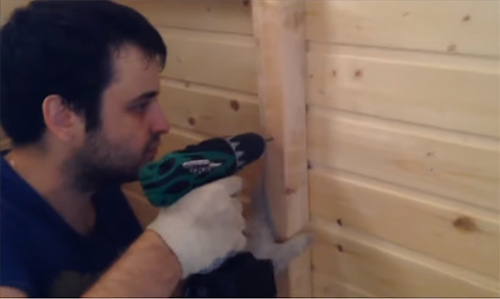 | The supporting elements are screwed to the walls. Their spatial position is necessarily controlled using a level |
DIY step-by-step guide for installing a shelf in a bath
After the frame is installed, you can start installing the flooring for the shelf in the bath with your own hands. The walkthrough includes the following steps:
| Illustration | Procedure |
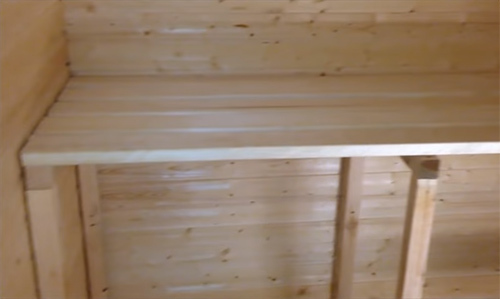 | The boards are cut to size and carefully sanded. Stacked on the frame at a predetermined pitch to determine their exact positioning |
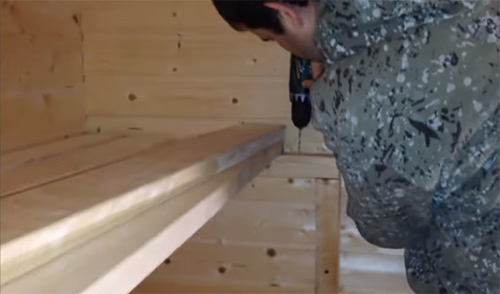 | Two fastening holes are drilled in the frame directly under the boards |
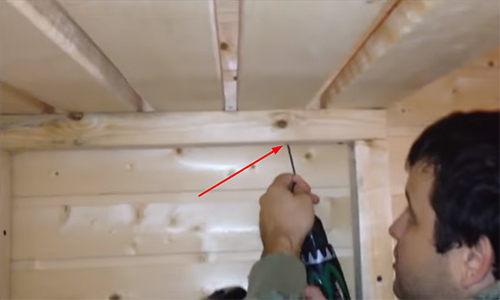 | The boards are screwed to the frame from below. The length of the screw must be long enough to securely fix the boards |
 | The lower tier is mounted in the same way. |
Finishing the shelf and shelves with your own hands on the wall
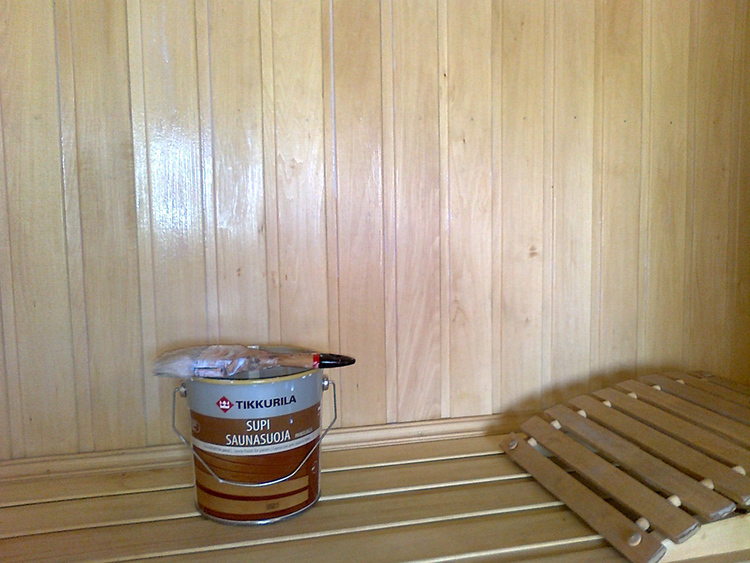
Having assembled the structure with your own hands and securely fixing the shelves on the wall, they carry out the finishing treatment of all wooden elements. For this purpose, special protective compounds are used that provide effective protection of the tree from high-temperature exposure and prevent the appearance of fungus. They can also be used to give the surface of the shelves and uprights the desired shade.
Care Tips
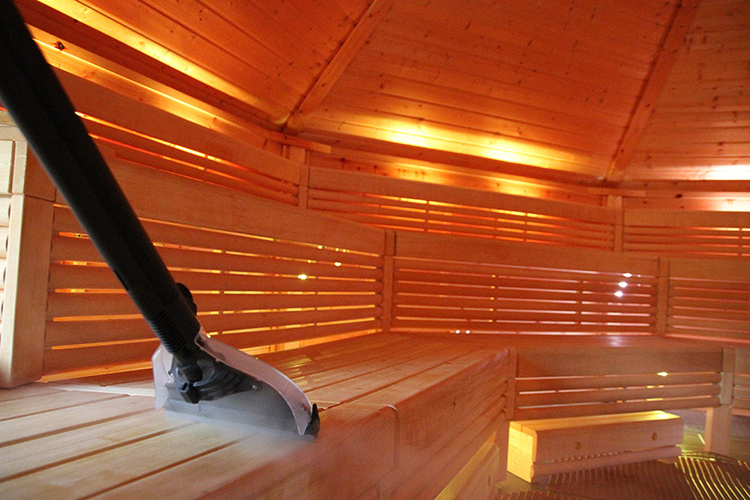
In order for self-made wooden shelves to serve as long as possible, they must be properly looked after. Initially, the steam room should have good ventilation so that all structural elements dry quickly.
To clean the surface, use a stiff brush and laundry soap. The use of chemicals should be completely abandoned.
How much is the shelf for a bath - price overview
Not everyone is able to assemble a high-quality structure with their own hands. An elementary lack of time leads to the fact that the owners decide to buy shelves for the bath. The cost of such a design can vary significantly. The price of a shelf for a bath depends on its size, design features and materials used. So, for a straight construction made of thermal aspen with a size of 140 × 600 × 2100 mm, you will have to pay 15,000 rubles. If, together with the flooring, a 45 × 360 × 2100 mm grating is purchased for vertical sewing, the cost increases to 23,500 rubles.
Share in the comments which shelf is in your bath? Why did you choose this particular design?


